How to Cook Chicken Breast in a Skillet Perfectly
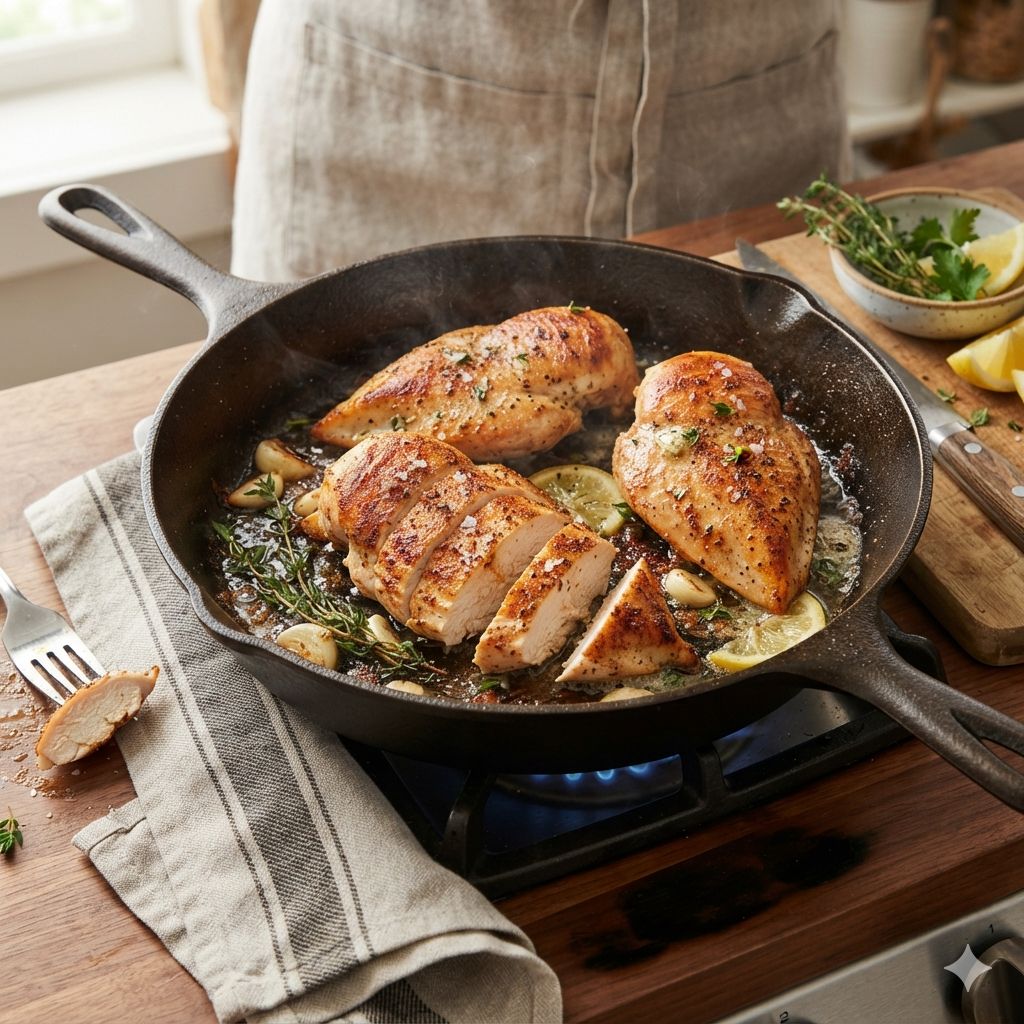
Cooking chicken breast in a skillet is one of the fastest ways to get a healthy, high-protein meal on the table, but it often ends up dry and bland. This guide walks you through the exact technique to achieve juicy, golden-brown chicken every time, whether you are a beginner or a seasoned home cook.

Tyson
Tyson Fully Cooked Crispy Chicken Strips, 25…
- One 1.56 lb bag of Tyson Frozen Crispy Chicken Breast Strips
- 13g of protein per serving
- Made with 100% all natural* chicken
As an Amazon Associate I earn from qualifying purchases.
Simply put, the secret to perfect skillet chicken breast is a combination of proper thickness, high-heat searing, and finishing at a controlled temperature. With a good pan, a meat thermometer, and a few minutes of patience, you can consistently produce restaurant-quality chicken at home without drying it out.
Key Takeaways
- Cooking chicken breast in a skillet requires even thickness — pound or slice breasts to ½ inch for consistent doneness.
- Use a meat thermometer to pull the chicken at 160°F; carryover cooking will bring it to the safe 165°F.
- Rest the chicken for 5 minutes after cooking to redistribute juices and prevent dryness.
- High heat for searing, then medium-low to finish is the golden rule for a crisp crust and tender interior.
What You Need Before You Start
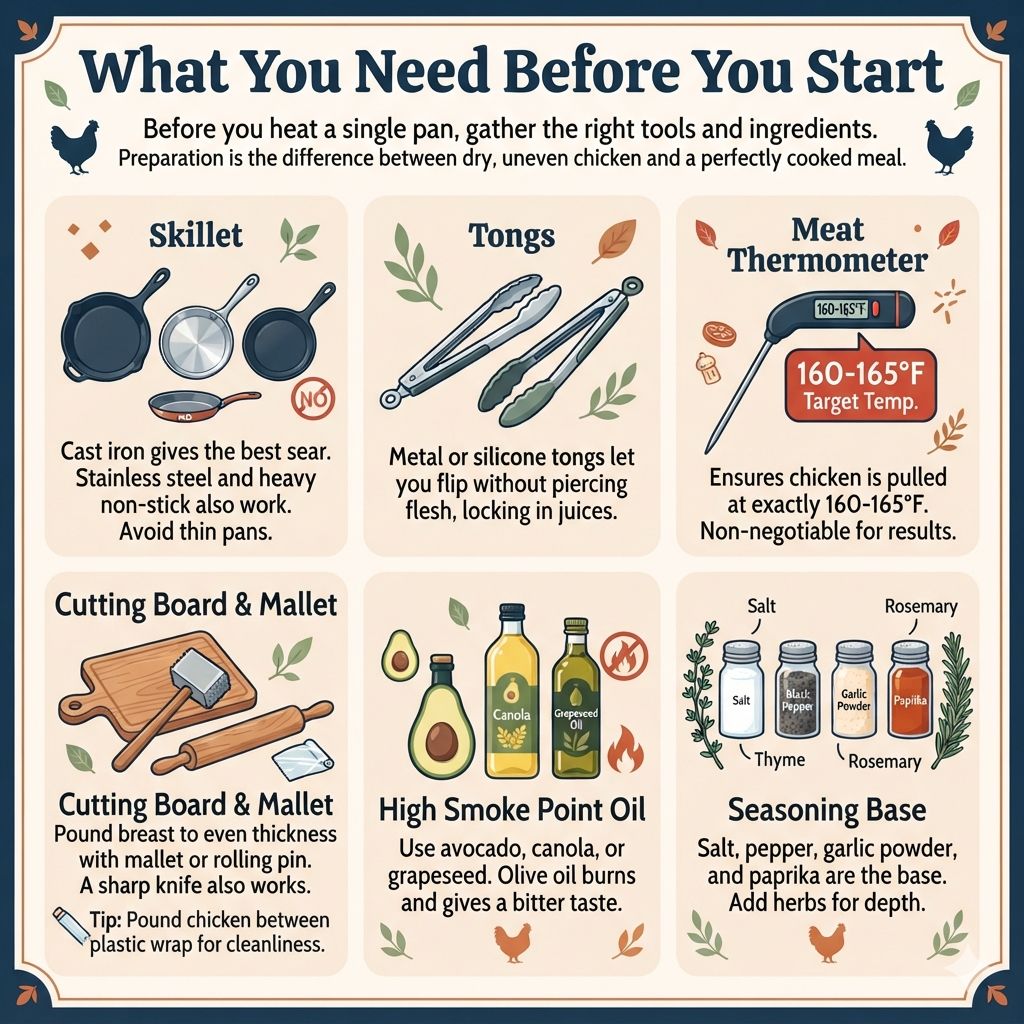
Before you heat a single pan, gather the right tools and ingredients. Preparation is the difference between dry, uneven chicken and a perfectly cooked meal.
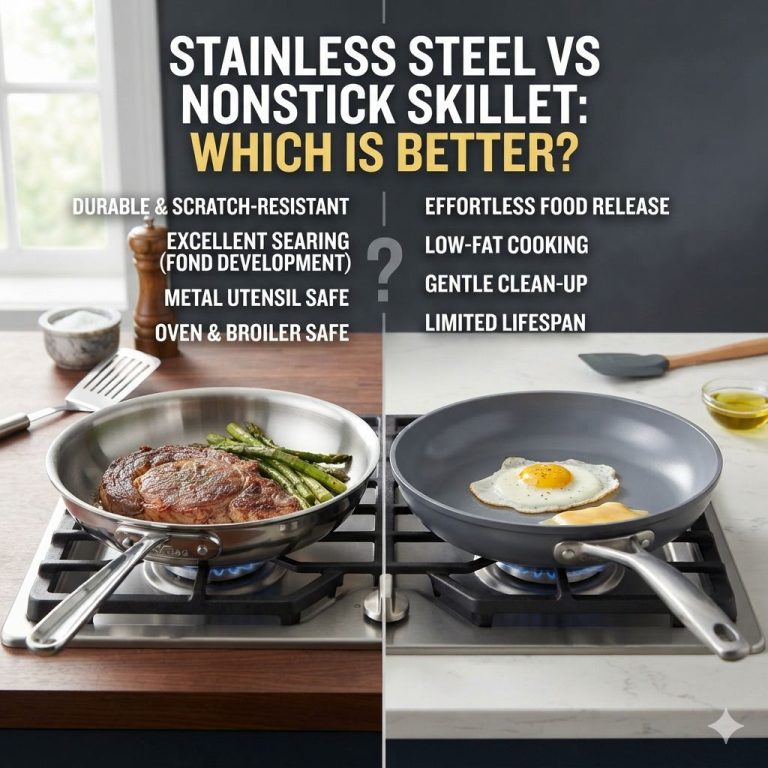
You do not need fancy equipment. A standard skillet — cast iron, stainless steel, or non-stick — paired with a few pantry staples will do the job. The most important tool is an instant-read thermometer, which removes all guesswork.
- Skillet: Cast iron gives the best sear, but stainless steel or heavy non-stick also work well. Avoid thin pans that create hot spots.
- Tongs: Metal or silicone tongs let you flip the chicken without piercing the flesh, which keeps juices locked in.
- Meat thermometer: An instant-read probe ensures you pull the chicken at exactly 160-165°F. This is non-negotiable for consistent results.
- Cutting board and mallet: A meat mallet or rolling pin helps pound the breast to an even thickness. A sharp knife works too if you prefer butterflying.
- Oil with high smoke point: Use avocado, canola, or grapeseed oil. Olive oil burns at skillet temperatures, giving a bitter taste.
- Seasoning: Salt, black pepper, garlic powder, and paprika form the base. Add herbs like thyme or rosemary for extra depth.
Tip: If you do not own a meat mallet, place the chicken breast between two sheets of plastic wrap and use a heavy skillet or rolling pin to pound it evenly. This prevents splatter and keeps your counter clean.
Step 1: Prepare the Chicken Breast for the Skillet
Uneven thickness is the number one reason home cooks end up with dry chicken. The thin end cooks long before the thick end, forcing you to overcook the whole piece. Fix this in 30 seconds with a meat mallet or a sharp knife.
Butterflying or pounding the breast to about ½ inch thick ensures every part hits the pan at the same time. This single step transforms your results dramatically.
- Pat the chicken dry using paper towels. Moisture on the surface prevents browning and creates steam instead of a sear.
- Butterfly the breast horizontally by slicing from the thick side, stopping about ½ inch from the opposite edge. Open it like a book, then cut fully apart.
- Alternatively, pound the breast between two sheets of plastic wrap to an even ½-inch thickness using a mallet or heavy pan.
- Season generously with salt and pepper on both sides. Let it sit at room temperature for 15 minutes so the salt absorbs into the meat.
Important: Do not skip the 15-minute rest after seasoning. Cold chicken straight from the fridge will lower the pan temperature and steam rather than sear. Room-temperature chicken browns far better.
Step 2: Preheat the Skillet and Add Oil
Getting the pan hot enough before adding the chicken is critical. A medium-high heat that makes water droplets dance across the surface is your target. If the oil smokes before you add the chicken, it is too hot.
The right temperature produces an audible sizzle the moment the chicken hits the pan. That sound tells you the crust is forming. No sizzle means the pan is not ready.
| Pan Type | Heat Level | Preheat Time | Best Oil |
|---|---|---|---|
| Cast Iron | Medium-High | 5-6 minutes | Avocado or Canola |
| Stainless Steel | Medium-High | 3-4 minutes | Grapeseed or Canola |
| Non-Stick | Medium | 2-3 minutes | Light Olive or Canola |
The table above shows recommended heat levels and preheat times for each pan type. Non-stick pans should not be preheated empty on high heat, as this damages the coating. Add oil just before placing the chicken.
Step 3: Sear the Chicken Breast Without Moving It
Place the seasoned chicken breast in the hot skillet, laying it away from you to avoid oil splatter. The most common mistake is moving the chicken around the pan. Leave it completely alone for 4-5 minutes.
During this time, the Maillard reaction creates a deep golden-brown crust. If you flip too early, the crust tears and sticks to the pan. The chicken will release naturally when the crust is fully formed.
Trust the process.
- Do not overcrowd the skillet. Leave at least 1 inch between pieces. Overcrowding traps steam and prevents browning. Cook in batches if needed.
- Listen for the sizzle. A steady, lively sizzle means the temperature is right. If the sizzle fades, the pan has cooled — increase heat slightly.
- Check the underside after 4 minutes. Gently lift one edge with tongs. If it releases easily and shows a deep golden color, it is ready to flip.
- If it sticks, wait another 30-60 seconds. The crust is still forming. Forcing it off tears the meat and leaves half the crust in the pan.
Warning: If your chicken sticks aggressively after 5 minutes, your pan was not hot enough or the surface was not properly oiled. Do not scrape it off — reduce heat, add a splash of broth or water, cover, and let it steam for 1 minute to release naturally.
Step 4: Flip and Finish Cooking at Lower Heat
After flipping, reduce the heat to medium-low. The second side needs about 3-5 minutes, depending on thickness. Lower heat at this stage lets the interior cook through without burning the crust.
This two-temperature method is what professional chefs use. High heat for the sear, then moderate heat to finish. It gives you a crisp exterior and a tender, juicy interior every time.
- Flip the chicken using tongs. The seared side should be deep golden brown.
- Reduce heat to medium-low immediately after flipping. If using cast iron, move the pan to a cooler burner or reduce the flame.
- Add a pat of butter and aromatics (garlic cloves, fresh thyme, rosemary) in the last 2 minutes. Tilt the pan and baste the butter over the chicken for extra flavor.
- Cook for 3-5 minutes, then begin checking internal temperature with your thermometer. Insert the probe into the thickest part of the breast.
| Chicken Thickness | First Side (High Heat) | Second Side (Medium-Low) | Total Time |
|---|---|---|---|
| ½ inch (pounded) | 4 minutes | 3 minutes | 7 minutes |
| ¾ inch (butterflied) | 4 minutes | 4 minutes | 8 minutes |
| 1 inch (whole) | 5 minutes | 5-6 minutes | 10-11 minutes |
Timing varies based on pan type, stovetop strength, and starting temperature. Always rely on your thermometer, not the clock. The target pull temperature is 160°F, as carryover cooking adds 5°F during resting.
Step 5: Rest the Chicken Breast Before Slicing
Resting is the most overlooked step when learning how to cook chicken breast in a skillet. Cutting into the meat immediately releases all the juices onto the cutting board, leaving you with dry, sad chicken.
Transfer the cooked chicken to a cutting board or warm plate and tent it loosely with aluminum foil. Let it rest for 5 minutes. This allows the muscle fibers to relax and reabsorb the juices that have been pushed toward the center.
- Rest for 5 minutes minimum. Larger breasts may need 7-8 minutes. Set a timer so you do not forget.
- Do not wrap too tightly. Tight foil traps steam and softens the crust. Leave a small vent for air circulation.
- Slice against the grain after resting. Cutting perpendicular to the muscle fibers makes each bite more tender and easier to chew.
- Slice at a slight angle for wider, more appealing pieces that hold warmth better.
Tip: While the chicken rests, deglaze the skillet with a splash of chicken broth, white wine, or lemon juice. Scrape up the browned bits and simmer for 1 minute to make a quick pan sauce that pairs perfectly with the sliced chicken.
Common Mistakes When Cooking Chicken Breast in a Skillet
Even experienced cooks make errors that turn perfectly good chicken into a disappointment. Recognizing these pitfalls will help you avoid them and consistently produce excellent results.
The most frequent issues are all related to temperature and timing. Understanding why they happen gives you the tools to fix them mid-cook.
- Cooking cold chicken straight from the fridge. The outside burns before the inside reaches 165°F. Let the chicken sit at room temperature for 15-20 minutes before cooking.
- Using too low of heat. The chicken steams instead of searing, resulting in a pale, rubbery texture. Medium-high heat is the sweet spot for a good crust.
- Moving the chicken too early. Flipping before the crust forms causes sticking and tearing. Wait until the chicken releases naturally from the pan.
- Skipping the thermometer. Guessing doneness by touch or color is unreliable. The only safe way to know is 165°F internal temperature.
- Overcrowding the pan. Too many pieces at once lowers the pan temperature dramatically. Cook in batches or use a larger skillet.
Warning: Cutting into the chicken to check if it is done is the fastest way to lose moisture. Each cut creates a channel for juices to escape. Always use a thermometer instead.
How to Add Flavor While Cooking Chicken Breast in a Skillet
Plain salt and pepper chicken is fine, but a few simple additions during cooking can transform the dish dramatically. The skillet method allows you to layer flavors at different stages for a more complex result.
Marinating the chicken beforehand adds moisture and flavor deep into the meat. Quick pan sauces made from the drippings take seconds and elevate the dish without extra effort.
| Flavor Method | Timing | Example |
|---|---|---|
| Dry Rub | Before cooking | Paprika, garlic powder, onion powder, cayenne |
| Marinade | 30 min to 2 hours before | Lemon juice, olive oil, garlic, oregano |
| Butter Basting | Last 2 minutes of cooking | Butter, thyme, smashed garlic clove |
| Pan Sauce | After chicken is removed | Broth, lemon, dijon, capers |
The table above outlines four easy ways to add flavor at different points in the cooking process. Combining a dry rub with a pan sauce gives you layers of flavor without extra work.
How to Clean the Skillet After Cooking Chicken
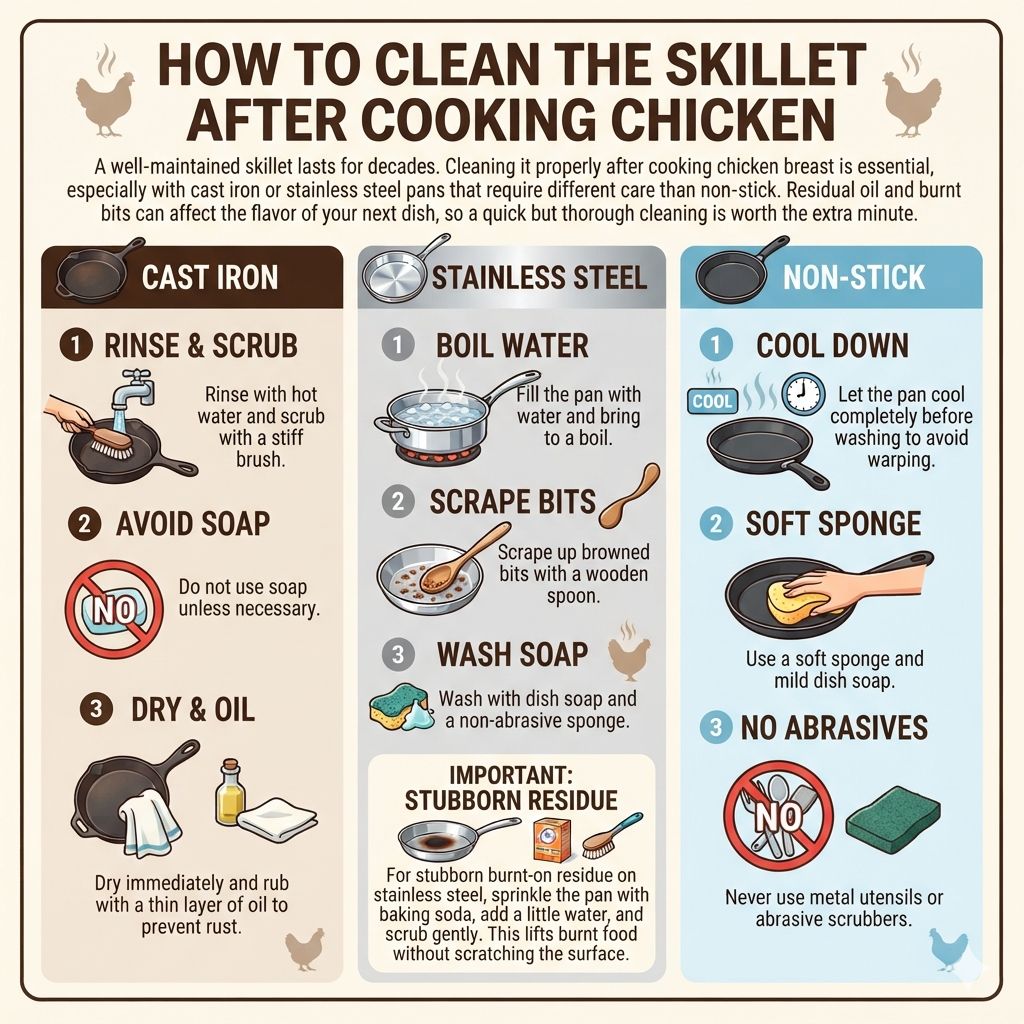
A well-maintained skillet lasts for decades. Cleaning it properly after cooking chicken breast is essential, especially with cast iron or stainless steel pans that require different care than non-stick.
Residual oil and burnt bits can affect the flavor of your next dish, so a quick but thorough cleaning is worth the extra minute.
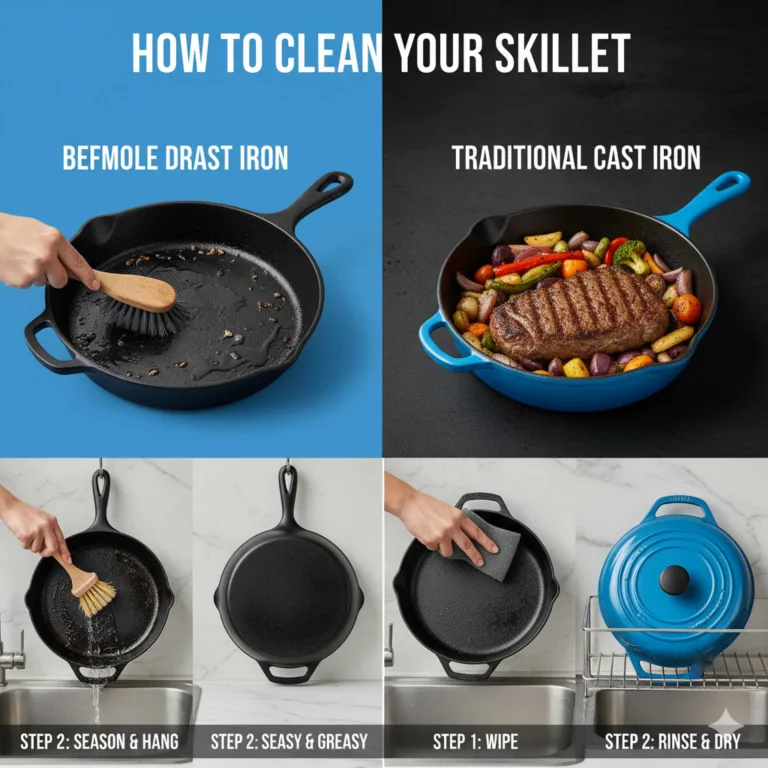
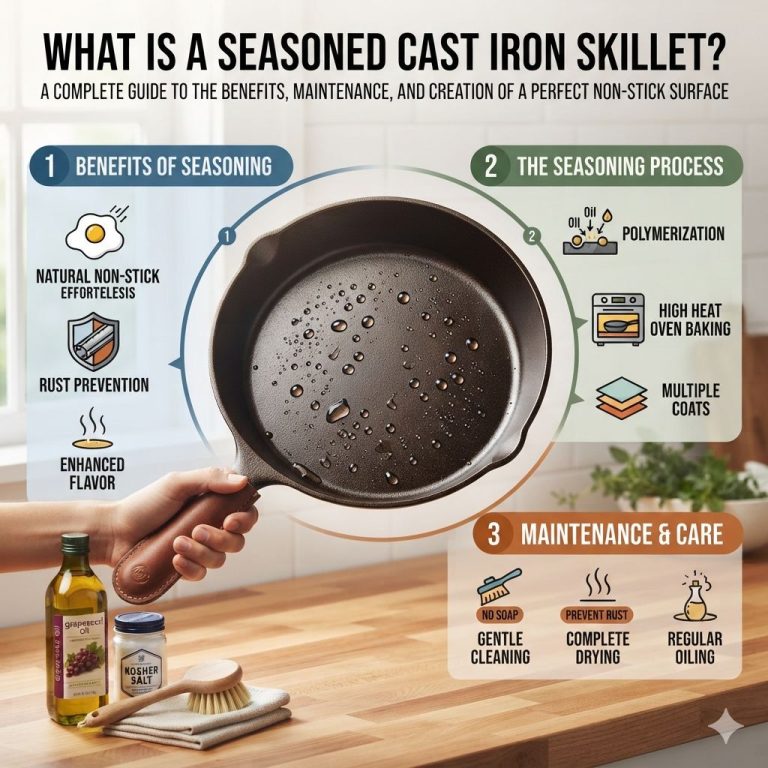
- Cast iron: Rinse with hot water and scrub with a stiff brush. Do not use soap unless necessary. Dry immediately and rub with a thin layer of oil to prevent rust.
- Stainless steel: Fill the pan with water and bring to a boil. Scrape up browned bits with a wooden spoon. Wash with dish soap and a non-abrasive sponge.
- Non-stick: Let the pan cool completely before washing to avoid warping. Use a soft sponge and mild dish soap. Never use metal utensils or abrasive scrubbers.
Important: For stubborn burnt-on residue on stainless steel, sprinkle the pan with baking soda, add a little water, and scrub gently. This lifts burnt food without scratching the surface.
Frequently Asked Questions
How long does it take to cook chicken breast in a skillet?
For a ½-inch pounded breast, total cook time is about 7-8 minutes — 4 minutes on the first side and 3-4 minutes on the second. A whole 1-inch breast takes 10-12 minutes. Always verify with a meat thermometer to ensure it reaches 165°F.
What is the best oil for cooking chicken breast in a skillet?
Avocado, canola, and grapeseed oils are ideal because they have high smoke points above 400°F. Olive oil burns at skillet temperatures and can produce a bitter flavor. Use just enough oil to coat the pan bottom, about 1-2 tablespoons.
Should you cover the skillet when cooking chicken breast?
It depends. If you want a crispy crust, cook uncovered for the entire time. If you prefer a softer, more steamed texture, cover the pan after flipping the chicken.
Covered cooking traps moisture and reduces cooking time slightly but will soften the sear.
How do you keep chicken breast from drying out in a skillet?
Three things prevent dryness: pounding the breast to even thickness, using a thermometer to avoid overcooking (pull at 160°F), and resting the chicken for 5 minutes before slicing. Skipping any of these steps increases the chance of dry meat.
Can you cook frozen chicken breast in a skillet?
It is not recommended. Frozen chicken releases large amounts of water as it thaws in the pan, which prevents browning and steams the meat. Thaw in the refrigerator overnight or use the cold-water method before cooking for the best results.
Final Thoughts
Mastering how to cook chicken breast in a skillet is about controlling heat, thickness, and timing. Pound the breast to an even ½ inch, preheat your pan properly, and always use a meat thermometer. With these basics, you will never serve dry chicken again.
Experiment with different seasonings and pan sauces to keep this simple technique fresh and exciting for every meal.
Related pick: Check today's price on Amazon
Products related to this article
Sponsored / affiliate links. As an Amazon Associate I earn from qualifying purchases. I may earn additional commission from eligible campaigns.