Grilling chicken in a pan sounds easy, right? But sometimes, it’s not. You might end up with dry, bland chicken.
Or maybe it sticks to the pan. It can be frustrating when you just want a good meal. We’ve all been there.
This guide breaks down how to get it just right. You’ll learn the simple steps for juicy, flavorful grilled chicken. It’s easier than you think!
Grilling chicken in a pan is a simple cooking method that yields flavorful and juicy results when done correctly. This guide offers an easy approach to achieving perfectly grilled chicken without needing an outdoor grill, focusing on technique and simple preparation steps for everyday home cooking.
What is Pan-Grilled Chicken?
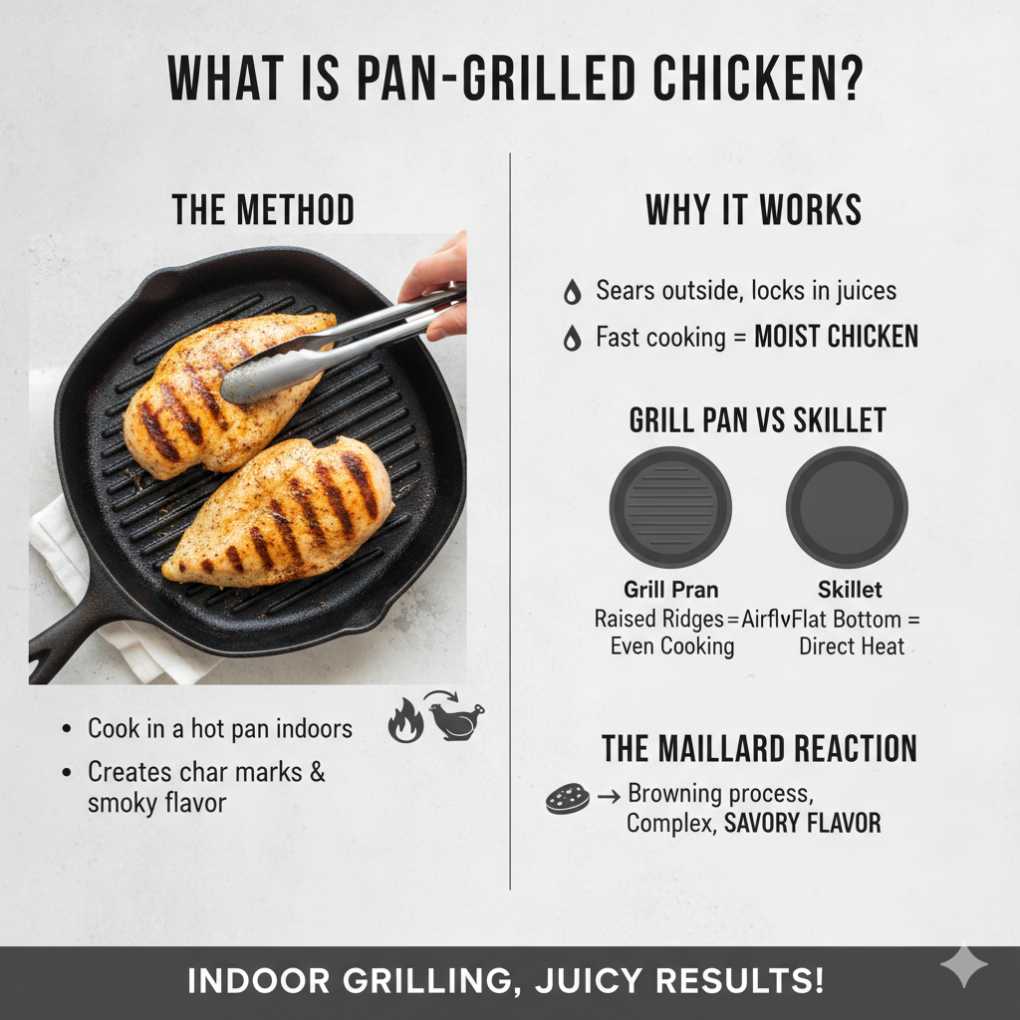
Pan-grilling chicken means cooking it in a hot pan. This gives it those nice char marks. It’s like an outdoor grill, but inside your kitchen.
You get a smoky flavor without the smoke. It works best with thicker cuts of chicken. Think chicken breasts or thighs.
The heat from the pan sears the outside. This locks in the juices. It also creates a lovely crust.
It’s a fast way to cook chicken. You can use a regular skillet. But a grill pan is even better.
A grill pan has raised ridges. These ridges mimic grill grates. They lift the chicken off the bottom.
This lets air circulate. It helps cook the chicken evenly.
Why does it work so well? The direct heat is key. It cooks the chicken quickly.
This is important. If chicken cooks too slowly, it dries out. Fast cooking keeps it moist inside.
The Maillard reaction is also at play. That’s the browning process. It creates complex flavors.
It gives the chicken that savory, grilled taste.
My First Pan-Grilling Fail
I remember my first time trying to pan-grill chicken. I was so excited. I pictured perfect grill marks.
I wanted a quick, healthy dinner. I got some boneless, skinless chicken breasts. I seasoned them simply with salt and pepper.
Then, I heated up a regular non-stick pan. I added a little oil. I put the chicken in.
That’s when things went wrong.
The pan wasn’t hot enough. The chicken just kind of steamed. It didn’t get any color.
Then, it started sticking. I tried to flip it. Pieces of chicken stuck to the pan.
It was a mess. The chicken I did get out was pale. It was also tough and dry.
I felt so disappointed. I had wasted good chicken. I thought pan-grilling was supposed to be easy.
It felt like a mystery I couldn’t solve.
I learned a lot that day. The right pan matters. The heat level is super important.
And I needed to prep the chicken better. It took a few more tries. But I finally figured out the secrets.
Now, I can make perfect pan-grilled chicken every time. It’s become a go-to meal.
Choosing the Right Pan
Grill Pan: This is your best friend. Its raised ridges create beautiful grill marks. They also let fat drip away.
This means crispier chicken.
Cast Iron Skillet: A good second choice. It holds heat very well. This gives a nice sear.
You might not get perfect grill marks. But the flavor will be great.
Heavy-Bottomed Stainless Steel: This can work. It needs to be preheated well. It’s more prone to sticking than cast iron.
Non-Stick Pan: Generally not ideal. They don’t get hot enough. They also can’t handle the high heat needed for searing.
You risk damaging the coating.
Prepping Your Chicken for Pan-Grilling
Good prep makes all the difference. First, choose your chicken cuts. Boneless, skinless chicken breasts work well.
Chicken thighs are also fantastic. They stay moister. Thighs have more fat.
This adds flavor.
Next, make sure the chicken is an even thickness. Thick chicken breasts can cook unevenly. The outside can burn before the inside is cooked.
Pound the thicker parts gently. Use a meat mallet or the bottom of a heavy pan. You want them about ¾ inch thick.
Pat the chicken dry. Use paper towels. This is a crucial step.
Moisture on the surface steams the chicken. It stops it from searing. Dry chicken gets a better crust.
It browns faster. This keeps it juicy inside. Don’t skip this part!
Now, it’s time for seasoning. You can keep it simple. Salt and pepper are classic.
But feel free to get creative. Garlic powder, onion powder, paprika, or chili powder add great flavor. A good marinade also works wonders.
Marinades tenderize the chicken. They also add deep flavor.
For marinades, think about your favorite flavors. A simple mix of olive oil, lemon juice, garlic, and herbs is nice. Soy sauce, ginger, and honey make a great Asian-inspired marinade.
Marinate for at least 30 minutes. For thicker cuts or deeper flavor, you can marinate for a few hours. But don’t marinate chicken in citrus for too long.
It can make it mushy.
Marinade Magic: Flavor Boosters
Acid: Lemon juice, lime juice, vinegar. Helps tenderize.
Oil: Olive oil, vegetable oil. Helps carry flavors and prevents sticking.
Aromatics: Garlic, ginger, onions. Adds depth.
Herbs & Spices: Rosemary, thyme, oregano, cumin, paprika. The flavor makers.
Sweeteners: Honey, maple syrup, brown sugar. Helps with caramelization.
Umami: Soy sauce, Worcestershire sauce, miso paste. Adds savory notes.
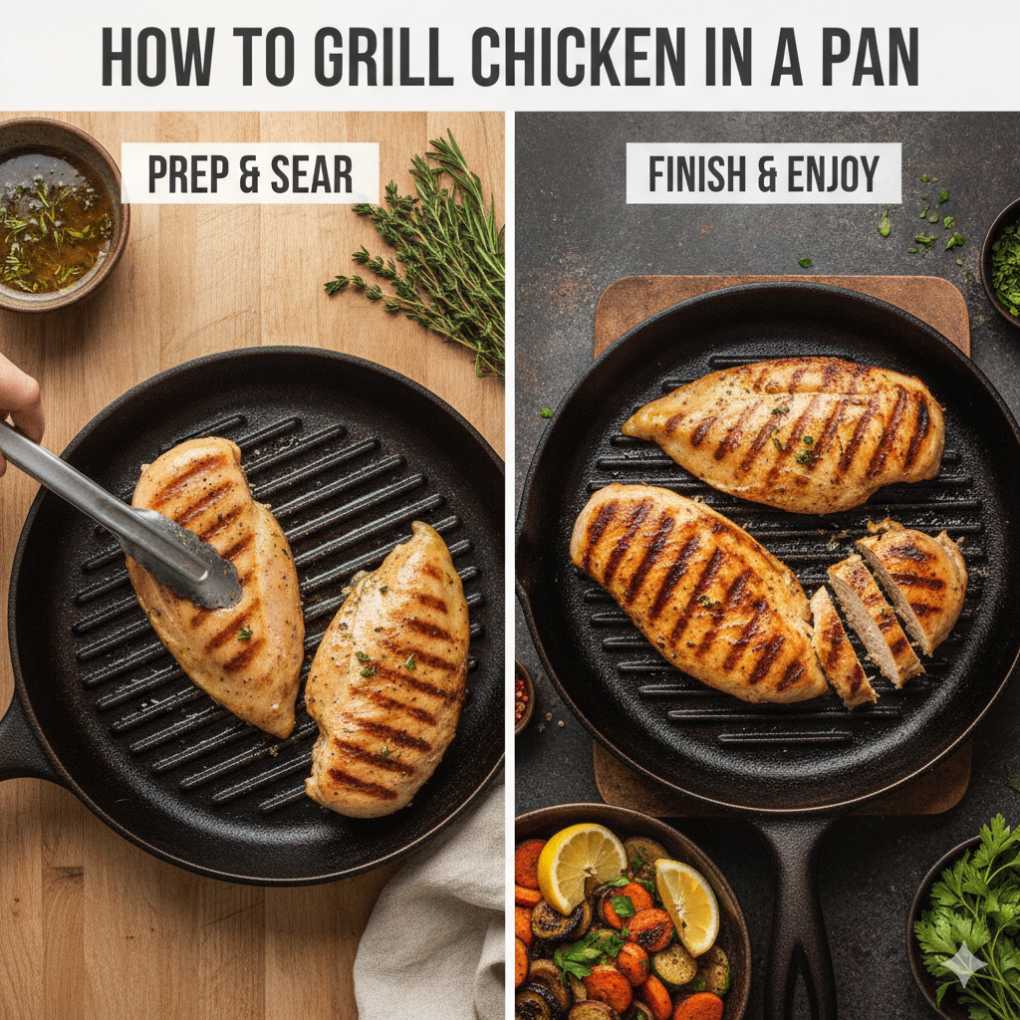
The Pan-Grilling Process: Step-by-Step
This is where the magic happens. Get your grill pan or cast iron skillet ready. Place it on the stove over medium-high heat.
Let it get nice and hot. This is critical. A hot pan sears the chicken fast.
It prevents sticking. It creates those beautiful grill marks.
Add a little cooking oil to the hot pan. Use an oil with a high smoke point. Canola oil, vegetable oil, or avocado oil are good choices.
You only need a thin layer. Swirl it around to coat the bottom. It should shimmer.
If it smokes a lot, the pan is too hot. Let it cool slightly.
Carefully place the seasoned chicken into the hot pan. Don’t crowd the pan. Cook chicken in batches if needed.
Overcrowding lowers the pan’s temperature. This leads to steaming instead of grilling. You want to hear a good sizzle when the chicken hits the pan.
Let the chicken cook undisturbed for about 4-6 minutes. This allows a nice crust to form. It also lets the grill marks develop.
Resist the urge to move it around. Let it sear. This is key to getting it off the pan cleanly.
Flip the chicken. Use tongs. Look at that side.
You should see lovely brown grill marks. Cook the second side for another 4-6 minutes. The exact time depends on the thickness of your chicken.
It also depends on your stove’s heat.
To check if it’s done, use a meat thermometer. The internal temperature should be 165°F (74°C). The juices should run clear.
If you don’t have a thermometer, cut into the thickest part. There should be no pink inside.
Once cooked, remove the chicken from the pan. Place it on a clean plate or cutting board. Let it rest for 5-10 minutes.
Resting allows the juices to redistribute. This makes the chicken super moist. If you cut into it right away, the juices will run out.
You’ll end up with drier chicken.
Quick Scan: Pan-Grilling Chicken Temps
- Pan Temperature: Medium-High
- Preheat Time: 5-7 minutes
- First Side Cook Time: 4-6 minutes
- Second Side Cook Time: 4-6 minutes
- Internal Temperature: 165°F (74°C)
- Resting Time: 5-10 minutes
Achieving Perfect Grill Marks
Those dark lines on chicken aren’t just for show. They add flavor. They also make the chicken look appetizing.
Getting them right is easy. It mostly comes down to pan heat and timing.
First, use a grill pan. This is designed for making grill marks. Make sure the pan is very hot before you add the chicken.
A medium-high heat is usually best. Let the pan heat up for a good 5-7 minutes. You should feel the heat radiating off it.
When you place the chicken in the pan, don’t move it. Let it sit for the full 4-6 minutes. The heat needs time to transfer.
It needs to create that dark char on the chicken. When you flip it, you should see those beautiful marks. They should be distinct lines.
If you aren’t getting good marks, check your pan’s heat. Is it hot enough? Are you moving the chicken too soon?
Sometimes, moving the chicken slightly after placing it down can help. But don’t wiggle it. Give it a slight turn, about a quarter turn.
Then leave it alone.
Another trick is to make sure the chicken is dry. Wet chicken won’t sear well. It will steam.
This prevents good browning and marks. Patting it super dry with paper towels is key. Good seasoning also helps.
The spices can catch the heat and caramelize. This adds to the color.
Don’t worry if your marks aren’t perfect every time. The most important thing is juicy, cooked chicken. The marks are a bonus.
They show you’re cooking it right. They mean you’re getting a good sear.
Tips for Extra Juicy Chicken
Dry chicken is the enemy. We all want moist, tender chicken. Here are a few more tips to ensure juiciness.
Brining: You can brine your chicken. A brine is a saltwater solution. It helps the chicken retain moisture.
You can do a dry brine too. This means just salting the chicken. Let it sit in the fridge for a few hours or overnight.
The salt draws out moisture. Then it gets reabsorbed. This seasons the chicken deeply.
It also helps it stay moist.
Don’t Overcook: This is the biggest culprit of dry chicken. Use a meat thermometer. It’s your best friend.
Cook the chicken until it reaches 165°F (74°C). Once it hits that temperature, take it off the heat immediately. Chicken continues to cook a bit after you remove it from the heat.
Resting is Crucial: I can’t say this enough. Resting the chicken allows the juices to settle back into the meat. If you cut it too soon, all those delicious juices will run onto the plate.
Tent it loosely with foil while it rests. This keeps it warm.
Use Thighs: Chicken thighs are naturally more forgiving. They have more fat. This fat melts during cooking.
It keeps the meat moist. Boneless, skinless thighs are easy to work with. They are often juicier than breasts.
Add Fat: A little bit of fat helps. When searing, use a good cooking oil. After cooking, you can add a knob of butter.
Swirl it in the pan. Spoon some of that melted butter over the chicken. This adds richness and moisture.
Juiciness Check: What to Look For
Visual: Chicken should be opaque throughout. No pink in the center.
Juices: When pierced, juices should run clear, not pink or bloody.
Texture: Tender and moist to the bite. Not dry or rubbery.
Thermometer: Internal temperature of 165°F (74°C) at the thickest part.
Real-World Context: When and Where to Pan-Grill
Pan-grilling chicken is perfect for busy weeknights. You don’t need to fire up the barbecue. It’s ideal for apartments or homes without outdoor grilling space.
The weather doesn’t matter. Rain or shine, you can enjoy grilled chicken.
Think about meal prepping. You can pan-grill a batch of chicken on Sunday. Then slice it up for salads, sandwiches, or wraps all week.
It’s a healthier alternative to deli meats. It’s also faster than cooking from raw every day.
This method is also great for smaller portions. Cooking just one or two pieces of chicken? A pan is much more efficient than a large grill.
You can control the heat precisely. This is helpful for delicate cuts or when you’re trying a new spice blend.
The key is the right heat and a good pan. You need a pan that can handle high heat. And you need to preheat it properly.
This ensures the chicken cooks quickly. It gets that lovely char. It stays juicy.
It fits into any meal plan easily.
What This Means for You
So, what does all this mean for your cooking? It means you can enjoy delicious, grilled chicken anytime. You don’t need fancy equipment.
You just need a good pan and a little patience.
When it’s normal to pan-grill? Almost any time you want grilled chicken! Especially when you want it fast.
Or when the weather is bad. Or if you live in a place where you can’t grill outside.
When should you worry? If your chicken is consistently dry. Or if it sticks to the pan every time.
This usually means the pan isn’t hot enough. Or you’re moving the chicken too soon. Or you’re overcrowding the pan.
These are fixable problems.
Simple checks you can do: Always use a meat thermometer. Make sure your pan is properly preheated. Pat your chicken completely dry.
And always, always let it rest. These steps will transform your pan-grilled chicken.
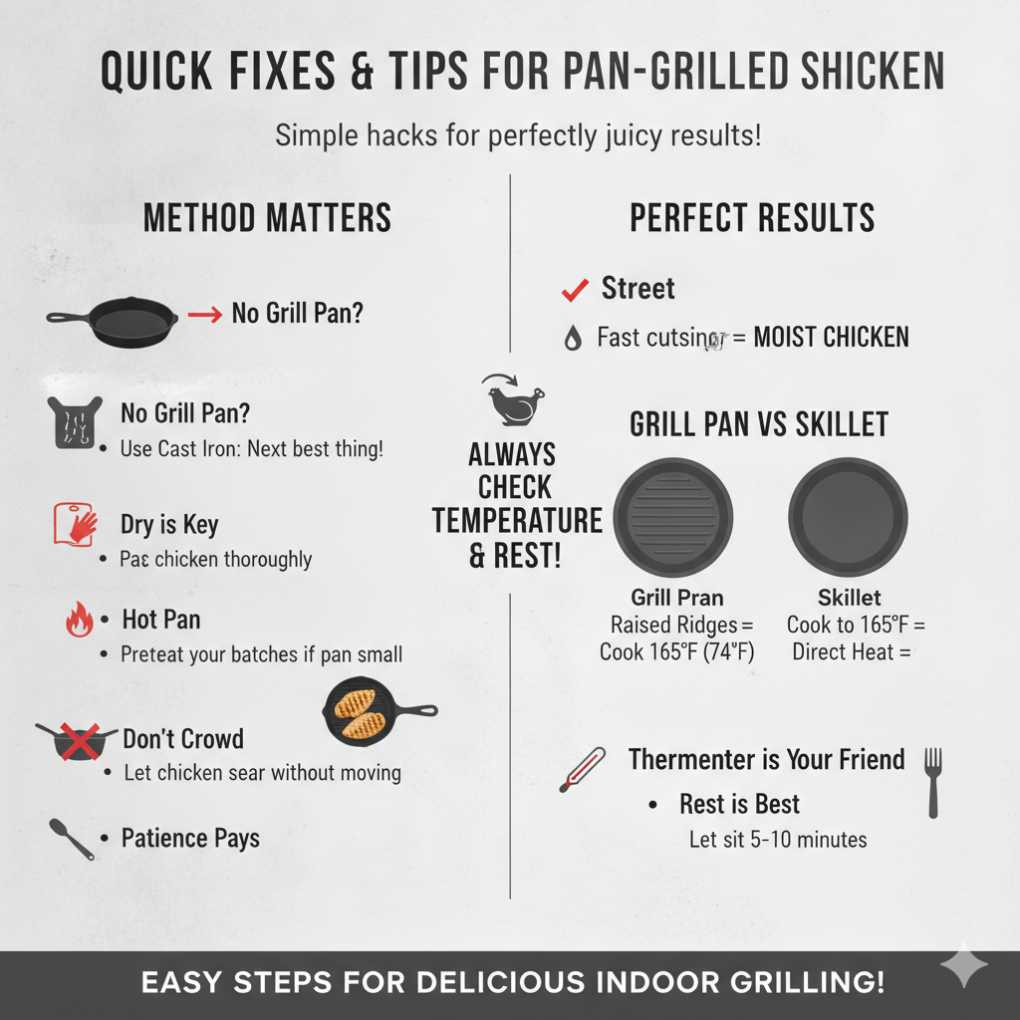
Quick Fixes & Tips for Pan-Grilled Chicken
Here are some fast tips to remember:
- No Grill Pan? Use Cast Iron: It’s the next best thing.
- Dry is Key: Pat chicken thoroughly with paper towels.
- Hot Pan, Happy Chicken: Preheat your pan well.
- Don’t Crowd: Cook in batches if your pan is small.
- Patience Pays: Let the chicken sear without moving it.
- Thermometer is Your Friend: Cook to 165°F (74°C).
- Rest is Best: Let the chicken sit for 5-10 minutes after cooking.
Frequently Asked Questions About Pan-Grilling Chicken
What kind of oil should I use for pan-grilling chicken?
Use an oil with a high smoke point. Good options include canola oil, vegetable oil, avocado oil, or grapeseed oil. Olive oil can be used, but extra virgin olive oil has a lower smoke point and might burn.
A light coating is all you need.
Can I use skin-on chicken for pan-grilling?
Yes, you can! Skin-on chicken thighs are excellent for pan-grilling. The skin will crisp up nicely.
Make sure to start with the skin side down in a hot pan. You may need to adjust cooking times to ensure the chicken is cooked through and the skin is golden and crispy.
How do I prevent chicken from sticking to the grill pan?
The most important steps are preheating the pan thoroughly and patting the chicken very dry. Use a bit of high-smoke-point oil. Once the chicken is in the pan, let it sear undisturbed for several minutes before trying to flip it.
This allows a crust to form, which naturally releases from the pan.
What if my chicken is too thick and cooks unevenly?
If your chicken breasts are very thick, pound them to an even thickness of about ¾ inch. This helps them cook through at the same rate. If you have some pieces that are thicker than others, you might need to remove the thinner pieces early to avoid overcooking them.
Can I pan-grill frozen chicken?
It’s generally not recommended to pan-grill frozen chicken directly. The outside will cook and potentially burn before the inside thaws and cooks properly. It’s best to thaw chicken completely in the refrigerator before cooking.
For quicker thawing, you can use the microwave’s defrost setting or a cold water bath.
How long does pan-grilled chicken last in the refrigerator?
Cooked chicken, properly stored in an airtight container in the refrigerator, will last for 3-4 days. Ensure it has cooled down to room temperature before refrigerating to prevent bacterial growth. Reheat gently to avoid drying it out.
Conclusion
Grilling chicken in a pan is a fantastic skill. It unlocks delicious, healthy meals. With a few simple techniques, you can get juicy results.
Perfect grill marks are within reach. Don’t let past failures stop you. Try these steps.
You’ll be making amazing pan-grilled chicken in no time. Enjoy your cooking!