How to Replace an Interior Door Knob with a Lever Handle
Replace an interior door knob with a lever by matching the existing bore size, backset, and latch type. If the door is already prepped for a standard knob, most lever sets install with only a screwdriver. Skip the compatibility check and you can end up with a loose latch, a lever that hits the trim, or a lock that will not align. This guide covers the door measurements, latch selection, room-use decisions, removal steps, and final adjustment.
Standard door prep and lock compatibility
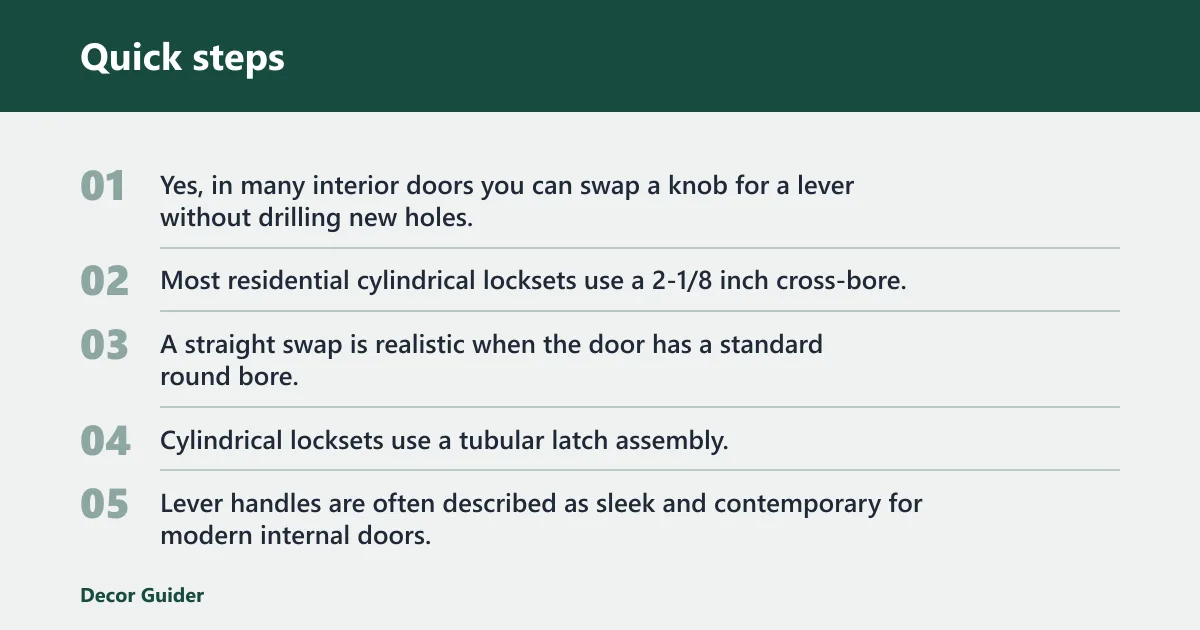

Yes, in many interior doors you can swap a knob for a lever without drilling new holes, as long as the door already has standard residential prep and the new set matches the existing bore, backset, and thickness. Most residential cylindrical locksets use a 2-1/8 inch cross-bore, with common 2-3/8 inch or 2-3/4 inch backsets and door thicknesses typically around 1-3/8 inch to 1-3/4 inch, depending on the hardware spec.
What makes a straight swap realistic?
A straight swap is realistic when the door has a standard round bore, the latch depth matches the edge prep, and the lever’s spindle or mounting pattern fits the existing opening. Cylindrical locksets use a tubular latch assembly, while mortise locks fit into a pocket in the door edge; those two systems are not interchangeable without different prep or replacement parts.
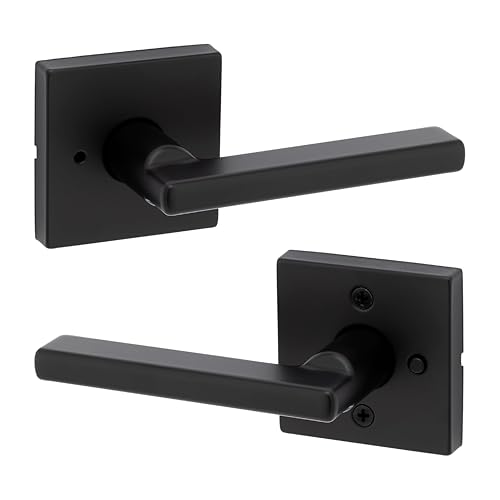
Lever handles are often described as sleek and contemporary for modern internal doors, but fit comes first. A rose style uses a round trim plate, while a backplate style uses a longer plate that covers more of the door face. Either can work if the hardware specs match the door.
When does the door need new prep or hardware?
You usually need new prep when the bore is oversize, the latch opening is wrong, the door thickness is outside the hardware spec, or the existing lock is a mortise lock. Mortise locks sit in a pocket cut into the door edge, which makes the job more complex than a standard knob or lever swap. Door-hardware references commonly distinguish mortise hardware from tubular cylindrical sets for exactly this reason.
Bathroom doors should use a handle with a built-in privacy lock or a separate thumb-turn lock. Bedroom and hallway doors usually need either a privacy lever or a passage lever, depending on whether the room needs locking.
What is the difference between passage, privacy, and dummy levers?
Passage levers latch but do not lock. Privacy levers are commonly used for bedrooms and bathrooms and latch and lock from the inside. Dummy levers are typically surface-mounted handles for closet doors or inactive panels and do not operate a latch. The wrong function is a common buying error, even when the measurements are correct.
Suppose a hallway closet has no latch and only a pull knob on one side. That door usually needs a dummy lever, not a passage lever. If you buy a latchset anyway, the extra parts may fit physically but the door will not need them.
What do you need to check before buying a lever?
Check the door measurements and room function before buying the lever set. The replacement should match the door’s backset and bore hole diameter, and the door thickness must fit the manufacturer’s range. Then confirm whether the existing latch can be reused or whether you need a new latch or strike plate.
| Room type | Existing hole pattern | Backset | Door thickness | Latch type | Privacy need | Correct lever style | New latch or strike plate? |
|---|---|---|---|---|---|---|---|
| Bedroom | Single round bore with edge latch cutout | 2-3/8 inch or 2-3/4 inch | Matches hardware spec | Spring-loaded latch with beveled bolt | Yes | Privacy lever, rose or backplate | New latch if backset or faceplate differs; strike plate if worn or misaligned |
| Bathroom | Single round bore with edge latch cutout | 2-3/8 inch or 2-3/4 inch | Matches hardware spec | Spring-loaded latch with built-in thumb-turn function | Yes | Privacy lever with privacy lock | New latch if the old one lacks privacy function; strike plate if latch rubs or misses |
| Hallway or living room passage door | Single round bore with edge latch cutout | 2-3/8 inch or 2-3/4 inch | Matches hardware spec | Spring-loaded latch | No | Passage lever | Reuse latch only if the backset and faceplate match exactly; otherwise replace it |
| Closet or inactive door | May have no latch bore | Not required | Matches hardware spec | No latch needed | No | Dummy lever | No latch; strike plate not required |
What should you measure for backset, bore, and thickness?
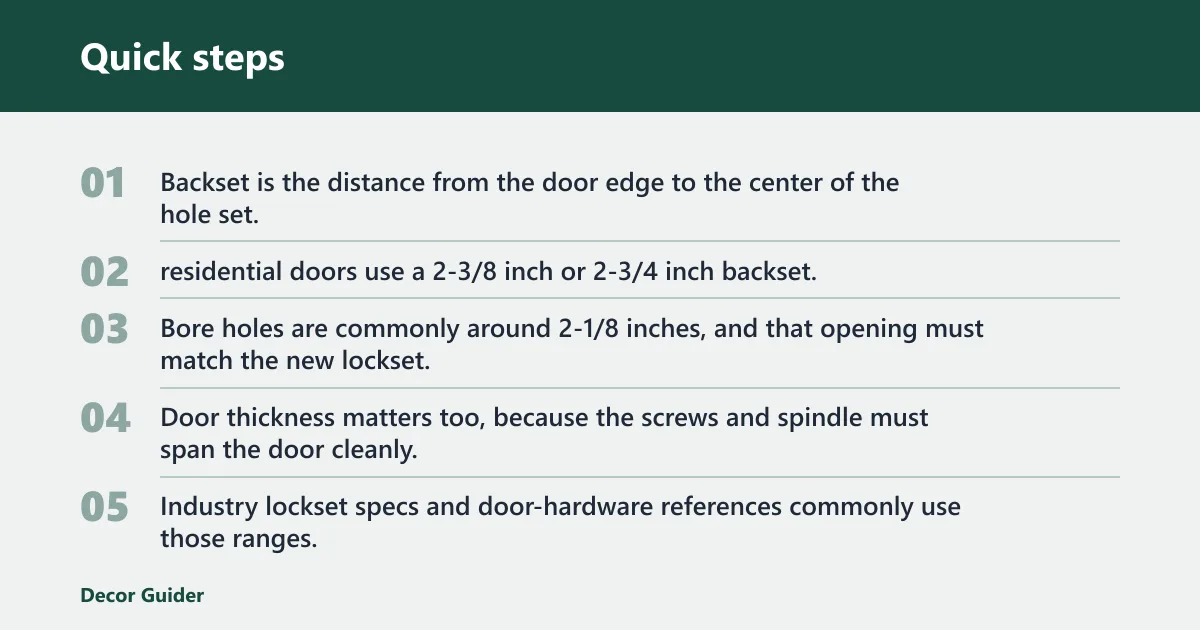
Backset is the distance from the door edge to the center of the hole set. Most U.S. residential doors use a 2-3/8 inch or 2-3/4 inch backset. Bore holes are commonly around 2-1/8 inches, and that opening must match the new lockset. Door thickness matters too, because the screws and spindle must span the door cleanly. Industry lockset specs and door-hardware references commonly use those ranges.
Measure before removal if the old hardware is already loose. If the new lever wants a thicker or thinner door than the one you have, stop and check the product spec before you buy. That prevents the common failure where the trim fits but the spindle or mounting screws do not reach correctly.
How does latch type and adjustable backset affect fit?
The latch is the spring-loaded mechanism with the door-edge faceplate. Its beveled edge should face the strike plate so the door closes smoothly. Many replacement latches have adjustable backset compatibility, but not all do. If the old latch is fixed to a different backset, replace it instead of forcing it.
Can you reuse the existing latch when changing to a lever handle? Sometimes, yes. Reuse it only if the backset, faceplate size, bolt shape, and lever spindle connection match the new set. If any of those differ, a new latch is the safer choice.
How do room type and privacy need affect the choice?
Match the lever to the room before you remove the old knob. A bedroom or bathroom usually needs privacy hardware. A passage door should not be locked. A closet that only needs a pull may need a dummy lever instead of a working latchset.
A common first-timer mistake is buying a privacy lever for a passage door because it looks similar on the shelf. The lock feature may install fine, but it adds a function the room does not need and can confuse guests or family members.
When do you need a new latch or strike plate?
Replace the latch when the backset is wrong, the faceplate no longer matches the door-edge cutout, the bolt sticks, or the old latch does not accept the new spindle. Replace the strike plate if it is worn, bent, or positioned so the lever will not latch smoothly. Small misalignment can look minor and still stop the door from closing.
What tools do you need?
You only need a small hand-tool set for most interior lever swaps. A Phillips screwdriver, flathead screwdriver, Allen key, tape measure, and chisel cover the common steps. Keep the new lever parts nearby before you start so you can compare the old hardware to the replacement as pieces come off.
Which basic hand tools cover most swaps?
- Phillips screwdriver for mounting screws and strike screws
- Flathead screwdriver for trim, tabs, or small prying points
- Allen key for set screws on some lever handles
- Tape measure for backset, bore hole, and thickness checks
- Chisel for strike plate adjustment or a slightly tight latch opening
What optional tools help with strike plate adjustment?
If the latch hits the strike plate, a chisel may be needed to deepen or square the recess slightly. A loose or worn strike plate may need new screw holes or a full replacement. Keep a pencil handy for marking the contact point before you cut anything.
What should you keep nearby before removal starts?
Set the new lever kit, the old knob parts, and the latch screws on a flat surface. That makes it easier to compare the spindle, faceplate, and screw length. If the old hardware has concealed screws or clips, a small flashlight helps you find the release points faster.
How do you remove the old doorknob?
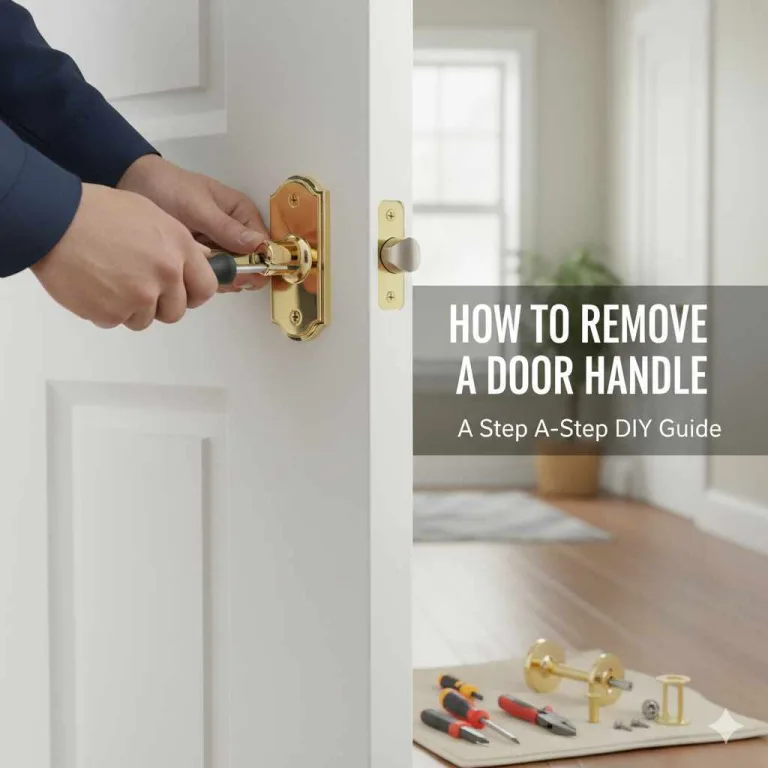
Remove the old knob by finding the hidden screws, clips, or set screws first, then separate the interior and exterior halves and slide out the spindle. After that, remove the latch assembly from the door edge. This is usually the quickest part of the project if the hardware is standard.
How do you find hidden screws, clips, or set screws?
Some knobs have exposed screws on the interior trim. Others hide them behind a decorative cover or use a small set screw under the lever or knob neck. Look for a release tab, a spring clip, or a tiny Allen-head screw before you pry harder than necessary.
How do you remove a door knob with hidden screws? Start by rotating the knob until you can see the set screw or access hole, then loosen it with the correct tool. If there is a trim ring, slip a flathead screwdriver under the edge gently and release the cover before removing the mounting screws.
How do you remove the knobs, trim, and spindle?
Once the screws are out, pull both sides of the knob away from the door and remove the spindle or connecting shaft. Keep track of any washers or trim sleeves. If the spindle is loose or bent, do not reuse it unless the new lever kit specifically accepts that part.
How do you take out the latch assembly?
Remove the two screws on the door edge faceplate and slide the latch body out of the bore. Check whether the beveled edge faced the strike plate before removal. If the latch was reversed, the old door may have closed only because the spring pressure masked the error.
How do you install the new lever handle?
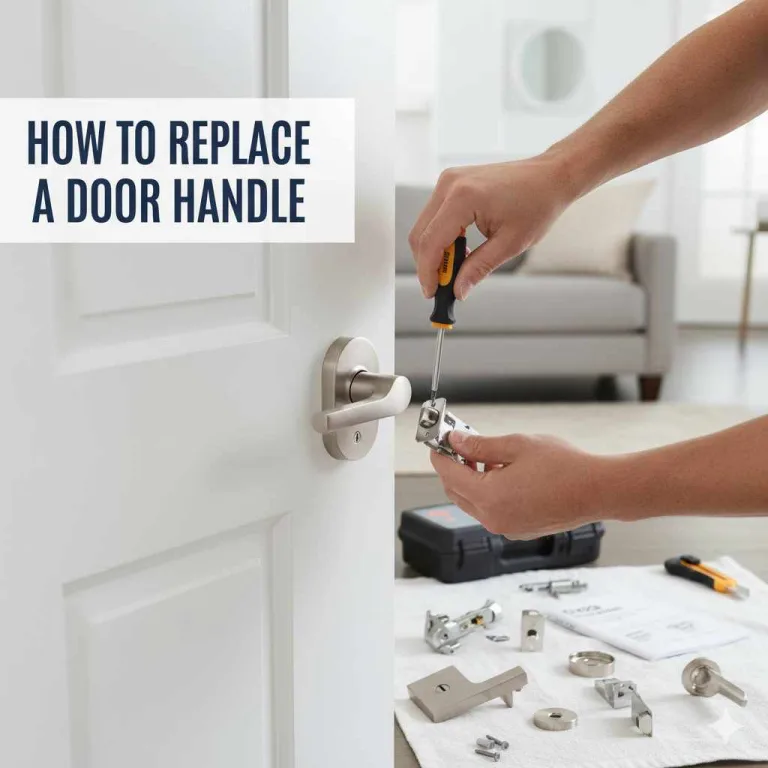
Install the new lever by setting the latch in the correct orientation, fitting the lever mechanism through the bore, and tightening the mounting screws without over-torquing them. Most lever swaps are quick when the prep already matches. The main risks are a misoriented latch, a loose spindle connection, or fasteners that strip the door.
How do you set the latch in the correct orientation?
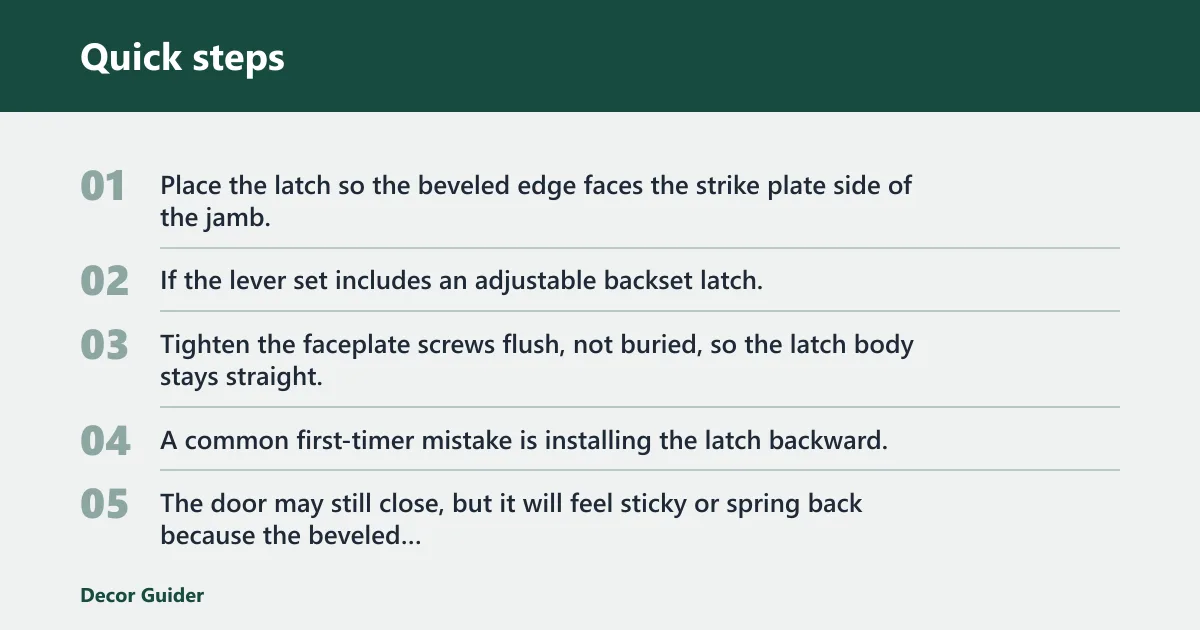
Place the latch so the beveled edge faces the strike plate side of the jamb. If the lever set includes an adjustable backset latch, set it to the matching size before inserting it into the door edge. Tighten the faceplate screws flush, not buried, so the latch body stays straight.
A common first-timer mistake is installing the latch backward. The door may still close, but it will feel sticky or spring back because the beveled edge is working against the strike plate instead of sliding into it.
How do you fit the lever mechanism and tighten the screws?
Feed the spindle or connector through the latch, then seat the interior and exterior lever halves against the door. Tighten the concealed screws or the visible mounting screws until the trim sits flat. If the set uses a concealed screw cover, snap or slide it into place after the screws are snug.
Check the lever for wobble. A loose spindle connection often means the connector did not seat fully or the set screw was not tightened on the correct flat of the spindle. Recheck that before blaming the latch.
What should you check on concealed fasteners and the spindle connection?
Some levers hide the screws under a decorative rose or a removable cover. Others rely on a side set screw that locks the lever to the spindle. If the lever feels loose after installation, back out and reseat the connector rather than forcing the handle to compensate.
How do you fix latch alignment problems?
If the new lever does not latch smoothly, check the strike plate position first, then inspect the latch orientation and screw tightness. Minor alignment issues are common after a knob-to-lever swap. If the door still drags, the strike opening may need a small chisel adjustment or a worn plate may need replacement.
How do you check strike plate position and wear?
The strike plate is the frame-mounted metal plate that receives the latch. If it sits too high, too low, or too far in or out, the door will scrape or fail to latch. Worn screw holes in the jamb can let the plate shift even when the screws are tight.
How do you adjust the strike opening if needed?
Mark where the latch contacts the plate, then open the mortise slightly with a chisel only as much as needed for smooth entry. If the plate is bent or the opening is badly worn, replace it instead of enlarging the cutout again and again. A clean fit should not require force.
Why won’t my new lever latch line up with the strike plate? The most common reasons are the wrong backset, a reversed latch, loose strike screws, or a worn strike plate that has shifted in the jamb. Door sag or old screw holes can also move the latch just enough to stop a clean catch.
How do you troubleshoot loose screws, reversed latch, and door drag?
Check for stripped screw holes in the knob or lever mounts, because they let the assembly shift under use. If the spindle is loose, the lever may turn without fully retracting the latch. If the door drags on the frame, fix that before chasing the strike plate, or the misalignment will keep coming back.
What should you do if the lever sags or rubs the trim?
Check fit points in this order: mounting screws, spindle seating, latch orientation, then trim clearance. Lever sag usually points to a loose connection or worn screw holes, while rubbing often means the rose, backplate, or lever arm is too close to the casing. Small adjustments usually solve it before replacement is needed.
What causes lever sag?
Lever sag usually comes from loose mounting screws, a poorly seated spindle, or worn screw holes in the door. If the hardware can shift under pressure, the handle may droop even though it looked fine at install. Tighten fasteners first, then check whether the door material has stripped enough to need filler or longer screws.
What causes latch rub?
Latch rub often means the strike plate opening is too tight, the latch is slightly misaligned, or the door is dragging on the frame. If the lever works by hand but binds when the door closes, the latch or strike opening is usually the contact point. Mark the rubbing area before changing the cutout.
What if your door is older or has a mortise lock?
Older doors and mortise locks are not standard knob-to-lever swaps. A mortise lock sits in a pocket cut into the door edge, and that hardware is generally more complex than a standard lever replacement. If the door uses mortise hardware or unusual prep, stop and evaluate before buying a residential passage or privacy lever.
When should you stop and call a locksmith?
Stop when the lock body disappears into a deep edge pocket, the faceplate shape is unusual, or the existing trim covers a larger mortise opening than a standard cylindrical lockset. That usually means the door needs a mortise-compatible replacement or a professional assessment, not a simple lever kit.
What if my door is older or has a mortise lock? Treat that as a different project. A mortise system can require a matching case, faceplate, and trim set, and it may not accept a modern tubular lever without additional repair to the door edge or bore.
What should you do first, next, and last?
Start with measurements, move to hardware matching, then install and test before you call the job done. That order reduces return trips and keeps the swap simple. If the latch or lever does not feel right at the end, stop and correct alignment before the screws strip or the trim gets damaged.
- Measure the backset, bore diameter, and door thickness.
- Confirm the room function: passage, privacy, or dummy.
- Buy a lever with the right latch type and faceplate style.
- Remove the old knob, spindle, and latch assembly.
- Install the new latch with the bevel facing the strike plate.
- Mount the lever halves and tighten the fasteners evenly.
- Close the door, test the latch, and adjust the strike plate if needed.
How do you troubleshoot common symptoms?
Use the symptom to narrow the cause before changing parts. Lever problems usually come from fit, orientation, or strike alignment rather than the lever body itself. A simple check list can save time: look for sag, rub, hidden fasteners, and the latch-to-strike relationship before replacing hardware unnecessarily.
| Symptom | Likely cause | Fix |
|---|---|---|
| Lever sag | Loose mounting screws, loose spindle, stripped screw holes | Tighten screws, reseat spindle, repair stripped holes if needed |
| Latch rub | Strike opening too tight, latch misaligned, door dragging | Mark the contact point, adjust the strike plate, and correct door drag first |
| Hidden screw removal stalls | Cover ring, set screw, or clip not fully released | Use the correct tool, locate the release point, and remove the trim before prying further |
| Strike misalignment | Wrong backset, reversed latch, shifted strike plate | Verify measurements, flip the latch if needed, and reset the strike plate position |
Frequently asked questions
How do I replace an interior door knob with a lever handle?
Measure the backset, bore hole, and door thickness first, then buy a lever set that matches the room function and latch type. Remove the old knob, slide out the latch, install the new latch with the beveled edge facing the strike plate, and tighten the lever halves until they sit flat.
Can I replace a doorknob with a lever without drilling new holes?
Often, yes. If the door already has a standard round bore and the new lever matches the backset and thickness, you usually do not need new holes. You may still need a new latch or small strike plate adjustment if the hardware dimensions differ.
How do I know if a lever handle will fit my door?
Match three things: backset, bore hole diameter, and door thickness. Standard bore holes are commonly around 2-1/8 inches, and most U.S. residential doors use a 2-3/8 inch or 2-3/4 inch backset. If any of those differ, compare the lever’s spec sheet before buying.
What backset do I need for an interior lever handle?
Most U.S. residential doors use a 2-3/8 inch or 2-3/4 inch backset. Measure from the door edge to the center of the bore. Then buy a lever latch that matches that size or has adjustable backset settings that fit both common sizes.
What tools do I need to change a door knob to a lever?
A Phillips screwdriver, flathead screwdriver, Allen key, tape measure, and chisel cover most interior swaps. The screwdriver removes the hardware, the tape measure confirms fit, and the chisel is for any strike plate adjustment. Keep a flashlight nearby if the screws are concealed.
How long does it take to replace an interior door handle?
Standard replacements can take 10 to 20 minutes per door. If holes or the latch need changing, time may rise to 30 to 45 minutes. Older doors, hidden screws, or a strike plate adjustment can add a little more time, especially if the fit is tight.
Products related to this article
Sponsored / affiliate links. As an Amazon Associate I earn from qualifying purchases. I may earn additional commission from eligible campaigns.