How to Fix a Painted Door That Sticks
If a painted door sticks, the fastest fix is to check for fresh paint buildup at the exact rub point before you sand, plane, or adjust hardware. Use a business-card test at the edge and hinge checks first; if the gap is gone at one spot, paint drag, hinge sag, or strike misalignment is usually the real cause, not a bad door. Leaving it alone can chip the jamb and turn a small bind into a bigger fit problem.
Common causes of door sticking after painting


A painted door usually sticks because the finish has reduced clearance at the edge, or because hardware and wood movement have changed the door’s position. Fresh coats, paint drips, loose hinges, and seasonal swelling can all create the same symptom, so the first step is to identify where the rub begins rather than trimming wood right away.
Fresh paint on the edges
Edge buildup is one of the most common reasons a door binds after repainting. Paint often lands heaviest on the latch edge, top edge, and bottom edge, and even a thin ridge can close up the reveal enough to cause drag. That is why a door may stick immediately after painting instead of months later.
Paint drips and high spots
A drip on the hinge side or a ridge near a corner can act like a stop. If the paint is still soft, it may mark or smear; if it has cured, it can leave a shiny rub line at the contact point. Either way, the high spot matters more than the rest of the finish.
Seasonal swelling versus finish buildup
Humidity and temperature changes can make wood swell and shrink, so a door may stick during humid weather and loosen when conditions dry out. That seasonal movement is most noticeable on solid wood doors, but any door can bind if the painted edges are already tight and the weather adds a little more expansion.
Painted door sticking diagnosis matrix
Use this table to separate paint drag from hinge sag, strike misalignment, and seasonal swelling. Start with the symptom you see, then choose the least aggressive fix first. If the problem may be hardware or weather-related, do not plane yet.
| Symptom | Likely cause | Fastest fix | Finish-safe follow-up |
|---|---|---|---|
| Fresh paint on edges | Paint layers are closing up the gap around the latch edge, top edge, or bottom edge | Score the paint line, then sand the high spot with fine grit | Seal the exposed edge again before full touch-up |
| Latch-side drag | Strike plate opening is off, or the latch edge has paint buildup | Check latch alignment and file the plate opening slightly | Touch up bare metal or wood after the fit is corrected |
| Top-corner rub | Top hinge is carrying too much load, or the door has sagged | Tighten hinge screws and check for stripped holes | Repair screw holes before trimming the edge |
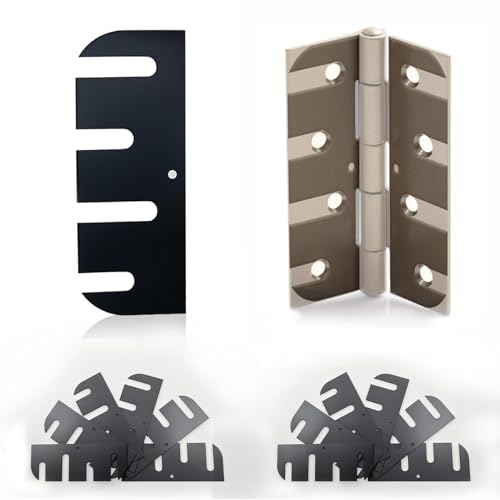
| Hinge-side bind | Loose hinges, stripped screw holes, or hinge misalignment | Use longer screws or repair the holes with wood glue and a filler shim | Recheck the reveal before removing material from the slab |
| Seasonal swelling | Wood has expanded with moisture, often in summer | Wait for the driest practical conditions, then correct the tight spot | Seal all edges after any trimming so moisture enters more slowly |
| Do not plane yet | The problem may be paint drag, hinge sag, or strike misalignment | Inspect paint buildup, screw tightness, and latch fit first | Only cut wood after the cause is confirmed |

How do you tell paint drag from hinge trouble?
Check the rub point first, then compare the door’s reveal around the frame. Paint drag usually shows up as a fresh shiny line, a ridge on the edge, or a problem that appeared right after painting. Hinge trouble usually shows up as uneven gaps, loose screws, or a top-corner rub that gets worse as the door swings.
Check the rub marks and gap pattern
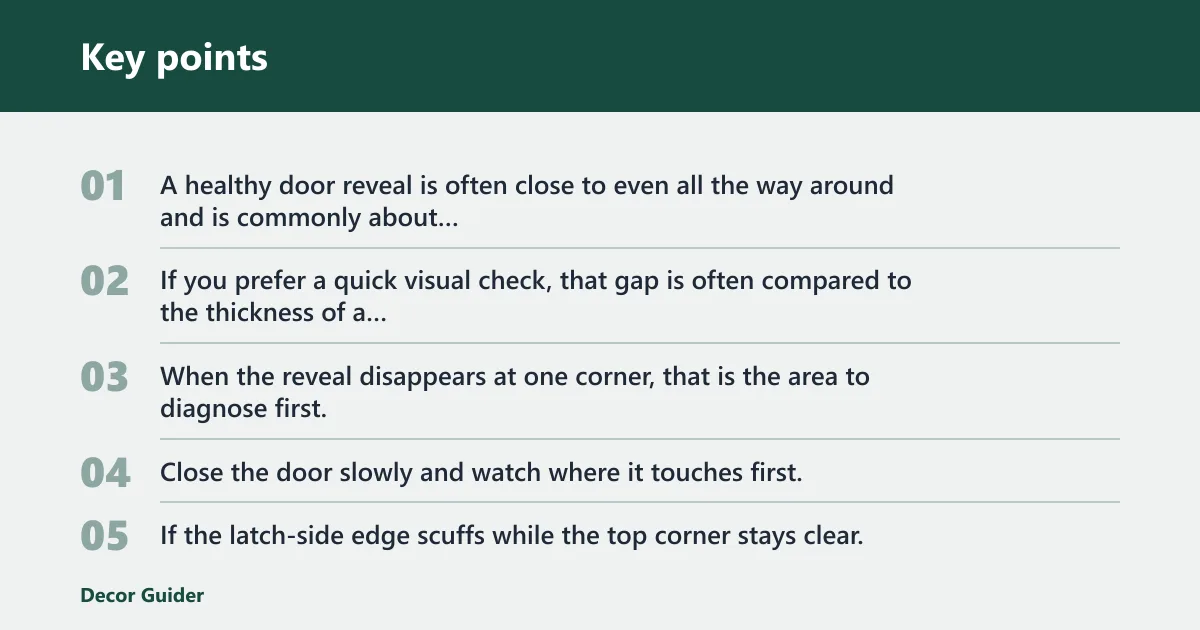
The painted edge clearance tells you a lot. A healthy door reveal is often close to even all the way around and is commonly about 1/8 inch to 3/16 inch. If you prefer a quick visual check, that gap is often compared to the thickness of a nickel. When the reveal disappears at one corner, that is the area to diagnose first.
Close the door slowly and watch where it touches first. If the latch-side edge scuffs while the top corner stays clear, the strike or latch edge is the likely problem. If the top corner rubs and the lower hinge side looks wide open, hinge sag is more likely than paint alone.
Look for loose screws and stripped holes
Loose hinge screws can let the slab shift enough to create a rub that looks like a paint problem. The top hinge carries most of the door’s weight, so even a small amount of play there can move the whole door. Check both hinge leaves before you remove any edge material.
If a screw spins without biting, the hole may be stripped. A common repair is to pack the hole with a wood splinter or toothpick, add wood glue, let it set, then re-drill a pilot hole. For hinge screws that need a deeper hold in the framing, longer replacement screws can reach more solid backing and improve pull-in.
Test the latch and strike plate
If the door closes but will not latch without lifting or pushing hard, the strike plate may be off by a small amount. A minor mismatch can often be corrected by filing the opening slightly. If the miss is larger, move or reposition the plate instead of forcing the latch through paint buildup or wood.
If the door closes fine at one time of day but binds later, moisture change may be part of the issue. In that case, the reveal usually narrows on the lock side, and the paint edge may not show a heavy ridge. Hardware still matters, but humidity is the clue that keeps you from over-trimming the slab.
Should you sand or plane the door?
Use sandpaper for small sticking spots and a hand plane for a higher area that needs controlled removal beyond abrasion. Start with the least aggressive fix that matches the size of the bind. Once you remove too much wood, the repair becomes a visible fit problem instead of a simple paint correction.
Use sandpaper for minor sticking
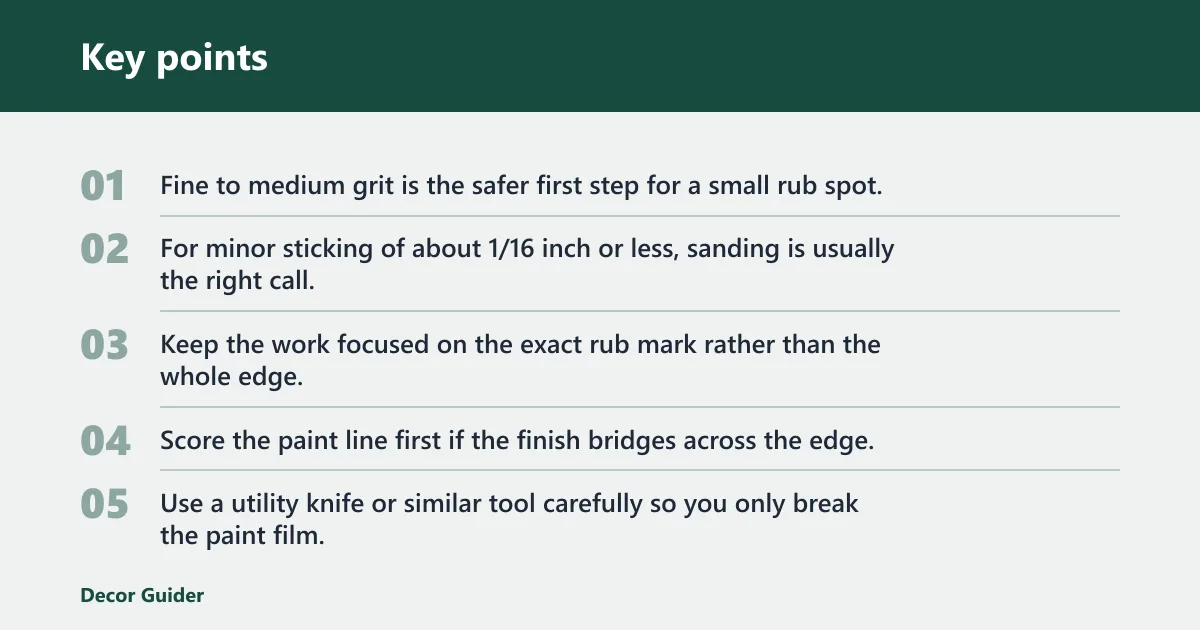
Fine to medium grit is the safer first step for a small rub spot, especially if the paint ridge is thin or the contact area is narrow. For minor sticking of about 1/16 inch or less, sanding is usually the right call. Keep the work focused on the exact rub mark rather than the whole edge.
Score the paint line first if the finish bridges across the edge, then sand in short passes. Use a utility knife or similar tool carefully so you only break the paint film, not gouge the wood beneath it. A good sanding range for minor buildup is roughly 120- to 180-grit, then test the fit after each small pass so you do not create a low spot or visible flat.
Use a hand plane for high spots
A hand plane is the better tool when the edge is high in one area and sanding would take too long or leave the surface wavy. For moderate sticking of about 1/16 to 1/8 inch, controlled planing is often faster and cleaner than prolonged sanding. It is still a precision task, not a full edge reshape.
Work in small passes and test-fit frequently. After each pass, close the door and check the rub point again. Stop before the fit becomes obviously loose or the reveal starts to look uneven, because taking off too much material is harder to hide than the original bind.
When to stop and reseal the edge
Stop as soon as the door swings cleanly with a consistent gap around the frame. The goal is a smooth, quiet fit, not bare wood removal for its own sake. After trimming or sanding, prime or seal the exposed wood before the final paint touch-up so the repair does not telegraph through later.
A common mistake is sanding until the door feels free and then leaving the new wood exposed. That invites moisture into the same edge you just corrected. If the door is exterior, sealing matters even more because the finish has to resist repeated weather changes.
How do you fix hinge-side sag?
Hinge-side sag usually starts with loose screws, worn holes, or a hinge carrying more load than it should. Tighten the hinge screws first, then repair stripped holes if the screws do not bite. If the door still drops, a shim behind the lower hinge can help straighten the slab.
Tighten the hinge screws first
Check the top hinge first because it carries most of the door’s weight. Loose screws there can pull the slab out of alignment and make the opposite side rub. Tightening the screws is quick, and it often restores enough position to stop a minor bind.
If the screws are short and the holes are sound, longer replacement screws can improve grip. For stripped hinge holes reaching into the framing, a common recommendation is to use about 3-inch screws. That deeper bite can pull the jamb back into alignment when the problem is in the support rather than the painted edge.
Repair stripped screw holes
When screws spin, the hole needs repair before anything else. One common method is to plug stripped hinge holes with a wood splinter and wood glue. After the glue sets, re-drill a pilot hole so the screw goes in straight and does not split the jamb.
If the hole is only slightly worn, a toothpick shim can work as a fast filler. Use enough pieces to make the screw bite firmly, but do not pack the hole so tightly that the screw threads crush the wood again during installation.
Use longer screws or a shim
Longer replacement screws help when the hinge leaf needs a deeper hold. A shim behind the lower hinge can also correct a door that has dropped at the latch corner. A shim changes the door’s position at the hinge line, which can fix the reveal without removing any finish from the edge.
Use the shim only after you have confirmed the door is sagging rather than simply sticking on paint. If the top corner rubs and the hinge screws are loose, a shim can help straighten the slab before any trimming is needed.
How do you fix latch-side rubbing?
Latch-side rubbing usually means the strike plate and latch are not meeting squarely, or the edge paint is too thick at the contact point. Start with the hardware, because a small plate adjustment may solve the issue without removing wood. If the miss is larger, move the plate instead of forcing the latch through the opening.
File the strike plate opening slightly
If the latch hits the plate but does not enter freely, file the opening a little at a time. This is the right move when the miss is small and the door otherwise hangs straight. A light adjustment protects the painted edge from unnecessary cutting.
Work in tiny steps and test the latch after each pass. If the latch suddenly closes without pressure, stop there. Filing too much creates a loose fit that can rattle and make the door feel less secure.
Move the strike plate if the miss is larger
When the latch is clearly too high, too low, or too far off center, repositioning the strike plate is better than enlarging the opening. That fixes the alignment instead of hiding it. If the door needs lifting or shifting to catch, the hinge side is often involved too.
Before you move the plate, check whether the latch-edge paint is thick enough to be the real obstruction. A heavy paint ridge can mimic a bad strike. Remove that buildup first if the plate itself already lines up closely with the latch.
Check edge paint thickness before cutting wood
The painted edge can be the whole problem on latch-side rubs. Fresh coatings, drips, and lap marks narrow the clearance and make the latch feel off even when the frame is square. Scrape or sand that buildup before you file the plate or remove wood from the slab.
Think of the edge finish as part of the fit, not a separate layer you can ignore. If you cut wood first and the paint was the real issue, the door may end up with a gap that is too large once the finish is cleaned up.
After the fit is corrected, the repair has to be sealed so the same problem does not return. Trimmed edges need protection, touch-up paint should match the repaired area, and the door should be watched through weather changes if moisture was part of the cause.
Seal all trimmed edges
Any exposed wood should be primed or sealed after sanding or planing. That includes the top, bottom, and side edges, even if only one corner was trimmed. Sealing slows moisture movement and helps keep the door from swelling back into the jamb.
This matters on both interior and exterior doors, but front doors face more weather swings. Exterior paint and edge sealing help limit the effect of humidity and rain exposure. Interior doors still need sealing if the cut edge is left bare.
Match touch-up paint to the repair
Touch-up should cover the exact area that was worked, not the whole edge unless the whole edge was sanded. Spot-prime bare wood first, then apply finish paint so the repaired section blends cleanly. That keeps the fix from showing as a dull patch or a raw stripe.
If the door has a visible gloss level, match that as closely as possible. A repaired edge with the wrong sheen can stand out even when the fit is perfect. On a white door, that mismatch is often more obvious than the trim work itself.
Watch for humidity and recurring swelling
Humidity and temperature changes can make wood swell or shrink, and seasonal humidity is a common reason doors stick again after a proper repair. If the door tightens only in humid months, the fix may need a moisture-aware follow-up, not more trimming.
Say your bedroom door clears in winter but rubs at the top corner every July. That pattern points to seasonal swelling, not a one-time hardware fault. In that case, seal the edges well, confirm the hinges stay tight, and wait for the drier season before removing more material.
Frequently asked questions
How to fix a door that sticks due to paint
If paint is the cause, remove only the buildup that blocks the gap. Fine to medium sandpaper works for small spots, while a hand plane is better for a larger high area. Repaint or prime the trimmed section so the bare edge does not absorb moisture and swell again.
Should I sand or plane a painted door that sticks?
Sand for a small rub or a paint ridge that only needs minor cleanup. Plane when the high spot is larger or sanding would take too long. For reference, minor sticking is usually treated with sanding at about 1/16 inch or less, and planing is used when the bind is roughly 1/16 to 1/8 inch.
How do I tell if a door sticks because of paint or hinges?
Paint drag usually leaves a shiny rub line, a ridge at the edge, or a spot that appeared right after painting. Hinge trouble often shows as a sagging reveal, loose screws, or a top-corner bind. If the latch misses too, check the strike plate and hinge alignment together.
Products related to this article
Sponsored / affiliate links. As an Amazon Associate I earn from qualifying purchases. I may earn additional commission from eligible campaigns.