How to Paint a Door Without Brush Marks
Use a 4–6 inch mini-roller with a microfiber or mohair cover and a 1/4-inch nap on flat sections, plus a high-quality 1.5–2.5 inch angled sash brush for profiles and edges. Keep the edge of the wet paint moving, and sand lightly between coats. On flat interior doors, spray or roll-and-tip is commonly reported to give the smoothest finish. Skip those steps and brush marks, roller stipple, lap marks, and sagging can stay visible under every coat. This guide gives the exact sequence, tool choices by door type, and fixes for defects already on the surface.
What causes brush marks on doors?


Brush marks usually come from too much paint, too much pressure, or paint that starts to set before you level it. On doors, the problem shows up fastest on smooth surfaces, around latch edges, and on raised profile details where the brush is dragged back and forth too long.
Sheen and drying speed matter. Semi-gloss shows flaws more clearly than flatter finishes, while fast surface skinning makes brushing harder to level out. A waterborne acrylic enamel is a strong interior-door option, and acrylic-alkyd or alkyd door enamels can also work when matched to the primer and drying window.
Why flat, paneled, wood, and metal doors behave differently
Flat doors are the most unforgiving because there is nowhere for texture to hide. Paneled doors add corners, rails, stiles, and panel edges that collect paint if you load the brush heavily.
Wood can soak up primer unevenly, especially on patches and end grain. Metal doors are different: the surface is smooth, so brush marks, deglossing misses, and old ridges show quickly, and rust-inhibiting primer matters before any enamel topcoat goes on.
Should you remove the door first?
Remove the door when you need the smoothest possible finish, want to paint both sides, or need better control over drips and runs. Painting in place can work for interior doors and many front doors, but you still need room to keep the door slightly ajar while the finish cures.
When to paint off the hinges
Take the door off for flat interior slabs, heavily marked doors, or any job where both edges and faces need full access. Family Handyman recommends laying the door flat to avoid drips and runs, and that approach also makes tipping off and sanding between coats easier.
When painting in place works better
Painting in place is practical when the door is heavy, the hinges are tight, or the door must stay in service. That choice is common for entry doors and many interior doors with good clearance, but you need to protect the floor, avoid closing the door too soon, and work the latch-side edge carefully.
How to handle edges, knobs, and latch-side buildup
Paint the top, bottom, and latch edge lightly, and watch for ridges near the knob and latch where a brush tends to overload. If hardware stays on, mask it cleanly. If hardware comes off, keep the edge coat thin so the door still closes without sticking after cure.
Prepare the surface for a smooth coat
Clean first, then scuff-sand, fill defects, and prime. That order matters because dust, gloss, dents, and patch edges all telegraph through the finish. On a full-door color change, priming the whole door helps avoid blotchiness.
Clean, scuff-sand, and degloss glossy spots
Wash grease and dirt from high-touch areas near the knob and latch, then scuff-sand glossy spots with 150–180 grit. If the old coating is shiny or slick, degloss those areas so the primer can bite instead of skating across the surface.
Fill dents and sand patches flush
Fill dings, nail holes, and shallow dents, then sand the repair flat so the patch edge does not print through the topcoat. For dried brush marks, scraping cleanup, or stubborn ridges, about 120 grit is commonly used as the better repair grit before the area is refined again.
Prime bare wood, stains, glossy areas, and metal
Use a bonding primer on glossy finishes and problem spots, a stain-blocking primer on stains or tannin bleed, and a gray-tinted primer when the color change is dramatic. Bare wood, patches, and metal all need primer; metal also needs rust-inhibiting primer before an enamel topcoat.
- Remove hardware or mask it cleanly.
- Clean the door and let it dry fully.
- Scuff-sand with 150–180 grit.
- Repair dents and sand them flush.
- Prime bare wood, stains, glossy areas, or metal.
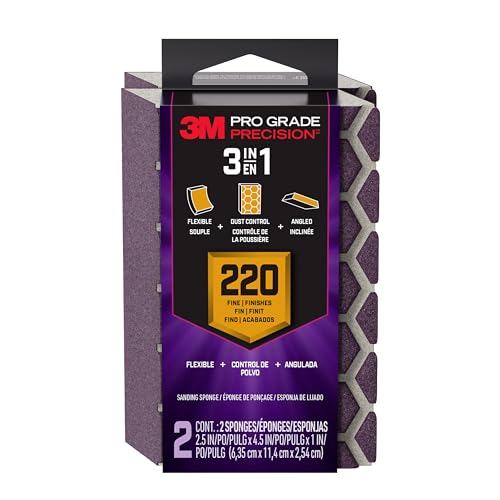
- Sand primer lightly with 220 grit.
Which paint and tools work best?
Choose a door enamel that flows long enough to level before it sets. Waterborne acrylic enamel is a strong interior choice, while acrylic-alkyd and alkyd versions can also produce a harder-wearing finish when the product label and primer are compatible. Satin or semi-gloss are the common sheen picks for doors.
Use an angled sash brush on profiles and edges
A 1.5–2.5 inch angled sash brush is the right tool for panel profiles, corners, and cut lines. Load it lightly, follow the grain, and stop brushing once the paint starts to drag. Quality matters more than speed because overworking the film is what leaves ridges.
Use a mini-roller on flat sections
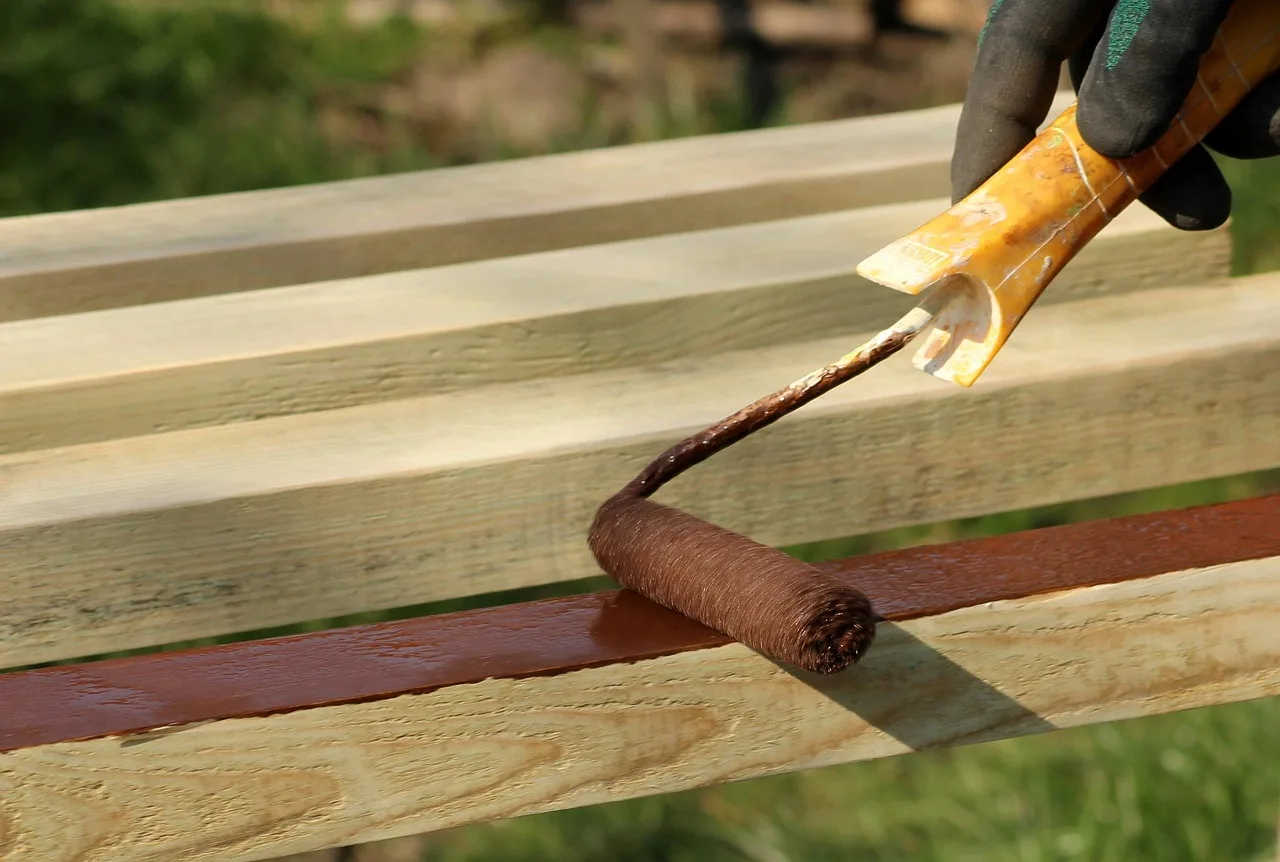
A 4–6 inch mini-roller is recommended for large flat areas. For smooth finishes, pair it with a microfiber or mohair cover and about a 1/4-inch nap. Roll on the paint, then tip off lightly with the angled brush to reduce stipple and roller texture.
| Door type | Best tool sequence | Paint and prep notes |
|---|---|---|
| Flat interior door | 4–6 inch mini-roller, then light brush tipping-off | Scuff-sand with 150–180 grit; use waterborne acrylic enamel or acrylic-alkyd; lay flat if possible |
| Paneled interior door | 1.5–2.5 inch angled sash brush for panels, rails, and stiles | Prime full door if color change is large; sand primer with 220 grit; paint panels first |
| Wood door | Brush for profiles, mini-roller for broad faces | Use bonding primer on glossy patches and stain-blocking primer on stains; fill and sand repairs flush |
| Metal door | Mini-roller on flats, brush only where needed | Degloss first, then rust-inhibiting primer; smooth surface shows brush marks easily; use compatible enamel topcoat |
| Front door | Brush and mini-roller, or paint in place with careful tipping-off | Use exterior-rated finish with weather and UV resistance; avoid direct sun during application |
Paint the door in the right order
The order decides whether the wet edge stays open long enough to level. For paneled doors, start with the panels, then move to the horizontal rails, then the vertical stiles. On flat doors, keep the coat even and avoid revisiting sections after the paint starts to set.
Order for paneled doors
Brush the panels first, then the horizontal rails, then the vertical stiles. Keep the brush lightly loaded and work one section at a time so wet paint does not collect in the corners. Finish by checking the latch-side edge and the top and bottom edges for excess paint.
Order for flat doors
Roll a thin coat over the face, then tip off in one direction with the brush. If the door is flat and removed from the hinges, laying it horizontal helps the coat level and limits runs. Keep the passes long and consistent.
How to tip off and keep a wet edge
Tip off before the paint begins to drag, using light pressure and long strokes that follow the grain. Work from one wet section into the next without pausing at the middle of the door. If the finish starts to tack, leave it alone and let the recoat window do the leveling work.
Say your paneled bedroom door already has a ridge near the latch edge. Sand the ridge with 120 grit until it is flush, then recoat that area with a light brush load and tip off once. If you keep brushing the same spot, the ridge usually comes back thicker than before.
How to fix brush marks, roller stipple, and sags
Fix the defect you can see, not the whole door by default. Brush marks usually need sanding and a thinner, better leveled coat. Roller stipple points to the wrong nap, too much pressure, or paint that is too thick for the surface. Sags need a cleanup pass before the next coat.
When to sand and repaint
If the paint is dry and the flaw is raised, sand it back before recoating. Family Handyman advises sanding with 180- or 220-grit paper between coats.
Which grit to use for each defect?
Use 120 grit when the defect is hard and obvious, such as a dried ridge or a drip edge. Use 150–180 grit when you are dulling a slick surface or breaking the texture without cutting through. Use 220 grit after primer and between coats to smooth the finish before the next application.
Suppose a metal entry door has fine roller texture across the center panel after the first coat. Let it dry fully, scuff with 220 grit, switch to a 1/4-inch nap cover, and apply a thinner second coat. That change usually helps the enamel level without leaving the stipple pattern behind.
How to correct a finish that is already dry
For dry brush marks, sand until the peaks are flattened, remove the dust, and repaint with a lighter load. For sagging, let the paint harden first, shave the run carefully, then feather the area with fine-grit paper before recoating. Touch dry is not the same as ready to recoat.
Door finish troubleshooting matrix
Use this table when the door already has a flaw. Match the door type to the visible defect, then follow the exact prep, tool, grit, and recoat timing for that finish.
| Door type | Visible defect | Exact fix |
|---|---|---|
| Flat interior door | Brush marks in the center | Sand with about 120 grit to flatten the ridges, scuff with about 220 after primer if needed, then roll a thin coat with a 4–6 inch mini-roller and tip off lightly; recoat after about 4–6 hours or longer if the room is humid. |
| Paneled wood door | Paint buildup in panel corners | Scrape excess, sand with 150–180 grit, prime the full door with bonding or stain-blocking primer as needed, then brush panels first with a 1.5–2.5 inch angled sash brush; allow the coat to dry before closing |
| Wood door | Blotchy patches or telegraphed repairs | Spot-prime will usually leave tone differences; prime the whole door, then sand primer with 220 grit and use two thin enamel coats; use gray-tinted primer for major color changes |
| Metal door | Brush lines over a smooth panel | Degloss the surface, apply rust-inhibiting primer, sand primer with 220 grit, then use compatible enamel in thin coats; use the roller on broad areas and keep the brush for edges only |
| Front door | Lap marks and quick skinning | Work out of direct sun, use exterior-rated enamel with weather and UV resistance, keep the door slightly ajar while curing, and extend drying time in cold or humid conditions before a second coat |
Room-condition checklist for dry time
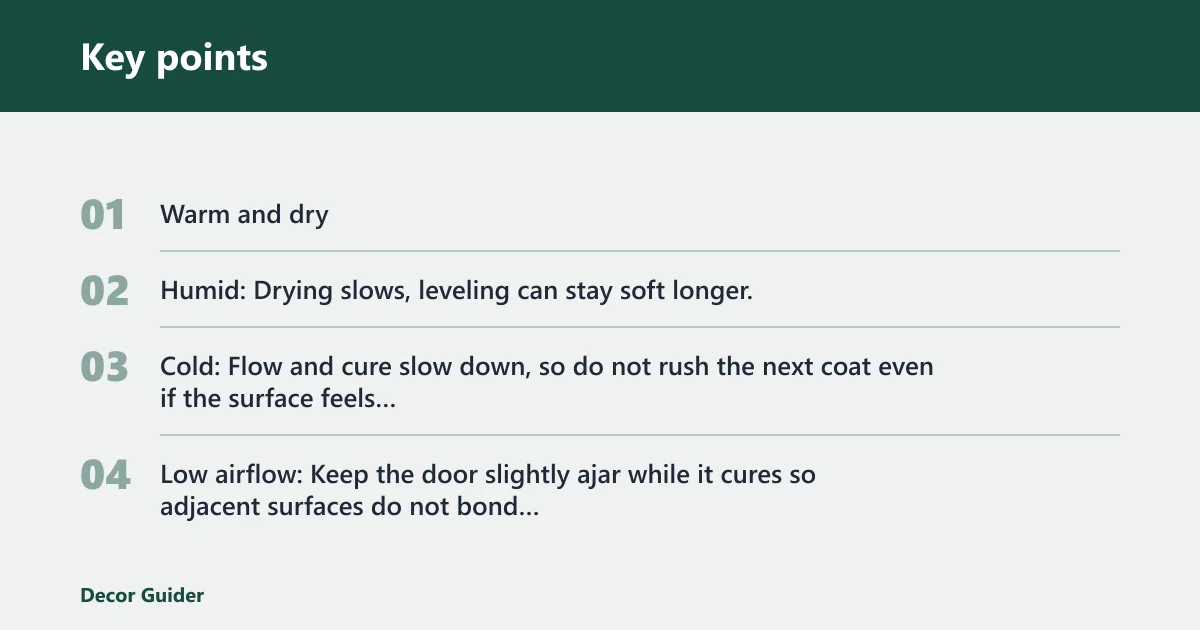
- Warm and dry: Expect better leveling, but still wait for the full recoat window before adding another coat.
- Humid: Drying slows, leveling can stay soft longer, and a touch-dry door may still be easy to dent or stick.
- Cold: Flow and cure slow down, so do not rush the next coat even if the surface feels dry to the touch.
- Low airflow: Keep the door slightly ajar while it cures so adjacent surfaces do not bond together.
Products related to this article
Sponsored / affiliate links. As an Amazon Associate I earn from qualifying purchases. I may earn additional commission from eligible campaigns.
 JMI BASIC Pre-Taped Masking Film Sets - Multi Pack, Orange Tape and Drape Painters Plastic Sheeting for Painting, High Visibility Paint Plastic Covering Overspray Protection - 65 Feet (3, 59 Inch)
 SOUJAP 8 Roll Pre Taped Masking Film, 5 x 65 Feet Plastic Covering Dust Tape and Drape for Painting, Furniture, Appliance