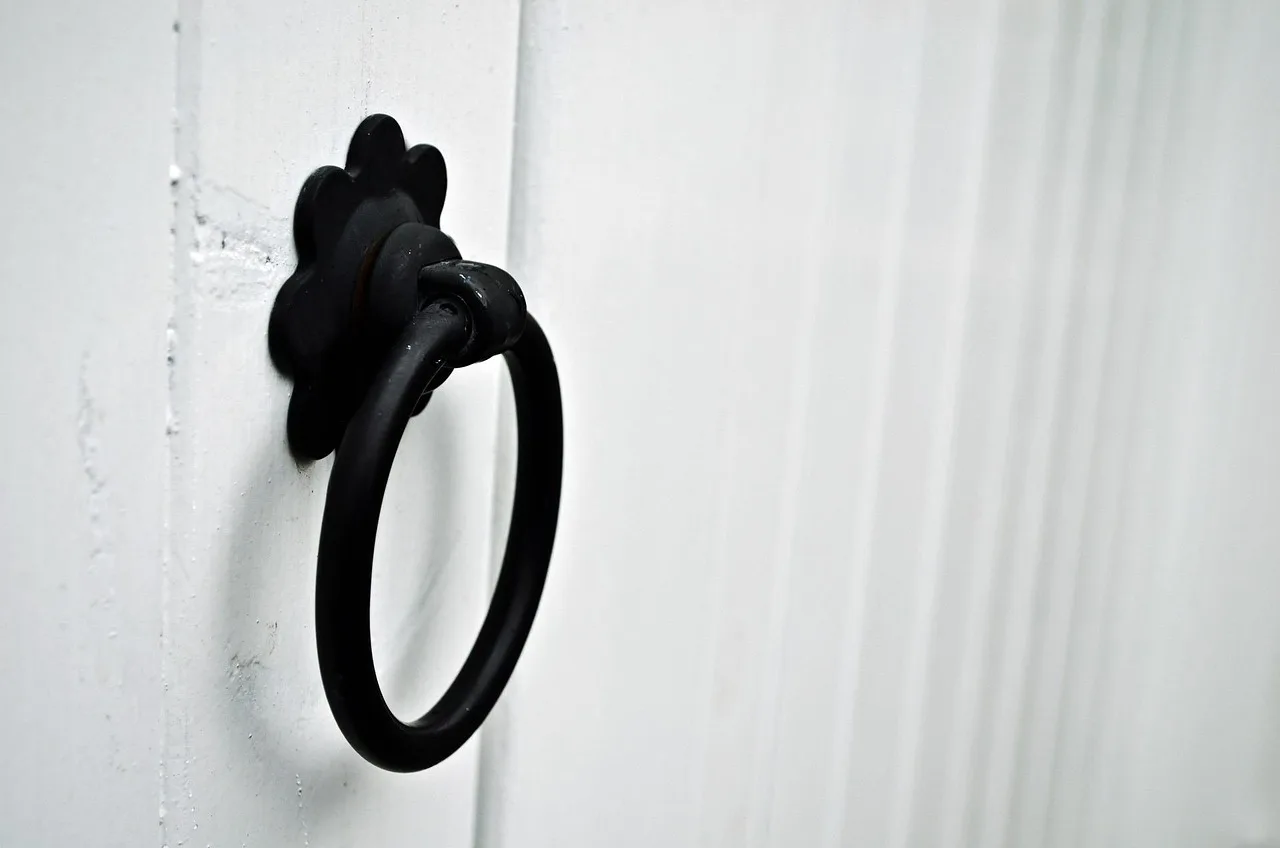
How to Paint Door Knobs and Hinges: Prep, Prime, Cure
Paint door knobs and hinges only if they’re solid metal, work smoothly, and you can fully clean, sand, prime, and cure them; replace soft metals, damaged finishes, or hardware that binds. Done badly, paint chips into the latch and hinge knuckle, leaves sticky movement, and makes future touch-ups harder. This guide shows how to decide whether to remove, paint in place, or replace, plus the prep, primer, paint, and reassembly steps.
Deciding whether to paint or Replace door hardware
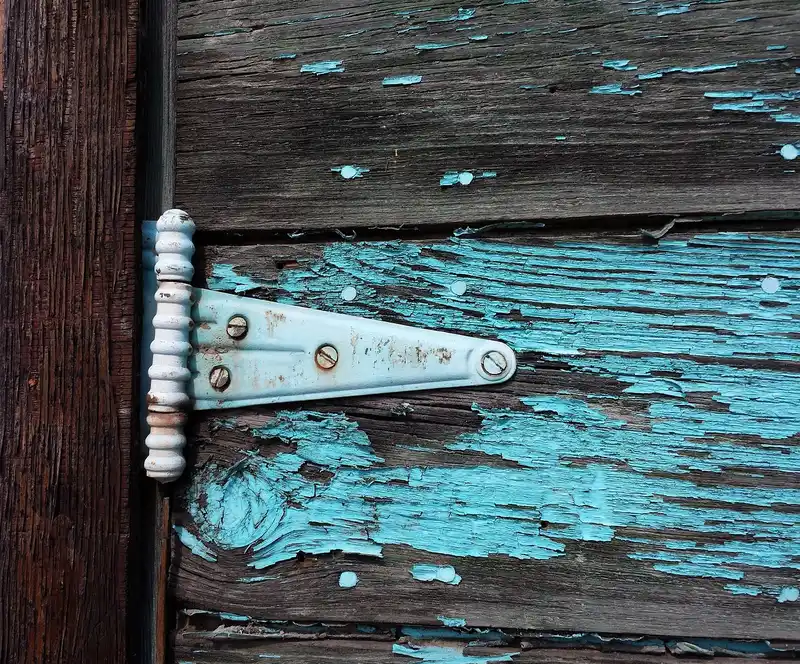


Yes, but only when the hardware is sound and the finish can take a new coating without losing function. Solid metal knobs and hinges are generally better candidates for painting. Flaking plating, bent hinge leaves, loose pins, or a sticking knob usually point to replacement instead of painting, because fresh coating will not fix mechanical wear.
When paint is a good fix
Paint makes sense when the hardware is metal, the movement is smooth, and the finish is worn, dated, or mismatched. It also works when you want to change the color of brass, steel, or painted metal without changing the hardware itself. For interior projects, spray enamel is often the easiest route on hinge leaves and knob surfaces.
When replacement makes more sense
Replace the hardware if rust has pitted the metal, the knob binds, the hinge squeaks after cleaning, or the plated finish is lifting in sheets. Paint cannot restore worn threads, loose set screws, or a hinge pin that already drags. If the part feels loose or gritty before prep, a new piece is usually safer.
What changes for knobs versus hinges
Door knobs and hinges are not the same coating job. Knobs need clean edges around moving parts and a finish thin enough to keep turning freely. Hinges need movement clearance at the leaf and pin, plus a coating that resists corrosion and does not gum up the knuckle. That difference changes the prep and the choice to remove the part.
📊 Bob Vila lists a 3/16-inch hole for the bottom of the door in its hanging method. Source: Familyhandyman.
What you’ll need
- Degreaser or strong cleaner for hand oils and grime
- Clean rags or lint-free cloths
- Dry towels or paper towels
- Sandpaper in 120/150 grit for heavier scuffing and 180/220 grit for lighter prep
- Bonding primer or rust-inhibiting primer for bare metal or color changes
- Metal-friendly spray paint or brush-on enamel
- Masking tape
- Drop cloths or newspaper
- Screwdriver and, if needed, a small container for screws
- Gloves and eye protection
Door hardware decision table
This table helps you choose the safest path before you start. The best choice depends on whether the part moves, how worn the finish is, and how much drying time you can give it before the door goes back into use.
| Approach | Surface type | Drying time | Movement risk | Finish quality | Safest choice when |
|---|---|---|---|---|---|
| Remove and spray | Metal, brass, steel, painted metal | Fastest control over coat and recoat timing; some spray paints dry to touch in less than 20 minutes, and some claim full dry in about an hour | Lowest risk if you keep coats thin and let the parts cure fully before reassembly | Best edge control and most even coverage | You can take the hardware off, want the cleanest result, or need to repaint both sides |
| Paint in place | Installed metal hardware with stable hinges or knobs | Longer handling delay because masking and nearby surfaces must stay protected until cured | Higher risk of buildup, especially at knob edges, hinge knuckles, and screw heads | Acceptable for touch-ups and color changes, but edges are harder to keep sharp | You cannot remove the part and the hardware still moves freely |
| Replace hardware | Soft metal, rusted metal, damaged plating, or bent parts | No paint cure time because you are not coating it | Lowest long-term function risk when the old part already binds or flakes | Best for worn, pitted, or loose hardware | The piece is damaged, sticky, or too worn to prep safely |
How do you prep the hardware?
Start by removing the knob or hinge when possible. That gives you cleaner edges, better coverage, and less risk of paint getting into moving parts. If the hardware must stay on the door, cover the surrounding area carefully and keep the coating extremely light.
Remove the knob or hinge when possible
- Unscrew the knob, latch trim, or hinge leaves with the correct driver.
- Keep screws grouped by location so reassembly is simple.
- Set the hardware on a protected surface so every face is reachable.
Clean off oils, dirt, and old residue
- Wipe the hardware with degreaser until fingerprints and grime are gone.
- Scrub around grasp points and hinge edges where skin oils collect.
- Let the part dry fully before primer or paint; trapped cleaner can weaken adhesion.
Scuff glossy metal and let it dry
- Lightly sand glossy metal with 180/220 grit; use 120/150 grit only if the surface is very slick or heavily worn.
- Keep sanding gentle on plated parts so you do not cut through the finish.
- Wipe away dust and wait until the surface is completely dry.
How do you paint door knobs and hinges?
Use primer on bare metal and when you are changing from one color family to another, especially on brass or steel. Then apply light coats of spray or brush-on paint. For interior metal hardware, corrosion resistance matters because hands, movement, and humidity all work against the finish.
Prime bare metal or color changes
- Apply bonding primer or rust-inhibiting primer to bare spots, sand-throughs, or exposed steel.
- Use an all-in-one spray only if the label says it includes primer for metal hardware.
- Let the primer dry before the first color coat so the finish does not wrinkle or lift.
Apply thin coats of spray or brush-on paint
- Hold the can or brush at a steady distance and build coverage in light passes.
- Stop before the surface looks wet or heavy; buildup is what causes sticky knobs and binding hinges.
- If you need more coverage, add another light coat after the first one flashes off.
Watch dry time before handling or reassembly
- Use the product’s recoat window and dry time on the label as your guide.
- One featured spray paint claims dry to touch in less than 20 minutes and full dry in about an hour; another metal interior spray is said to dry within 60 minutes; a universal enamel spray is said to dry in 30 minutes.
- Wait longer if the room is cool, humid, or poorly ventilated, because hardware needs more than a surface-dry skin before it can move safely.
How do you paint hardware without removing it?
Painting in place is workable when removal would damage trim or when the hardware is simple and already loose enough to move freely. The key is restraint. Mask the door, frame, and nearby trim well, then keep paint away from screw heads, latch parts, hinge knuckles, and the edge where the knob turns.
Mask the door and frame carefully
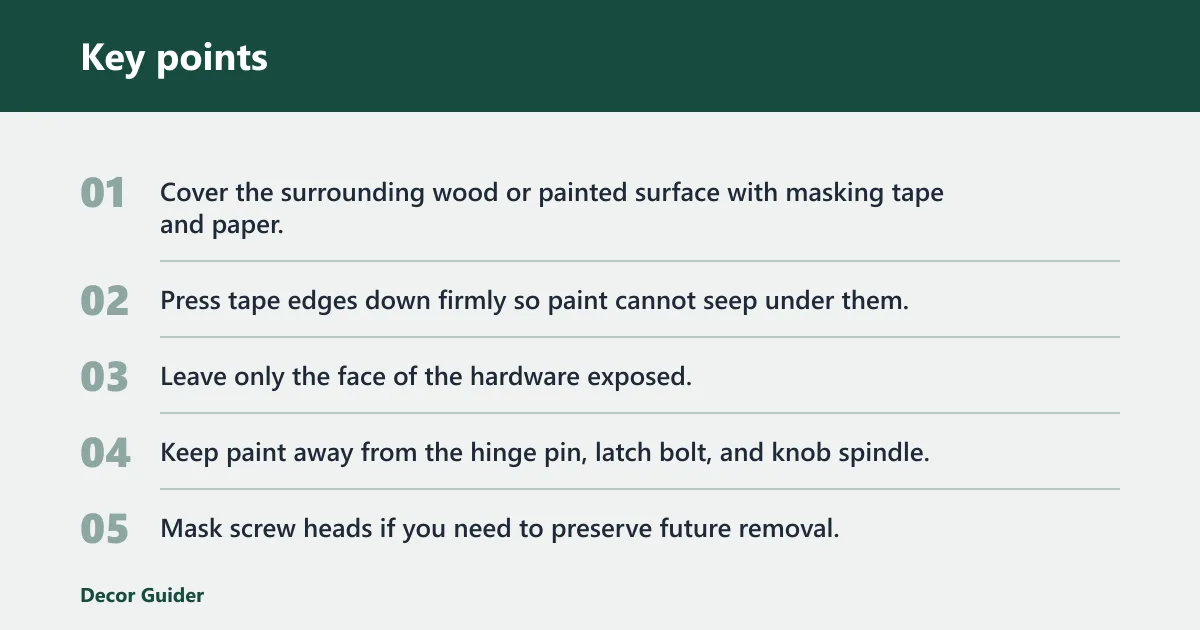
- Cover the surrounding wood or painted surface with masking tape and paper.
- Press tape edges down firmly so paint cannot seep under them.
- Leave only the face of the hardware exposed.
Protect moving parts and screw heads
- Keep paint away from the hinge pin, latch bolt, and knob spindle.
- Mask screw heads if you need to preserve future removal.
- Do not flood the hardware; a thin pass is safer than a heavy one.
Use light coats to avoid buildup
- Apply the first coat as a light mist, not a full wet layer.
- Add coverage in one or two more thin passes rather than one thick coat.
- If the paint starts to bridge or bead at the edges, stop and let it flash before continuing.
Say your brass bedroom knob looks dull, but it still turns cleanly. Remove it, degrease it, scuff it lightly, prime the worn spots, and spray two thin coats instead of trying to cover the finish in one pass. That keeps the edges cleaner and lowers the chance of sticky movement.
Suppose a hinge on a closet door stays installed because the door needs to remain usable. Mask the frame, leave the pin clear, and paint only the visible leaf with light coats. If the hinge starts to feel gritty afterward, the finish is too heavy and should be stripped before it binds.
Common mistakes
The biggest failures come from too much paint, too little prep, and rushing reassembly. Door hardware often has small clearances. A heavy coat may look fine at first, then crack at the hinge knuckle or stick around the knob edge when the part starts moving.
Paint buildup that stops movement
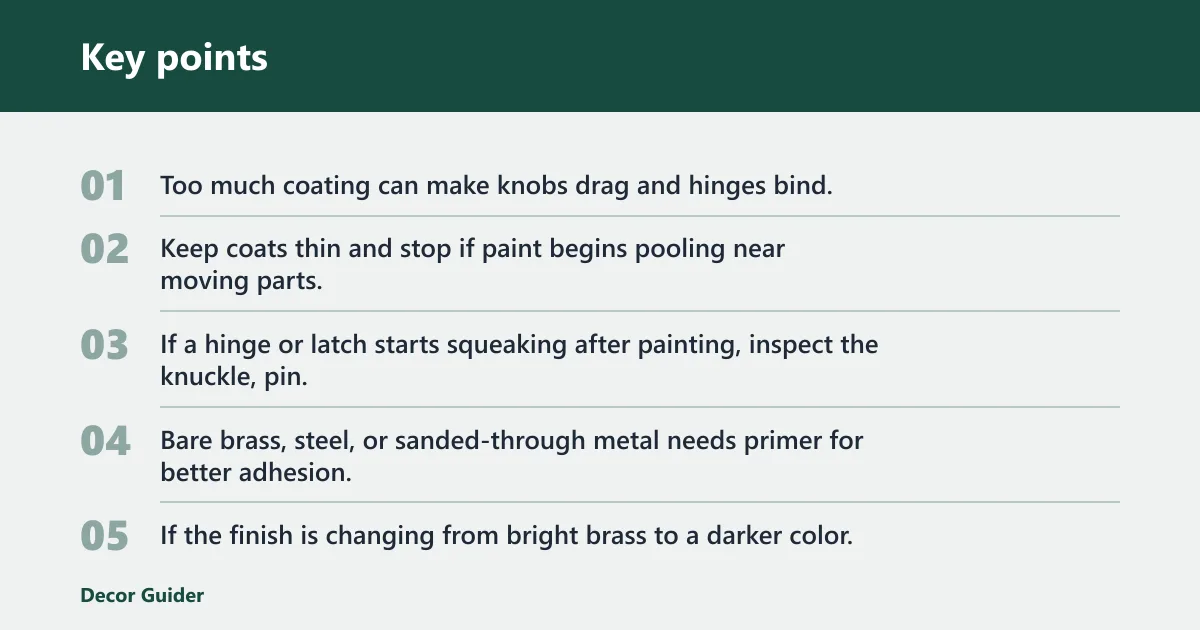
Too much coating can make knobs drag and hinges bind. Keep coats thin and stop if paint begins pooling near moving parts. If a hinge or latch starts squeaking after painting, inspect the knuckle, pin, and latch edge for overspray or dried ridges.
Skipping primer on bare metal
Bare brass, steel, or sanded-through metal needs primer for better adhesion. If the finish is changing from bright brass to a darker color, primer helps the topcoat hold. Without it, chips show up early at contact points and around screw heads.
Reinstalling before the finish cures
Dry to the touch is not the same as cured. Reinstalling too early can leave fingerprints, dull spots, or transferred paint on the frame. If the label gives a dry time, follow it; if the room is cool or humid, give the part longer.
A common first-timer mistake is painting a decorative brass knob, then closing the door again after an hour because it feels dry. The face may seem ready, but the back side can still mark easily. Let the hardware fully cure before regular use.
Prevention
Keep the finish alive by wiping knobs and hinges with a dry cloth during normal cleaning instead of scrubbing them with harsh pads. If a spot chips, fix it early with a light touch-up rather than letting moisture get under the coating.
Frequently asked questions
How to get paint off door handles and hinges
Use the least aggressive method that works: solvent for fresh paint, gentle scraping for thick drips, and careful sanding only on solid metal. Protect springs, pins, and any decorative plating. If paint has reached the moving joint, remove the hardware and clean it off before reinstalling.
Can you spray paint door knobs and hinges?
Yes. Spray paint works well on metal hardware, especially when you need thin, even coats on curves and hinge leaves. Choose a metal-friendly enamel or a multi-surface product labeled for hardware, then spray in light passes so the finish does not build up around moving parts.
Do door knobs and hinges have to match?
No. Matching is a design choice, not a rule. You can keep knobs and hinges coordinated in tone, or use a deliberate contrast if the rest of the room supports it. The more important standard is that the finish is durable and the hardware still works smoothly.
What paint sticks best to metal door hardware?
Bonding primer followed by a metal-friendly enamel or spray paint is the safest combination for most interior hardware. For bare metal, rust-inhibiting primer improves adhesion and helps with corrosion resistance. Products marketed for metal, multi-surface use, or indoor/outdoor enamel are usually the best fit.
Do you need to remove door hardware before painting?
Removal is the safer default when you want a clean result. It lets you clean all sides, scuff the finish evenly, and keep paint away from the parts that move. Leave hardware in place only when removal would damage the door or the piece is not practical to take off.
How do you stop painted hinges from sticking?
Keep paint off the knuckle and pin, use very thin coats, and let each coat dry before adding the next. If the hinge is already sticky, remove it, clean out the joint, and sand away buildup before repainting. Corrosion-resistant enamel helps, but it does not fix overpainting.
How do you clean and prep brass or metal hardware before painting?
Wash off oils and grime with degreaser, let the part dry completely, then scuff glossy areas with 180/220 grit sandpaper. Use primer on bare metal or when changing color. That sequence gives the topcoat a better hold and lowers the chance of chips at contact points.
Products related to this article
Sponsored / affiliate links. As an Amazon Associate I earn from qualifying purchases. I may earn additional commission from eligible campaigns.