
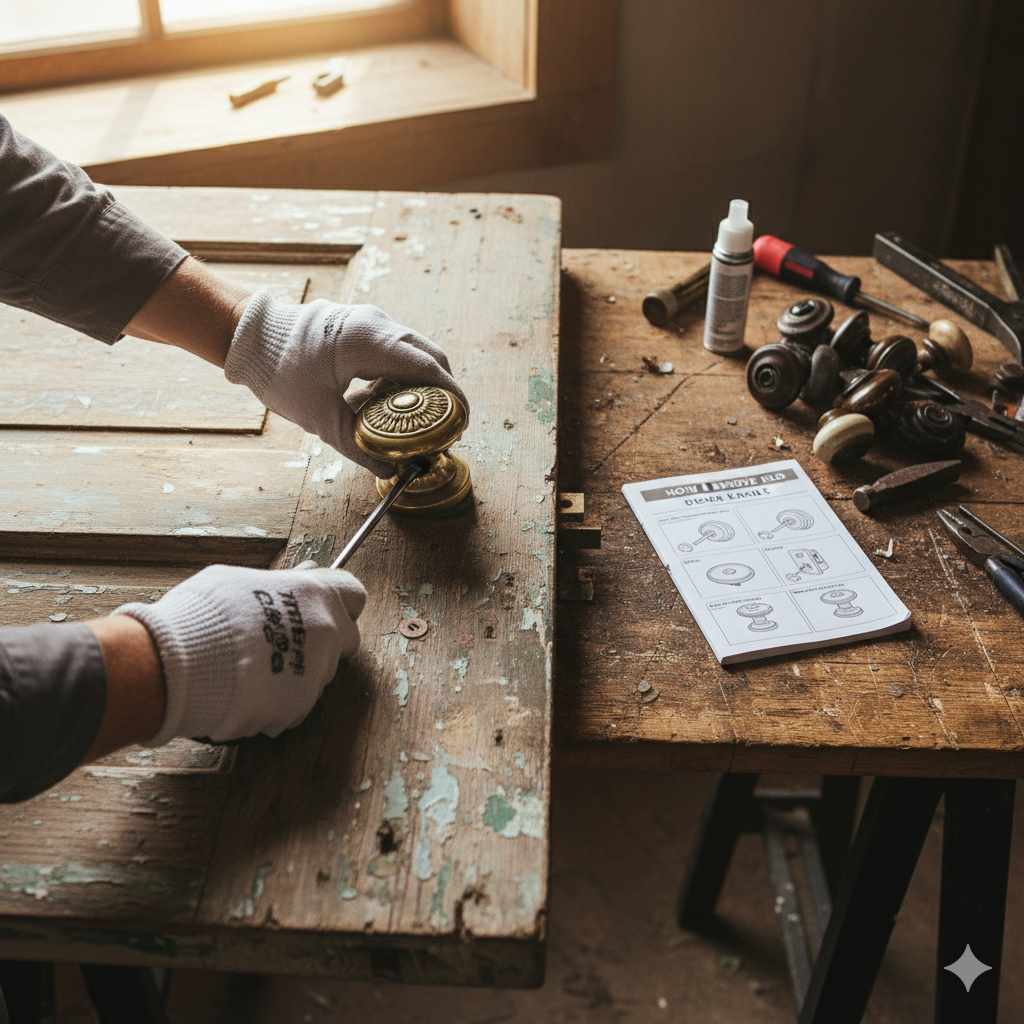
Removing old door knobs is simple! You usually need just a Phillips screwdriver, a thin flathead, and sometimes an Allen wrench to undo the visible screws or release hidden retaining clips. Follow these clear steps to refresh your home’s look easily.
Changing your door hardware is one of the fastest ways to update your home’s style. Maybe those old knobs look tired, or perhaps you finally bought those gorgeous new handles you’ve been dreaming about. Whatever the reason, wrestling with stubborn hardware can feel daunting.
Don’t worry! Taking off old door knobs is much easier than it looks. You do not need special training or expensive tools. This guide breaks down the process into simple, pressure-free steps. We will show you exactly what to look for and how to tackle it, whether your knob has obvious screws or tricky hidden fasteners. Let’s get that old hardware off so you can install your beautiful new set!
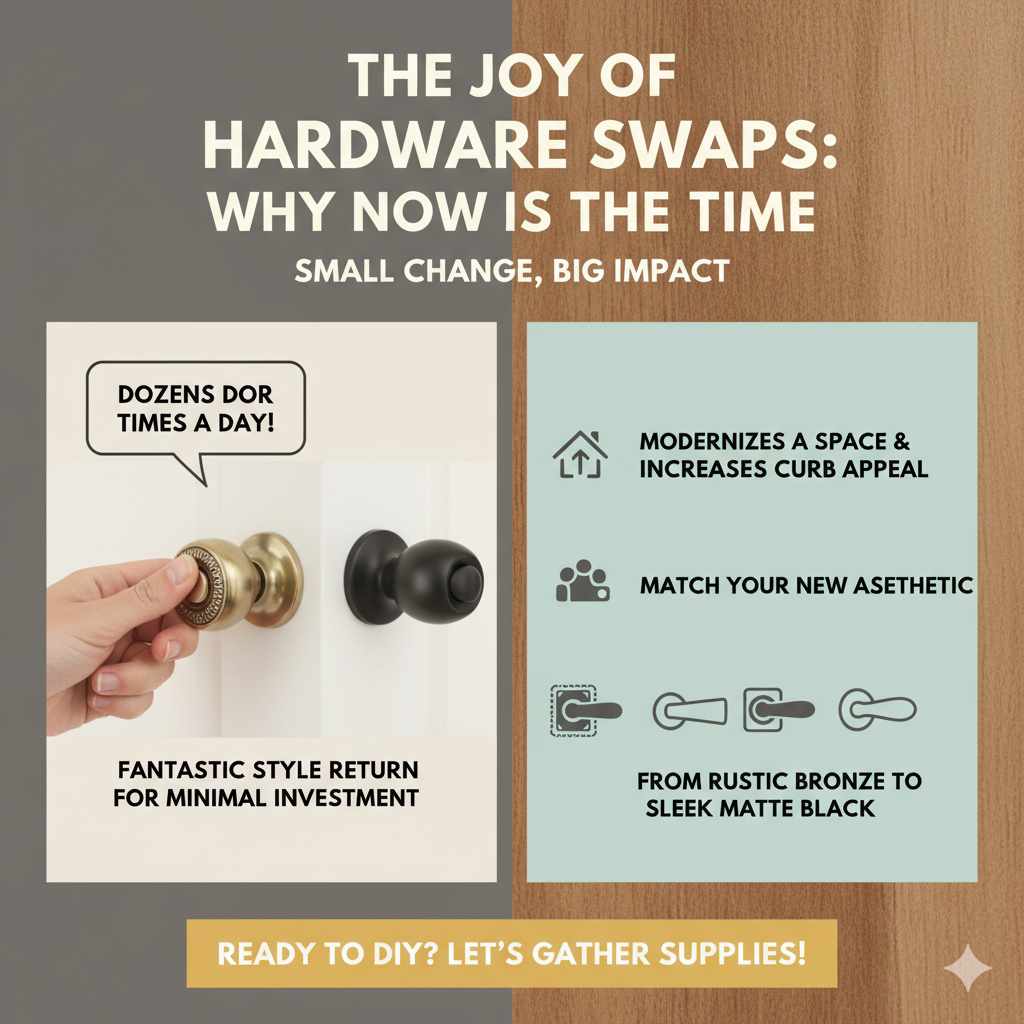
The Joy of Hardware Swaps: Why Now is the Time
As a design enthusiast, I believe small changes make the biggest impact. Door knobs are touched dozens of times a day, yet we often overlook them. Replacing them offers fantastic style return for minimal investment. It’s like giving your doors a tiny, tailored makeover!
Before diving into the “how-to,” let’s briefly celebrate this project. Upgrading hardware:
- Instantly modernizes a space.
- Increases curb appeal if you are selling.
- Allows you to match your new aesthetic—from rustic bronze to sleek matte black.
Ready to see how easy this DIY is? First, let’s gather our simple supplies.
Tools You Need to Remove Old Door Knobs
You likely have most of these items in a basic toolbox already. There is no need for power tools for this common task. Keeping the tool list short makes the project feel less intimidating!
Essential Tool Checklist
Here are the must-haves for almost any standard door knob removal:
- Screwdriver Set: Primarily, you’ll need a Phillips-head screwdriver (the one with the cross shape). A flathead screwdriver (the straight line type) is also crucial for prying or releasing clips.
- Allen Wrench (Hex Key): Many modern or higher-end knobs use recessed set screws hidden on the shank. These require small Allen wrenches, often provided with the original hardware, but sometimes you need to buy a small set.
- Utility Knife or Putty Knife: Useful for carefully scoring paint lines around the hardware base if the knob has been painted over multiple times.
- Safety Goggles: Always a good idea when working with old metal components that might snap or scratch.
- Small Container or Bowl: To keep track of all the tiny screws you remove!
Knowing your tools is half the battle. Now, look closely at your specific stubborn knob setup.
Step 1: Identify Your Door Knob Type
The removal method depends entirely on how the previous owner (or you!) installed the knobs. Most residential door knobs fall into one of three main categories based on how the internal mechanism is secured to the door.
Type A: Exposed Screw Knobs (The Easiest)
These are the simplest. You can see two screws, usually on the inside plate (the rosette) of one knob, that go directly through the door and into the other side. These are common on older or very basic interior doors.
Type B: Through-Bolted Knobs (Most Common Today)
These knobs have two long bolts running completely through the door, secured by nuts or screws accessible only from the door’s edge or inner side. You won’t see the main screws on the faceplates.
Type C: Set Screw Knobs (Modern or Decorative)
These knobs lack visible screws on the external faceplate. Instead, there is a tiny hole (sometimes covered by a decorative cap) on the underside or side of the knob spindle. This hole houses a set screw, secured by a small Allen wrench, which locks the handle onto the spindle shaft.
Understanding just which type you have prevents wasted time trying to pry open the wrong area. Let’s tackle the removal process for each type.
Step 2: Preparing the Area and Removing the First Piece
Before starting, always ensure the latch mechanism is retracted. Unlock the door and turn the knob to the open position. This relieves tension off the latch bolt (the part that slides into the door jamb).
Preparation Tips for Stuck Knobs:
- If the knob is painted over, take your utility knife and gently score all around the edge where the knob meets the door. This breaks the paint seal without damaging the wood door surface.
- Work slowly. Rushing often leads to stripping screws, which is a much harder problem to fix later!
Removal Strategy Based on Type:
For Exposed Screw Knobs (Type A):
This is straightforward disassembly. You simply need to unscrew both screws visible on the interior side of the door set. Make sure your Phillips screwdriver is the correct size; using one that is too small will “cam out” (slip) and round off the screw head.
Action: Unscrew both screws completely. Once the screws are out, the two halves of the knob assembly should pull apart easily.
For Set Screw Knobs (Type C):
This requires locating and loosening the set screw. On levers or modern knobs, look carefully at the base near the rose plate. You might need a flashlight.
Action: Insert the required small Allen wrench into the hole. Turn counter-clockwise to loosen the set screw completely. Once loose, the entire handle should slide straight off the door shaft.
Step 3: Dealing with Through-Bolted and Hidden Fasteners
Through-bolted systems (Type B) are extremely common because they offer greater stability. You need to find where the mounting screws or nuts are located.
Locating the Fasteners:
If you flipped the handle off (Type C) or unscrewed the faceplate (Type A), you should now see the spindle mechanism, which often includes screws going through the door.
- Look for two visible screws on the inside rose plate. If you see them, proceed as Type A, reversing the order of disassembly.
- If you see no screws on the inside plate, the bolt heads may be exposed on the outside face of the door, or the connection might be made via decorative caps on the inside.
If the screws seem completely glued or painted over, use the flathead screwdriver very gently to pry up the seam of the rose plate just enough to access the screw heads underneath. Remember that gentle prying from the edge breaks the paint seal without deep scratching.
The Set Screw Behind the Knob (The Tricky Part)
For many higher-quality knobs, the handle itself might have been removed after locating the set screw (as in Step 2, Type C), but the main mounting mechanism remains. You now need to remove the long spindle bolts.
Action: Carefully examine the remaining visible hardware (often just the latch plate or the remaining half of the assembly). You are looking for two visible screws holding the assembly to the edge of the door. Unscrew these completely with your Phillips driver.
Sometimes, decorative caps cover these main screws. You can usually pop these off carefully using the tip of your flathead screwdriver or a thin putty knife. Work slowly along the edge to avoid snapping the thin metal cover.
Step 4: Removing the Latch Mechanism (The Deadbolt Component)
Once the knobs are off, you are left with the hardware secured into the edge of the door—this is the latch assembly (or the latch chassis).
Removing the Latch Plate Screws:
This piece is held by two final screws on the door edge. These screws keep the entire mechanism seated inside the hole bored into the wood.
Action: Remove these two final screws holding the latch plate to the door edge. Be prepared; the entire metal latch mechanism might slide out slightly once these are free. Pull it straight out toward the door edge.
Understanding Door Prep Standards
If you plan to install a new knob, it helps to know that most residential door hardware follows the standard ANSI/BHMA A156 specifications for backset and bore holes. This generally means your new hardware will fit, but measuring is always wise.
Step 5: Cleaning Up and Preparing for Installation
Congratulations! The old hardware is off. Now for the satisfying part: cleaning up the area before the new hardware goes on.
Cleaning Checklist:
- Remove Debris: Clear out any dust, wood chips, or old paint residue from the bore holes where the latch mechanism sat. A vacuum cleaner attachment works perfectly here.
- Address Paint Gaps: If removing the old rose plates left behind a circle of visible, unpainted door, you have two options:
- Quick Fix: Leave it. The new, larger rose plate will cover it.
- Better Fix: Lightly sand the area and apply a matching touch-up paint before installing the new hardware.
- Check the Latch Plate Area: Wipe down the faceplate recess area on the door’s edge.
With a clean slate, you are ready to install your refreshed hardware, which usually involves reversing these steps! Your confidence is building already!
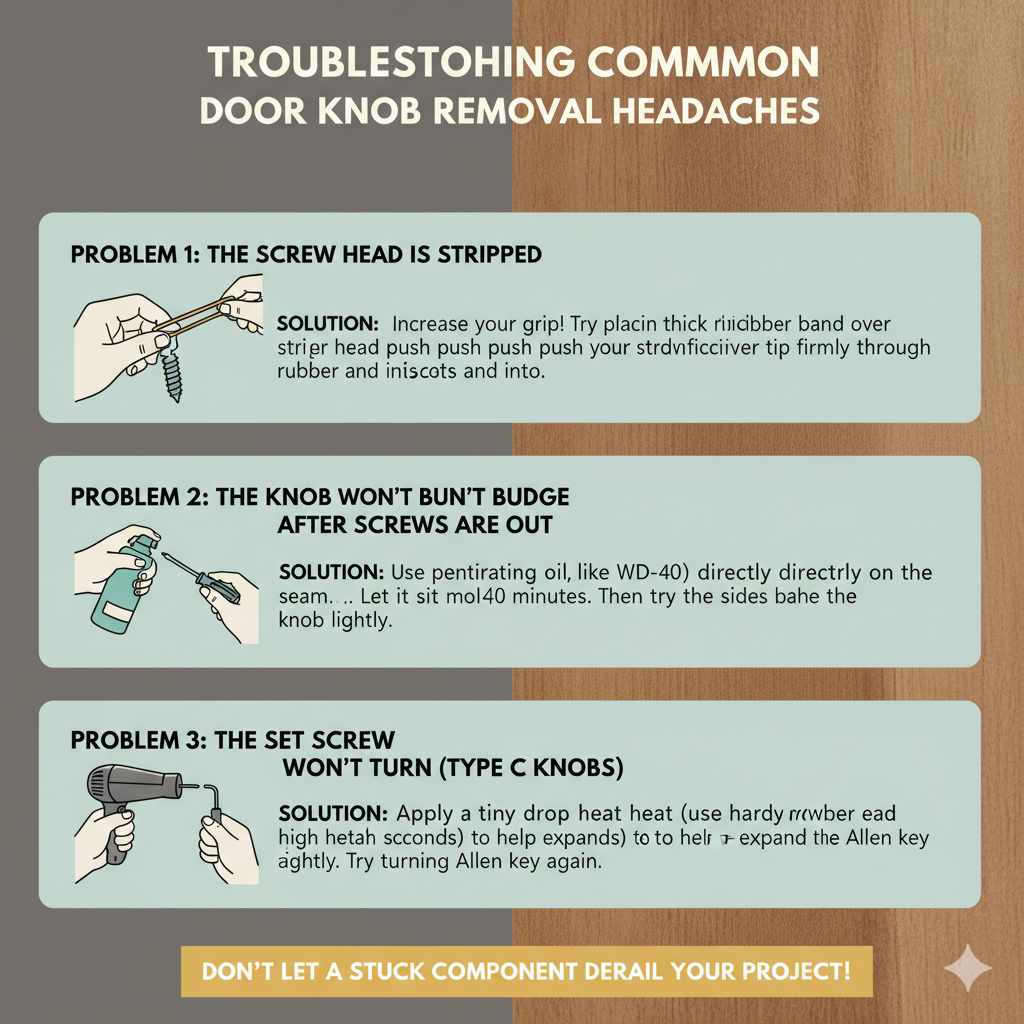
Troubleshooting Common Door Knob Removal Headaches
Old hardware can sometimes fight back. Don’t let a stuck component derail your project. Here are solutions for the most common frustrations.
Problem 1: The Screw Head is Stripped
This means the metal slot in the screw head is rounded out, and the screwdriver just spins. This is incredibly common on old homes.
Solution: Increase your grip! Try placing a wide, thick rubber band over the stripped screw head and push your screwdriver tip firmly through the rubber and into the slot. The rubber fills the gaps, sometimes providing just enough traction to turn the screw out.
Problem 2: The Knob Won’t Budge After Screws Are Out
If you removed all apparent screws but the two halves are somehow still fused to the door, they are likely seized by rust or years of thick, layered paint.
Solution: Use penetrating oil (like WD-40 or Liquid Wrench) directly on the seam between the knob base and the door. Let it sit for 15 minutes. Then, try tapping the sides of the knob lightly with the handle end of your screwdriver to try and break the seal before gently wiggling the assembly apart.
Problem 3: The Set Screw Won’t Turn (Type C Knobs)
If the tiny Allen set screw is rusted or overly tight, you risk snapping the small tool.
Solution: Apply a tiny drop of heat (use a hairdryer on high heat aimed at the set screw area for 30 seconds, not a torch!) to help expand the metal slightly. Then, try turning the Allen key again, applying firm, steady pressure.
To make troubleshooting even clearer, here is a comparison of what to look for:
| Knob Type | Key Indicator | Tool Required | Removal Focus |
|---|---|---|---|
| Exposed Screw | Two screws visible on one faceplate | Phillips Screwdriver | Unscrewing the two visible screws |
| Through-Bolted | Two long screws visible through the door edge or plate | Phillips Screwdriver | Removing the main retaining screws |
| Set Screw | Tiny hole, often on the underside of the handle | Allen Wrench (Hex Key) | Loosening the internal set screw first |
Frequently Asked Questions for Beginner DIYers
Q1: Do I need to take off the whole door to change the knob?
A: No! Thankfully, almost all knob and lever removals can be done with the door hanging on its hinges. Only if you are replacing the entire latch bore assembly deeply into the door might you want to remove it, but it isn’t required for standard knob removal.
Q2: How do I know which screw size I need for my new hardware?
A: Most standard residential knobs use #8 screws on the latch plate. When you buy new hardware, it almost always comes with the exact screws needed for installation. Always use the hardware provided by the manufacturer for the best fit.
Q3: I broke a screw during removal. Can I still install the new knob?
A: If the broken screw is one holding the faceplate (Type A or B disassembly), yes, you can still install the new knob, provided the other screw holds the assembly firmly against the door until you can deal with the broken one. If it’s the latch plate screw, you must remove the remaining broken piece before installing the new latch mechanism for safety.
Q4: Should I replace the door strike plate on the jamb too?
A: This is a great idea! The strike plate is the metal piece on the door frame where the latch bolt enters. If you are changing the entire lockset, it is best practice to install the new strike plate that came with the new hardware for a perfect match and secure fit.
Q5: What if the new knob doesn’t fit the old hole?
A: If you are switching between a knob and a lever, the old latch bore hole might be too large for new levers, especially if the old knob was very old. For minor sizing differences, you can often use the larger faceplate of the new hardware to cover the discrepancy. Major differences sometimes require buying a door hole repair kit or patching/drilling, though this is rare with modern standard replacements.
Q6: How quickly can I expect this project to take?
A: For a first-timer tackling one door, budget 20 to 40 minutes, especially if you need to deal with paint buildup or slightly stubborn screws. If you are swapping hardware on five doors, you will get much faster as you go!
A Final Word on Refreshing Your Home
See? You successfully navigated the world of set screws, faceplates, and latch mechanisms! Removing an old door knob is a foundational DIY skill that yields immediate style results. Every time you walk through that door now, you’ll know you accomplished this simple renovation yourself.
Remember, the goal of home decor projects is to create a space that feels authentically yours, and sometimes that starts with refreshing the hardware you touch every single day. Don’t stop here! Now that you have the confidence and the clean slate, go ahead and install those beautiful new knobs. Enjoy the fresh, updated look you achieved with just a screwdriver and a little bit of know-how. Happy decorating!


