How to Plane the Edge of a Door That Is Sticking
Plane a door edge only after you confirm the hinges are tight and the rub mark stays in the same place; remove about 1/32 to 1/16 inch at a time, and stop before the gap looks uneven. If you plane too much, the door can rattle, look crooked, and bind again as humidity changes. Check hinges first, then decide between sanding and planing, and trim the edge cleanly with the least wood removed.
What you’ll need


- Hand plane or jack plane
- Sandpaper, ideally 150-grit for smoothing the cut edge
- Sanding block
- Phillips or square screwdriver that fits the hinge screws
- 3-inch wood screws for stripped hinge holes or sagging hinges
- Wood chisel, preferably 3/4-inch for hinge mortise work
- Pencil
- Painter’s tape
- Straightedge
- Primer and paint, or matching finish for sealing bare wood
How do you decide whether to plane, sand, or fix hardware first?
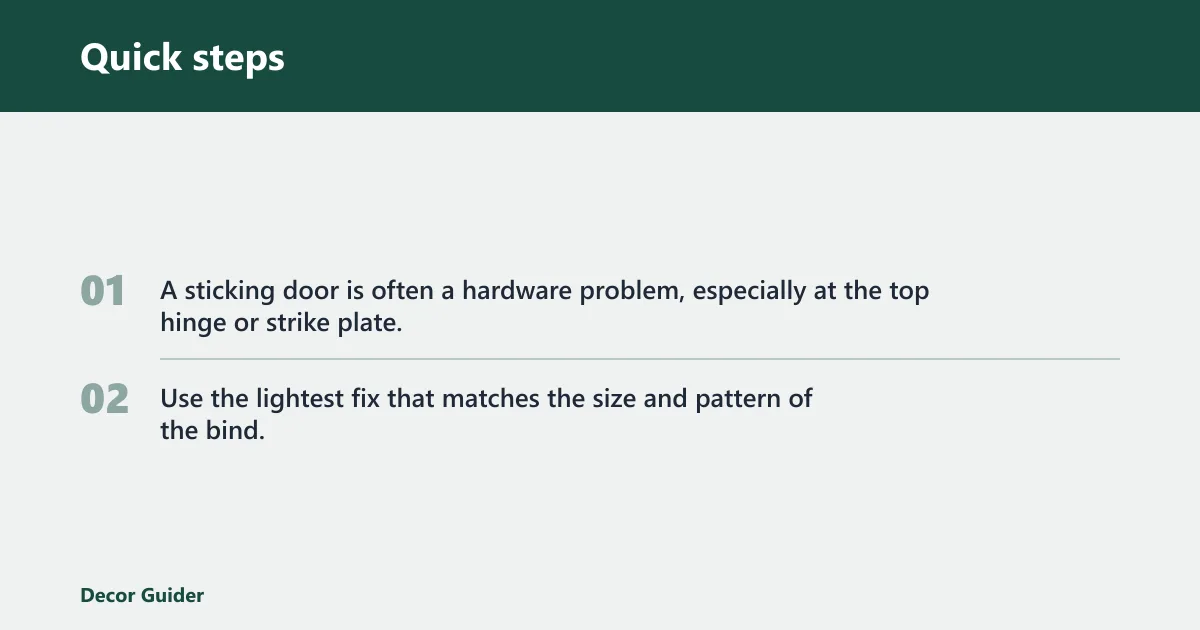
Start with the rub location, not the tool. A sticking door is often a hardware problem, especially at the top hinge or strike plate, and removing wood too early can create a loose fit later. Use the lightest fix that matches the size and pattern of the bind, then recheck the reveal after each step.
Use the proof table to match the symptom
| Rub location | Likely cause | Best first fix | Tool choice | When to stop |
|---|---|---|---|---|
| Top hinge side | Top hinge often bears the most weight; loose screws or stripped holes can let the slab sag | Tighten screws, then replace short screws with 3-inch wood screws if needed | Screwdriver; 3-inch wood screws | Stop when the reveal is even and the latch catches without forcing |
| Latch side, near the strike | Strike plate misalignment, not edge thickness | File the strike plate for a small miss or reposition it for a larger miss | File, screwdriver | Stop when the latch enters cleanly and the door closes without scraping |
| Hinge side along the full height | Door sag, hinge mortise depth, or hinge screws pulling loose | Repair hardware first; deepen a shallow mortise if needed | 3/4-inch chisel, screwdriver | Stop before any planing unless the rub remains after the hinge sits flush |
| Bottom edge | Seasonal swelling, an out-of-square frame, or floor clearance that is already tight | Check humidity, hinge alignment, and floor clearance before trimming | Straightedge, screwdriver | Stop as soon as the door clears and the reveal stays even |
| Minor rubbing, a narrow shiny mark, or a light bind under 1/16 inch | Small contact point that may clear with minimal removal | Sand the marked area first | Sandpaper, sanding block | Stop when the door closes freely without enlarging the gap more than needed |
| Moderate sticking, roughly 1/16 to 1/8 inch | Localized edge contact that needs controlled removal | Plane the marked edge after hardware is confirmed | Hand plane or jack plane | Stop as soon as the rub disappears and the reveal remains consistent |
| Humidity warning | Seasonal swelling can make a door bind temporarily, then loosen again when air dries | Check indoor humidity and avoid over-trimming during damp weather | Straightedge, hygrometer if available, screwdriver | Stop early if the fit is likely to change with the season |
| Composite door warning | Composite or molded construction may not plane cleanly, and hidden skins or edge-banding can be damaged by over-removal | Use sanding only for minor rubs, and test fit often | Sandpaper, sanding block | Stop early; do not chase a perfect gap by removing extra material |
Why is my interior door sticking on one side?
Most sticking doors bind because the hinge side has sagged, the strike plate is off, or the slab has swelled with humidity. Check the rub location first. A tight top hinge often points to sagging hardware; a latch-side scrape usually points to strike alignment, not the door edge itself.
Look for an even reveal around the door. This Old House cites about the thickness of a nickel, and Hods describes a roughly even gap of about 1/8 inch all the way around. If one side closes tight while the opposite side opens wide, fix hardware before you remove wood.
How do you diagnose hinge sag, reveal issues, and latch misalignment?
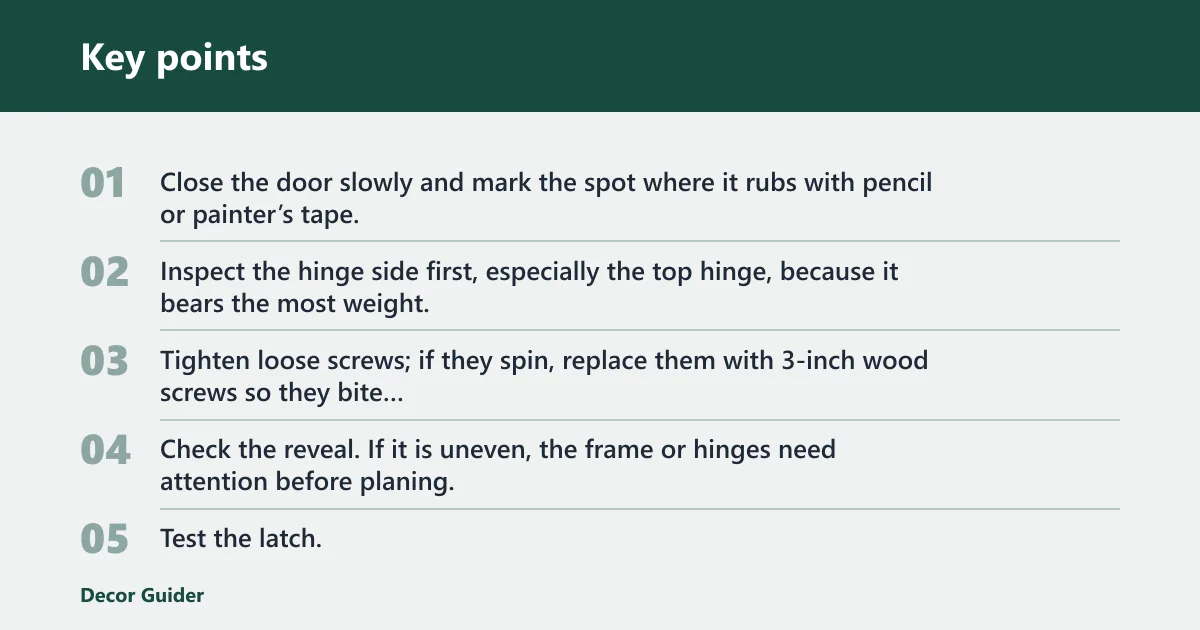
- Close the door slowly and mark the spot where it rubs with pencil or painter’s tape.
- Inspect the hinge side first, especially the top hinge, because it bears the most weight.
- Tighten loose screws; if they spin, replace them with 3-inch wood screws so they bite into the stud behind the jamb.
- Check the reveal. If it is uneven, the frame or hinges need attention before planing.
- Test the latch. If the bolt misses the strike, file or reposition the strike plate instead of shaving the door edge.
Say your bedroom door rubs only near the top latch corner after a humid week. That pattern often points to slight sag plus seasonal swelling, so a hinge fix and a small edge trim may be enough. A full-length rub on the hinge side needs a different path: correct the hinge first, then plane only what remains.
How do you plane a sticking door?
Plane the marked edge only after the hardware checks out and the rub line is clear. Use a jack plane or hand plane with long, smooth strokes, held at a slight angle so the blade removes material evenly. Remove a little, test the fit, then repeat before you commit to more.
What is the safest way to plane the marked edge?
- Remove the door if you need better control, or wedge it steady so it cannot swing.
- Mark the rub area with pencil and tape the face beside the cut line to reduce tear-out.
- Set the jack plane or hand plane for a light cut.
- Run the plane with long, smooth strokes and a slight angle to keep the cut even.
- Take off about 1/32 inch, then hang or close the door again and check the reveal.
- Repeat only until the door clears and the gap still looks even.
- Finish with 150-grit sandpaper to smooth the edge before sealing.
Suppose a pantry door binds at the latch side by a narrow strip less than 1/8 inch wide. That is usually a planing job if the strike plate already matches the latch. If the gap is only tight at one corner and the rest of the reveal is even, sanding may be enough and will remove less wood.
Should you sand or plane a sticking door?
Use sandpaper for minor sticking, especially when the rub is 1/16 inch or less. Use a hand plane or jack plane when the problem is closer to 1/16 to 1/8 inch and the door edge needs controlled removal. If the reveal is uneven, fix hinges or the strike plate first.
Which tool should you choose first?
- For minor rubs, wrap 150-grit sandpaper around a block and work only the marked spot.
- For moderate rubbing, switch to a hand plane so the cut stays flat and controlled.
- Use a belt sander only with care, since it removes material quickly and can round the edge.
- Stop as soon as the door closes freely and the reveal stays consistent.
A common first-timer mistake is planing the latch edge when the real problem is a swollen bottom corner scraping the threshold. The result is an edge that looks thinner but still drags later. Fix the support first, then remove wood only if the same spot still binds.
How much wood can you remove from a door edge?
Remove the minimum needed to clear the jamb. A small trim of 1/32 inch can solve a light bind, while larger cuts should stay modest so the door still keeps a seasonal fit. What you can remove also depends on construction: solid wood tolerates more shaping than hollow-core, molded, or composite doors.
How do you keep the reveal even while allowing for humidity?
- Plane only the marked rub area, not the whole edge, unless the binding runs the full length.
- Recheck the door after each pass, because wood removal adds up quickly.
- Stop once the door clears and the reveal still looks even from top to bottom.
- Avoid over-trimming in damp weather, since the slab may shrink later and leave a loose winter fit.
Home Repair Central warns that composite materials may not plane well, and it also advises caution because taking too much off can leave gaps when humidity is lower. That matters most on molded or composite interior doors, where a narrow rub can tempt you to shave too far.
What if the door still sticks after planing?
If the door still sticks after a careful trim, the frame may be out of square, the hinge mortise may be shallow, or the strike plate may still be off. Go back to hardware before removing more wood. More planing will not fix a sagging top hinge or a latch that misses the strike.
When should you escalate from planing to hardware repair?
- Check the top hinge again and replace any short screws with 3-inch wood screws.
- If the hinge leaf sits proud, deepen the mortise with a 3/4-inch chisel until it sits flush.
- File the strike plate only when the latch is close and needs a small adjustment.
- Reposition the strike plate if the latch still misses by more than a small filing can correct.
- If the frame is twisted or the slab is warped, stop trimming and evaluate the door and jamb together.
What are the common mistakes when fixing a sticking door?
The biggest mistakes are skipping hinge repair, over-planing one edge, and leaving raw wood unsealed. A loose top hinge can create the very rub you are trying to remove, and too much edge trimming can leave the reveal crooked or the door too loose when the air dries.
Keep the hinges snug, and touch up exposed edges as soon as you trim them. That reduces moisture pickup and lowers the chance that the same door will bind again during a humid season.
How do you repair stripped hinge screw holes and seal the edge?
When hinge screws spin or pull out, fix the hardware before touching the edge. Deeper screw bite often corrects the sag that caused the rub in the first place, and sealing the cut edge helps prevent moisture-related movement after trimming. Use the smallest correction that restores a consistent reveal.
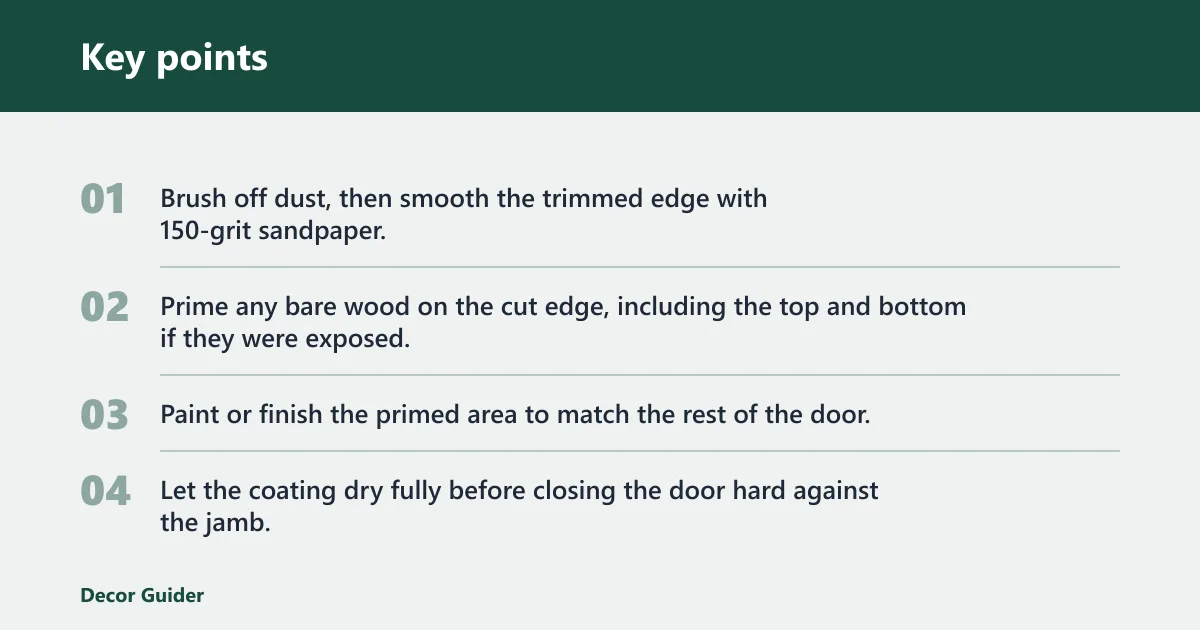
- Brush off dust, then smooth the trimmed edge with 150-grit sandpaper.
- Prime any bare wood on the cut edge, including the top and bottom if they were exposed.
- Paint or finish the primed area to match the rest of the door.
- Let the coating dry fully before closing the door hard against the jamb.
Keep the hinges snug, and touch up exposed edges as soon as you trim them. That reduces moisture pickup and lowers the chance that the same door will bind again during a humid season.
Frequently asked questions
How do I seal a planed door edge after trimming?
Sand the cut edge smooth, then prime all bare wood before painting or finishing. Cover the top and bottom edges if planing exposed them, since those surfaces take in moisture too. Let the coating dry fully before the door goes back into regular use.
Products related to this article
Sponsored / affiliate links. As an Amazon Associate I earn from qualifying purchases. I may earn additional commission from eligible campaigns.