How to Fix a Door That Sticks in the Summer
Check humidity and hardware before you remove wood. If the door rubs at the top latch edge after humid weather, seasonal swelling is the first suspect, not a permanent warp. If the gap looks uneven, look for sag or latch misalignment. Fix the cause first, or you can ruin the finish, trim too much, and still have a door that binds when weather shifts. For most interior wood doors, indoor relative humidity is best kept roughly in the 30% to 50% range; problems become more likely when RH stays above that band for long stretches, especially near or above about 60% RH (EPA; ASHRAE).
This guide is part of our Interior Door Problems and Hardware Fixes: Squeaks, Sticking, Handles, Locks and Thresholds series.
What you’ll need


- Hygrometer
- Screwdriver
- 3-inch wood screw
- Shims
- Pencil
- Card or paper for rub checks
- Sandpaper
- Sanding block
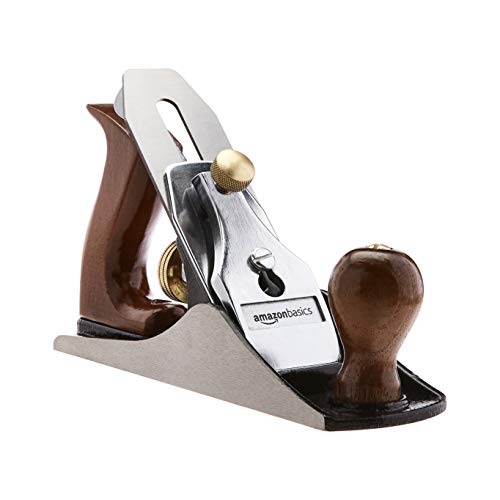
- Hand plane
- Paint or sealant for cut edges
Summer door sticking decision tree
| Symptom location | Likely cause | Quickest test | Recommended fix | When to stop DIY |
|---|---|---|---|---|
| Top latch corner | Wood door seasonal swelling, often first at the latch-side top corner | Slip a card at the corner; note where it drags after humid weather | Tighten the top hinge first; use a 3-inch wood screw if the short screw spins | Stop if the frame gap changes from day to day |
| Hinge side | Loose hinge screws or sagging at the top hinge | Open the door halfway and lift the handle; watch for movement at the hinge leaf | Replace stripped screws and add shims if the door hangs out of square | Stop if the jamb splits or the hinge mortise is damaged |
| Bottom drag | Door sag, swollen edge, or out-of-square frame | Slide paper under the bottom edge; see where it snags first | Check hinges, then sand or plane only after hardware fixes fail | Stop if the drag is sudden and the frame looks shifted |
| Latch won’t catch | Strike plate misalignment | Close the door slowly and see whether the latch meets the strike plate | Tighten the strike plate or file the opening slightly | Stop if the latch lines up one day and misses the next |
| All-around tightness | High indoor humidity or generalized swelling | Check a hygrometer and compare to recent humid days | Lower indoor humidity, then recheck the gaps | Stop if gaps remain tight after humidity drops |
| Seasonal-only sticking | Temporary moisture absorption, not permanent warp | Compare summer behavior with cooler, drier weather | Adjust hinges first; leave minor seasonal clearance if the door works again | Stop if the door sticks year-round |
| Painted edge rub | Paint buildup or a slightly swollen edge | Look for shiny rub marks or chipped paint at the contact point | Use sandpaper first; plane only if the rub survives hardware fixes | Stop if the rub is wide enough to require major removal |
| Frame shift warning | Door jamb movement, settlement, or a shifted frame | Check whether the reveal changes along the jamb from top to bottom | Do not plane yet; inspect the frame and call a pro if movement continues | Stop immediately if the jamb is separating or the reveal is moving |
Do not plane yet if the door only sticks after humid weather, if the top hinge screws are loose, if the latch misses the strike plate, or if the reveal changes from one day to the next. Fix those first. A hand plane belongs near the end, not the start. For most doors, a reveal around 1/8 inch is common, and many interior setups work with something closer to 1/16 inch in places; if the gap disappears entirely at one corner, that is a clue, not a trim instruction (commonly cited by door installers and trim guides; the exact target varies by door, jamb, and finish thickness).
Humidity action chart
| Indoor RH | What it usually means | What to do |
|---|---|---|
| Below 30% | Air is unusually dry; wood may shrink and gaps may open | Do not assume the door is fixed forever; recheck after RH normalizes |
| 30% to 50% | Typical comfort band for many homes; less likely to cause seasonal sticking | Focus on hinges, strike plate, and paint buildup |
| Above 50% | Swelling risk rises, especially in wood doors and painted edges | Lower humidity if you can, then test the gaps again |
| About 60% or higher | Moisture is high enough that swelling and sticking become much more likely | Address the moisture source before removing wood (EPA; ASHRAE) |
Warp-vs-swelling quick test
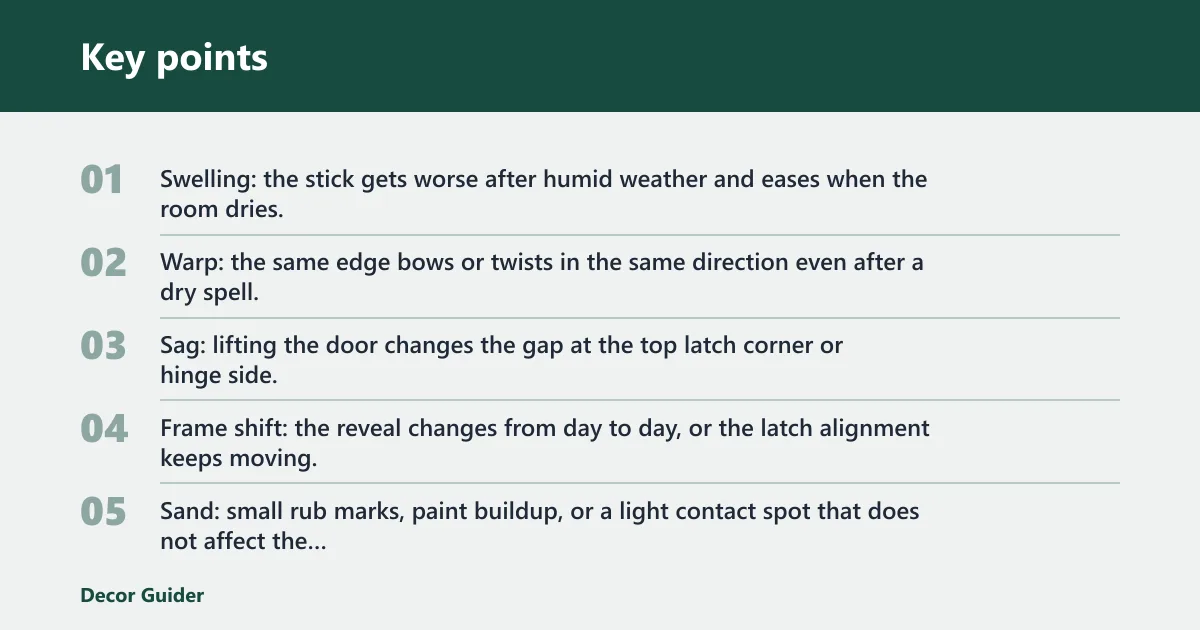
- Swelling: the stick gets worse after humid weather and eases when the room dries.
- Warp: the same edge bows or twists in the same direction even after a dry spell.
- Sag: lifting the door changes the gap at the top latch corner or hinge side.
- Frame shift: the reveal changes from day to day, or the latch alignment keeps moving.
Plane vs sand vs stop checklist
- Sand: small rub marks, paint buildup, or a light contact spot that does not affect the whole edge.
- Plane: the same spot still rubs after hinges, shims, and strike plate adjustments, and the problem is clearly localized.
- Stop DIY: the jamb is split, the reveal changes daily, the frame has shifted, or the door only lines up intermittently.
- Stop before removing more wood: if a 3-inch screw and hinge correction already changed the fit, do not chase the problem with trim removal.
Three-inch screw reality check: a 3-inch wood screw can help when the top hinge screw is stripped and the hinge is no longer anchored into solid framing. It works best when the original screw has been spinning in soft jamb material, and it can fail to help if the hinge mortise is crushed, the jamb is split, or the frame itself is moving. In those cases, more screw length is not the fix; the structure around the screw hole is the issue.
Why does a door stick in summer?

Summer sticking usually comes from wood absorbing moisture and swelling. That is temporary and often reversible. The most common place to see it is the latch-side top corner, especially on wood interior doors and weather-exposed front doors. A hygrometer helps confirm whether indoor relative humidity is part of the problem. The 30% to 50% indoor RH range is a common comfort and preservation target; persistent moisture above that range increases the chance of wood movement, paint-edge swelling, and hardware misalignment.
Front doors can react to outdoor humidity, but bathrooms, kitchens, laundry rooms, and HVAC issues can raise indoor moisture too. If one door sticks after showers or cooking while others stay normal, the source may be inside the house rather than the weather outside.
Seasonal swelling versus permanent warp
A swollen door changes with humidity. A warped door keeps the same bend after the air dries out. If the door opens and closes better after a drier spell, treat it as moisture movement first. If the edge bows or twists in the same direction all year, look beyond seasonal swelling. Recheck the reveal after the room dries before you start removing material; a stable gap pattern matters more than a single hard-close test.
What the sticking location tells you
Top-corner rubbing points toward sag or seasonal swelling. Bottom drag often points toward hinge drop or a frame shift. A latch-only failure often means the strike plate is out of line. All-around tightness points to generalized swelling or an out-of-square opening. On a typical interior door, the first clue is often the top latch corner because that is where a small hinge drop gets magnified.
How do you tell swelling from sag?
Check relative humidity first, then compare the gap pattern. Swelling usually shows up after humid weather and improves when the air dries. Sag shows a more fixed pattern: the top latch corner closes tighter while the hinge side opens wider. A one-day change points to moisture; a constant uneven gap points to hardware or frame alignment. In practical repair work, a top hinge that needs a longer screw or a shim usually changes the door immediately, while swelling changes more slowly with the weather.
Lifehacker’s gap check is useful here: a healthy reveal is often about 1/8 inch to 1/16 inch. If that opening is gone at the top latch corner but still present elsewhere, the problem is rarely random.
Use the door position test
- Open the door halfway and lift the handle gently.
- Watch the top hinge and latch corner for movement.
- Close the door slowly and mark the rub with a pencil.
- Recheck after the room dries or after the weather changes.
If the gap changes when the door is lifted, sag is likely. If the gap stays the same but the rub gets worse after humidity rises, swelling is more likely.
Step 1: Check the hinges and top screw
The top hinge carries most of the door’s weight, so it is the first hardware to check. Loose screws can let the door drop just enough to make the top latch corner bind. A screwdriver is the main tool here, and a 3-inch wood screw may be needed if the short screw keeps turning. In common interior-door repair, the shortest visible hinge screws are often #9 or #10 wood screws in the 3/4-inch to 1-inch range; when those spin, replacing one at the top hinge with a longer screw that bites into framing is a standard fix.
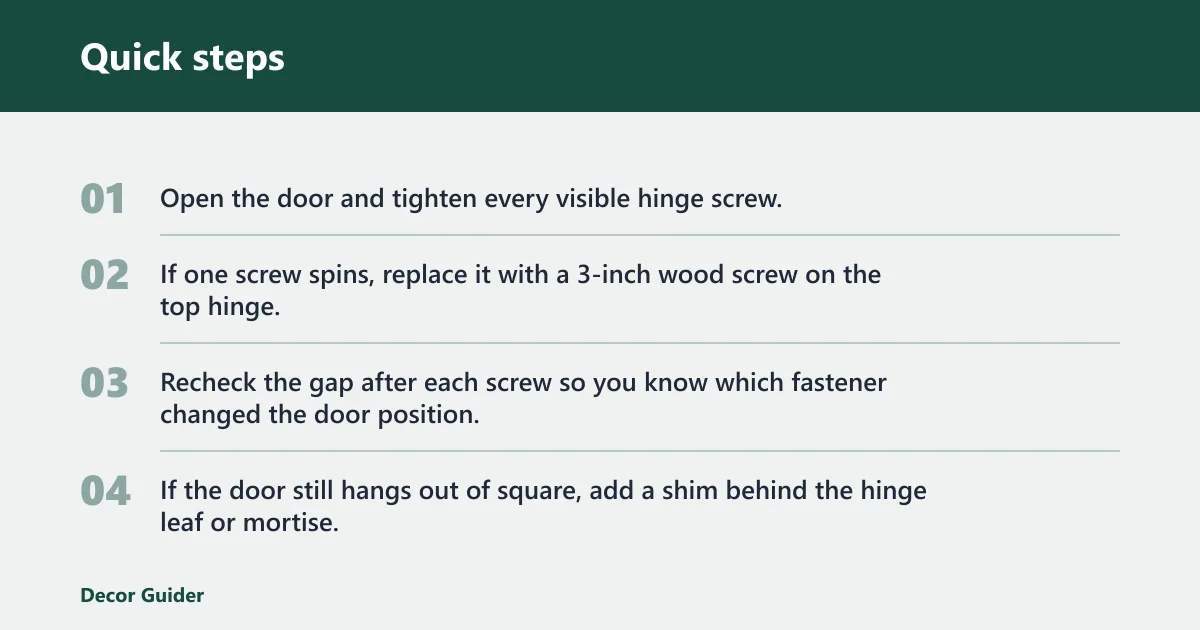
- Open the door and tighten every visible hinge screw.
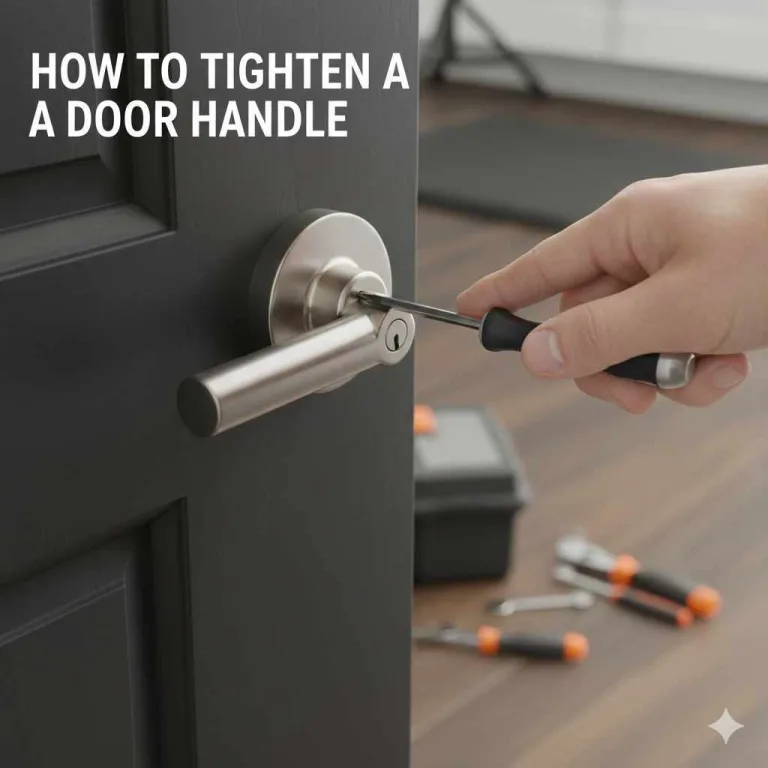
- If one screw spins, replace it with a 3-inch wood screw on the top hinge.
- Recheck the gap after each screw so you know which fastener changed the door position.
- If the door still hangs out of square, add a shim behind the hinge leaf or mortise, then retighten.
Shims can be cardboard or thin material. Place them behind the hinge leaf or in the mortise to correct a slight drop. A shim changes the door’s angle at the hinge: even a thin shim can move the latch edge enough to widen the top gap and reduce rubbing, but too much shim can create a new bind elsewhere. If your front door has a tight top latch corner but the bottom edge clears fine, a stripped top hinge screw and a 3-inch replacement may solve it without touching the wood edge.
If the screw holes are badly enlarged or the hinge mortise is crushed, stop before the repair gets bigger. That points to frame or hinge damage, not simple seasonal swelling. If the top hinge leaf is pulling away from the jamb, or the wood around the screw holes is soft and crumbling, it is time to stop DIY and move to a carpenter or door specialist.
Step 2: Test the strike plate and latch
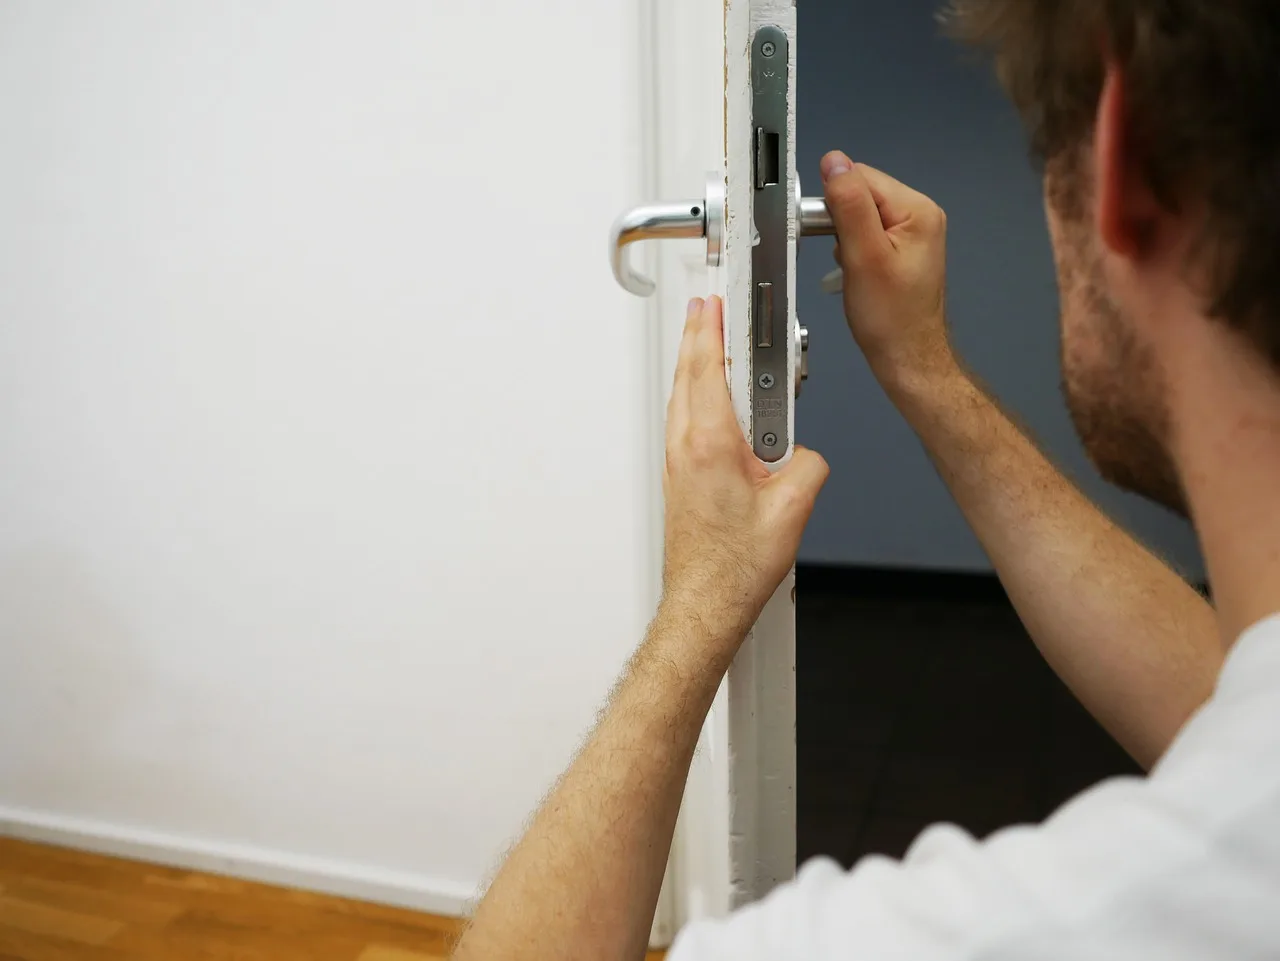
If the door closes almost fully but the latch will not catch, the strike plate is the next target. The strike plate is the metal part inside the frame that receives the latch. A slight shift in the door jamb can move it out of line enough to block closure.
- Close the door slowly and mark where the latch hits the strike plate.
- Tighten the strike plate screws first.
- If the latch is close but not centered, file the opening slightly.
- Check the door jamb for movement at the hinge mortises and strike area.
Suppose the door shuts, but the latch clicks and springs back. That usually means the latch is hitting the plate too high or too low, not that the whole door needs trimming. If the jamb appears to shift as the door closes, stop and inspect the frame before changing the plate again.
When should you sand or plane the edge?
Use sandpaper for minor rub points or paint buildup. It is the least aggressive material-removal option, and it works well with a sanding block. Choose a hand plane only after humidity checks, hinge fixes, shims, and strike plate alignment have failed to solve the bind.
Plane only enough to restore clearance, not to create a large permanent gap. If the door only sticks during humid months, accept a little seasonal tightness rather than removing so much wood that the door feels loose in winter. As a rule of thumb, if the rub is narrow and localized, sanding is the safer first move; if the rub is broad or diagonal across the edge, stop and reassess the hinge and frame before cutting wood.
If that didn’t work, try this next
- Mark the exact rub line with a pencil.
- Sand the contact edge lightly, then close the door and recheck.
- If the rub remains, plane the edge in thin passes and test after each pass.
- Seal or repaint every exposed edge after trimming.
Trimmed wood must be resealed or repainted. Exposed end grain absorbs moisture fast, and that can restart the same problem next summer. Lifehacker specifically recommends painting or sealing exposed wood after trimming. Pay special attention to the top, bottom, and latch-side cut edges, because those surfaces take up moisture quickly.
Front doors need a weather-first check. Outdoor humidity, rain exposure, and sun can all change how the slab fits the jamb. Interior humidity still matters, especially if the door opens into a humid entryway, but the exterior side may swell first when the finish is worn.
Look for weather exposure first
Check the outside face, top edge, and bottom edge for failed finish, bare wood, or swollen paint lines. A front door with exposed edges can absorb moisture faster than an interior door. If the hinge side is fine but the latch side swells after storms, improve the finish before removing more wood. If the door already has multiple bare edges, sealing those surfaces is often the difference between a one-season repair and a recurring bind.
Common mistakes
People often plane too early. That can remove useful clearance before the hinges or strike plate are even checked.
Another mistake is fixing only the latch and ignoring sag. A loose top hinge can move the whole door enough to make the strike plate look wrong.
Removing too much wood is another easy error. If the door only binds in humid weather, a little seasonal resistance may be better than a permanent oversized gap.
Skipping finish repair is also costly. Bare edges soak up moisture and invite the same problem again.
Finally, do not miss frame or jamb movement. If the reveal shifts, the issue may be the opening itself, not the door slab.
How do I stop my door from sticking every summer?
Prevent repeat sticking by sealing the door surfaces, watching indoor humidity, and checking the hinges before damp weather sets in. A door that stays protected is less likely to absorb moisture through raw edges. If the room stays consistently humid, the door will keep reacting unless the moisture source changes.
Keep an eye on the top hinge screws, the strike plate, and the finish at the top and bottom edges. Those are the places most likely to drift first. If your home regularly runs above 50% RH, the first prevention win is usually moisture control, not trimming.
Prevention checklist
- Seal or repaint the top, bottom, and side edges after any trimming.
- Check the door in humid weather before you remove more material.
- Watch a hygrometer during the wettest weeks.
- Retighten hinge screws at the first sign of sag.
- Keep the strike plate centered on the latch.
Frequently asked questions
How to fix a door that swells in the summer
Start with the top hinge and humidity, not the plane. Tighten hinge screws, replace a stripped top screw with a 3-inch wood screw, and check the strike plate. If the rub remains after the door dries, use sandpaper first and plane only in thin passes. If the sticking disappears when humidity drops back into a normal range, the problem was moisture-driven, not permanent damage.
How to fix a door that wont close in the summer
Check whether the latch is missing the strike plate or the top latch corner is rubbing. Tighten hinges, test the reveal for sag, and file the strike opening only if the latch is close but off-center. If the frame is moving, stop and inspect the jamb. If the gap changes day to day, that is not a trim problem yet.
How to fix a door that sticks at the top
A top stick usually points to hinge sag or moisture swelling at the latch-side corner. Tighten the top hinge first, then use a 3-inch wood screw if the short screw spins. If the door still binds, check the upper gap before removing any wood. If lifting the door changes the gap, you are dealing with sag, not just swelling.
Why does my door stick in summer?
Wood doors absorb moisture and swell in humid weather, so summer is the most common season for sticking. A hygrometer can confirm whether the room is damp enough to matter. If the sticking improves when humidity drops, the cause is usually seasonal swelling rather than a permanent warp.
How do I tell if my door is swelling or warped?
Swelling changes with weather and often eases after a dry spell. Warping stays visible even when the air dries out. Compare the gap at the top, middle, and bottom, then check whether the pattern changes over a week. If it does, moisture is the better bet. If the curve never changes, stop treating it like a seasonal problem.
When should I plane a sticking door instead of adjusting hinges?
Plane only after the hinges, shims, and strike plate are set correctly and the rub remains in the same spot. If the door sticks only during humid weather, leave some clearance instead of removing too much wood. Any trimmed edge should be painted or sealed right away. If the fix requires repeated passes to solve different spots, stop and evaluate the frame.
Products related to this article
Sponsored / affiliate links. As an Amazon Associate I earn from qualifying purchases. I may earn additional commission from eligible campaigns.