How to Fix a Barn Door That Doesn’t Close Flush
To fix a barn door that won’t close flush, measure the gap first. If it varies by more than about 1/8 inch from top to bottom, check geometry or door warp before adjusting the latch. Skip that check, and you can chase the adjustment, make the door bind, rebound open, or wear the hardware. This guide shows how to tell a stop issue from a track issue, find hinge-side drift, spot slab warp, and make the fix without guessing.
Why the door stops short
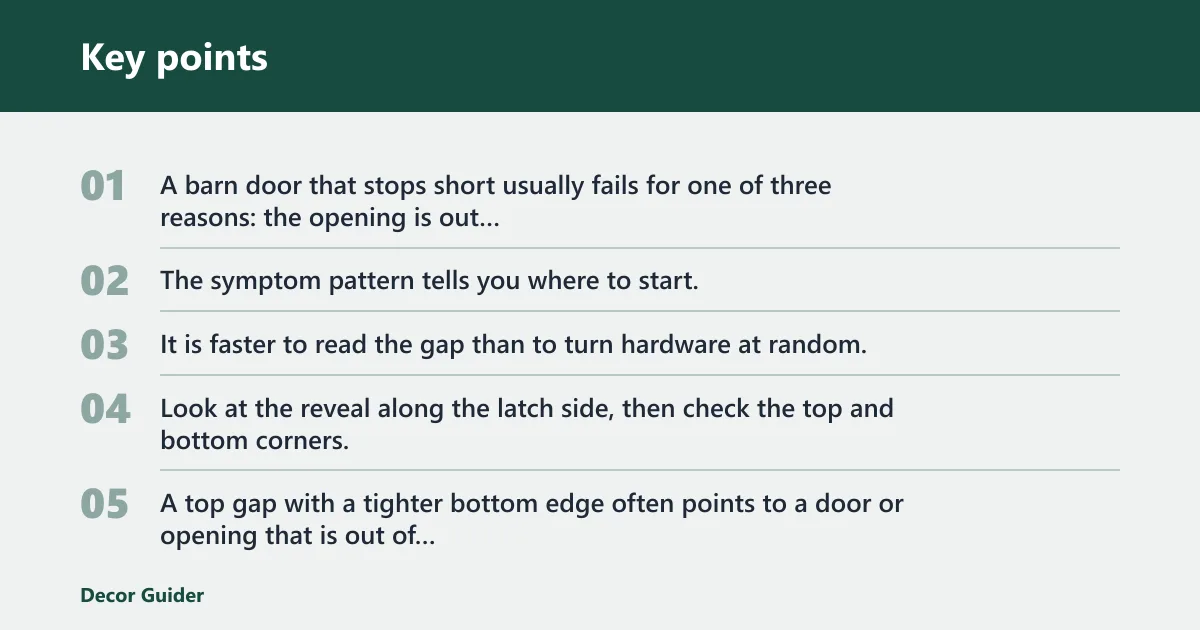


A barn door that stops short usually fails for one of three reasons: the opening is out of square, the track or roller setup sets the slab too far from the wall, or the door itself is warped. The symptom pattern tells you where to start. It is faster to read the gap than to turn hardware at random.
Read the gap pattern
Look at the reveal along the latch side, then check the top and bottom corners. A top gap with a tighter bottom edge often points to a door or opening that is out of square. A gap at the latch side alone can mean the slab sits too far off the wall, or the closed stop is set wrong.
Picture a 36-inch slab that almost meets the jamb but leaves a 3/16-inch gap at the latch side while the top edge looks square. That pattern usually points away from floor guide trouble and toward standoff depth, roller height, or a mispositioned stop.
Separate door, wall, and hardware causes
Before adjusting anything, decide whether the issue comes from the slab, the wall, or the moving hardware. The track can be level and still fail if the wall is out of plumb. The door can also be straight and still miss closure if the hangers place it too far from the casing.
A common first-timer mistake is tightening the rollers before checking the wall behind the door. That can make the bottom edge track correctly while the top corner still misses the stop.
Check whether the door bounces open or hits trim
If the door closes, then rebounds open, the stop position or soft-close setting may be wrong. If the slab hits casing or baseboard before it reaches full closure, the problem is wall clearance, not just alignment. Those are different fixes.
Barn door troubleshooting matrix
Use the symptom pattern below to narrow the fix. The goal is to identify the most likely cause, confirm it with one measurement, and stop before you create a new problem.
| Symptom pattern | Most likely cause | What to measure | Adjustment to make | When to stop DIY |
|---|---|---|---|---|
| Gap at the latch side | Roller height, standoff depth, or stop position is off | Gap size at top and bottom latch corners; door-to-wall clearance | Adjust hanger height, confirm track-to-wall standoff, reset the closed stop | Stop if the door still sits crooked after both hangers are set within their adjustment range |
| Top gap or bottom gap | Opening out of square, twisted slab, or track not level/plumb | Compare top and bottom reveals with a tape measure | Recheck track level and plumb; verify the opening reference before moving hardware | Stop if the slab remains twisted when checked with a straightedge |
| Door bounces open | Stop is too far out, soft-close timing is off, or latch alignment is weak | Closed position against the stop and catch alignment | Move the stop, then recheck the latch or soft-close position | Stop if the mechanism cannot hold position without forcing the door |
| Door hits casing or baseboard | Insufficient wall clearance or oversized trim interference | Clearance behind the slab along the full travel path | Reposition the track if possible, or trim the interference point | Stop if moving the track would require unsafe anchoring or no stud support |
Check track alignment first
The track sets the travel path, so it should come before roller tuning or latch work. Verify that the track is level, plumb, and fastened into studs. Also check the standoff depth and the spacing from trim and casing, because the door needs room to sit flat without rubbing the wall.
Confirm level and plumb
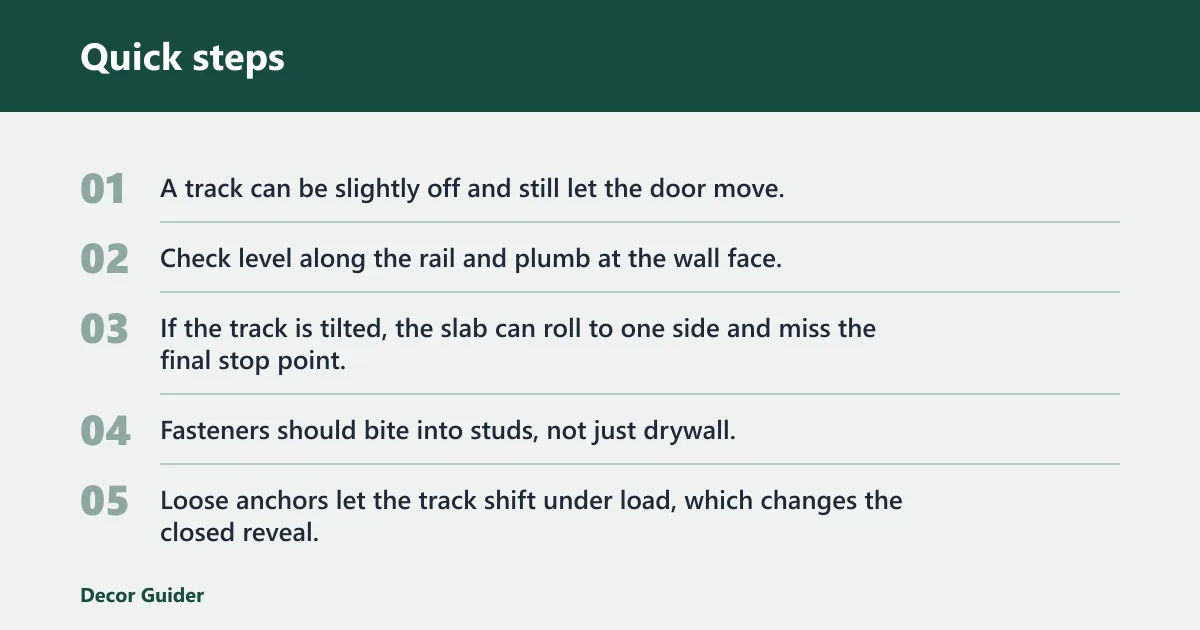
A track can be slightly off and still let the door move, but the closed position will drift. Check level along the rail and plumb at the wall face. If the track is tilted, the slab can roll to one side and miss the final stop point.
Inspect fasteners into studs
Fasteners should bite into studs, not just drywall. Loose anchors let the track shift under load, which changes the closed reveal. If the rail moves when lightly pressed, stop and re-anchor it correctly before making other changes.
Measure track-to-wall standoff
The standoff determines how far the door sits from the wall. Too little clearance can make the slab rub the casing; too much can leave a visible gap at the latch side. Many installs need about 1/2 inch to 1 inch of track-to-wall offset, but the right amount depends on trim thickness and door thickness.
Verify spacing from trim and casing
Check the whole travel path, not only the closed spot. Interference often shows up where casing projects farther than expected or where a baseboard kicks the door outward. If the door clears one section but not another, the wall is part of the problem.
Is the opening out of square?
Yes, and that matters more than many people expect. If the opening is out of square, the door can be adjusted to look right at the top while still leaving a bottom gap, or vice versa. Use the jamb as a plumb reference and compare the reveals before you move the hardware again.
Use the jamb as a plumb reference
Hold a level against the jamb or adjacent trim to see whether the opening leans. If the reference line is off, the door may be following the wall correctly and still fail to close flush. That means the fix is geometry, not just roller tuning.
Compare top and bottom reveals
Measure the gap at the top latch corner and the bottom latch corner. A difference larger than about 1/8 inch usually points to a twisted slab or an opening that is not square. Match the diagnosis to the gap pattern before you touch the stop.
Spot trim interference and casing conflicts
If the door brushes casing at one point in travel, the opening may be square enough for a hinged door but still wrong for a sliding slab. Barn doors need clearance behind the wall face. Trim profiles, baseboards, and door thickness all affect the final seating.
Set the rollers and hangers
Roller and hanger hardware control vertical height and how the slab sits against the wall. Most systems allow some adjustment range, but only within their designed limits. Check wheel wear and the load rating as well, because worn wheels or under-rated hardware can make the door drift or bind.
Use the adjustment range correctly
Raise or lower both hangers evenly unless the gap pattern proves one side needs correction. Uneven changes can hide the symptom at the latch while creating a new top gap. Adjust in small steps, then recheck the reveal after each move.
Check wheel wear and binding
Flat spots, rough bearings, or side play can stop the door from settling into the stop. If the wheels wobble or drag, the slab may bounce back before it seats. Replace worn rollers instead of trying to force a correction through the stop.
Match hardware load rating to the door
The hanger and roller set should match the door weight. An under-rated kit may work at first and then slip out of alignment as the wheel surfaces wear. If the hardware rating is too low, replacement is the safer fix than continued adjustment.
Fix the closed position
The door stop sets where the slab finishes travel. If it is too far out, the door can bounce open; if it is too far in, the door may never reach full closure. Soft-close hardware can also affect final seating if the kit is not compatible with the rail or slab weight.
Place the door stop correctly
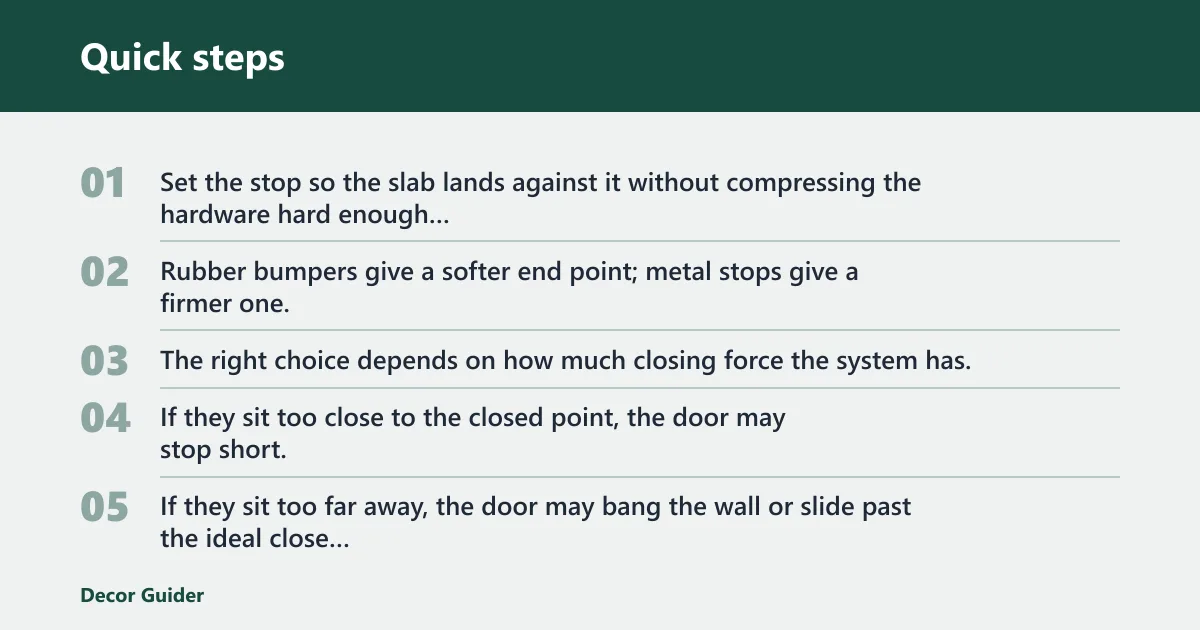
Set the stop so the slab lands against it without compressing the hardware hard enough to rebound. Rubber bumpers give a softer end point; metal stops give a firmer one. The right choice depends on how much closing force the system has.
Set end-stop travel
End-stops limit overtravel. If they sit too close to the closed point, the door may stop short. If they sit too far away, the door may bang the wall or slide past the ideal close position.
Add or adjust soft-close hardware if needed
Soft-close mechanisms can help control the last inches of travel, but they are not universal. They need compatible hardware kits and can change where the slab finishes. If the door closes, then hangs slightly open, the soft-close trigger or stop placement may need correction.
If a door is about 42 inches wide and closes cleanly until the last 2 inches, then rolls back about 1/4 inch, that can point to stop placement or soft-close timing issues. That usually points to stop placement or soft-close timing, not a warped slab. Changing the latch first would not solve the rebound.
Will the door stay closed?
A door that closes but will not stay shut needs a hold-closed method, not another round of geometry changes. The latch or lock set must align with the strike or catch, and any flush pull should clear the wall and hardware when the slab seats fully. Privacy locks need the same alignment as a simple catch.
Align the latch or lock set
Check the catch height against the closed position. If the latch sits above or below the strike point, the door may look flush and still pop open. Move the catch only after the door’s travel and stop position are correct.
Match flush pulls to the strike or catch
Flush pulls must clear the wall and not interfere with the door stop or casing. A pull that is too deep or too proud can keep the slab from sitting flat. If the pull touches the wall before the latch engages, the hardware is fighting itself.
Choose the right hold-closed method
Use the lightest method that actually holds the slab in place. That may be a simple catch, a privacy lock, or a compatible soft-close kit with a positive closed position. A heavy-handed fix can make the door hard to slide and accelerate wear.
Barn door alignment checklist
Work through this checklist after each adjustment. It keeps the diagnosis focused on the real cause and helps you avoid changing three parts at once.
- Measure door thickness and confirm wall clearance behind the slab.
- Check that the track is level, plumb, and anchored into studs.
- Confirm the track-to-wall standoff clears casing and baseboard.
- Verify the floor guide is the right width for the door thickness.
- Center the floor guide in the opening and install it square.
- Make sure the guide prevents the slab from swinging away from the wall.
- Inspect the rollers for wear and confirm the load rating matches the door.
- Set the closed stop so the slab lands without bouncing open.
- Recheck the reveal after each change, especially at top and bottom corners.
The floor guide matters more than many people assume. It should fit the door thickness, sit centered at the opening, and install square so the slab cannot swing away from the wall. If it is too loose or off-center, the door may look aligned but still drift at the latch side.
Frequently asked questions
Why won’t my barn door close flush
A barn door usually will not close flush because the opening is out of square, the standoff is wrong, the stop is misplaced, or the slab is warped. Measure the reveal at the top and bottom latch corners first. If the difference is more than 1/8 inch, diagnose geometry before changing the latch.
How do I stop a barn door from swinging away from the wall?
Use a centered floor guide that matches the door thickness and is installed square to the opening. It keeps the slab from swinging away from the wall as it moves. If the guide is too wide, too loose, or off-center, the door can drift and miss the closed position.
Products related to this article
Sponsored / affiliate links. As an Amazon Associate I earn from qualifying purchases. I may earn additional commission from eligible campaigns.
 Eilitowes Luminous Barn Door Lock - 90 Degree Gate Latches Flip Latch Safety Door Bolt Lock Hardware - Glow in The Dark Sliding Door Lock for Bathroom, Garden, Garage, Pet Cage (Black, 1 Pack)
 LUVHAUSER 1 Pair Side‑Mount 3‑Section Full Extension Soft‑Close Drawer Slides,22 Inch /55.9cm Heavy‑Duty Cold‑Rolled Steel Ball Bearing Slides, Quick Release,100LB(45kg) Capacity for Kitchen & Dresser