How to Install a Door Threshold on Hardwood Flooring
To install a door threshold on hardwood flooring, choose a threshold that spans the doorway gap without pinching the boards, keep a small expansion gap at the hardwood edge, and fasten the threshold into the subfloor or jamb, not the finished floor. If those points are missed, seasonal movement can bind the boards, weather can get past the sill, and the transition can loosen or become noisy. Hardwood manufacturers commonly require perimeter movement space, and exterior thresholds need weather-resistant sealing at exposed joints. NWFA Technical Guidelines and weather-sealing guidance support the basic approach.
What you’ll need



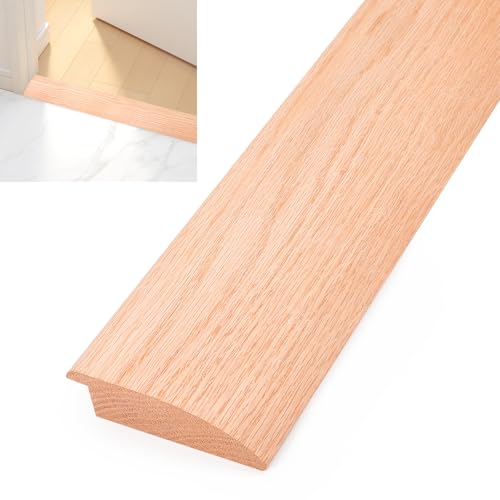
Tools and materials for the install
- Replacement threshold: wood, metal, or composite, sized for interior or exterior use
- Measuring tape and square
- Pencil for marking cut lines and offsets
- Utility knife or oscillating tool for old sealant
- Handsaw, circular saw, or miter saw for trimming length
- Jigsaw or bandsaw for notches and irregular cutouts
- Drill/driver with countersink bit
- Wood screws sized to reach the subfloor without punching through the finish surface
- Masonry anchors if the threshold fastens to concrete
- Wood or composite shims
- Wood glue or construction adhesive, if the install calls for both adhesive and screws
- Paintable caulk for interior gaps, or exterior-grade sealant for exterior doorways
- Wood plugs, filler, or color-matched concealment for visible screw holes
- Painter’s tape and a scrap board to protect the hardwood finish
Hardwood threshold fit checklist
Doorway fit checklist before cutting
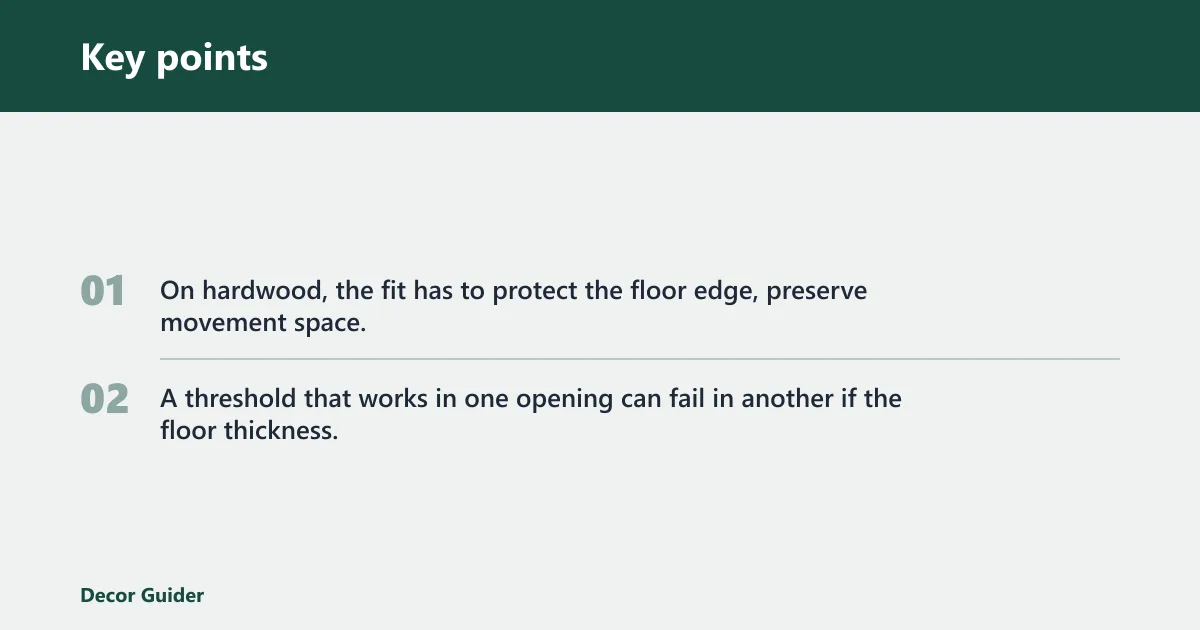
Check the doorway before cutting anything. On hardwood, the fit has to protect the floor edge, preserve movement space, and match the transition height without forcing the threshold to rock or pry against the boards. A threshold that works in one opening can fail in another if the floor thickness, jamb shape, or adjacent surface changes.
| Floor thickness | Doorway width | Floor-height difference | Jamb squareness | Threshold type | Fastening method | Sealant choice | Pass/fail decision |
|---|---|---|---|---|---|---|---|
| Standard hardwood over wood subfloor | Jamb to jamb with trim allowance | Level or near-level transition | Square or slightly out of square | Interior flat threshold | Screws into subfloor | Paintable caulk at minor interior gaps | Pass |
| Thicker hardwood with required movement gap | Exact opening width with little trim margin | Small step between surfaces | One jamb leans slightly | Wood threshold with reducer profile | Screws plus construction adhesive, if allowed | Paintable caulk away from movement edge | Pass if gap and profile are maintained |
| Hardwood over floating floor assembly | Opening is correct but finish edge is tight | Height change needs a ramped profile | Out of square enough to require scribing | Transition strip or floating-compatible threshold | Fasten to substrate only, not the floating floor | Seal only perimeter joints that do not trap movement | Pass only if the threshold does not restrain the floor |
| Hardwood on slab at entry | Doorway width is wide enough for sill ends | Concrete slab rises toward the jamb | Jamb is not perfectly square | Exterior threshold with weather edge | Masonry anchors approved for concrete | Exterior-grade sealant at exposed edges | Pass if anchors and sealant suit the slab |
| Hardwood with visible edge damage | Width is okay but trim cuts will be exposed | Transition creates a sharp trip edge | Jambs force the threshold to twist | Threshold is the wrong profile for the opening | Fastening would land too close to finished flooring | Any sealant would bridge a bad fit | Fail: correct the opening or choose a different profile |
How do you prep the doorway?
Clear the old sill and inspect the opening
Start by clearing the old threshold, protecting the hardwood surface, and checking what the jamb and subfloor are doing. If the old piece was hiding an irregular footprint, that shape needs to be visible before the replacement is cut. This matters on hardwood because a chipped edge is harder to conceal than a gap.
- Remove the old threshold if it blocks the new fit.
- Score paint or caulk at the edges before prying so the finish does not lift with the trim.
- Cover the hardwood with painter’s tape and a scrap board where tools may slip.
- Inspect the jamb, stop, and subfloor for rot, loose fasteners, or a wavy bearing surface.
- Mark the flooring edge and the jamb footprint directly on the boards if the opening is irregular; that kind of layout is often the cleanest way to transfer a custom shape.
If the old threshold leaves a curved notch on one side and a square cut on the other, trace both shapes separately and transfer them to the new piece before any final cuts. A pencil offset helps when spacing is irregular, and a piece of flooring can act as a spacer to mark notch depth with less guesswork. For hardwood movement space, follow the flooring maker’s clearance requirements rather than guessing at the edge distance. NWFA Technical Guidelines are a useful reference for perimeter movement principles.
How do you cut and fit the threshold?
Trim, scribe, and dry-fit before fastening
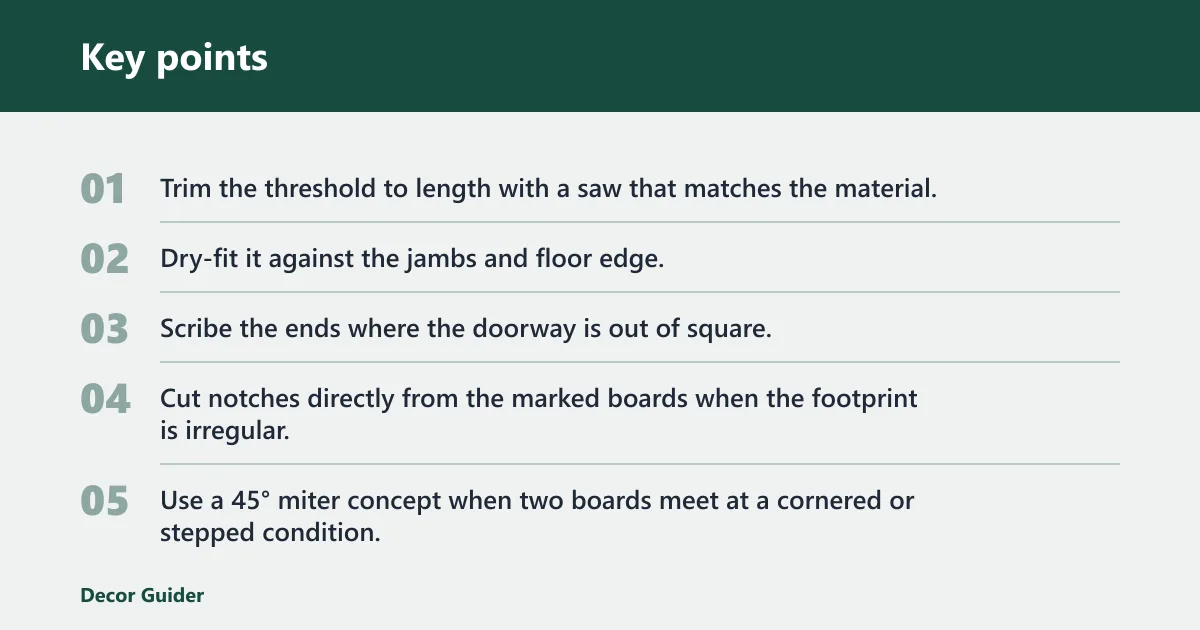
Cut the threshold to length, then shape the ends so it clears the jamb without forcing the piece out of line. For hardwood installs, a tight fit matters, but it should never press on the floor’s movement edge. Leave room for seasonal movement, then dry-fit again before any screws go in. Solid fit comes from correct support, not from forcing the board flat.
- Trim the threshold to length with a saw that matches the material.
- Dry-fit it against the jambs and floor edge.
- Scribe the ends where the doorway is out of square.
- Cut notches directly from the marked boards when the footprint is irregular; a bandsaw is useful for flooring notches, and a jigsaw can do the same job in many shops.
- Use a 45° miter concept when two boards meet at a cornered or stepped condition.
- Set the piece on shims if it rocks, then recheck the height.
- Adjust the threshold in small increments, then dry-fit again before moving on.
A common first-timer mistake is to force the threshold flat by tightening the screws first. If it rocks before fastening, the floor or jamb is telling you the support is wrong. Fix the support with composite or wood shims under the threshold, then test again. Do not rely on fasteners to bend the piece into place. Where the threshold will see weather, a snug fit still needs drainage and sealing at exposed joints rather than a glued-in block that traps moisture. Weather-sealing guidance is useful for exposed openings.
How do you dry-fit, shim, and support the threshold?
Verify support before screws touch the piece
Dry-fitting is where the install is won or lost. The threshold should sit flat on solid backing, not on high spots or loose edges, and it should still allow the hardwood to move where the flooring system requires it. If shims are needed, use them to support low areas rather than to wedge the threshold against the finished floor.
- Set the threshold in place without fasteners.
- Press along the span to find any rocking points.
- Add wood or composite shims beneath low areas until the piece sits steady.
- Recheck door clearance after shimming so the door does not rub the finished edge.
- Confirm that the shimmed areas do not block the required expansion space at the hardwood edge.
- Remove and reset the piece once more if the support changes the fit at the jambs.
If the threshold is in a floating-floor room, support the threshold independently of the flooring rather than locking the floor to the sill. If the room is on a wood subfloor, the fasteners can usually reach solid backing more easily. If the doorway is an entry over concrete, the support plan changes again because the anchors and sealant have to suit a slab, not a wood deck. concrete anchor guidance explains why substrate matters.
How do you fasten the threshold?
Use fasteners that match the substrate
Choose screws, adhesive, or both based on the substrate and the threshold material. Screws give the most control on hardwood transitions, especially where the threshold needs to stay flat and quiet. Adhesive can supplement the hold, but adhesive alone is less forgiving when the doorway is uneven. For concrete, use anchors intended for masonry rather than wood screws; for wood subfloors, fasten only into solid backing and avoid the finished flooring.
- Mark fastener points on the threshold where screws can bite into subfloor or solid jamb material.
- Pre-drill and countersink so the head sits below the surface.
- Use a screw length that reaches solid backing without hitting the finished flooring.
- If fastening into concrete, use masonry anchors rather than wood screws.
- Add adhesive only where it will not squeeze into the hardwood expansion gap.
- Plug visible screw holes if the threshold is wood and the plugs match the face grain direction.
Concrete fasteners are not interchangeable with wood fasteners, and heavy-duty anchors should match the slab condition and load path rather than the trim alone. For exterior thresholds, the choice also affects water resistance because a loose anchor can open a path for moisture. Approved anchor selection and installation practices are summarized in manufacturer technical literature such as concrete anchor guidance.
How do you seal and finish the install?
Seal only the joints that need weather or air control
Seal the perimeter only where it controls air or moisture without trapping movement. Interior openings usually need paintable caulk at small gaps. Exterior doorways need exterior-grade sealant at exposed edges and any joint that can admit water. Color match matters because thick bead lines stand out on hardwood, but the bigger priority is keeping the seal flexible where the threshold and surrounding materials may move.
- Clean dust from the gap and the threshold edges.
- Apply paintable caulk for interior seams, or exterior-grade sealant for outside openings.
- Tool the bead so it bridges the gap without burying the threshold edge.
- Leave the hardwood expansion gap open where the flooring manufacturer requires it.
- Open and close the door to confirm the threshold does not rub.
Exterior thresholds face rain, UV exposure, and freeze-thaw cycles, so the sealant has to tolerate weather rather than just fill a gap. That is why a sealant rated for outside exposure belongs at the perimeter of an entry threshold, while an interior bead can stay simpler. Good exterior threshold practice also keeps the seal at the exposed edge instead of packing every void with caulk. Exterior sealing guidance covers the weather-exposure principle.
How do you finish and check the threshold?
Inspect clearance, trip risk, and final appearance
Finish by checking that the door opens freely, the threshold sits securely, and the transition does not create a catch point. A threshold should not become the only thing supporting the edge of a moving floor, and it should not leave a lip that feels abrupt underfoot. If the finish is visible, plug and touch up only after the fit is confirmed.
- Open and close the door several times to verify clearance.
- Look for rocking, squeaks, or visible gaps at the ends.
- Check that screw plugs or filler sit flush.
- Make sure the threshold does not create an unnecessary trip edge.
- Confirm that the sealant bead is continuous where weather exposure exists.
For basic trip-risk reduction, keep the height change modest, avoid abrupt edges, and use the right profile for the condition. If the opening truly needs a ramp rather than a sill, a transition strip is often the cleaner choice. Thresholds are best when the doorway needs a sill-like barrier; transition strips are better when the job is mainly to smooth a floor change. Public-access standards such as the ADA 2010 Standards for Accessible Design are a useful reference point for avoiding abrupt level changes.
Troubleshooting
Common failure cases and what they usually mean
Most threshold problems come from the wrong profile, weak support, or fastening the piece to the wrong substrate. Hardwood-specific failures often show up as chipped edges, seasonal binding, or a threshold that seems tight on day one and loose later. The fix is usually to recheck support, substrate, and movement space before blaming the material.
- Floating versus nailed hardwood: Floating floors need movement space preserved, while nailed-down hardwood is less prone to shifting but still needs a clean edge. Do not fasten through a floating assembly in a way that restrains movement.
- Concrete slab versus wood subfloor: Slab installs need masonry anchors and often a different seal strategy. Wood subfloors allow screws into solid backing, but only if the threshold hits the structure and not the finished floor.
- Interior versus entry door: Interior thresholds focus on appearance and quiet support. Entry thresholds must also resist weather, water, and air leakage.
- When a transition strip is better: Use a transition strip when the main issue is moving from one floor surface to another, especially when the height change is modest and the doorway itself does not need a true sill.
- Threshold rocks after fastening: One or more high spots remain under the sill, or the shims are not carrying the load evenly.
- Door rubs after installation: The threshold may be too tall, the shims may have lifted the piece, or the door gap was not checked after dry-fit.
FAQ
How do I install a door threshold on hardwood flooring?
Measure the opening, protect the finish, dry-fit the threshold, then fasten it into the subfloor or jamb rather than the hardwood surface. Keep a small expansion gap at the flooring edge, use shims if the support is uneven, and seal only the gap that needs air or moisture control.
How do I install an interior door threshold?
Use an interior-rated threshold, often wood or composite, and favor paintable caulk over exterior sealant. Trim the piece to fit the opening, pre-drill for screws, and avoid sealing the floor edge so tightly that the boards cannot move as needed. A flat profile often works best indoors.
How do I install an entry door threshold?
Pick an exterior threshold with weather resistance, fasten it into solid backing, and seal perimeter gaps with an exterior-grade product. If the doorway sits on concrete, use masonry anchors. Check the height against the hardwood so the sill sheds water without creating a trip edge.
How do I make a wood threshold match existing hardwood flooring?
Choose a wood species or stain tone close to the flooring, then finish the threshold before installation if possible. Match the profile as well as the color. Shape the edge only as needed for the doorway, and keep any decorative routing secondary to the fit and movement requirements.
When should I use a threshold instead of a transition strip?
Use a threshold when the doorway needs a sill-like barrier, especially at an exterior entry or where the opening benefits from weather control. Use a transition strip when the main job is to smooth a floor change between adjacent surfaces. If the height change is the main issue, a strip is often simpler and safer.
Products related to this article
Sponsored / affiliate links. As an Amazon Associate I earn from qualifying purchases. I may earn additional commission from eligible campaigns.