How to Make a Door Childproof on the Inside
Use a childproofing fix that fits the door type, such as knob, lever, sliding, pocket, bi-fold, or hinged. For most interior doors, the safest choice is a lock or blocker that adults can open fast from inside while a child cannot. Installed poorly, it can trap someone inside, fail under pulling, or leave the door easy to open; this guide helps you choose the right method and install it for your exact door.
What you’ll need first
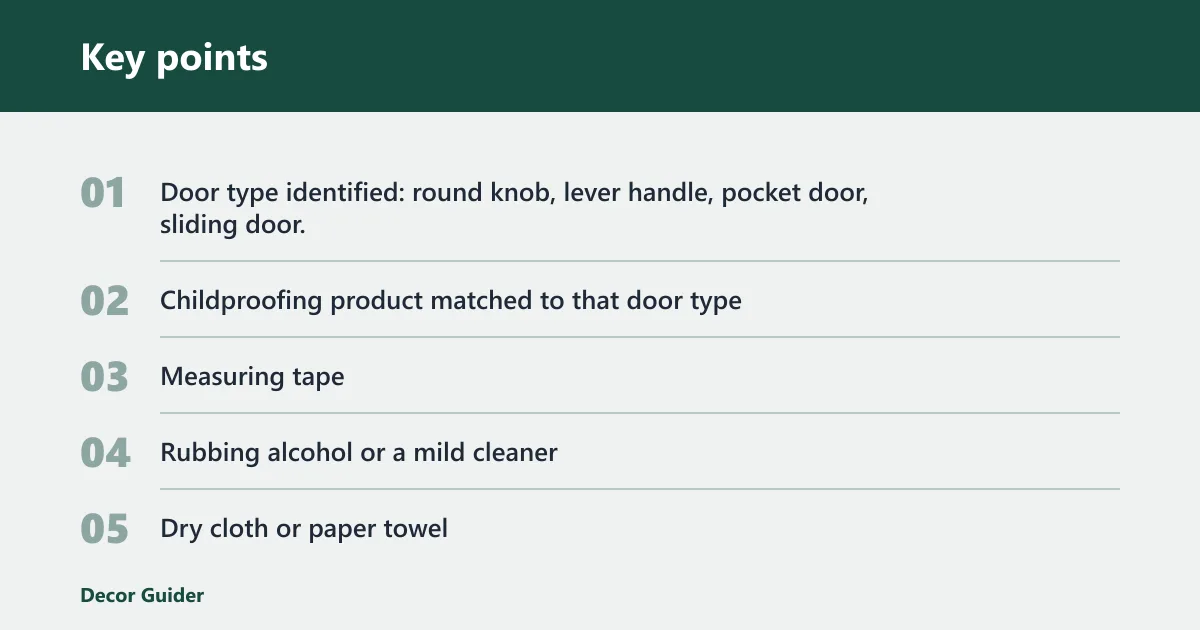


Start by matching the product to the door and the way it moves. The right choice depends on handle style, swing direction, surface condition, and whether the door must stay usable for emergency exit. Adhesive products also depend on clean, smooth, sound surfaces; 3M notes that surface prep, temperature, and dwell time affect bond strength and that rough or low-energy surfaces reduce performance.
- Door type identified: round knob, lever handle, pocket door, sliding door, or hinged door with glass
- Childproofing product matched to that door type
- Measuring tape
- Rubbing alcohol or a mild cleaner
- Dry cloth or paper towel
- Pencil for marking placement
- Screwdriver if you choose a screw-in lock or latch
- Fine-grit sandpaper only if the mounting surface is rough enough to weaken adhesive bond
- Check whether the door swings inward or outward.
- Measure the handle height from the floor.
- Look for textured paint, peeling finish, laminate seams, or uneven trim.
- Confirm the door can still open far enough for emergency exit after installation.
- Keep small parts out of reach during setup.
Door childproofing decision table
| Door type | Safest method | Installation style | Adult access risk | Common failure mode |
|---|---|---|---|---|
| Round knob | Doorknob cover or interior door childproofing lock | Snap-on cover or adhesive/screw-in lock set above child reach | Low if adults can still grip and turn one-handed | Cover slips on oversized or unusually shaped knobs |
| Lever handle | Lever handle lockout cover | Cover that blocks rotate-and-push operation; usually left- or right-hand compatible | Low to moderate if the cover is easy to release from inside | Cover fits loosely or leaves enough room to press the lever |
| Pocket door | Sliding or pocket door child lock | Edge-mounted or top-mounted, depending on clearance and pull recess | Moderate if the latch is hidden or hard to reach in a hurry | Latch binds in the track or cannot clear the recessed pull |
| Sliding door | Sliding door child lock | Top-mounted or edge-mounted, often screw-in for better holding force | Moderate if the lock blocks normal adult slide travel | Adhesive loosens under repeated sideways pulling |
| Glass-pane door | High-mounted latch plus handle-specific lock if needed | Install above child reach and avoid blocking the pane or emergency exit path | Low if the latch stays easy to reach for adults | Child can still open through the handle, or the latch blocks safe escape |
How do you childproof a door on the inside?
Pick a lock that matches the hardware, then mount it high enough that a toddler cannot reach it. For most hinged doors, an interior door childproofing lock or top-mounted latch is better than a floor barrier, because it avoids trip hazards and keeps adult access direct from inside. NFPA guidance on means of egress also makes clear that exits should remain readily openable without special knowledge, tools, or excessive force.
Choose the lock style for the door
Match the product to how the door opens, not just to the handle shape. A knob cover works only for round knobs, while a lever lockout cover is made for a push-down lever. For a hinged bedroom, bathroom, or nursery door, a top-mounted lock can keep the latch above child reach while still allowing quick adult release.
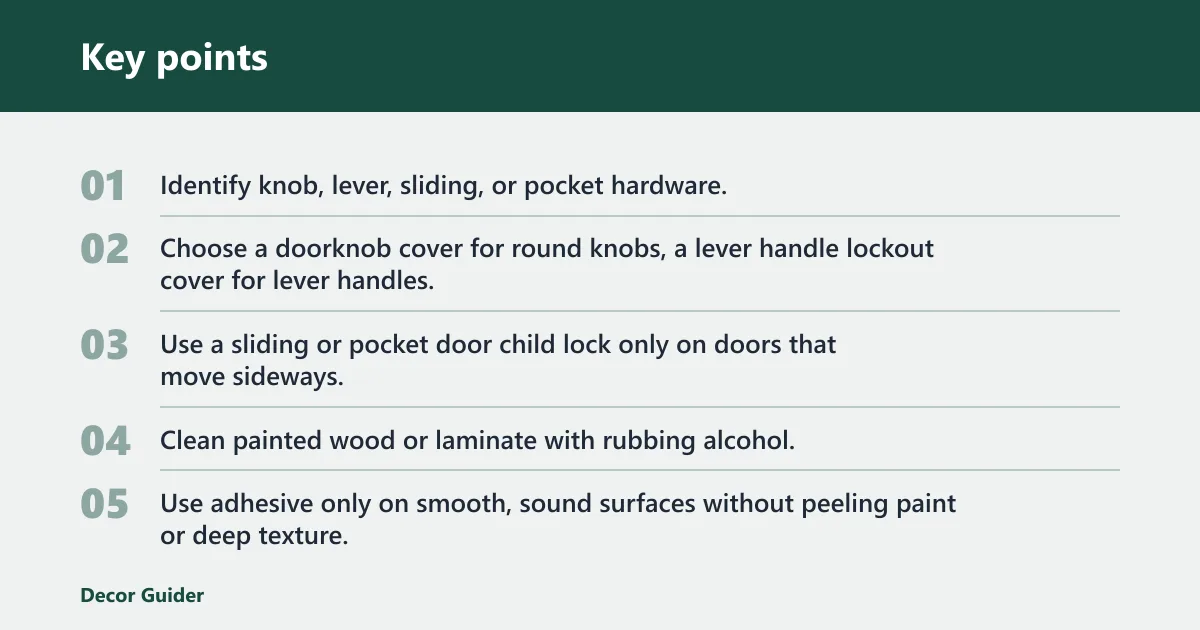
- Identify knob, lever, sliding, or pocket hardware.
- Choose a doorknob cover for round knobs, a lever handle lockout cover for lever handles, or a door-top lock for hinged doors that need adult-only access.
- Use a sliding or pocket door child lock only on doors that move sideways.
Match adhesive or screw-in mounting to the surface
Adhesive can work well on smooth, clean, sound surfaces, but it has limits. 3M states that surface cleanliness, contact pressure, temperature, and cure time affect bond strength; textured paint, peeling finish, or uneven trim can weaken it. If the door will be yanked repeatedly or slammed, screw-in hardware is usually the safer choice.
- Clean painted wood or laminate with rubbing alcohol.
- Use adhesive only on smooth, sound surfaces without peeling paint or deep texture.
- Choose screws if the door gets hard pulling, repeated slams, or frequent use by a determined child.
Install above child reach
Placement matters as much as the product. Put the lock high enough that small hands cannot reach it, but not so high that adults have to stretch awkwardly in an emergency. A straightforward reach from the inside is especially important for bathrooms, bedrooms, and any room where a child could be shut in.
- Mark the latch or cover above the child’s reach, usually near the upper third of the door.
- Keep it clear of trim, glass panes, and swing paths.
- Confirm an adult can still open and close the door with one hand.
Test opening, closing, and emergency access
Test the door the way it will be used in real life. Open it several times, close it several times, and confirm the adult release works without fiddling. Door hardware that is slow to release can create a safety issue if a child is trapped, if someone falls behind the door, or if quick exit is needed.
- Open and close the door ten times.
- Check that the lock does not stick, wobble, or bind.
- Make sure the door still opens quickly from inside in case of fire, bathroom use, or a child locked in a room.
How do you childproof a door handle or knob?
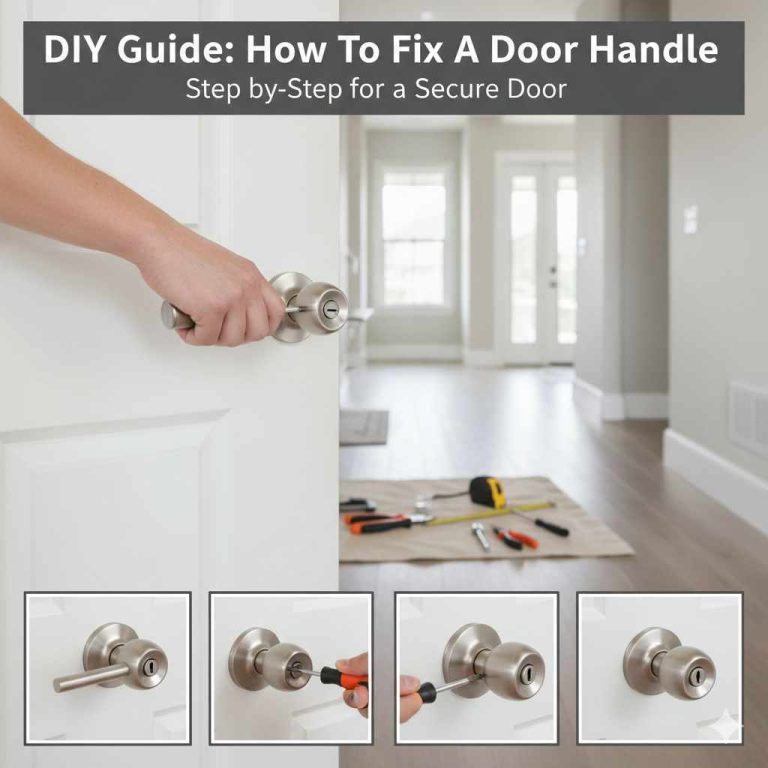
For a round knob, a doorknob cover is the basic fix. For a lever, use a lever handle lockout cover instead; the two are not interchangeable because levers can be pushed down with far less force than a knob needs to turn. The best choice blocks the actual motion of the handle, not just the grip.
Doorknob cover basics
Doorknob covers snap over standard round knobs and leave enough room for an adult hand to grip and rotate the knob through the shell. Many fit common knob diameters, but fit matters more than the brand name. A loose cover can spin, pop off, or let a child get enough grip to open the door.
Lever handle lockout cover basics
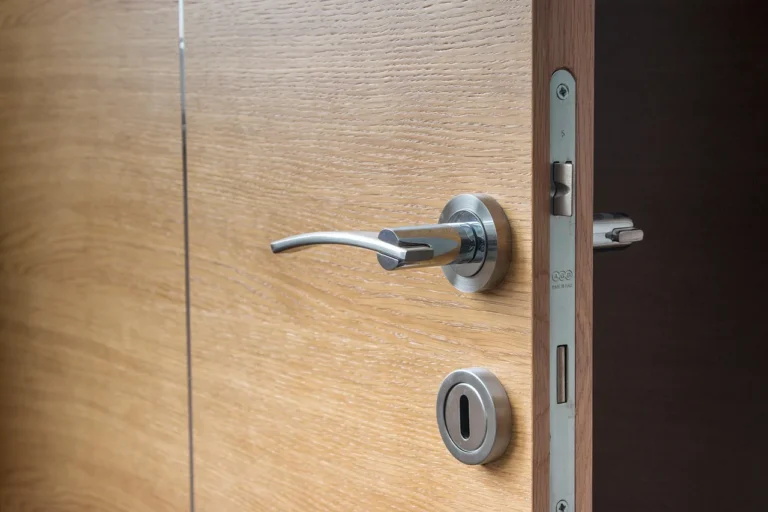
A lever handle lockout cover blocks the rotate-and-push motion used by most lever handles. Look for a design that works on left- or right-hand doors and fully covers the lever’s sweep. If the cover leaves the tip exposed, a child may still press it down with body weight or both hands.
One-handed adult use
Choose a design adults can release with one hand while carrying laundry, a child, or a basket. That matters for bedrooms and bathrooms, where delayed access can create a safety problem. If a product needs two hands every time, it may be too awkward for daily use.
Common fit problems
Knobs that are larger than standard, decorative levers, or handles set close to trim can defeat a cover. Recessed or unusually shaped hardware often needs a different product, not a tighter push. If the cover rides up, bind, or leaves a gap, move to a model made for that hardware or switch to a high-mounted latch.
How do you baby proof a pocket or sliding door?
Use a lock made for sideways movement, not a knob or lever solution. Pocket doors and sliding doors fail in different ways: the panel can slide past a weak catch, or the latch can bind because the recessed pull leaves too little room for the mechanism. Measure clearance before buying.
Edge-mounted options
Edge-mounted locks grab the door edge and stop the panel from moving. They work best when the door edge is accessible and the latch has enough bite to resist repeated pulls. On thin or lightweight panels, a screw-in mount usually holds better than adhesive alone.
Top-mounted options
Top-mounted locks sit above child reach and are often better for a child who can already reach the edge hardware. They need enough space between the top of the door and the frame for the latch body. If the top gap is tight, the lock may scrape or refuse to close cleanly.
Clearance for recessed pulls
Many pocket doors use recessed pulls, which can block some latches from sitting flat. Check the depth of the pull cavity before buying. If the latch must sit where the pull opens, it may bind every time the door moves and wear out faster.
When a latch can bind
A latch can bind if the track is out of alignment, the door sags, or the lock is mounted slightly off square. In that case, even a strong product may fail to hold. Recheck the track and the strike position before blaming the lock itself.
How do you childproof an inward-opening door?
For an inward-opening door, the goal is usually to keep the child from opening it from the inside while preserving a fast adult exit. A high-mounted interior lock, a doorknob cover, or a lever lockout cover is usually the right approach. Avoid devices that make the door hard to open in a hurry or that require a key to get out.
Best methods for inward-opening doors
On a hinged bedroom, bathroom, or nursery door, use a top-mounted lock or a handle-specific cover. Top-mounted hardware keeps the child from reaching it and can be easier for adults to release than floor or bottom-edge blockers. If the door has a lever, a lever cover is usually more practical than replacing the entire handle.
Failure modes to watch
Inward-opening doors can create pinch points at the hinge side and around the frame. A device that blocks the door too tightly may prevent quick exit or make the door slam harder when released. If the door has glass, confirm the lock does not force the child to pull near a pane or corner where breakage could cause injury.
How do you keep a child from locking themselves in a room?
Use a childproofing method that prevents the child from operating the lock from inside, but still lets an adult get in quickly. A handle cover, a high-mounted latch, or an exterior-only override is usually safer than a privacy lock that can be turned from the room side. The key question is whether an adult can open the door immediately without searching for a tool.
Best methods for this problem
For most bedrooms and bathrooms, a high-mounted lock or a covered knob is the simplest answer. If the room has a lever handle, a lever lockout cover can prevent a child from turning it while still allowing fast adult access. If the child is very young, choose the method with the fewest moving parts.
Failure modes to watch for: a device can fail
A device can fail if it is too hard for adults to release, if it loosens over time, or if a child learns to reach around it. Some blockers also create a false sense of security: they prevent opening but make the door harder to release in a panic. Test the door from both sides and make sure the adult path is simple.
What should you use for a bedroom door?
For a bedroom door, the safest choice is usually a lock that blocks a child’s reach without slowing an adult exit. A doorknob cover works well for a round knob; a lever handle lockout cover works better for a lever. If the room needs privacy but not full locking, a high-mounted latch is often the better long-term option.
Best method by hardware
Round knobs pair well with a knob cover because the child cannot turn the knob through the shell. Lever handles need a lever-specific cover because the child can press the handle with very little force. If the bedroom has a pocket door or sliding door, use a side-moving door lock rather than a knob solution.
Failure modes to watch for: bedroom doors often get slammed
Bedroom doors often get slammed, so adhesive can loosen if the surface is dusty, textured, or uneven. Another risk is adult inconvenience: if the chosen lock requires awkward two-handed operation, people stop using it correctly. A bedroom lock should be simple to reset and fast to open in the dark.
Anti-tip and anti-slam door safety considerations
Childproofing should not create new pinch or trapping hazards. Hinges can pinch fingers on the hinge side, door stops can keep a door from swinging too far, and some soft-close devices can fail in a way that lets the door slam harder than before. Glass doors add another safety layer: if the panel shatters or flexes under stress, a poorly placed blocker can push a child toward the glass edge.
Hinge-side pinch points
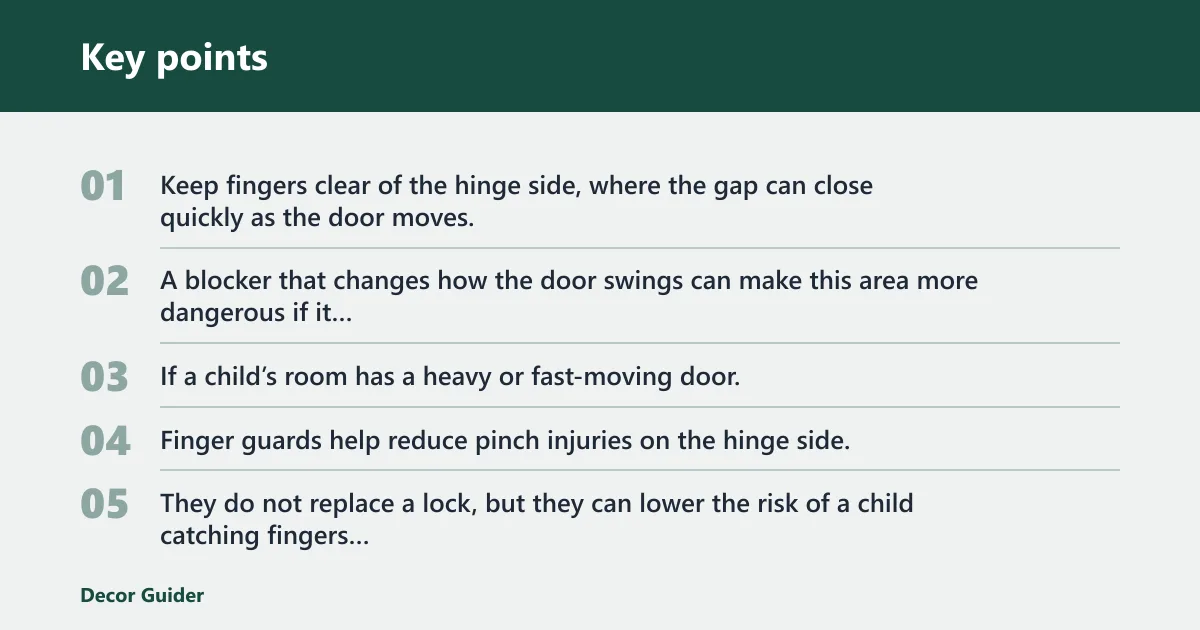
Keep fingers clear of the hinge side, where the gap can close quickly as the door moves. A blocker that changes how the door swings can make this area more dangerous if it causes the door to rebound or move unpredictably. If a child’s room has a heavy or fast-moving door, a finger guard or careful gap management is more useful than a lock alone.
Finger guards and edge protection
Finger guards help reduce pinch injuries on the hinge side, especially on doors that close fast or are frequently used. They do not replace a lock, but they can lower the risk of a child catching fingers while the door is being opened or closed. Use them where there is repeated access and little room around the frame.
Soft-close risks
Soft-close hardware can improve comfort, but it can also mask wear or create a false sense of safety if the mechanism weakens. Some soft-close systems slow the door only near the end of travel; if they fail, the door may slam with more force than expected. Check that the door still latches cleanly and does not bounce open after installation.
Door stops and trapping hazards
Door stops are useful, but a stop that is placed poorly can trap fingers or keep the door from opening wide enough for quick exit. A childproofing blocker should not force the door into a narrow swing path that increases the chance of pinching. If the door serves as an emergency route, make sure any stop or catch still leaves a clear, open path.
Glass-door safety
Glass-pane doors need extra caution because hardware placement can affect both visibility and escape. Avoid mounting anything that blocks the pane, interferes with the handle, or forces a child to pull against glass to reach the latch. When glass is present, choose a lock that keeps the door openable from inside and does not require reaching across the pane.
How to mount a childproof lock safely
Adhesive mounting is commonly best on smooth, clean surfaces, while screw-in mounting is often better when the door gets repeated pulling or slamming. The tradeoff is simple: adhesive is easier to remove, but screws usually win when strength matters more than leaving the door unchanged.
Prep painted wood or laminate
- Wipe the area with rubbing alcohol and let it dry fully.
- Remove wax, oil, and dust from painted wood or laminate.
- Press the lock into place only after the surface is dry and cool to the touch.
Wait for adhesive cure time
- Follow the product’s cure time before hard use.
- Do not pull on the lock during that period.
- Recheck adhesion after the wait, then again after the first day of use.
Check temperature and humidity
- Install adhesive products in a room that is not hot, damp, or freshly painted.
- Avoid textured paint, uneven trim, and laminate seams that lift at the edges.
- If humidity is high or the door surface feels slick, move to a screw-in option.
Use screws when strength matters more than removability
Use screws for high-mounted latches, heavy doors, or any setup that must resist repeated force. A common first-timer mistake is to trust adhesive on a bedroom door with rough paint, then find the lock peeling after several openings. If a child can already yank a lever hard enough to rattle the trim, a screw-in lock is the safer next step.
Common mistakes
- Blocking emergency exit: keep bathrooms and sleeping areas openable fast from the inside.
- Ignoring glass panes or windows: do not block visibility or create a fixed barrier that slows escape.
- Using the wrong lock for the handle type: knob covers do not solve lever handles, and lever covers do not fit every knob.
- Skipping retesting after installation: open, close, and release the door several times, then check again after a day.
- Relying on adhesive on textured paint or uneven trim: that is a common failure point.
- Creating pinch points or swing conflicts: keep hands, trim, and nearby furniture clear of the path of travel.
Picture a bathroom door with a lever handle and a narrow frame. A cover that fits the lever but leaves the latch area exposed can still let a toddler press the handle at an angle. A high-mounted latch with clear emergency access is the better answer there.
Final checklist
Before calling the job done, confirm that the door matches the lock, the surface can hold the mount, and the room can still be exited quickly. A childproofing device is only safe if it works consistently, does not create a pinch point, and can be released immediately by an adult.
- The lock matches the door type and handle motion.
- The mounting surface is clean, smooth, and sound.
- The lock is above child reach but easy for an adult to access.
- The door opens and closes cleanly without binding.
- The setup does not block emergency exit.
- Glass areas, hinge-side gaps, and swing paths remain clear.
- The chosen product still works after repeated use.
Frequently asked questions
How do you childproof a door handle so a toddler cannot open it?
Use a handle-specific cover: a doorknob cover for round knobs or a lever handle lockout cover for levers. The cover should block the motion, not just make the handle harder to grasp. If the child can still press the lever or spin the knob, the fit is wrong.
How do you baby proof a pocket door?
Use a pocket door child lock with an edge-mounted or top-mounted design, depending on track clearance and the recessed pull. Measure the gap at the top and check the pull depth before buying. If the latch binds or the panel drags, switch to a different style.
What is the safest way to childproof an interior door without drilling?
Use a well-fitted adhesive lock only on a smooth, clean surface with good cure time and moderate temperature. It is a better no-drill choice for painted wood or laminate than for textured paint, damp rooms, or uneven trim. If strength matters more than removability, screw-in hardware is safer.
How do you childproof a door with a lever handle?
Choose a lever handle lockout cover made for rotate-and-push handles and for left- or right-hand doors. Make sure the cover fully blocks the lever’s movement and still lets an adult open the door one-handed. If the lever sits too close to trim, a different lock style may be needed.
How do you childproof a door with glass or a window?
Use a lock that stays clear of the pane and does not block visibility or emergency exit. A high-mounted latch or handle-specific lock is usually better than anything that crosses the glass area. Check that adults can still open the door quickly from inside without reaching around sharp edges.
Products related to this article
Sponsored / affiliate links. As an Amazon Associate I earn from qualifying purchases. I may earn additional commission from eligible campaigns.