
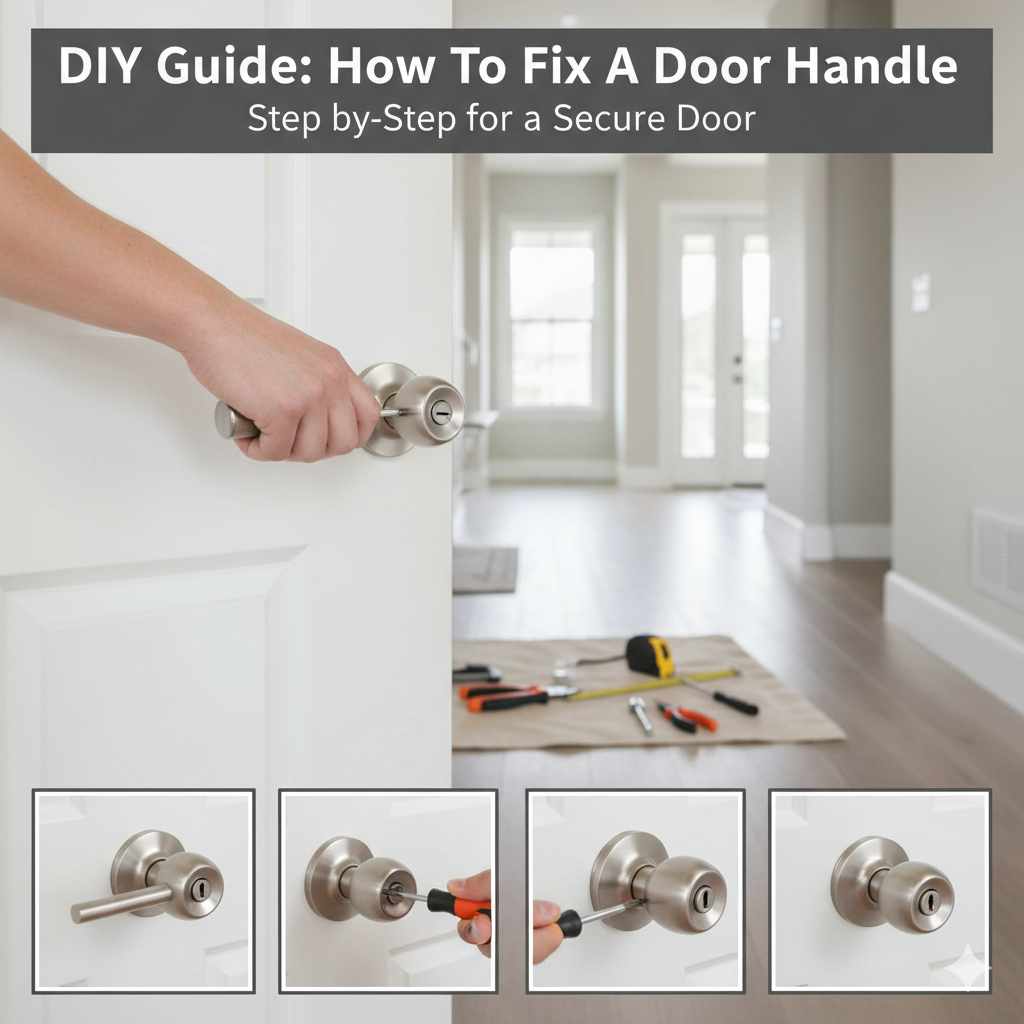
You can fix a loose or broken door handle quickly by identifying the problem—usually loose screws or a detached spindle—and tightening or replacing the necessary components using basic household tools. This guide offers simple, step-by-step instructions to restore your door’s function and curb appeal!
A door handle that won’t turn or feels wobbly can stop your morning routine in its tracks. It’s frustrating when something so simple stops working! You might think a professional is needed, but mastering how to fix a door handle is easier than you imagine. With a few common tools and my simple guidance, you’ll have that stylish, smooth-operating handle back in place. We are going to tackle everything from wobbly levers to handles that won’t latch, making your home feel comfortable and completely functional again.
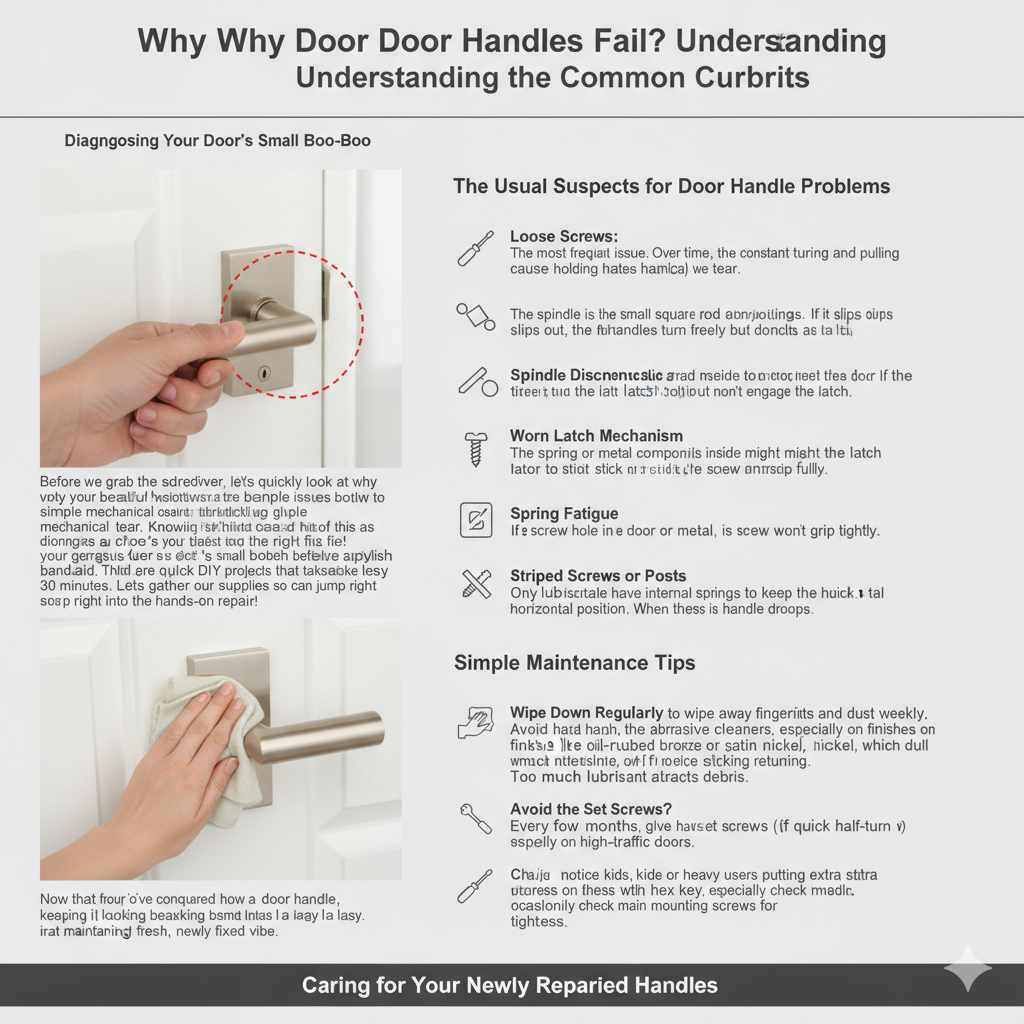
Why Do Door Handles Fail? Understanding the Common Culprits
Before we grab the screwdriver, let’s quickly look at why your beautiful hardware decided to give up the ghost. Most handle issues boil down to simple mechanical wear and tear. Knowing the cause helps you choose the right fix! Think of this as diagnosing your gorgeous door’s small boo-boo before applying the stylish band-aid.
The Usual Suspects for Door Handle Problems
- Loose Screws: The most frequent issue. Over time, the constant turning and pulling cause the screws holding the handle plates (escutcheons) to loosen.
- Spindle Disconnection: The spindle is the small square rod connecting the two handles. If it slips out, the handles turn freely but don’t engage the latch.
- Worn Latch Mechanism: The spring or metal components inside the door might be tired, causing the latch bolt to stick or not retract fully.
- Stripped Screws or Posts: If the screw hole in the door wood or metal is too wide, the screw won’t grip tightly.
- Spring Fatigue: Handles usually have internal springs to keep them in the horizontal position. When these wear out, the handle droops.
Most fixes are quick DIY projects that take less than 30 minutes. Let’s gather our supplies so we can jump right into the hands-on repair!
Essential Tools for Fixing Your Door Handle
You don’t need a full workshop to tackle this job! Having the right, simple tools on hand makes the repair process smooth and frustration-free. Remember, preparing your space is half the battle won in home repair.
Your Quick Fix Toolkit
- Screwdriver Set: You might need Phillips-head (cross-shaped tips) or flat-head screwdrivers. Magnetic tips are a game-changer when working in tight spaces!
- Hex Keys (Allen Wrenches): Small, L-shaped metal tools often required for newer or decorative handles that use hidden set screws.
- Small Pliers or Needle-Nose Pliers: Useful for gripping tiny components or re-aligning the spindle.
- Utility Knife or Small Putty Knife: To gently pry off decorative trim plates if necessary.
- Wood Glue or Toothpicks/Golf Tees: These act as “spacers” if a screw hole has become too large.
- Clean Cloth: For wiping down hardware or catching tiny screws.
If you are unsure what type of screwdriver you need, examine the screw heads on your handle first. This small preparation saves a trip to the garage later!
Step-by-Step Guide: How to Fix a Wobbly Door Handle
A wobbly handle is usually the easiest problem to solve. It almost always comes down to loose fasteners. Follow these steps carefully, and you’ll feel an immediate difference in stability.
Phase 1: Accessing the Internal Components
- Examine Screw Placement: Look closely at the handle plates (escutcheons) on both sides of the door. Are there visible screws holding them in place?
- Remove Decorative Cover Plates (If Applicable): Many modern handles have a decorative plate that snaps or screws over the main mounting hardware. Look for a small notch or slot. Use a thin putty knife or flat-head screwdriver to gently pry this cover plate off, revealing the main mounting screws beneath.
- Locate the Set Screw (For Lever Handles): If you have a lever handle (not a round knob), look underneath the lever itself. You might see a tiny hole with a small screw head inside. This is often a set screw that locks the handle onto the spindle or the mechanism. Use the correct size hex key to loosen this slightly, making it easier to remove the lever itself if needed.
Phase 2: Tightening Everything Up
- Tighten the Mounting Screws: Once you see the main screws holding both sides of the handle assembly together, use your screwdriver to tighten them firmly. Be careful not to overtighten, especially if the door is hollow core, as you could strip the wood. They should feel snug and hold the assembly tight against the door surface.
- Reinstall the Cover Plate: Snap or screw the decorative cover plate back into place.
- Test the Handle: Turn the handle back and forth and check for any wobble. If it’s tight, congratulations! You’ve fixed the most common issue.
If tightening didn’t work, the problem is deeper. Time to move on to issues involving the spindle or the latch mechanism.
Troubleshooting: Fixing Handles That Won’t Latch or Turn
If the handle physically moves but the door bolt (latch) doesn’t retract, or if the handle spins uselessly, the connection between the handle and the actual locking mechanism is broken.
Step-by-Step: Reattaching or Replacing the Spindle
The spindle needs to be correctly positioned to transfer your handle’s movement to the door latch. If it’s shifted, nothing works!
- Remove the Handles Completely: You’ll need to take the handles off both sides. This usually involves removing the exterior screws (as detailed above) and pulling the handles and the spindle rod out of the door edge.
- Inspect the Spindle: The spindle is a square metal rod. Look at the slots or bores on the back of each handle piece—these are where the spindle slides in. Ensure the spindle is clean and has no burrs or damage.
- Align the Spindle: This is the crucial part. The spindle must slide through both handles and securely fit into the square hole in the latch assembly mortise (the hole inside the door edge).
- Reinsert and Secure: Slide the spindle through one handle, then feed it through the latch mechanism hole in the door edge. Finally, slide the second handle onto the exposed end of the spindle, ensuring both handles sit flush against the door.
- Use Set Screws (If Applicable): If your handle uses a set screw (using a hex key) to grip the spindle, tighten that screw firmly once the handle is positioned correctly on the square rod. This prevents future slippage.
- Final Reassembly: Reinstall all mounting screws and decorative plates. Test the action. The latch should retract smoothly when the handle is turned.
Dealing with Stripped Screw Holes
Sometimes, when you tighten a screw, it just spins and spins—this means the wood threads are gone. Don’t worry; this is a simple aesthetic fix that restores function! We use the toothpick trick or specialized fillers.
The Toothpick or Golf Tee Fix
| Tool Needed | Action | Result |
|---|---|---|
| Wooden Toothpicks or Golf Tees | Coat the wood pieces lightly with wood glue and push them deep into the stripped screw hole. | The wood expands and fills the void, creating new, solid material for the screw to grip. |
| Screwdriver | Allow the glue to dry slightly (if using glue), then screw the handle mounting screw back into the now-filled hole. | The screw bites into the new wood material, securing the handle firmly. |
For a long-term, very sturdy fix, you can also use wood filler, let it dry completely, drill a small pilot hole (a starter hole) into the filler, and then reattach your hardware. For advice on wood repair techniques that add durability to your home, resources like the National Association of the Remodeling Industry offer great foundational knowledge on structural fixes.
Diagnosing and Fixing Latch/Sticking Issues (The Mechanism Inside)
If the handles are tight and the spindle is connected, but the door still doesn’t open smoothly, the latch mechanism itself is likely the issue. This is slightly more involved, but still very achievable!
When the Latch Bolt Gets Stuck
The latch is the metal piece that sticks out of the door edge and engages the strike plate on the door frame. If it’s sticking, the door won’t open easily, or it won’t close properly.
- Remove the Mechanism: You need to remove the entire lockset assembly from the door edge. This means removing the screws holding the faceplate (the narrow metal strip visible when the door is open) and pulling the whole mechanism out.
- Inspect for Debris: Often, dust, dirt, or even rust can impede the movement of the latch bolt. Use a can of compressed air or a soft brush to clean out all the crevices.
- Lubrication is Key: Apply a graphite-based lubricant or a silicone spray directly into the moving parts of the latch mechanism. Avoid using WD-40 here if possible, as it can attract dust over time; dedicated lock lubricants are best! You can find excellent, long-lasting lock lubricants designed for residential use which ensure smooth operation.
- Check the Spring: If the latch bolt is not springing back into place after being pushed, the internal spring may be broken or fatigued and the entire mechanism may need replacement.
- Reinsert and Test: Slide the clean, lubricated mechanism back into the door edge mortise and secure the faceplate screws. Test the handle action again.
Aligning the Strike Plate
Sometimes, the problem isn’t the handle at all, but the strike plate—the metal piece attached to the door frame that the latch slides into. If the metal plates aren’t perfectly aligned, the latch hits the frame edge instead of sliding smoothly into the hole.
To check alignment, lightly coat the latch bolt with lipstick or chalk dust. Close the door gently. If the chalk/lipstick leaves a mark on the strike plate somewhere other than the hole, the alignment is off.
Adjusting the Strike Plate
- If the latch is hitting above or below the strike hole, gently loosen the strike plate screws.
- Use a metal file (if you have one) or very gentle tapping with a hammer to widen the hole slightly in the correct direction.
- Close the door again to test alignment. Tighten the screws securely once everything lines up perfectly.
Replacing the Entire Door Handle Set: When to Say Goodbye
If you have tightened, lubricated, and realigned everything, but the handle still droops, spins loosely, or feels inconsistent, it might be time for a replacement. Luckily, replacing a handle is a wonderful way to instantly upgrade the style of a room!
Choosing the Right Replacement Handle
The key to easy replacement is choosing a new set that matches the existing preparation in your door. Measuring correctly prevents having to drill new holes, which is never a beginner’s favorite task!
Crucial Measurements to Take Before Buying
| Measurement Term | What It Is | Why It Matters |
|---|---|---|
| Backset | The distance from the edge of the door to the center of the handle’s cross-bore hole (the main large hole). | Most common backsets are 2 3/8 inches or 2 3/4 inches. Your new latch assembly must match this. |
| Door Thickness | The actual thickness of your door slab. | New handles come with hardware sized for standard doors (usually 1 3/8″ to 1 3/4″). |
| Cross Bore Hole Diameter | The size of the large hole drilled through the face of the door. | If the new hole is too small, you’ll need to chisel more wood. Matching this width makes installation simple. |
The Replacement Process
If you successfully took the old handle apart, replacing it is just following those same steps in reverse, but with new parts!
- Remove Old Hardware: Unscrew and pull off the old handles, latch, and strike plate. Keep the old screws handy in case the new set doesn’t come with suitable ones for your door thickness.
- Install New Latch: Insert the new latch mechanism into the door edge and screw the faceplate on. Ensure the latch “nose” (the slanted part) faces the direction the door closes.
- Install New Handles: Feed the spindle through the latch. Install the exterior handle first, then the interior handle. Secure the mounting screws from the inside.
- Final Touches: Reattach the strike plate to the door frame, ensuring perfect alignment with the new latch component. Test the handle repeatedly.
Replacing hardware is a wonderful opportunity to lean into your personal style! A new handle in matte black or brushed brass can completely refresh a space without needing a single coat of paint.
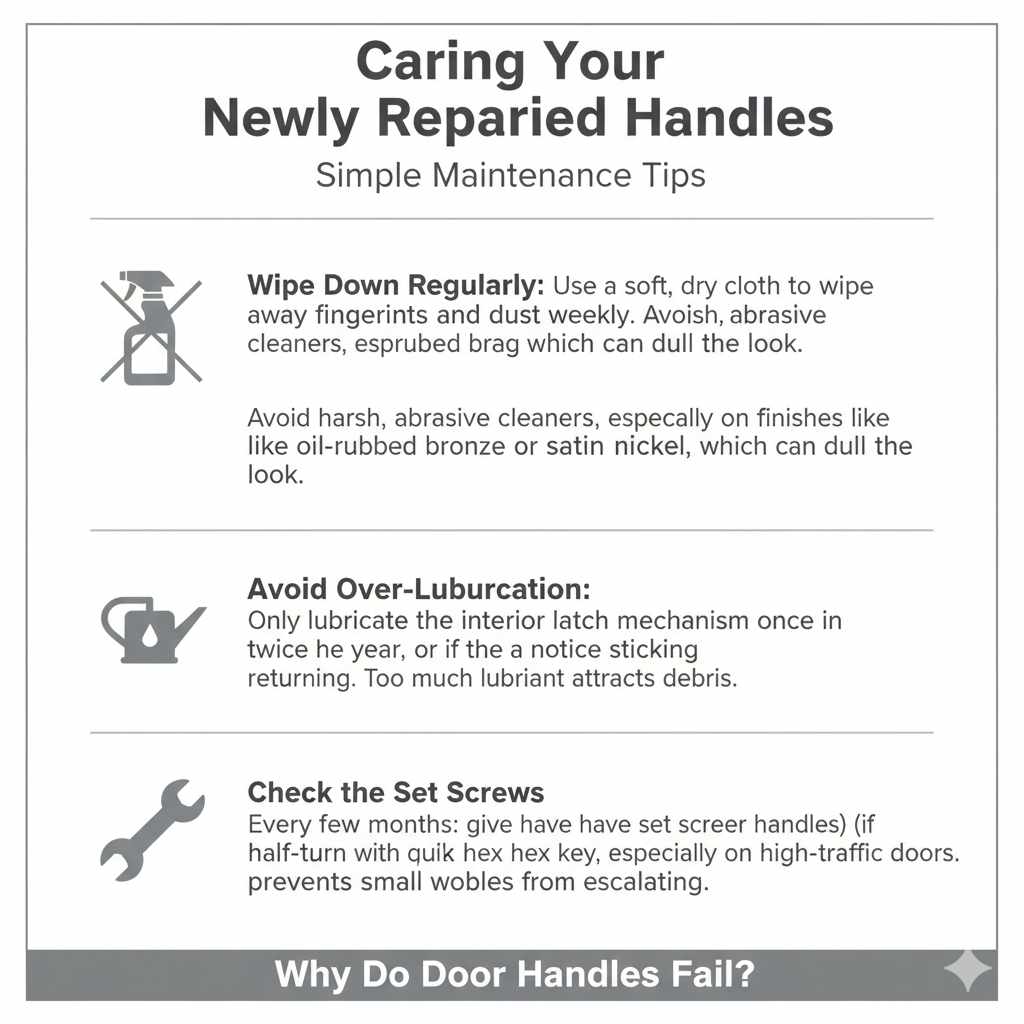
Caring for Your Newly Repaired Handles
Now that you’ve conquered how to fix a door handle, keeping it looking beautiful and functioning smoothly is easy. A little preventative care goes a long way in maintaining that fresh, newly fixed vibe.
Simple Maintenance Tips
- Wipe Down Regularly: Use a soft, dry cloth to wipe away fingerprints and dust weekly. Avoid harsh, abrasive cleaners, especially on finishes like oil-rubbed bronze or satin nickel, which can dull the look.
- Avoid Over-Lubrication: Only lubricate the interior latch mechanism once or twice a year, or if you notice sticking returning. Too much lubricant attracts debris.
- Check the Set Screws: Every few months, give the set screws (if you have lever handles) a quick half-turn with the hex key, especially on high-traffic doors. This prevents small wobbles from escalating.
- Check Adjustments: If you notice kids or heavy users putting extra stress on the handle, occasionally check the main mounting screws for tightness.
Frequently Asked Questions (FAQ) About Door Handle Repair
Q1: Can I fix a broken interior door handle without removing the whole thing?
A: Yes, in many cases you can! If the issue is simply a loose handle or visible screws, you can tighten them without fully removing the handle. However, if the problem involves the spindle, internal spring, or latch mechanism, you will need to partially or fully disassemble the handle to access and fix the internal components properly.
Q2: Why does my door handle feel loose even after tightening the screws?
A: If tightening the screws doesn’t fix the wobble, the issue is likely worn internal parts, a loose spindle, or stripped screw holes. In this case, you may need to reposition the spindle, use the toothpick fix for better screw grip, or consider replacing the handle if the internal components are worn out.
Q3: What type of lubricant is best for fixing a sticky door handle?
A: A graphite-based lubricant or silicone spray is ideal for door handles and latch mechanisms. These options reduce friction without attracting dust and debris, unlike oil-based products which can cause buildup over time.
Q4: How do I know if I need to replace my door handle instead of repairing it?
A: If the handle continues to droop, spin, or fail to latch even after tightening, lubricating, and realigning components, it’s a sign that the internal mechanism is worn out. At that point, replacing the handle is often quicker, more reliable, and can enhance your home’s appearance.
Q5: Can a loose door handle damage my door over time?
A: Yes, it can. A loose handle can enlarge screw holes, wear down internal parts, and even damage the door surface if left unfixed. Addressing the issue early helps prevent bigger repairs and keeps your door functioning smoothly.
Conclusion: Fix It Fast, Restore Comfort Instantly
A faulty door handle might seem like a small issue, but it can quickly disrupt your daily routine and the overall feel of your home. The good news? Most problems—from loose screws to stuck latches—are simple to fix with just a few basic tools and a little patience.
By understanding the root cause and following the right steps, you can restore your door handle’s smooth function without calling a professional. Whether you’re tightening, realigning, or replacing parts, each fix brings back both convenience and confidence to your space.
And beyond function, don’t forget the style factor. A well-maintained or newly upgraded handle adds a subtle yet powerful touch to your home’s overall look.
So the next time your door handle gives you trouble, you won’t stress—you’ll fix it quickly, easily, and like a pro!


