How to Hide LED Strip Lights in Your Car Without the Stuck-On Look
You spent an hour sticking LED strips under your dash, and now they look like a teenager’s first mod — bright dots glaring from exposed tape, wires dangling near the pedals, and a remote receiver you have to poke your head under the seat to use. We’ve all been there. The glow is great, but the hardware is a giveaway.
This guide covers the car-specific side of hiding LED strip lights that most home-focused tutorials ignore. You’ll learn how to plan your power route, choose a strip that bends and diffuses properly, tuck everything behind trim, and secure it against heat and vibration. You’ll also get a clean removal strategy for lease returns or resale. By the end, you’ll have that factory ambient look — not a glowing wire nest.

GRIVER
GRIVER 100 Pack Strip Light Mounting Brackets,Fixing…
- TRANSPARENT COLOR</b>.The clear clips could be hidden in plain sight.
- Easy to fix by one screw for each clip, take down the LED strip light from the other end freely when replace or maintain it.
- 11.15mm hollow distance, 4mm hollow height, ideal for 3528/5050/5630/3014 SMD LED waterproof strip light within 10mm width.Recomme…
As an Amazon Associate I earn from qualifying purchases.
One tool that makes a huge difference is a set of transparent mounting clips. The GRIVER 100-pack strip light mounting brackets are clear, so they disappear against most panels. Each clip screws in once and lets you slide the strip out for maintenance without ripping up the tape. They’re made for 10mm-wide waterproof strips, which covers most 3528, 5050, and 5630 LEDs. You’ll still need a channel or trim tuck for the cleanest look, but these clips are the difference between a strip that sags in July and one that stays put.
Why Car LED Strips Look “Stuck-On” (And How to Fix It)
The problem is almost never the strip itself. It’s the way it’s mounted. A bare strip stuck to a curved door panel with 3M tape will show every bend, every hotspot, and every bit of adhesive that lifts. The LEDs are too bright to look at directly, and the tape can’t follow the panel’s shape.
You need three things for a factory look: a diffuser to soften the dots, a rigid channel to keep the strip straight, and a mounting method that hides the edges. That’s why aluminum channels exist — they hold the strip, spread the light, and give you a clean edge to tuck under trim.
For tight curves, skip the rigid channel and use a flexible profile or tuck the strip behind the trim itself. We’ll get into all of that below.
Pre-Installation: Planning Your Route and Power Source
Before you stick anything, decide where the strip goes and how it gets power. The most common spots are footwells, under the dash, door handles, center console, and under seats. Each has its own wire path.
Your power source matters more than the strip. A cigarette lighter plug works but leaves a visible adapter and a wire across the cabin. Tapping into the fuse box is cleaner, and it’s not hard if you use the right part.
Tapping the Fuse Box (Add-a-Circuit)
An add-a-circuit (fuse tap) lets you draw power from an existing fuse slot without cutting wires. It plugs into the fuse box, holds two fuses — one for the original circuit, one for your LEDs — and gives you a wire to run. This is the standard way to power dash cams and ambient lighting, and it doesn’t void your warranty if done right.
Pick a fuse that’s switched with the ignition, like the radio or cigarette lighter. That way the LEDs turn off when you leave the car, so you don’t drain the battery. Remove the fuse, insert it into the tap’s lower slot, put a matching fuse in the upper slot for your strip, and plug the tap in. Run the positive wire to your controller, and ground the negative to a bare metal bolt near the fuse box.
Check the fuse rating. Most LED strips draw under 2 amps, so a 5-amp fuse in the tap is plenty. Don’t exceed the circuit’s original fuse rating — that’s how you pop a fuse or worse.
Choosing the Right Strip (COB vs. Standard vs. Neon Flex)
Standard 5050 strips have visible dots and harsh hotspots. They work fine hidden behind a diffuser, but bare, they scream “LED strip.”
COB (chip-on-board) strips have a continuous line of light with no dots. They look like neon tubing and are worth the extra cost for exposed applications. The downside is they’re less flexible and can be harder to cut at exact lengths.
Neon flex (silicone-coated strips) gives the same continuous glow but in a round or square profile. It bends around curves well and looks like a custom light pipe. It’s the best choice for door handles and dash lines, but it’s thicker and needs more space to hide.
For most under-dash and footwell installs, a standard 5050 strip inside an aluminum channel with a diffuser is the sweet spot. For visible curves, go COB or neon flex.
The 5 Best Hiding Methods for Cars
Here’s where the real work happens. These methods assume you’ve already chosen your strip and power source.
Method 1: Aluminum Channels (Glovebox, Under-Dash, Trunk)
Aluminum channels are the backbone of clean LED installs. They’re U-shaped profiles that hold the strip and a frosted diffuser lens. The channel hides the strip’s edges, and the diffuser kills the dots.
Mount the channel with screws or strong automotive tape. Under the dash, screw it into the plastic or metal support brackets. In the glovebox, run it along the top edge. In the trunk, mount it along the underside of the deck lid.
Cut the channel to length with a hacksaw. File the cut edges smooth. Then slide the strip in, clip the diffuser on, and mount the whole thing. The GRIVER clips work great here — screw the clip to the panel, then snap the channel into place. That way you can pop the channel off for maintenance without removing screws.
Method 2: Tucking Behind Trim Panels and Gaskets
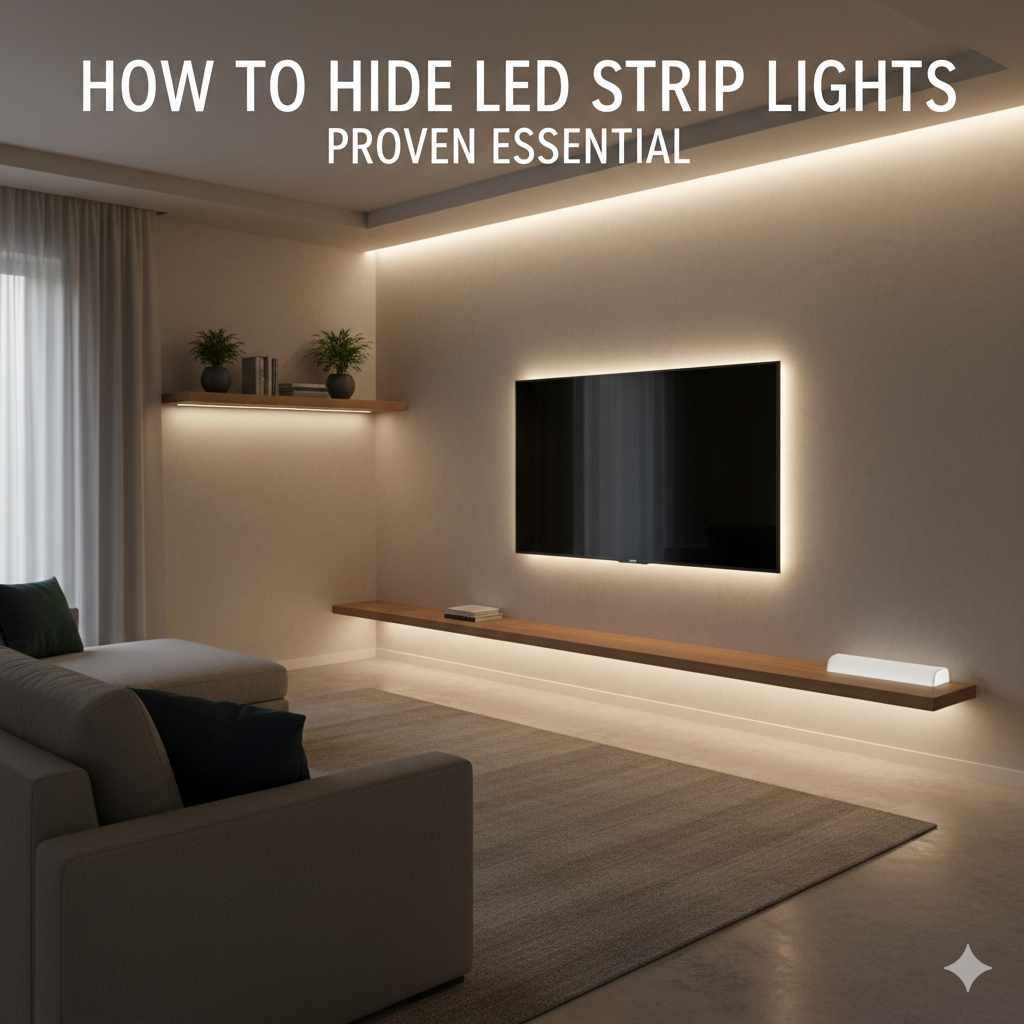
You can hide a strip entirely by tucking it between the trim panel and the body. Door panels, kick panels, and dash trims all have gaps you can wedge a strip into. This works best with bare strips that are thin enough to slide behind the trim without bulging.
Use a plastic trim removal tool to gently pry the panel edge away, push the strip in, and let the panel snap back. The strip sits in the shadow gap, so you get light without seeing the source. This is the method for the “floating light” effect along door lines.
Be careful with airbags. Never run strips near the side curtain airbag deployment zones. Tuck along the bottom of the door, not the top.
Method 3: Recessed Grooves (Footwells and Door Handles)
Some cars have natural recesses — the gap under the dashboard where it meets the firewall, the pocket behind the door handle, or the groove under the center console. These are perfect for a strip because they’re already hidden.
For footwells, run the strip along the back of the plastic kick panel, facing down. The light bounces off the carpet, so you don’t see the LEDs at all. For door handles, tuck a short strip into the handle’s backside so the light spills out around the edges.
Use a thin strip (like a 3528) for these spots. Thick 5050 strips won’t fit in tight grooves.
Method 4: Inside Center Console Vents (Ambient Glow)
If you want a soft glow from the dash vents, you can hide a strip inside the vent housing. Remove the vent grille (usually held by clips), place a short strip on the inside top or bottom edge, and reinstall the grille. The light shines through the vent fins without being directly visible.
This works best with a diffused strip or a COB strip. A bare 5050 will cast harsh shadows through the fins. Also, make sure the strip doesn’t block airflow — keep it on the outer edge of the vent.
Method 5: Under Seats (Floating Floor Effect)
Mount a strip under the front seats, facing the rear footwells. This creates a “floating floor” effect where the light pools under the seat and spreads across the carpet. Nobody sees the strip unless they’re lying on the floor.
Use a short strip (12–18 inches) per seat. Secure it with clips or tape to the seat’s underside frame. Route the wire along the seat rail and under the carpet to the center console. Make sure the strip doesn’t interfere with seat movement — leave slack in the wire.
How to Hide the Wires, Controller, and Power Supply
The strip is only half the battle. The wires and controller are what usually give away the install.
Routing Wires Through the Firewall
If your fuse tap is under the dash, you might not need to go through the firewall at all. Most interior strips can be powered from the cabin fuse box, which is usually on the driver’s side. If you need power from the engine bay, find a grommet in the firewall (often near the steering column) and push the wire through with a coat hanger or fish tape.
Seal the hole with silicone or butyl tape to prevent water and exhaust fumes from entering the cabin. Use a grommet if the hole is bare metal — you don’t want the wire chafing against the edge.
Hiding the Receiver for Remote Functionality
The remote receiver is the trickiest part. If you hide it behind solid trim, the remote won’t work. IR receivers need line-of-sight; RF receivers need to be out of metal enclosures.
For IR, mount the receiver in a spot that’s hidden but visible to your hand — like under the dash lip near the steering column, or behind the vent grille (the fins block some signal, but it usually still works). For RF, you can hide it almost anywhere, but avoid wrapping it in foil tape or metal brackets.
Test the range before you finalize the mount. Hold the receiver where you plan to put it, then try the remote from your driving position. Move it until it responds reliably.
Securing Strips for Heat and Vibration
Car interiors get hot. In summer, a dashboard can hit 160°F. That’s enough to soften standard 3M tape and let a strip sag or peel off. Use automotive-grade tape (like VHB) or mechanical clips for anything that will see direct sun.
Vibration is another killer. Every bump and pothole works on the adhesive. A strip that’s just taped on will eventually detach, especially on door panels. Screw-down clips or channels are the only reliable long-term fix.
Heat also affects the LEDs themselves. Most strips are rated up to 140°F operating temp. If you’re mounting near a heat vent or in direct sun, use a strip with a higher temp rating or add a small heat sink (aluminum channel helps).
How to Remove Strips Without Damaging Your Interior
If you’re leasing or plan to sell the car, you’ll want to remove the strips cleanly. The trick is to soften the adhesive first.
Use a hair dryer or heat gun on low to warm the tape for a minute. Then gently peel the strip away, pulling parallel to the surface, not upward. If the tape leaves residue, use a plastic razor blade and isopropyl alcohol to remove it. Goo Gone works too, but test it on a hidden area first — it can discolor some plastics.
For channels that are screwed in, you’ll have small holes. Fill them with plastic-safe epoxy or use trim panel clips that match the factory holes. Most panels have extra clips, so a small hole is usually not a big deal.
Common Mistakes and Quick Fixes
- Using the wrong fuse tap size. Mini and low-profile taps look alike but are different. Check your fuse box manual before buying.
- Not testing the receiver before hiding it. You’ll have to tear everything apart to move it. Test first.
- Routing wires over sharp metal edges. Use wire loom or split tubing to protect them.
- Sticking strips to textured plastic. The tape won’t get full contact. Use clips or a channel instead.
- Cutting the strip at the wrong point. Always cut on the copper pads, every 3 LEDs. Cutting elsewhere kills the strip.
Final Checklist: Invisible Strip, Visible Glow
Before you button everything up, run through this list:
- Strip is cut to length and tested before mounting.
- Power is fused and switched with ignition.
- All wires are routed away from pedals and sharp edges.
- Receiver placement confirmed with remote from driver’s seat.
- Channels or clips secured with screws or automotive tape rated for heat.
- Diffuser installed to eliminate hotspots.
- Removal plan in mind — heat gun and alcohol on hand.
Hiding LED strips in a car isn’t hard, but it’s not a five-minute job either. The extra hour you spend on routing and mounting pays off every time you open the door and see a clean, even glow instead of a tangle of tape and wire. For more lighting ideas around your home, check out our LED room inspiration or learn how long LED bulbs last.
Products related to this article
Sponsored / affiliate links. As an Amazon Associate I earn from qualifying purchases. I may earn additional commission from eligible campaigns.