
To remove most sink drain stoppers, you typically need to unscrew the stopper directly or use a simple tool to loosen the mounting nut underneath the sink basin. Always check if your stopper has a lift-and-turn mechanism or a simple plunger style first, as the removal method depends entirely on the type you have installed.
For another cleaning or care problem, How to Remove a Sink Drain Stopper gives readers a useful next step.
We all love a beautifully styled bathroom or kitchen sink. But sometimes, that essential little stopper—the thing that keeps the water in so you can wash dishes or sink-bathe your hands—turns into the biggest homeowner headache! Maybe it’s broken, clogged with gunk you can’t reach, or perhaps you just want to swap it out for a sleeker, modern style. Whatever the reason, knowing how to remove a drain stopper from sink fixtures can feel intimidating. Don’t worry! As your trusted guide for approachable home projects, I promise this is easier than you think. We will break down the process step-by-step. By the end of this guide, you’ll have the confidence to tackle any drain stopper removal like a pro. Let’s dive into the tools you need and the specific steps for the most common stopper types.
Why Removing a Drain Stopper is a Common Home Task
Drain stoppers might seem small, but they are vital to our daily routines. When they fail, everything stops working smoothly.
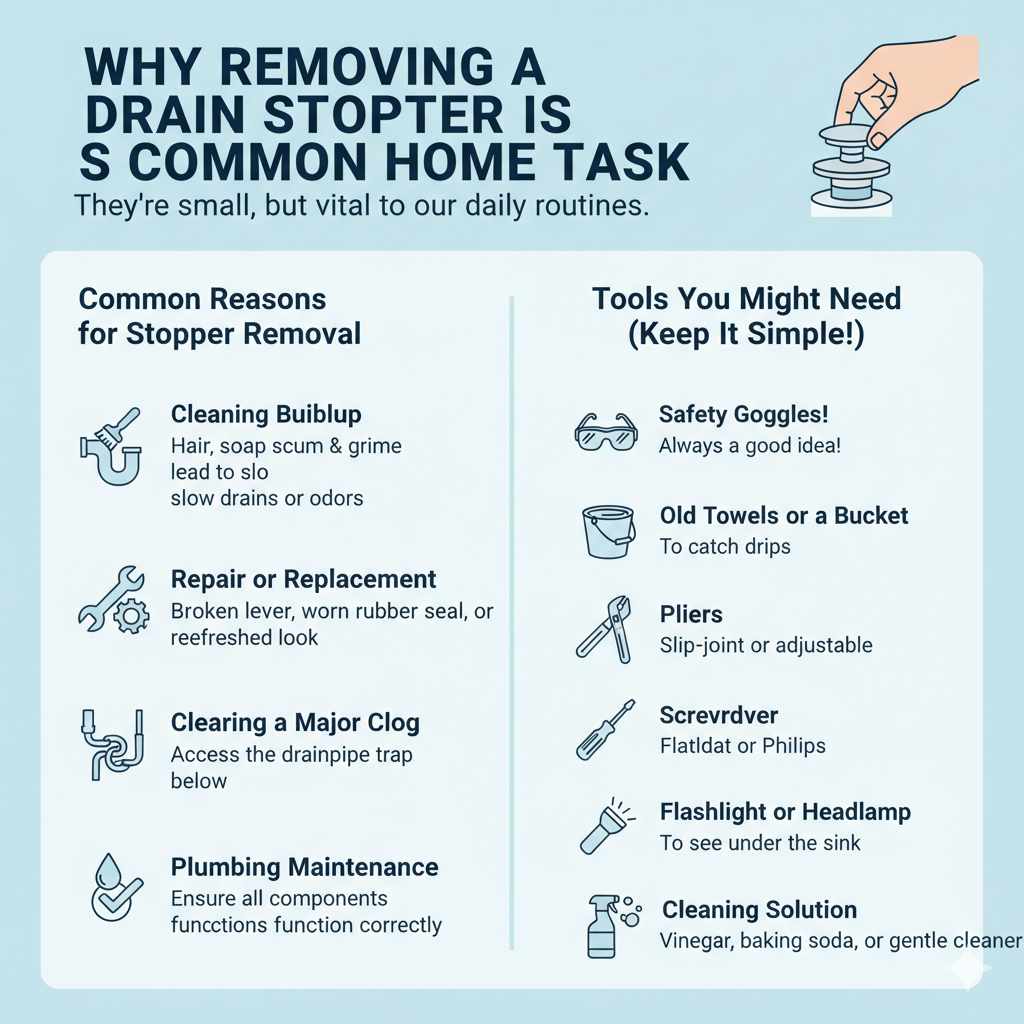
Common Reasons for Stopper Removal
There are several perfectly good reasons why you might need to take this part out:
- Cleaning Buildup: Hair, soap scum, and grime accumulate fast, leading to slow drains or unpleasant odors. Removing the stopper allows for deep cleaning.
- Repair or Replacement: If the lever breaks, the rubber seal wears out, or you simply want a refreshed look, replacement is necessary.
- Clearing a Major Clog: Sometimes, a clog is too stubborn to clear from above, requiring you to remove the stopper to access the drainpipe trap below.
- Plumbing Maintenance: Regular maintenance, even for renters, involves ensuring all components are functioning correctly.
Tools You Might Need (Keep It Simple!)
You don’t need a plumber’s arsenal for this job. Most removals only require a few everyday household items or basic tools. Preparation is half the battle, and having the right tools makes the job feel so much smoother.
- Safety Goggles (Always a good idea when working near drains!)
- Old Towels or a Bucket (To catch drips)
- Pliers (Slip-joint or adjustable pliers work best)
- Screwdriver (Flathead or Phillips, depending on your stopper)
- Flashlight or Headlamp (To see under the sink)
- Cleaning Solution (Vinegar, baking soda, or a gentle cleaner)
Identifying Your Stopper Type: The First Crucial Step
The method for how to remove a drain stopper from sink fixtures depends entirely on what kind you have. Take a good look down into your sink. Does it wiggle easily, or does it have a visible screw or lever? Identifying the type prevents you from pulling too hard or breaking a delicate mechanism.
Type 1: Lift-and-Turn Stoppers (The Twisty Kind)
These are very common in bathroom sinks. They have a small knob or cap on top. You usually lift it slightly and twist it counter-clockwise to lock it open or closed.
Type 2: Tip-Out or Foot-Lock (The Push-Down Kind)
These modern stoppers are activated by pressing them down with your toe or finger until they lock in the closed position, and pressing again to pop them open. They look very sleek.
Type 3: Pop-Up Assembly (The Lever-Controlled Kind)
These are most frequently found in bathtubs but sometimes appear in older bathroom sinks. They rely on a horizontal rod (the trip lever) sticking out of the overflow plate on the side of the sink basin.
Type 4: Simple Plunger or Strainer Style
These are the easiest! They are usually just a rubber plug or a simple metal strainer basket dropped into the drain opening. They have no mechanical parts linking them to the plumbing below.
Step-by-Step Guide: How to Remove Different Drain Stoppers
Now that you know what you’re dealing with, let’s tackle removal based on the type. Remember to work slowly and keep things tidy underneath the sink.
Method A: Removing a Lift-and-Turn Stopper
This type often seems bolted in, but it uses a screw mechanism hidden inside.
- Open Position: Lift the stopper mechanism as high as it will go.
- Unscrew the Cap: Look closely at the top knob. Most have a small slot or notch. Use a flathead screwdriver (or sometimes just your fingers—if it’s loose) to gently turn the entire top cap counter-clockwise. It should unscrew like a jar lid.
- Access the Shank: Once the cap is off, you will see the threaded post (the shank) holding the stopper in place.
- Remove the Post: Continue turning the shank counter-clockwise. It will eventually detach from the drain pipe assembly below. Pull the entire stopper assembly out of the drain opening for cleaning or replacement.
Method B: Removing a Tip-Out or Foot-Lock Stopper
These look solid, but the magic happens underneath the sink basin.
- Deactivate the Lock: Turn the knob or press the stopper until it is in the fully open/up position.
- Go Underneath: Place your bucket or towel under the sink and look up at the underside of the drain flange. You will see the stopper’s linkage connected to a pivot rod or a mounting nut.
- Locate the Locking Nut: There is usually a large, sometimes plastic, nut that secures the stopper assembly to the drain tube.
- Loosen the Nut: Using your slip-joint pliers, gently turn this large nut counter-clockwise. You may need to hold the stopper steady from above while turning below.
- Pull Out: Once the nut is loose, you can gently wiggle and pull the entire stopper straight up and out of the drain opening.
Method C: Removing a Pop-Up Assembly (Trip Lever Type)
If you can’t see the stopper clearly because of the overflow plate mechanism, this is your method. This might require slightly more finesse.
- Remove the Overflow Plate: Locate the overflow opening on the side wall of your sink bowl (the small hole above the water line). Unscrew the two screws holding the decorative overflow plate in place. Keep these screws safe!
- Pull the Horizontal Rod: As you pull the plate away, the horizontal pivot rod attached to it will slide out of the drainpipe. This rod is often covered in grime.
- Remove the Stopper from Above: Once the pivot rod is completely disconnected, the stopper inside the drain cannot be held down or pulled up by the linkage anymore. Simply reach down into the drain opening and lift the stopper piece out. If it is stuck, a gentle wiggle using needle-nose pliers might help, but be careful not to scratch the sink finish.
Method D: Removing Simple Plugs and Strainers
If you have a rubber stopper or a drop-in basket strainer, this is the simplest task.
- Simply lift the rubber stopper out by the tab or, for a strainer basket, grasp the handle and pull it straight up.
Troubleshooting: When the Stopper Won’t Budge
Sometimes, even with the right technique, things get sticky. Mineral deposits, corrosion, or built-up soap film can essentially glue the stopper in place. Don’t force it right away—that’s how things break!
Dealing with Stuck Mechanisms
If the stopper won’t turn or lift, moisture and lubrication are your friends.
- Apply Penetrating Oil or Vinegar: For metal-on-metal friction (common under the P-trap), spray a bit of penetrating oil lightly onto the threads visible underneath the sink if you can access them. For plastic or simple grime, soak a rag in white vinegar and leave it draped over the stopper for an hour to dissolve mineral buildup.
- Gentle Wiggling: After soaking, try to gently rock the stopper side to side (not up and down) to break the seal created by soap scum.
- Using Suction: For smooth-top stoppers that won’t gain purchase for turning, try using a small sink plunger or even a heavy-duty suction cup (like those used for moving glass) applied to the top. A good pull might dislodge it if twisting isn’t working.
When You Can’t See Underneath (For Rental Units)
If you live in an apartment or condo and cannot access the plumbing underneath the sink—or if the P-trap area is blocked by cabinetry—you must work exclusively from the top.
For lift-and-turn stoppers in this situation, you usually have no choice but to forcibly unscrew the top cap. If the cap is stripped or stuck, you might need specialty pliers that can grip the sides of the cap without damaging the sink finish. Check resources like the Consumer Product Safety Commission (CPSC) guidelines for general safety practices while performing home repairs.
Maintenance and Cleaning After Removal
Once you have successfully removed the stopper, you have a golden opportunity to make sure it—and the drain—stays in beautiful condition. This is where you transform that frustrating job into a satisfying win!
Cleaning the Stopper Itself
Even if you plan to put the old stopper back, give it a good scrub.
- Soak the stopper mechanism in a bowl of hot, soapy water mixed with a capful of vinegar for about 30 minutes.
- Use an old toothbrush or a small bottle brush to scrub away any lingering hair, toothpaste residue, or mildew spots, paying special attention to the threads or seals.
- Rinse thoroughly with clean water.
Cleaning the Drain Opening
This is often the source of the smell!
- Pour about a half cup of baking soda directly into the open drain area.
- Follow this with a cup of white vinegar. It will fizz enthusiastically—this is great for breaking down mild residue!
- Let it sit for 15 to 30 minutes.
- Flush thoroughly with hot water from the faucet.
Types of Drain Stoppers: A Comparison Table
Understanding the differences helps you choose the right one when it’s time for replacement. Here is a quick look at the common options you might encounter.
| Stopper Type | Activation Method | Ease of Removal (Beginner) | Installation Complexity |
|---|---|---|---|
| Lift-and-Turn | Lifting and twisting the knob | Moderate (Requires access underneath) | Moderate |
| Foot-Lock/Tip-Out | Push down to seal, push up to open | Moderate to Difficult (Relies heavily on under-sink linkage) | Moderate (Often requires adjusting the pivot rod) |
| Pop-Up (Trip Lever) | External lever moves internal linkage | Easy (Stopper lifts out once lever rod is disconnected) | Complex (Must align lever rod correctly) |
| Simple Plug/Strainer | Manual placement | Very Easy | None |
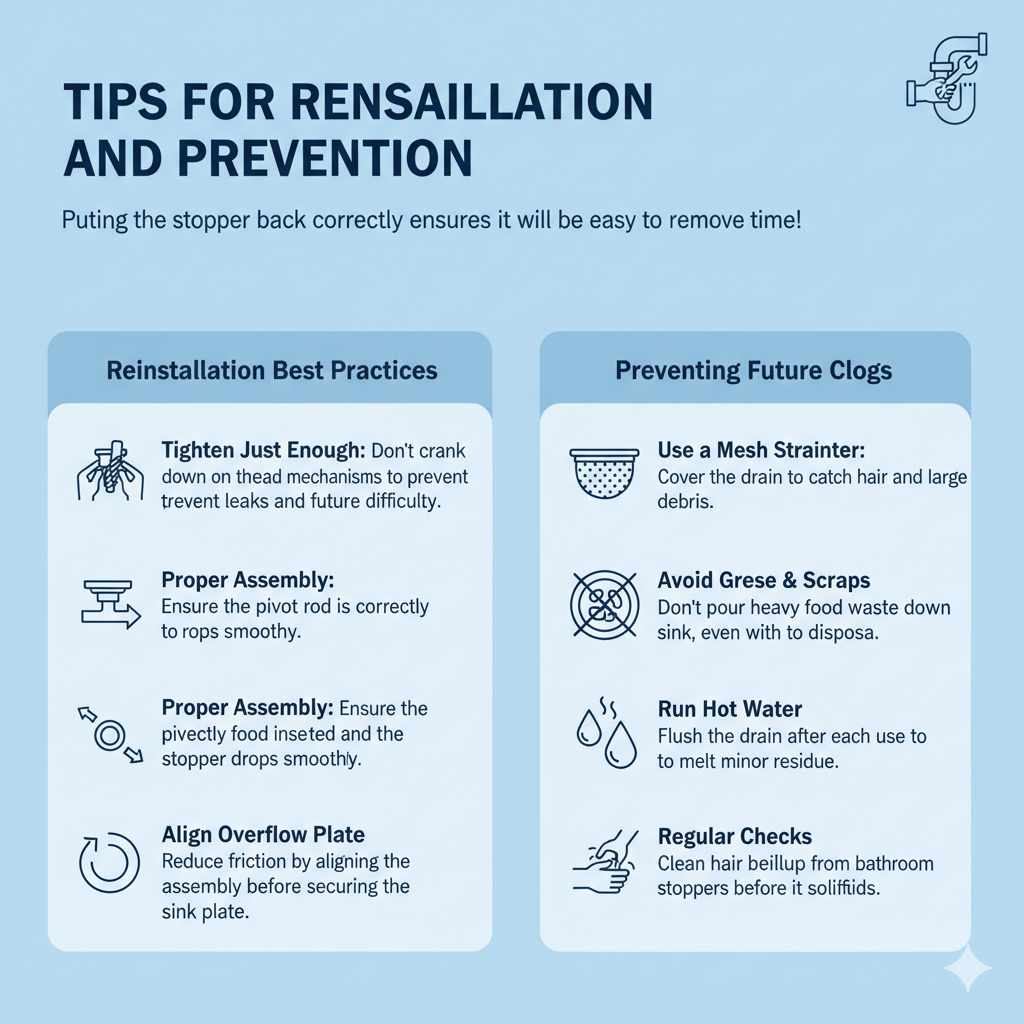
Tips for Reinstallation and Prevention
Putting the stopper back correctly ensures it will be easy to remove next time!
Reinstallation Best Practices
When reattaching any threaded mechanism (like the lift-and-turn shank), remember the assembly often works best when tightened just enough to feel secure, but not cranked down. Over-tightening stresses the plastic or rubber seals, leading to leaks under the sink or making future removal nearly impossible.
If you removed a pop-up assembly, be absolutely sure that the pivot rod is inserted correctly and that the stopper drops into place smoothly when testing it before you secure the overflow plate back onto the sink wall. A properly aligned assembly reduces friction significantly.
Preventing Future Clogs
The best way to handle future drain issues is to prevent them from starting!
- Use a simple mesh screen strainer over the drain opening if you are removing a mechanical stopper and replacing it with a simple plug for a while.
- Avoid pouring grease or heavy food scraps down the kitchen sink, even if you have a garbage disposal.
- Run hot water down the drain after every use to help melt away minor soap or oil residue.
- For bathroom sinks, regularly check the stopper area for hair buildup before it becomes cemented in place.
Frequently Asked Questions (FAQ)
Q1: Can I remove a stuck drain stopper without going under the sink?
A: For some simple lift-and-turn stoppers, yes, you can unscrew the top cap directly from above. However, for stoppers connected to a lever mechanism (like foot-lock or trip-lever styles), accessing the securing nut underneath the basin is usually required to fully release the assembly.
Q2: What is the best cleaner to use on a dirty drain stopper?
A: For safe, effective cleaning, use a mixture of white vinegar and hot water to soak the stopper. You can also use baking soda followed by vinegar to create a fizzing action that helps loosen grime before you scrub it with a toothbrush.
Q3: Do I need to turn off the water supply before removing a sink stopper?
A: No, turning off the main water supply is generally unnecessary just to remove the stopper mechanism itself, as this fixture sits above the main P-trap plumbing lines. However, always have towels ready in case a small amount of residual water drips out when you disconnect linkages underneath.
Q4: My bathroom sink stopper is stuck. Should I pull hard?
A: Never pull hard! Forcing a stuck stopper can break the linkage rod or damage the seal, leading to a bigger repair. Try soaking the area with vinegar first to dissolve mineral deposits, or gently wiggle it side-to-side rather than pulling straight up.
Q5: How often should I clean or remove my sink stopper?
A: It is best practice to clean visible grime off the stopper every month. For a deep clean or to inspect the linkage, removing the stopper entirely every six months to a year is a great preventative measure to keep draining smoothly.
Final Thoughts on Taking Control of Your Plumbing
See? You did it! Removing a drain stopper doesn’t require a professional plumber or specialized knowledge. It just needed a clear game plan tailored to the specific hardware in your home. By identifying the type—be it lift-and-turn, foot-lock, or lever-operated—you’ve unlocked the simple steps required for removal.
This small accomplishment builds essential confidence for all those little DIY projects around your beautiful home. Enjoy that clean drain, and remember that tackle-able challenges make your space feel even more your own. If you replaced the stopper, you’ve added both function and style back into your room! Keep tackling those home maintenance tasks; you are more capable than you think.


