How to Shim a Door Hinge to Fix a Gap
Shim a door hinge by adding a thin cardboard or metal shim behind the hinge leaf only after you check the gap and latch alignment; start with one layer, usually about 1/32 to 1/16 inch, and stop when the door closes cleanly. Poor shimming can make the latch miss the strike plate, worsen sag, or bind the door. This guide shows how to diagnose the gap first, choose the smallest shim thickness, and avoid creating new fit problems.
Start with the gap check


Measure the reveal at the latch side, top, and bottom before you touch the screws. A typical interior door gap target is about 1/8 inch along the latch side, so the question is not “is there a gap,” but “where is it off and by how much?”
Decide whether the door is sagging, skewed, or rubbing
Use a ruler for a more accurate check than a tape measure. If the top latch-side reveal is tighter than the bottom, the door usually needs a correction that lifts or shifts the slab. If the hinge side is uneven, the jamb may be skewed or the hinges may be loose. A sagging door often shows the widest gap where the top corner has dropped.
Suppose the latch side measures close to 1/8 inch at the top but nearly closes at the bottom. That points to sag, not a random gap everywhere. In that case, start with hinge shimming rather than planing the edge.
What you’ll need
- Support wedge or a piece of wood to hold the door open
- Screwdriver that fits the hinge screws exactly
- Hinge screws for replacement if any are stripped or damaged
- Cardboard shim strip, about 1/16 inch thick and about 3/8 inch wide
- Premade hinge shims, pre-drilled and stackable
- Ruler for measuring the reveal
Choose the shim material first
Thin cardboard is a common DIY choice because it should not split when screws go through it and it will not compress when the hinge screws are tightened. Premade hinge shims are pre-drilled and are the better choice for steel doors and heavy entry doors. Use the lightest material that matches the correction you need.
Which hinge should you shim first?
Start with the top hinge for a sagging door. If the reveal is wider at one spot than the others, begin with the hinge nearest that widest reveal. On a door with three hinges, the middle hinge may also need to come out of play during the adjustment so the hinge pattern does not fight itself.
Use the smallest correction first
One layer is a common starting point in most cases. If you need more movement, add thickness in the next step instead of jumping straight to a heavy stack. That keeps the latch side from moving too far and creating strike-plate trouble.
Hinge shim decision table
This table matches the measured gap difference to a practical starting shim. Use the smallest option that can correct the reveal, then recheck before adding more.
| Measured gap difference | Recommended shim thickness | Adjust first | Stop or redo if |
|---|---|---|---|
| Up to 1/32 inch | 1/32 inch or one thin cardboard layer | Top hinge | Latch still catches or the door starts rubbing |
| 1/32 to 1/16 inch | 1/16 inch | Hinge nearest the widest reveal | Latch misalignment appears after tightening |
| 1/16 to 1/8 inch | 1/16 inch plus a second layer if needed | Top hinge, then middle hinge if required | Door binds, swings hard, or the shim crushes |
| More than about 3/8 inch | Do not keep stacking shims | Reset jamb or repair screw holes first | Door remains out of square or will not latch cleanly |
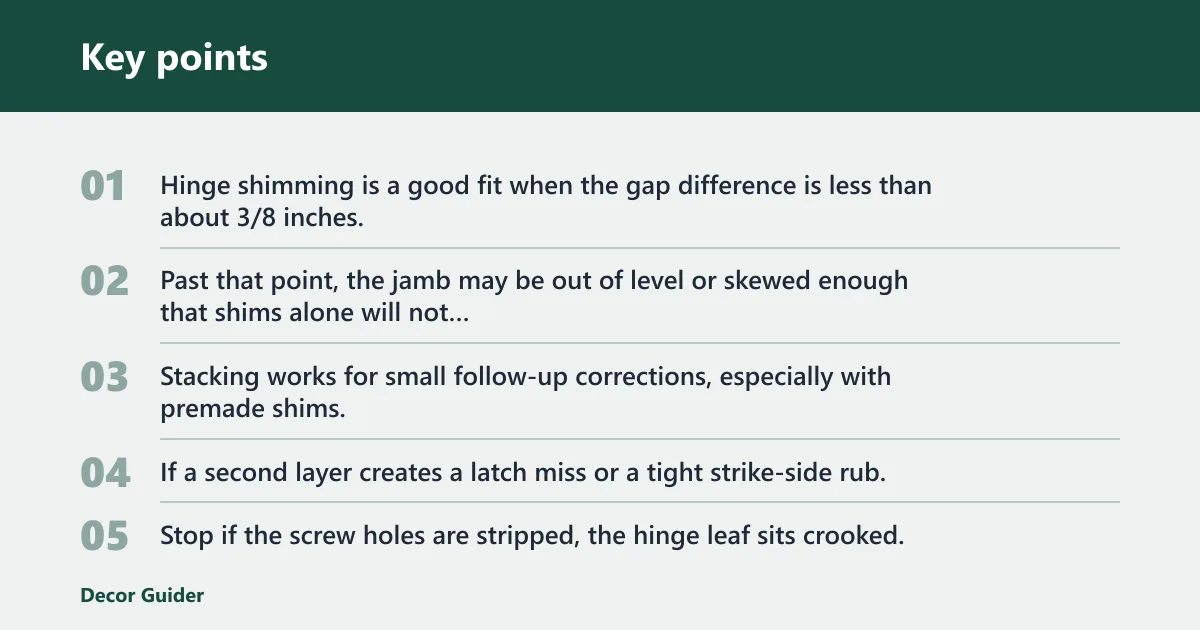
Hinge shimming is a good fit when the gap difference is less than about 3/8 inches. Past that point, the jamb may be out of level or skewed enough that shims alone will not hold the correction.
Use stackable shims only when one layer is not enough
Stacking works for small follow-up corrections, especially with premade shims. Keep each change incremental. If a second layer creates a latch miss or a tight strike-side rub, back off and reassess rather than forcing the hinge to do all the work.
Stop and redo signals
Stop if the screw holes are stripped, the hinge leaf sits crooked, the door binds after the change, or the gap worsens on the latch side. Those are signs that you need repair or a different fix, not another shim layer.
How do you install the shim?
Place a wood block under the door to hold its weight before you loosen any hinge screw. Then loosen the screws, slide the shim behind the hinge leaf, and retighten everything evenly. Put the shim between the hinge and the jamb or between the hinge and the door, depending on which side needs the correction.
Follow these steps
- Open the door and place a support wedge under it so the slab cannot drop while the screws are loose.
- Choose the hinge to adjust first, usually the top hinge on a sagging door.
- Loosen the hinge screws without removing the hinge leaf completely.
- If the door has three hinges, remove the screws from the middle hinge as well and leave it unattached until the adjustment is complete.
- Slide the shim behind the hinge leaf on the jamb side or door side as needed for the gap you measured.
- Retighten the screws firmly, but do not crush the shim material.
Use the right thickness at the screw line
A cardboard shim strip about 3/8 inch wide and 1/16 inch thick is a common starting point. If the shim splits as the screw goes through it, or if it compresses enough to vanish under tightening, replace it with a better fit or use a premade shim.
How do you test the door after shimming?
Close the door slowly and check the swing, the latch fit, and the strike-plate alignment. The goal is a clean close without forcing the handle, dragging the edge, or creating a new gap opposite the one you fixed. If the reveal changed in the wrong direction, reverse the adjustment before adding more thickness.
Recheck after every change
Make one change, then test again. A common first-timer mistake is stacking more shim material before confirming the first layer worked. That often turns a small gap into a latch problem.
Say your door closes better after the top hinge is shimmed, but the latch now hits high on the strike plate. That means the correction went a little too far. Remove part of the shim or move to a thinner layer rather than forcing the strike to take up the error.
If that didn’t work, try this next
If the door still sags after a correct shim, the screw holes may be enlarged or the hinge may be sprung. If the latch is off but the reveal looks close, the door may need a smaller shim change instead of a bigger one. If the jamb is visibly out of square, shimming will not solve the whole problem.
Repair the screw holes first if they are stripped
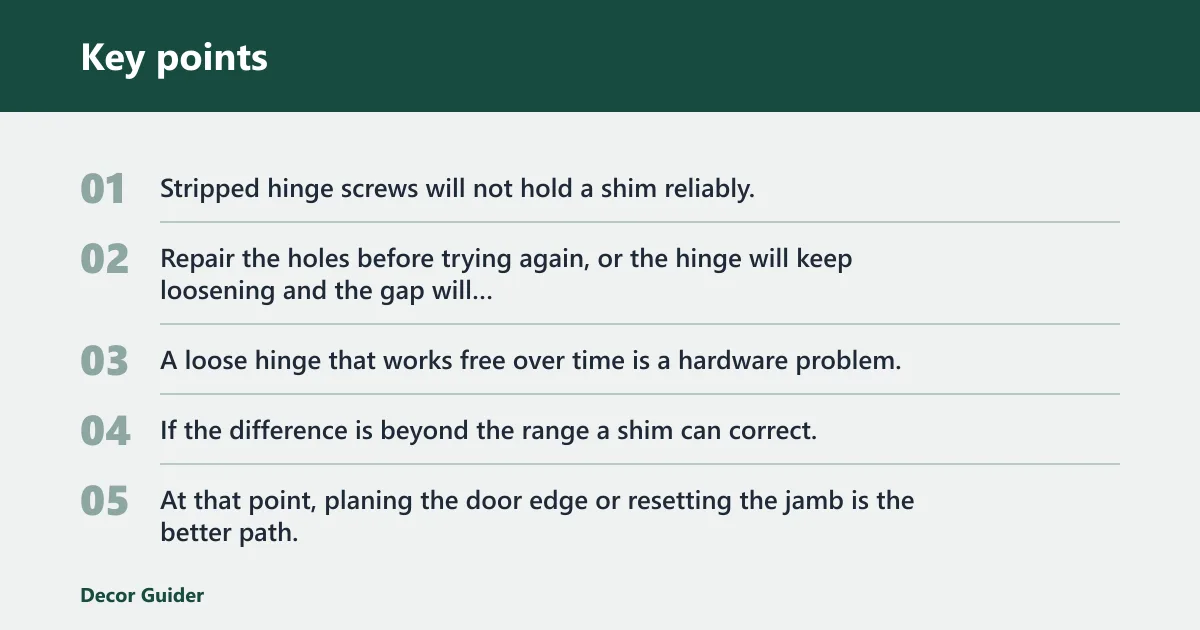
Stripped hinge screws will not hold a shim reliably. Repair the holes before trying again, or the hinge will keep loosening and the gap will return. A loose hinge that works free over time is a hardware problem, not a shim-thickness problem.
Plane or reset only when the gap is too large
If the difference is beyond the range a shim can correct, or the door rubs along more than one edge, stop adding material. At that point, planing the door edge or resetting the jamb is the better path. Hinge shimming is for small misalignment, not a badly out-of-square opening.
Common mistakes
Using too much shim thickness is the fastest way to create a new latch problem. The same is true if you shim only one hinge and ignore the others, because the door can twist instead of square up. Keep changes small and test after each one.
Do not ignore the hinge or screw condition
A sprung hinge will keep misbehaving even with the right shim. Enlarged screw holes will let the leaf shift again after tightening. If the door still drops, the hardware may need repair before shimming can hold.
Do not treat cardboard as universal
Cardboard works for many interior doors, especially hollow-core slabs, but it is not always the safest choice. For steel doors and heavy entry doors, premade shims are the better match because they are pre-drilled and easier to place repeatably.
To fix a sagging hinge, start with the top hinge, check the reveal against the 1/8 inch target on the latch side, and add only the shim thickness needed to move the slab back into line. If the gap difference is small, one thin layer is often enough. If it is larger, check whether the jamb is out of square before stacking more material.
Quick prevention note
Check hinge screws periodically, especially on an interior door that gets heavy daily use. Loose screws are easier to correct early than after the hinge leaf starts shifting and the latch gap grows.
Frequently asked questions
How to fix door hinges coming off
First check the screws and the wood around them. If the holes are enlarged, the hinge will not hold long enough for shimming to matter. Repair the screw holes, refasten the hinge leaf, then test the door. Shims can correct alignment only after the hardware is secure.
Products related to this article
Sponsored / affiliate links. As an Amazon Associate I earn from qualifying purchases. I may earn additional commission from eligible campaigns.