How to Fix a Door That Rubs the Top of the Frame
Start with the cause, not the symptom. If the door sags, adjust the hinges; if the jamb is out of plumb, shim it; if the slab is oversized, trim the top edge. Skipping that order can make the rub worse, scar the finish, and leave the latch out of line. This guide shows how to check each condition and choose the right correction in order.
What you’ll need


- Screwdriver or drill with the correct bit for the hinge screws
- Longer wood or deck screws for the top hinge frame side
- Wood shims or thin cardboard
- Wood glue and toothpicks or matchsticks for stripped holes
- Carpenter’s square
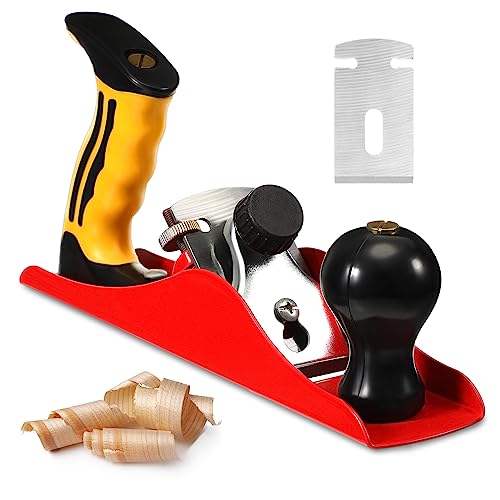
- Block plane, sanding block, and touch-up finish
- Safety glasses and hearing protection
Door rub decision table
| Diagnosis | Symptoms | Best fix | Tools needed | Stop point before planing |
|---|---|---|---|---|
| Sagging door | Top reveal closes up, rub shows at the top corner on the latch side, door may drag more as it swings | Tighten the top hinge, repair stripped holes, then use a longer screw in the frame side | Screwdriver, wood glue, toothpicks or matchsticks, 3 in (7.6 cm) screw if the jamb bulges | Stop if the door still rubs after hinge correction and the reveal stays uneven only at the top |
| Out-of-square frame | Reveal is uneven around more than one side, top rub repeats after tightening, carpenter’s square shows a corner that is not square | Shim the hinge side only after checking plumb, or stop and repair the jamb if the shift is structural | Carpenter’s square, shims, screwdriver | Stop before trimming if the jamb twists, bulges, or moves when pushed |
| Oversized slab | Hinges are tight, frame checks out, but the top edge still contacts the jamb with a consistent narrow rub | Plane the door edge in repeated test-fits | Block plane, sanding block, touch-up finish | Stop if you are about to remove more than a thin pass or the latch side reveal starts shrinking too much |
How to find the rubbing point
Find the exact contact point first. Open and close the door slowly, mark the spot that scuffs, and check the reveal around the full perimeter. Uneven space at the top or latch side tells you whether the door is sagging, the jamb is off, or the slab is simply too large.
Check the reveal, not just the paint
The door reveal is the gap between the door and frame. A tight top reveal often means the door has dropped at the hinges. If the top corner on the latch side touches first, the alignment issue is usually different from a straight top rub, so do not jump to trimming yet.
- Open the door halfway and mark the rubbing spot with pencil.
- Close and reopen it to confirm the same contact point twice.
- Measure the reveal visually at the top, latch side, and hinge side.
- Note whether the rub changes as the door swings, which points to hinge sag rather than a fixed frame problem.
Say your 30-inch interior door rubs only at the top corner on the latch side after a humid week. That pattern usually points to hinge sag or seasonal movement before it points to planing. A fixed, even rub across the whole top edge is more consistent with an oversized slab.
How to fix a sagging door
A sagging door is the fastest issue to correct because the top hinge controls upper door alignment. Tighten the top hinge first, repair stripped holes if screws spin, and use a longer screw on the frame side if the jamb has loosened. Only shim if the reveal still closes up after that.
Tighten the top hinge first
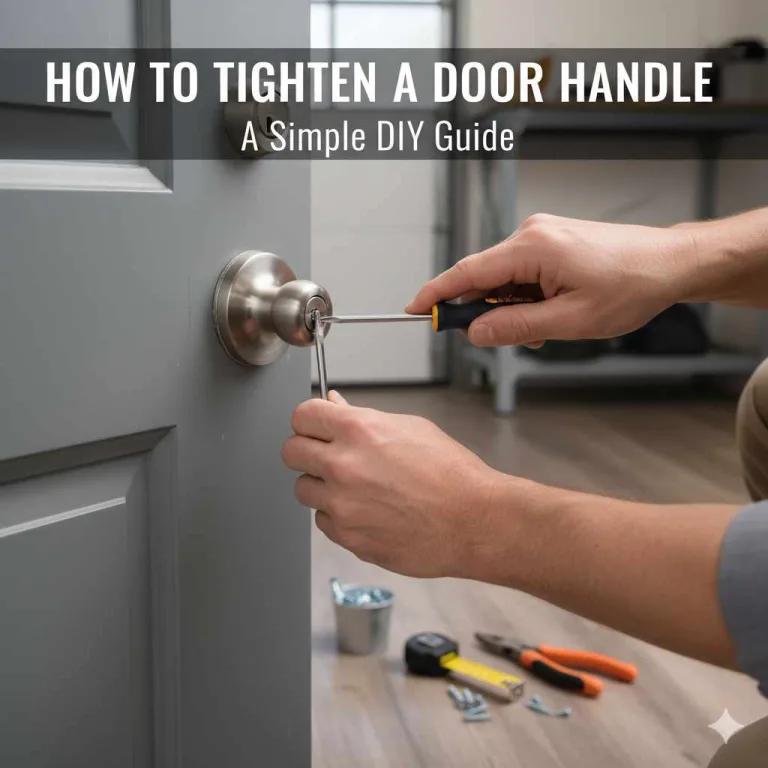
- Set the correct screwdriver bit fully into the hinge screw head.
- Tighten the screws in the top hinge before touching the middle or bottom hinge.
- Check the reveal after each turn so you do not over-tighten and twist the leaf.
Hinge screws can loosen over time, especially if the wood has softened or worn. If a screw head spins without biting, the hole is stripped or damaged. Repair the hole before forcing the hinge, or the same looseness will return.
Repair stripped holes, then use a longer screw
- Remove the loose screw from the frame side of the top hinge.
- Pack the hole with wood glue and toothpicks or matchsticks.
- Let the filler set, then drive in a longer wood or deck screw.
- Use a 3 in (7.6 cm) screw when the jamb bulges and the hinge needs a deeper bite into framing. (Wikihow)
Use the same bit size that matches the screw head. A mismatched bit cams out and strips the head, which makes the repair harder. For the repair path, screw length matters more than screw count: longer screws reach framing behind the jamb and can pull a loose hinge side back into alignment, which is why carpenter references commonly recommend a 3-inch screw on the top hinge when the jamb has loosened.
Add a thin shim only if the reveal still closes up
Wood shims move the hinge leaf and change door tilt. Use them sparingly, because too much shim can create a new rub on the opposite side. A thin shim is usually used only to fine-tune alignment after tightening and hole repair have already been tried.
- Remove the top hinge leaf from the frame side.
- Place a thin shim behind the leaf, then refasten it.
- Close the door and recheck the reveal before adding any more shim.
Picture a door that binds at the top only after the latch is nearly engaged. If one thin shim clears the rub but makes the latch fight the strike, back off. The goal is an even reveal and clean latch action, not the widest possible gap. If the reveal target starts to drift, stop and reassess the frame before adding more material.
When is the problem the frame or jamb instead of the door?
If the reveal is uneven on more than one side, or the jamb shifts when you press it, the door may not be the real problem. That is when you check plumb, square, and fasteners before you plane anything. A warped, bowed, or poorly anchored jamb can mimic a bad door and defeat hinge fixes.
Check plumb and square at the jamb
- Set the carpenter’s square against the jamb and header corner.
- Check both upper corners, not just the rub point.
- Look for a bulge, twist, or a jamb leg that no longer sits straight.
- Press gently on the jamb to see whether it moves.
Authoritative carpentry guidance generally treats a square, plumb jamb as the baseline for a good door fit: the hinge side should stay straight, the head should stay level, and the reveals should stay consistent. If the frame leans, the door can rub even when the hinges are tight. In that case, a hinge-only repair may only hide the issue temporarily.
When the bottom of the frame is the real issue
If the problem shows up at the bottom edge or lower latch corner, inspect the sill, bottom jamb, and floor before trimming the slab. Rot, water damage, settlement, or a swollen threshold can push the frame out of position. Bottom-frame repair is a different job from shaving a door edge, and it usually needs fastening, patching, or replacement at the damaged section.
Look for soft wood, dark staining, cracked paint, or a gap that opens at the floor line. If the lower jamb is deteriorated, fixing the hinge will not restore the reveal. This is the point to consider fixing stripped screw holes, repairing a door jamb/frame, or bottom of door/frame rot repair before any planing work.
If that didn’t work, try this next
If tightening and shimming do not change the reveal, the next likely cause is an oversized slab. That is the point to trim, and only in small passes. Do not plane first and ask questions later, once wood is removed, you cannot put it back.
When to plane the door edge
Plane the door only after hinge and shim fixes fail. Use a block plane for short, controlled passes, then test-fit again. This keeps you from removing too much wood and protects the latch-side reveal, which can close up fast if you take off more than needed. Keep the cut minimal and stop as soon as the rub clears.
Remove wood in repeated test-fits
- Mark the tight area on the top edge.
- Plane a single pass along the marked section.
- Rehang or close the door and test the fit.
- Repeat only until the rub clears and the latch still closes cleanly.
How much wood can you safely plane off a door? Keep it to the least amount needed for clearance, because the useful target is fit, not dimension reduction. In practice, that means taking off only enough to restore a clean reveal, then stopping. If the latch-side gap starts shrinking or the strike becomes hard to hit, the door is telling you to stop.
A common first-timer mistake is planing the top edge to solve a top-corner rub, then finding the latch no longer lines up. The fix is to preserve the reveal around the perimeter and recheck the strike after every pass. If the latch starts dragging, stop and re-evaluate the hinge side.
How to stop recurrence
Recheck the top hinge after seasonal changes, especially if humidity swings are part of the problem. Wood movement from humidity is real: interior doors and jambs expand and contract as moisture changes, so a door that fits in dry weather may tighten in damp weather. If the same rub returns every season, the cause may be recurring movement rather than a one-time hinge loosening.
Touch up exposed wood after planing or sanding so moisture does not enter the cut edge. If the door is already close to the frame, a recurring rub may be easier to manage with a hinge correction than with repeated edge removal. If the frame is deteriorating or shifting, stop DIY trimming and call a carpenter before the reveal gets worse.
Common mistakes
- Using the wrong screwdriver bit — Match the bit to the screw head so you do not strip the top hinge screws.
- Over-shimming the hinge — Add shims sparingly; too much changes the tilt and can move the rub to another corner.
- Planing too much at once, Take repeated light passes with a block plane and test-fit each time.
- Ignoring stripped holes, If screws spin, repair the hole with glue and toothpicks or matchsticks before using a longer screw.
- Skipping the square check, A bowed or shifted jamb can make every hinge correction fail.
- Forgetting latch alignment, Any fix should leave the door closing and latching without extra force.
Final diagnosis checklist
Use this order so you do not remove more wood than necessary. Start with the hinge, then the holes, then the jamb, and only then the slab. The goal is to preserve the reveal, keep the latch aligned, and stop before a simple rub turns into a larger frame repair.
- Mark the exact rubbing point and confirm it twice.
- Check the reveal on all four sides.
- Tighten the top hinge screws.
- Repair stripped holes if the screws spin.
- Add a longer screw to the frame side if needed.
- Check the jamb for plumb, square, twist, or movement.
- Inspect the bottom of the frame for rot, swelling, or settlement.
- Only then plane the door edge in small test-fits.
Frequently asked questions
How do I fix a door rubbing at the top of the frame?
Start with the top hinge, then move in order: tighten, repair stripped holes if screws spin, add a longer screw if the jamb needs pulling back, and only then shim or trim. That sequence protects the reveal and avoids cutting wood before the alignment problem is clear.
Why is my door rubbing at the top corner on the latch side?
That spot usually means the door has sagged or the top hinge has loosened, which closes up the reveal on the latch side first. Check the top hinge screws, then recheck the gap at the upper latch corner before touching the slab edge.
Should I tighten the hinges or plane the door?
Tighten the hinges first. Planing is the last step, not the first, because a loose hinge or shallow screw bite can create the same rub without any excess wood on the slab. If tightening changes the reveal, trimming may not be needed at all.
How do I fix stripped hinge screw holes on a door?
Remove the screw, pack the hole with wood glue and toothpicks or matchsticks, and let it set before reinstalling. If the hinge still feels loose, use a longer wood or deck screw on the frame side so it bites deeper into framing.
How do I know if the door frame is out of square?
Check it with a carpenter’s square at the jamb and header corner, then compare the reveal on all sides. If the gap changes around the perimeter or the jamb moves when pressed, the frame is not sitting right and may need more than hinge adjustment.
Why does my door rub at the top after humidity changes?
Humidity can swell wood and close up the reveal, which is why the rub may appear after damp weather and fade later. If the problem returns every season, the cause may be recurring movement rather than a one-time hinge loosening.
Products related to this article
Sponsored / affiliate links. As an Amazon Associate I earn from qualifying purchases. I may earn additional commission from eligible campaigns.