How to Hang a Pre-Hung Interior Door
Hang a pre-hung interior door by plumbing the hinge side first, shimming the jamb in opposed pairs, and keeping an even reveal around the slab before you fasten fully. If the opening is out of plumb, square, or level, fix that first; otherwise the door can rub, latch poorly, or drift open on its own.
Tools


What you’ll need
- Pre-hung interior door unit
- 2-foot or longer level
- Tape measure
- Shims
- 3-inch screws
- Low-expansion door-and-window foam
- Drill and bits
- Screwdriver
- Hammer or trim nailer
- Utility knife
Opening Checks
Does the opening fit the door?
Measure the rough opening before you buy or set the unit. A pre-hung interior door is factory-mounted in its frame and is usually sold to match the rough opening size, so the opening should be larger than the unit and close enough to square for shims to do their job. Interior door manufacturers commonly build the jamb and slab as a package sized to the nominal door, with the rough opening typically about 2 inches wider and 2 1/2 inches taller than the nominal slab size, though the exact target depends on the specific unit and jamb profile.
Interior sizing guidance
Common nominal interior slab sizes include 24, 28, 30, 32, and 36 inches wide by 80 inches tall, with 80 inches the most common interior height and 84 inches also used in some homes. Typical pre-hung unit outside dimensions are larger than the slab because they include the jamb and clearance for shimming, so a nominal 30-by-80 interior door usually needs a rough opening near 32 by 82 1/2 inches, while a nominal 32-by-80 unit usually needs a rough opening near 34 by 82 1/2 inches. Wall thickness should match the jamb depth closely enough that casing can cover the gap; many interior walls use a 4-9/16-inch jamb depth, but thicker or thinner walls may require a different jamb size or extension pieces.
Check width, height, wall thickness, and level
Measure the opening width at the top, middle, and bottom. Measure the height on both sides, then compare the wall thickness to the jamb depth; many walls use a 4-9/16 inches jamb depth. Also check the floor or sill with a 2-foot or longer level, because the floor support can change the final fit. For an interior door, the rough opening is typically checked at the widest and tallest points, then adjusted with shims to leave room for plumb and reveal.
Use a go/no-go decision before you start
If the studs are more than 1/4 inch out of plumb, correct them first. If the opening is not level, square, and large enough for the unit, stop and correct the opening before hanging the door. A common exterior rough opening for a 36-by-80 door is about 38 inches by 82 1/2 inches, but that size is not the target for a standard interior pre-hung unit and should not be used as the interior benchmark.
Checklist Table
| Nominal door size | Actual unit size | Recommended rough opening range | Wall thickness / jamb depth | Floor out-of-level amount | Hinge/strike shim locations | Reveal check | Latch pass/fail | Final outcome |
|---|---|---|---|---|---|---|---|---|
| 24, 28, 30, 32, or 36 inches by 80 inches | Check the manufacturer label; pre-hung units are larger than the slab | Usually about 2 inches wider and 2 1/2 inches taller than the nominal slab, depending on the unit | Match wall thickness to jamb depth, often 4-9/16 inches for interior walls | Stop if the floor or sill is outside the shim range needed to keep the jamb plumb and the reveal even | Hinge side at top, middle, and near bottom; strike side at top, middle, and near bottom after hinge side is set | Even reveal around the slab, typically about 1/8 inch and visually consistent from top to side to side | Pass only if the latch engages without rubbing and the door stays put when left partially open | Install if all checks pass; re-shim if alignment is close; stop if the opening cannot be made plumb, level, and square enough for a stable reveal |
Step-by-Step Installation
How do I hang a pre-hung interior door?
Set the unit in the opening, plumb the hinge side first, and fasten at shim points only after the reveal looks even. The hinge side controls swing and latch alignment, so lock that side in place before you adjust the strike side. Then test the latch, the swing, and the pressure on the closed door.
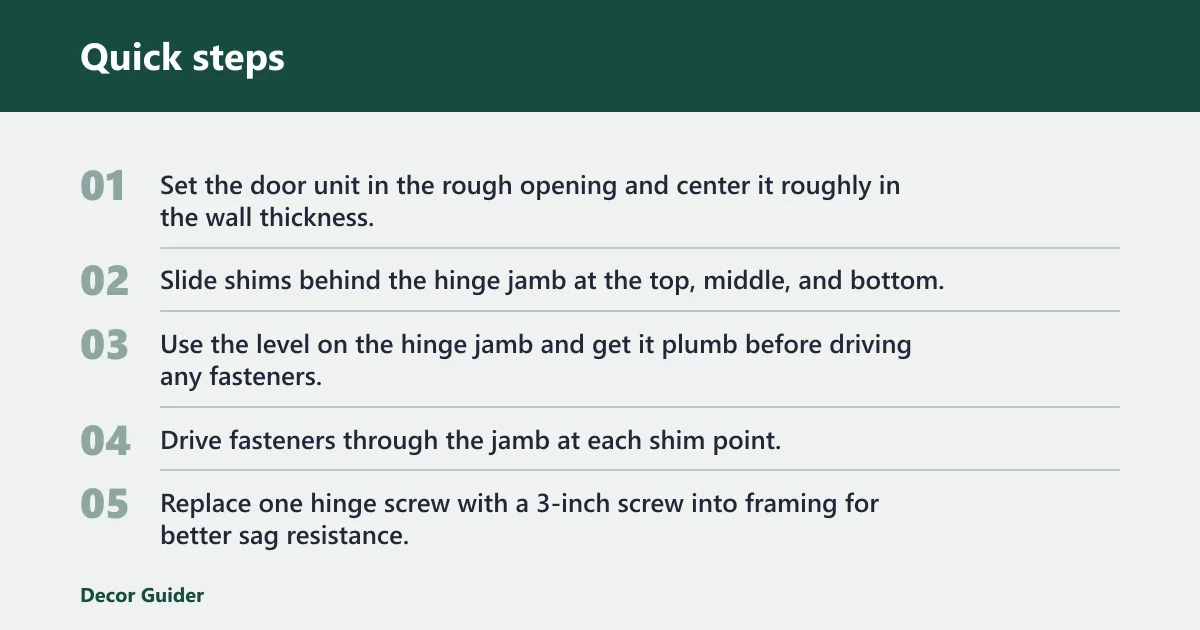
- Set the door unit in the rough opening and center it roughly in the wall thickness.
- Slide shims behind the hinge jamb at the top, middle, and bottom.
- Use the level on the hinge jamb and get it plumb before driving any fasteners.
- Drive fasteners through the jamb at each shim point.
- Replace one hinge screw with a 3-inch screw into framing for better sag resistance.
- Shim the strike side until the reveal is even at the top and both sides.
- Check latch engagement, then close the door and confirm it does not drift open or closed.
Suppose a door around 30 inches wide closes smoothly at the top but rubs near the latch side at the bottom. That usually means the strike side needs a small shim change at the lower jamb, not a forceful push on the slab. Adjust, recheck the reveal, and retest the latch.
How do you set the hinge side plumb?
Shim the hinge jamb until the face is plumb from top to bottom, then fasten through the jamb at the shim points. Opposed pairs of shims behind the hinge jamb keep the frame from twisting when you tighten screws, which is why the hinge side gets set first.
Fasten without pulling the jamb out of line
Use the level again after every screw. If the jamb shifts, back the screw out and reset the shims rather than forcing the frame straight with fasteners. A 3-inch screw at the hinge side helps anchor the jamb into framing and can reduce later sag at the latch edge. For a stronger anchor, place the longer screw through the hinge location closest to the point where the slab is most likely to pull the jamb, usually the top hinge on a standard interior door.
How do you shim and fasten the strike side?
After the hinge side is fixed, add shims on the strike side until the reveal is even around the top and both sides. The reveal is the gap between the slab and the jamb, and it should look consistent so the latch lands cleanly and the door does not bind. A common target is a reveal that appears uniform and close to 1/8 inch; the exact number can vary with the manufacturer, but the gap should not tighten or open noticeably at any single point.
Check the reveal before foam
Close the door gently and look at the top edge, the latch side, and the lower corner. If the reveal narrows at one point, move the strike jamb with shims rather than adding more force. Low-expansion door-and-window foam is typically used only after the door is fastened and the latch test passes.
A common first-timer mistake is using one thick shim where two opposed shims would usually hold better. That can twist the jamb, especially near the middle hinge or latch point. Keep the shim pair snug, then fasten through the jamb without bowing it inward.
Troubleshooting
Common mistakes
Over-foaming can bow the jamb. Use low-expansion door-and-window foam only after the frame is fastened, and use it sparingly around the frame so it does not push the jamb out of line. Regular expanding foam can exert too much pressure for this job.
Uneven flooring can throw the threshold or sill off level, which changes the reveal and the latch feel. If the floor or sill is low, correct the support under that side rather than forcing the jamb to follow the floor. An out-of-plumb stud can do the same thing, so correct that first if it is more than 1/4 inch off.
Missing reveal errors at the top is another common failure. If the top gap is tight on one side and wide on the other, the door may swing by itself or refuse to latch. Re-shim before you trim.
How much should I adjust shims at a time?
Make small corrections, usually about 1/16 inch to 1/8 inch at a time, then recheck the reveal and latch before making another change. Larger moves can hide the real problem and can twist the jamb if you force the frame all at once.
How do I diagnose self-swing?
Open the door to about 45 degrees and let go gently. If it swings open or closed on its own, check the hinge jamb first for plumb, then check the floor or sill for level, and then confirm that the reveal is even at the top and latch side. A door that drifts repeatedly usually points to the frame being out of plumb or the opening being twisted, not just a latch adjustment.
When is the opening too far out of plumb or level to continue?
If the opening is more than 1/4 inch out of plumb, or if the floor and sill are so out of level that the jamb cannot be shimmed while keeping an even reveal, stop and correct the opening first. If shims start to stack excessively or the jamb bows while you are trying to correct it, the frame is no longer being held true by the opening.
What does an even reveal look like?
An even reveal looks consistent from the head jamb down both sides of the slab, with no point where the gap pinches shut or flares open. For most interior pre-hung doors, that means the gap appears visually uniform and close to 1/8 inch all the way around, which is enough for the slab to swing freely and latch without scraping.
If that didn’t work, try this next
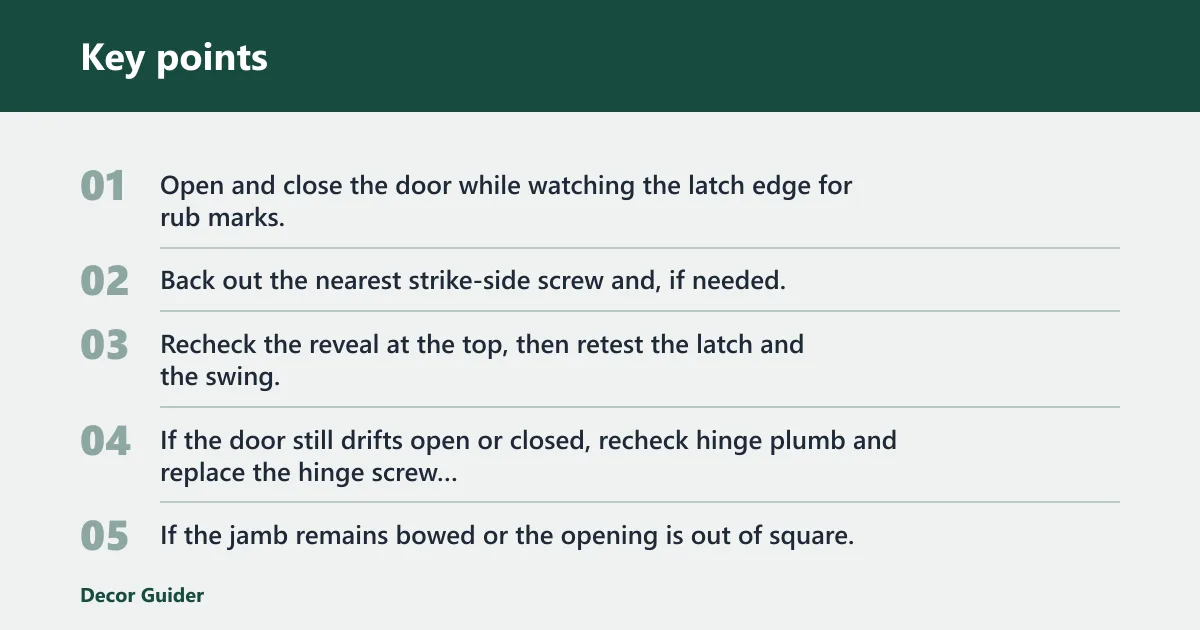
- Open and close the door while watching the latch edge for rub marks.
- Back out the nearest strike-side screw and, if needed, adjust the shims by about 1/16 inch to 1/8 inch.
- Recheck the reveal at the top, then retest the latch and the swing.
- If the door still drifts open or closed, recheck hinge plumb and replace the hinge screw with a 3-inch screw into framing.
- If the jamb remains bowed or the opening is out of square, stop and correct the opening rather than forcing the frame.
Why won’t the door latch?
A door that will not latch usually needs a reveal correction before anything else. Check hinge alignment first, because a hinge-side error throws the strike side off. If the reveal looks uneven, move the strike jamb with shims, then confirm the latch tongue hits the strike plate without scraping. For more latch-specific diagnostics, see latch problems.
Picture a door around 28 inches wide that closes almost all the way but bounces back when pushed gently. That points to misalignment or an overly tight reveal, not a bad latch by itself. Reset the strike side, then repeat the pressure test and latch test until the door stays shut without rebound.
Prevention
Before you hang trim, run the swing test, the latch test, and the pressure test one more time. The door should not drift open or closed on its own, and it should stay shut when pushed gently. Fixing the frame now is far easier than correcting it after casing goes on.
FAQ
How do I install a pre-hung interior door?
Center the unit in the opening, plumb the hinge side first, and fasten at shim points before adjusting the strike side. Use a level on the jamb, keep the reveal even, and test the latch before adding foam or trim. That sequence avoids most rub and latch problems.
What rough opening size do I need for a pre-hung interior door?
Choose the rough opening based on the door unit, not just the slab size. Common interior slab sizes are 24, 28, 30, 32, and 36 inches by 80 inches, and the rough opening usually needs to be about 2 inches wider and 2 1/2 inches taller than the nominal slab so you can plumb, square, and shim it. If the studs are more than 1/4 inch out of plumb, correct that before installation.
How do I make a pre-hung door stay plumb while I fasten it?
Use opposed pairs of shims behind the hinge jamb and check the level after each screw. Fasten only at shim points so the jamb does not pull inward. A 3-inch screw through one hinge location adds strength and helps keep the hinge side from shifting later.
How do I shim a pre-hung door so it latches correctly?
Adjust the strike side after the hinge side is locked in plumb. Add or reduce shim thickness until the reveal is even at the top and along the latch edge, then close the door and check that the latch tongue meets the strike plate cleanly without forcing. Small adjustments of 1/16 inch to 1/8 inch are usually enough for final tuning.
Why does my pre-hung door swing open or closed by itself?
That usually means the frame is not plumb, the floor or sill is out of level, or the reveal is uneven. Recheck the hinge side first, then the strike side, and use shims to correct the drift. The door should stay put when gently moved to a half-open position.
How do I know if the jamb depth matches my wall?
Measure the wall thickness before purchase and compare it with the jamb depth. A common jamb depth for many walls is 4-9/16 inches, but the correct fit depends on your wall assembly. If the jamb is wrong, the casing will not sit flush later.
Products related to this article
Sponsored / affiliate links. As an Amazon Associate I earn from qualifying purchases. I may earn additional commission from eligible campaigns.