How to Reverse the Swing of an Interior Door
Reverse an interior door by matching its handing first, then decide whether a hinge-side swap will work or whether you need a full frame-and-hardware reversal. Get it wrong and the door can hit trim, block traffic, or leave latch and strike holes unusable. This guide shows how to check swing direction, measure clearance, and choose the right reversal method.
What you’ll need


- Hammer
- Nail set
- Cordless drill/driver
- Utility knife
- Wood chisel
- Tape measure
- Wood dowels, including 1/4-inch dowels for hole filling
- Wood glue with an ANSI/HPVA Type 1 rating
- 120-grit sandpaper
- Thin wood strips
Door swing decision table
| Path | Required conditions | Parts to move | Patching needed | Estimated difficulty | Common failure signs |
|---|---|---|---|---|---|
| Simple rehang | Slab is symmetrical side-to-side and inside-to-outside; frame is sound; new swing keeps clear of trim and nearby doors | Hinges only, plus hinge pins or screws | Old hinge holes only, if the new hinge locations do not overlap | Moderate | Door binds at the top, gap changes, hinges do not line up with old mortises |
| Full swing reversal | Door, jamb, and trim allow new handing; latch side can be relocated cleanly; privacy and hallway clearance still work | Hinges, lockset, latch bolt, striker plate, deadbolt, weatherstripping | Old hinge mortises, screw holes, latch and strike mortises | Moderate to difficult | Latch does not catch, strike sits proud, bottom seal rubs, new swing collides with furniture |
| Do not attempt | Non-symmetrical slab, warped jamb, damaged trim, or clearance problem that the new swing would make worse | None until the layout changes | Major frame repair may be needed | High | Persistent rubbing, cracked trim, oversized gaps, strike side too damaged to reuse |
Can you reverse this door?
Start by checking the handing, then the clearance, then the frame condition. Interior doors can often change direction, but not every slab or jamb should be altered. A bedroom, closet, or bathroom door must still clear hall traffic, adjoining doors, and furniture after the change.
Check handing and viewing side
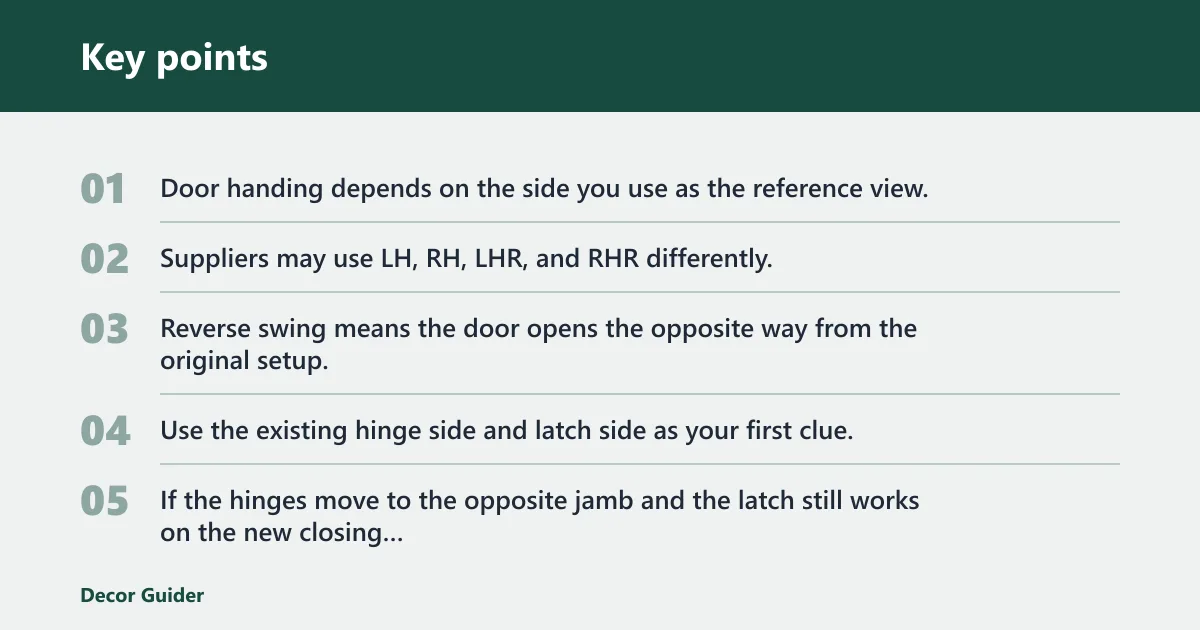
Door handing depends on the side you use as the reference view, so the label can change with the viewpoint. Suppliers may use LH, RH, LHR, and RHR differently, so match their chart before you move hardware. Reverse swing means the door opens the opposite way from the original setup.
Use the existing hinge side and latch side as your first clue. If the hinges move to the opposite jamb and the latch still works on the new closing edge, the job may stay in the simpler range. If the latch, strike, or deadbolt needs relocation, it becomes a full reversal.
Check clearance and door arc
Measure the path the slab will sweep. A hallway door that opens into traffic may block movement even if the hardware swap is clean. A closet door can also hit shelving, while a bedroom door may foul a dresser, bed corner, or another door leaf.
Suppose a 30-inch bedroom door would open toward a bed frame after the reversal. Even a perfect latch transfer will not fix that clearance problem. In that case, the layout, not the hardware, is the limiting factor.
Check jamb, trim, and slab condition
Look for warped jamb members, cracked trim, stripped screw holes, and mismatched mortises. This Old House notes that some doors are easier when they are symmetrical side-to-side and inside-to-outside, and fiberglass doors are often easier to work with. Non-symmetrical slabs are a common stop sign.
Check whether the new hinge side has enough solid material for fresh mortises. If the frame is damaged or the old hinge cuts would interfere with the new ones, the result can be loose hinges, poor latch alignment, or a crooked reveal.
How do you remove the door?
Remove the slab before changing swing direction. That lets you inspect the hinge layout, keep the frame from twisting under load, and decide whether the swap is only a hinge-side move or a larger hardware reversal. Support the slab so it does not drop when the last pin or screw comes free.
Remove the hinge pins or screws
- Open the door partway and place a stable support under the bottom edge.
- Use a nail set and hammer to drive each hinge pin upward.
- If the hinges use screws instead of removable pins, back them out with the cordless drill/driver.
- Lift the slab clear once the hinge leaves are free.
This Old House includes a pry bar and a nailset for hinge-pin removal. Use the pry bar only if the pin resists after the nail set loosens it, and protect the trim so the jamb surface does not split.
How do you reverse the hardware?
Hardware reversal is what decides if the project stays manageable or turns into a longer frame job. Hinges may move to the opposite side, but the latch bevel, strike location, and deadbolt side must also match the new closing direction. Weatherstripping and the bottom seal may need to flip too.
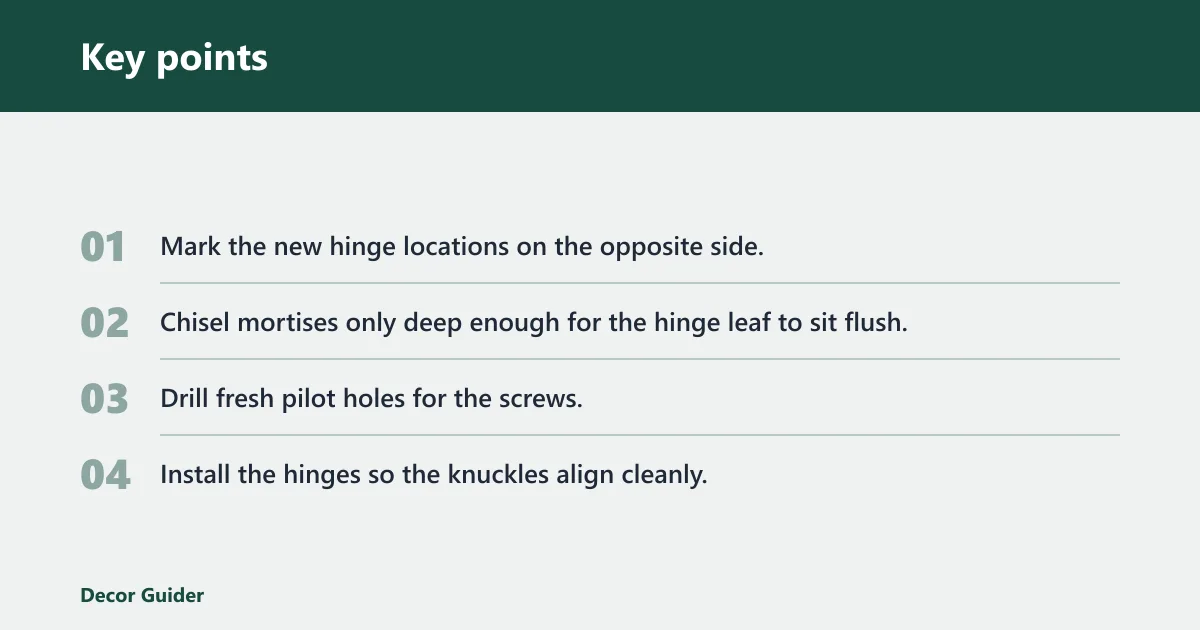
Move or flip the hinges
- Mark the new hinge locations on the opposite side.
- Chisel mortises only deep enough for the hinge leaf to sit flush.
- Drill fresh pilot holes for the screws.
- Install the hinges so the knuckles align cleanly.
Keep the mortise depth even. If the hinge leaf sits proud, the slab can bind. If the pilot holes are too large, the screws can strip and the door will sag after a few openings.
Reverse the latch, lockset, and deadbolt
For many interior locks, the latch bolt needs to be rotated 180 degrees so the bevel faces the right direction for closing. The striker plate bevel must face the jamb side on the new swing direction. If there is a keyed side or privacy turn, that function must be relocated to the new latch side.
Move the strike mortise only after the slab closes squarely in the new position. If the deadbolt is present, check that the bolt enters the new strike without rubbing the edge of the plate or striking the trim.
Adjust weatherstripping and the bottom seal
Flip or relocate weatherstripping so the compression side matches the new swing. Bottom-of-door placement matters because a reversed door can leave a gap on the opposite edge if the seal stays in the old position. Thin wood strips can help close minor edge mismatches before you refit the seal.
A common first-timer mistake is leaving the bottom seal where it was. The door may close, but the draft gap moves and the sweep can drag. Recheck the bottom edge after every hardware change.
Patch and rehang the door
Once the hardware is reversed, the old holes and mortises need to be filled and smoothed. Use wood dowels and glue for screw holes, then sand and trim the patch flush. Rehang the slab only after the patching has cured enough to hold screws firmly.
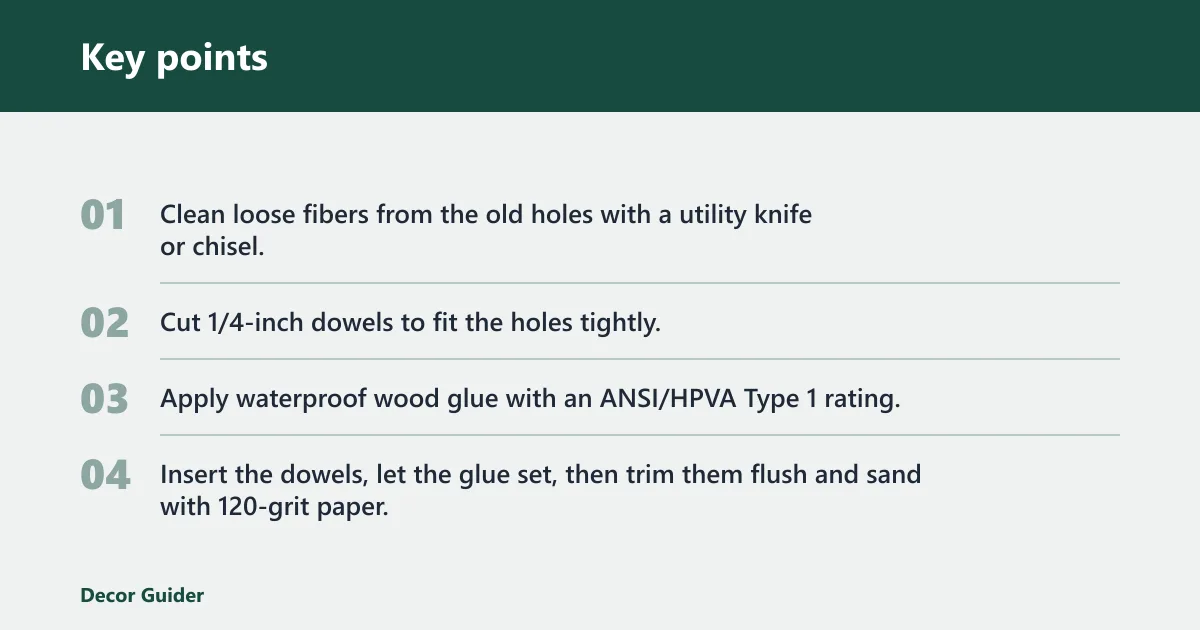
Fill old mortises and screw holes
- Clean loose fibers from the old holes with a utility knife or chisel.
- Cut 1/4-inch dowels to fit the holes tightly.
- Apply waterproof wood glue with an ANSI/HPVA Type 1 rating.
- Insert the dowels, let the glue set, then trim them flush and sand with 120-grit paper.
Fill larger voids with thin wood strips where needed, then sand again once the patch is firm. Do not reuse stripped holes for hinges or strikes; the screws will not hold a consistent load.
Rehang the slab on the new side
Set the slab back on the hinges, fasten the leaves, and check the reveal on all four sides. If the door drifts open or closed on its own, the hinges may be out of plane or the jamb may be twisted.
Use the tape measure to check the gap at the top and latch edge. A reversed interior door should close without scraping the trim, and the latch should enter the strike without needing a shove.
Test the swing and latch action
Open and close the door several times, then check the latch, deadbolt, and bottom seal. If the latch catches only when the slab is lifted, the strike is too low or the hinge leaves are not seated flat. Correct alignment before you tighten everything fully.
Allow for one adjustment cycle. If the latch is close but not centered, shift the strike by 1/16 inch, then recheck. A small change is often enough to stop rubbing without enlarging the mortise again.
Common mistakes
- Ignoring LH, RH, LHR, and RHR labels or assuming every supplier uses the same chart.
- Skipping clearance checks for hallway traffic, adjacent doors, or furniture collisions.
- Trying to reverse a warped or non-symmetrical slab that will not sit flat on the new side.
- Leaving old hinge holes, latch mortises, or strike openings unpatched.
- Forcing the latch or deadbolt instead of correcting bevel direction and strike placement.
- Keeping weatherstripping in the old position after the swing changes.
Say your closet door clears the frame perfectly but now bumps a hallway coat rack when opened fully. The hardware work was fine; the layout was not. In that case, stop before rehanging and rethink the swing direction.
Frequently asked questions
How to change door to out swinging
For an interior door, the safer question is whether the room still works with the leaf opening outward. Check hallway traffic first. If the arc is clear, move the hinges and strike so the slab closes toward the new side without hitting trim or furniture.
How to reverse a door opening
Use the existing handing as your reference, then move the slab to the opposite hinge side and relocate the latch-side parts. Rotate the latch bolt 180 degrees, flip the strike so its bevel faces the jamb side, and confirm that the door closes without binding.
How do you remove a swinging door?
Open the door partly, support its weight, and drive the hinge pins up with a nail set and hammer. If the hinges are screwed in rather than pinned, remove the screws with a cordless drill/driver. Lift the slab free before changing any hardware locations.
How do you fix a swinging door?
If a door swings too freely, check hinge screws first, then inspect for a loose jamb or a misfit strike. Tighten the hardware, patch stripped holes with dowels and glue if needed, and verify that the slab hangs plumb before adjusting the latch side.
How do you stop a swinging door?
If you want the door to stop on its own, add a door stop or revise the swing so it closes against a proper jamb stop. If the door is swinging because it is out of plane, reset the hinges and check the reveal before adding more hardware.
Products related to this article
Sponsored / affiliate links. As an Amazon Associate I earn from qualifying purchases. I may earn additional commission from eligible campaigns.