How to Remove a Pocket Door From the Frame
Remove a pocket door by starting with the slab if it is accessible: open the door fully, release the stops and hanger hardware as needed, then remove the hardware; only cut into the wall if you need the full frame out. Rushing straight to demolition can damage drywall, bend the track, and turn a small repair into a larger wall job. This guide separates slab removal, hardware removal, and full frame removal so you can choose the least destructive method first.
Pocket door removal basics
A pocket door slides into a wall cavity and needs clearance inside that wall to move. The track sits above the opening inside the pocket, where it supports the roller hangers or wheel carriages that carry the slab. If the door still rolls, the least destructive path is usually to work at the stops and hangers first.
The door itself, the hardware, and the frame are separate parts. The slab is the panel you see. The roller hangers attach to the top edge and ride in the header track. Jamb stops limit travel. The floor guide keeps the slab from swinging at the bottom. The pocket door frame kit or cassette contains the header, studs, and track components, and it is installed square and plumb.
Some systems use a pre-assembled cassette structure for faster installation, but removal still depends on the fasteners hidden by trim, stops, or wall access. The key rule is simple: identify the system first, then choose the least destructive removal path. Manufacturer instructions for pocket door systems consistently rely on access to the hanger, track, and stop details before the slab can come out cleanly. Alignment and adjustment guidance also typically centers on keeping the slab level and the rollers correctly set in the track. [1][2][3]
What you’ll need
- Pry bar
- Screwdriver set, including a stubby driver for tight trim spaces
- Thin open-end wrench for hanger nuts
- Flashlight
- Stud finder
- Drill with bits for fasteners and pilot holes
- Level
- Utility knife
- Putty knife
- Hammer or mallet
- Vacuum with a narrow nozzle
- Joint compound
- Sanding block or sanding sponge
- Patching supplies for drywall repair
- Replacement trim or casing, if the old pieces split during removal
- Replacement hardware, if the rollers, latch, or pull are worn
- Safety glasses and gloves
- Open the door fully and inspect the top edge, jamb stops, and floor guide.
- Use a stud finder to map the studs, then use a flashlight and a small inspection opening only if needed to check for wires, pipes, or framing before you open any drywall. If you will cut into a wall, make the opening narrow and check what is in the cavity before enlarging it. [4][5]
- Remove the door pull, edge pull, or privacy latch if it blocks access to the slab or trim.
- Use a putty knife to score paint lines, then pry off removable casing or molding only if the trim must come off to reach the stops or frame.
- Back out any visible stop screws or release clips, then loosen the hanger nuts with a thin open-end wrench and lift or tilt the slab to unhook it from the track.
- Slide the slab free, keeping one hand on the door so it does not scrape the floor guide or wall edge.
- Vacuum the track and inspect the hangers, then remove or replace worn hardware as needed.
- If you need full access, cut the drywall opening only large enough to reach the hidden fasteners and framing.
- Remove the track, frame components, or cassette pieces by backing out the fasteners at the track ends, header, and studs.
- Recheck level and alignment before reinstalling the slab; if the door hangs low, make a small adjustment and test again.
Which removal method fits your pocket door?
| Door age | Trim condition | Jamb stop access | Visible track access | Wall opening needed | Likely tools | Risk level |
|---|---|---|---|---|---|---|
| Newer system with quick-release hangers | Trim intact and removable | Clear, unscrewed, or unclipped | No | No, for slab-only removal | Screwdriver, pry bar, level | Low |
| Mid-age door with adjustable rollers | Painted, but still separable | Partial access | Limited | Maybe, if hardware is hidden | Drill, screwdriver, utility knife, pry bar | Medium |
| Older door with fixed or buried hardware | Painted-in or brittle | Poor or blocked | No | Usually yes | Drill, pry bar, drywall saw, patching supplies | High |
| Door with bent track or misaligned pocket | Any condition | May be damaged | Maybe | Often yes | Drill, level, screwdriver, patching supplies | High |
Stop and call a pro if:
- The wall is load-bearing and you need to open it for track or frame access.
- The jamb stops are painted in, broken, or inaccessible without tearing trim apart.
- The track is damaged, bent, or no longer level inside the pocket.
How do you remove a pocket door without taking off the molding?
You can sometimes remove the slab without touching the molding if the jamb stops are accessible and the hangers release from the top edge. The key is to clear the stops, loosen the hanger nuts, and lift the panel straight enough to clear the floor guide. If the stop is painted in, do not force it.
Start by opening the door fully and looking for exposed screws or clip points at the head and track ends. If the trim is only decorative and the stop is separate, the casing can often stay. If the stop is part of the casing profile, partial trim removal may still be necessary.
If the door still binds after the stops are cleared, check the hanger adjustment before applying more force. A little binding often comes from the hanger setting, not from the trim. Keep the opening narrow and only remove the molding if the stop or fastener layout makes it unavoidable.
Least-destructive method first: remove the slab only
Choose this when the door itself needs to come off for painting, hardware replacement, or minor troubleshooting. You need access to the jamb stops, the hanger release points, and the floor guide, but you do not need to open the wall. The most common failure points are painted-in stops, hidden hanger screws, and a guide that catches the bottom edge.
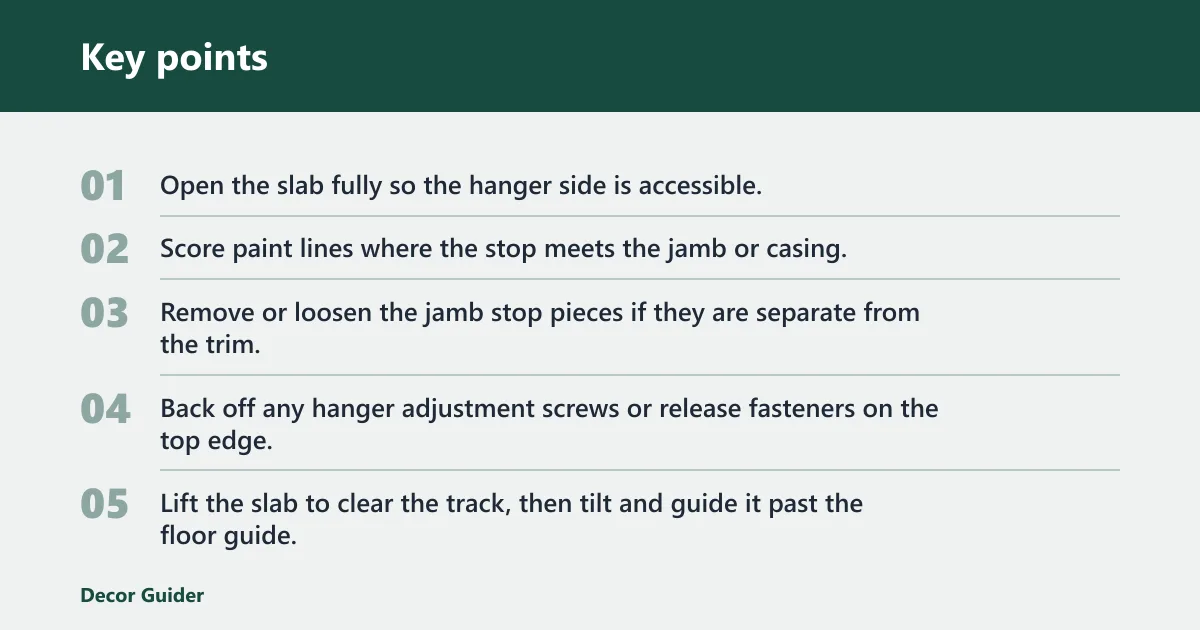
- Open the slab fully so the hanger side is accessible.
- Score paint lines where the stop meets the jamb or casing.
- Remove or loosen the jamb stop pieces if they are separate from the trim.
- Back off any hanger adjustment screws or release fasteners on the top edge.
- Lift the slab to clear the track, then tilt and guide it past the floor guide.
- Set the slab aside on a protected surface.
Pocket door track and jamb stops
If the slab will not lift free, the track or stop layout is usually the reason. Some systems release at the head; others require the stop to come off first. Keep the track aligned and do not pry against the header itself. Manufacturer guidance for pocket door hardware commonly shows hanger adjustment and track engagement as the control points for removal and reinstallation. [1][2][3]
How do you remove the rollers from a pocket door track?
Most roller hangers stay in the track until you find the adjusters, release points, or hidden fasteners that hold the slab to the hanger assembly. The hangers ride in the header track, which must stay level and aligned for the door to come out without binding. If the release is not visible, stop before forcing the hardware.
Look for adjustment screws on the top edge of the slab or at the hanger slots. Many systems use those screws to raise, lower, or unhook the door from the carriage. Cleaning debris from the track can help expose the release points, but it will not fix a bent hanger or a misaligned header. If the hardware is old-style and does not show a clear release, expect a different access method. The common problem is buried fasteners above the door or at the track ends, not a simple pull-tab release.
Remove rollers/hardware only
Choose this when the slab is sound but the hangers, rollers, latch, or pull are worn. You need top-edge access and, in some systems, a little room at the track end. The main failure points are stripped adjustment screws, seized hanger hardware, and a track that is too tight or out of level for the carriage to exit cleanly.
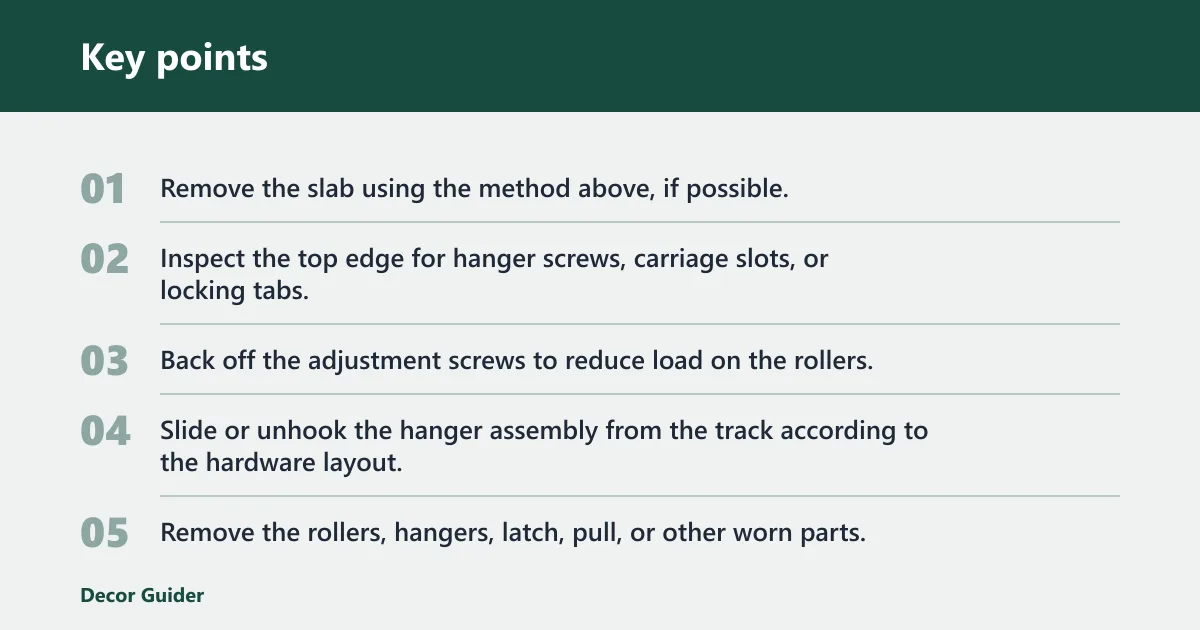
- Remove the slab using the method above, if possible.
- Inspect the top edge for hanger screws, carriage slots, or locking tabs.
- Back off the adjustment screws to reduce load on the rollers.
- Slide or unhook the hanger assembly from the track according to the hardware layout.
- Remove the rollers, hangers, latch, pull, or other worn parts.
- Vacuum the track and check for bends, burrs, or debris before reassembly.
Pocket door roller adjustment and alignment
Keep the slab level while you release the hangers, then set the replacement hardware so the door rides evenly. The door should not scrape the floor guide or sit low on one side. Adjustment is usually a small change rather than a large correction, and uneven settings can make the door rub the jamb even when the hardware is new. [2][3]
How do you take a pocket door out of the frame?
To remove the slab from the frame, first check for wiring, plumbing, and structure before you cut any wall opening. Then open the wall only as much as needed to reach the hidden screws, track ends, or cassette fasteners. Full frame removal means more than taking off the slab; it may also require removing the track, headers, and pocket frame components.
The safest order is access, release, then removal. If the hardware is visible, work from the slab and hangers rather than removing more wall than necessary. If it is hidden behind drywall, create a narrow access cutout instead of removing more wall than necessary. Keep the opening tight so repair work stays manageable.
If the track is visibly sagging on one side, a full opening may be unavoidable. That can mean the pocket frame is out of square, the fasteners have loosened, or the track is bent. In that case, a full opening may be unavoidable if you need to repair the support and not just the door.
Remove full frame/cassette
Choose this only when the pocket frame, track, or header is damaged, or when the door cannot be freed from the wall side. You need drywall access, tool clearance, and a plan for structural repair. The most likely failure points are hidden fasteners, buried utilities, and the cassette or header being tied into adjacent framing.
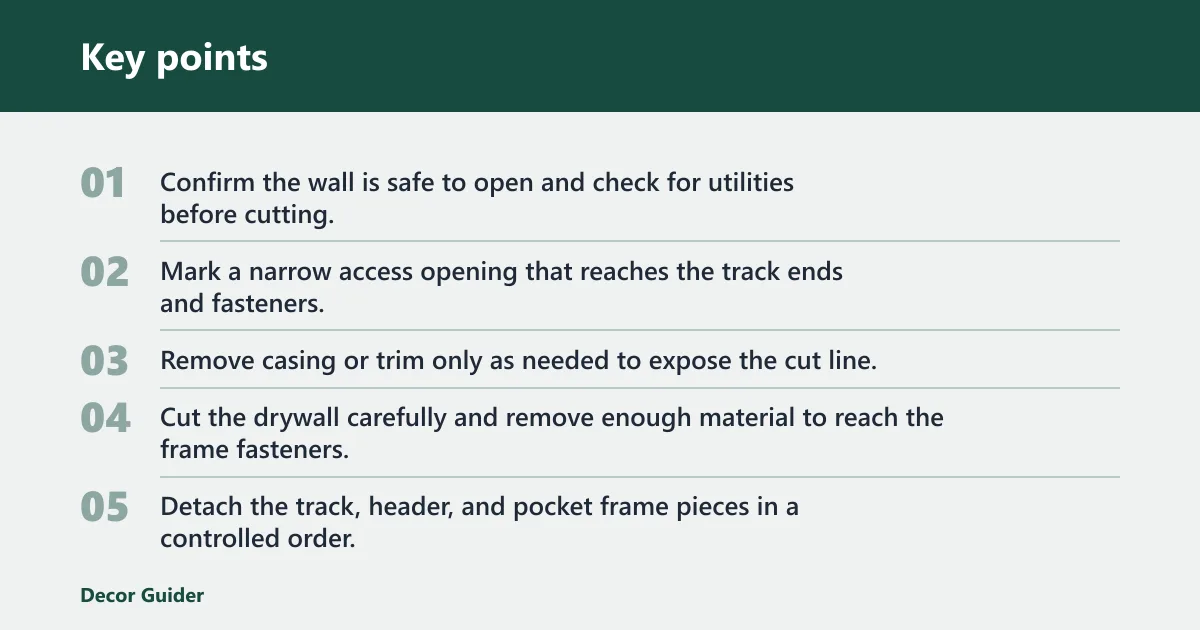
- Confirm the wall is safe to open and check for utilities before cutting.
- Mark a narrow access opening that reaches the track ends and fasteners.
- Remove casing or trim only as needed to expose the cut line.
- Cut the drywall carefully and remove enough material to reach the frame fasteners.
- Detach the track, header, and pocket frame pieces in a controlled order.
- Lift out the cassette or frame components without forcing adjacent framing.
- Repair the wall opening after the new frame or blank framing is installed.
Wall access cutout and hidden fasteners
Use a wall access cutout only when the track, cassette, or hidden fasteners cannot be reached from the opening. Cut as small as possible, then enlarge only if the fastener locations demand it. This keeps the repair manageable and reduces the chance of damaging nearby wiring, plumbing, or trim. [4][5]
Common mistakes
Forcing the slab when it bows or rubs the frame is the fastest way to bend hangers or chip the wall edge. If the door sticks, inspect the top hardware and the floor guide before you pull harder.
Cutting drywall before checking for utilities creates avoidable risk. Use a careful access cutout only after you know what runs through the wall cavity. A pocket door opening can share space with wiring or plumbing in nearby walls.
Reinstalling the slab without checking the floor guide and track alignment leaves the same problem in place. The goal is a level, even glide with no rubbing at the jamb or at the bottom guide. If the door still drags after adjustment, look for a bent hanger, a twisted slab, or a track that is not sitting square.
Repair and reinstallation notes
After removal, inspect the door pull, edge pull, privacy latch, and any faceplate you plan to reuse. Bedroom and bathroom doors often need a different latch setup than a closet door, so confirm the room use before reinstallation.
If you opened the wall, plan for drywall repair materials: joint compound, patching supplies, and sanding. Patch around the cut opening in thin layers, let each layer dry, then sand before repainting or replacing trim. If the casing split during removal, replace it rather than forcing it back.
Old or damaged hardware should be replaced instead of reused. Bent rollers, worn hangers, and damaged stops can leave the slab rubbing the frame even after the door goes back in.
Frequently asked questions
How do you remove old style pocket door hardware?
Old-style hardware usually comes out by exposing the hidden fasteners, not by pulling on the door itself. Remove the slab first if you can, then open a small wall section to reach the hanger mounts or track screws. If the hardware is rusted, plan on replacing it instead of trying to reuse bent parts.
How do you fix a pocket door that rubs the frame?
Start with the hanger adjusters or wheel carriages, then check the track for level and the floor guide for clearance. A common first-timer mistake is trimming the slab edge before checking alignment. If the door still rubs after a small adjustment, inspect the track and pocket for bends or debris.
How do you fix a pocket door without removing the frame?
Open the door fully, clean the track, and adjust the hangers before you cut any wall opening. Many problems come from dirty rollers or a door that is slightly out of level. If the stops are intact and the hardware is accessible, you can often correct the movement without touching the frame.
What tools do I need to remove a pocket door?
Use a screwdriver, pry bar, drill, level, utility knife, and patching supplies. Add a vacuum with a narrow nozzle if you plan to clean the track before reassembly. If the trim is painted in or the fasteners are hidden, keep drywall repair materials on hand so the wall can be closed properly afterward.
How do you replace a pocket door frame?
Replace the frame only after you confirm the wall opening is clear and the old cassette or header can come out without damaging nearby structure. The new pocket door frame kit should be installed square and plumb, then checked for level before the slab goes back on. Hidden utilities must be handled before any major cutout.
How do you remove a sliding door and frame?
For a pocket door, remove the slab first, then the track and frame components if access requires it. The process is different from a surface-mounted slider because the track is inside the wall cavity. If you mean a different sliding door type, check its hardware layout before you pry off trim or cut drywall.
What’s the difference between a sliding door and a sliding glass door?
A sliding door is a broad category that can include pocket doors, bypass doors, and barn-style doors. A sliding glass door is usually a patio unit with rollers in a bottom or top track, plus fixed glass panels and weatherstripping. If you mean a patio door, use a dedicated sliding glass door removal guide instead of pocket-door steps.
Sources
- [1] Johnson Hardware, pocket door installation and adjustment instructions.
- [2] Cavity Sliders, pocket door installation, hanger adjustment, and track guidance.
- [3] Hettich, sliding and pocket door hardware installation and alignment guidance.
- [4] OSHA, utility and hazard awareness before wall cutting or demolition work.
Products related to this article
Sponsored / affiliate links. As an Amazon Associate I earn from qualifying purchases. I may earn additional commission from eligible campaigns.