How to Replace Door Hinges Without Taking the Door Off
Replace interior door hinges in place by swapping one hinge at a time, leaving the other hinges fastened, matching the leaf size and screw pattern, and supporting the door so the latch and gaps stay aligned. Skip the support or mix screw lengths, and the door can sag, bind, or strip the frame. This guide shows how to choose replacement hinges, swap them safely, and fix stripped screws without taking the door off.
What do you need to replace an interior door hinge?


Gather a matching hinge, the right screwdriver, a hammer, a punch, a drill, pilot bits, and wood-repair supplies before you start. The goal is to keep the door supported, swap one hinge at a time, and restore screw bite if the old holes have worn out.
Screwdriver, hammer, and punch
- Phillips or square-drive screwdriver that fits the existing hinge screws
- Hammer
- Punch or nail set for tapping a hinge pin out from underneath if you need to lubricate or briefly free the door
- Combination square for checking flush fit and mortice depth
- Wedge or door lifter to hold the leaf steady
Matched replacement hinge
- Replacement butt hinge that matches the old size, handedness, corner radius, and finish
- Most internal doors use a standard butt hinge, usually 76mm on a non-fire door; heavier leaves often use 100mm, which is consistent with common joinery sizing guidance and architectural hardware catalogs
- Ball bearing hinge if the door is heavy or used often, since bearing types are typically recommended for higher-duty, higher-cycle doors (BS EN 1935 duty guidance)
Drill, bits, and wood repair supplies
- Drill/driver with pilot bit
- Wood filler or dowels for stripped screw holes
- Matched screws for the new hinge
- Longer screws if a hinge screw needs to bite into framing rather than soft jamb wood
Dry lubricant for squeaks
- Dry lubricant for a squeaky hinge, used only as a short-term fix
- Do not treat lubrication as a structural repair if the hinge is bent, loose, or worn
How do you know whether to replace the hinge, repair the holes, or change the size?
Start with the symptom, not the hardware aisle. If the screws spin, repair the holes first; if the hinge leaf sits proud or too deep, correct the mortice; if the door is heavy or used constantly, a ball bearing hinge can be the better replacement. Typical internal-door clearance is about 3mm around the leaf, so any fix should preserve that reveal.
Door hinge swap checklist
| Symptom | Likely cause | Safest no-door-off action |
|---|---|---|
| Stripped screws | Holes in the jamb or door leaf no longer grip | Remove one screw at a time, fill the hole with a dowel or wood filler, pre-drill, then refit the hinge with matched screws |
| Mismatched hinge size | The new hinge leaf is wider, narrower, or a different radius than the old one | Stop and match the replacement to the old hinge before fastening; if needed, change to the correct 76mm or 100mm size and the same corner radius |
| Sagging after one hinge swap | The remaining hinges are carrying uneven load, or the new screws are too short to bite well | Add longer screws in the top hinge where appropriate, then recheck the 3mm gap and latch alignment |
| Top corner rub | Alignment shifted, or the mortice is too deep and the leaf sits low | Check that the leaf sits flush; if the mortice is proud or too deep, correct the recess before tightening the hinge |
When should you use ball bearing hinges?
Use ball bearing hinges when the door is heavy, frequently used, or prone to squeak and drag under regular load. They reduce friction at the knuckle and are generally better suited to higher-duty applications than plain-bearing hinges, especially when the door’s weight and cycle count are the main issue rather than damaged timber or poor alignment.
Can you replace a hinge without removing the door?
Yes. A supported interior door can usually stay hung while one butt hinge is replaced at a time, as long as the door is held in position and the other hinges remain fastened. The pin-removal method is useful for temporary removal or lubrication, but a full hinge replacement means removing the old hinge as a unit and fitting the new one in the same mortice.
Do I need to remove the door to swap hinges?
No, not usually. If the door is supported and the frame is sound, you can swap one hinge at a time with the door still hung. Remove only the hinge you are replacing, keep the other hinges fastened, and recheck the gaps after each step so the door does not drift out of alignment.
When the no-door-off method works
This method fits most lightweight interior doors, especially hollow-core leaves with a plain butt hinge. It works best when the jamb is sound, the mortice is clean, and the screw holes still hold enough bite to keep the leaf aligned while you change one hinge.
When the door should come off instead
Take the door down if the jamb is split, the mortice is badly stripped, the frame is warped, or the hinge pattern no longer matches and would need major recutting. If the door still will not close after one hinge swap and a screw repair, rehanging is the better next step.
How do you choose the right replacement hinge?
Match the old hinge first, then decide whether the door needs a stronger bearing style. Size, corner radius, and finish matter because they determine whether the new leaf fits the existing mortice and preserves the standard 3mm reveal.
Match size and handedness
Start with the old hinge. Most internal doors use a standard butt hinge, often 76mm on a non-fire interior door, while heavier leaves often use 100mm. The replacement hinge should match the size and handedness so the leaf sits in roughly the same position and the screw holes line up as closely as possible.
Check corner radius and finish
Match the corner radius of the hinge leaf, or the new hinge may sit proud of the mortice. The finish should also match if the hinge remains visible, since a different finish can stand out even when the fit is correct.
Choose plain bearing or ball-bearing
A plain bearing hinge suits many standard interior doors. A ball bearing hinge is a better choice for heavier or high-use doors because it reduces friction. It is not a fix for damaged wood, but it can help a door that is in good structural shape.
How do you replace one hinge at a time?
Support the door, remove one hinge only, fit the replacement in the same mortice, and check the gap before moving on. That sequence keeps the door from dropping unexpectedly and lets you correct alignment before the load shifts to the next hinge.
Step-by-step replacement
- Close the door, wedge it, and support its weight so the latch stays aligned.
- Remove the screws from one hinge only, then lift the old hinge leaf away as a unit.
- Compare the mortice and the new hinge leaf, and confirm the leaf sits flush with no proud lip.
- Pre-drill pilot holes before driving screws, because splitting starts fast in soft jamb wood.
- Fit the replacement hinge, drive the screws snug, and recheck the gap before moving to the next hinge.
- Repeat for the remaining hinge or hinges, one at a time, so the door never loses full support.
Say your 76mm hinge has two stripped jamb screws and the door rubs at the top corner. Replace that hinge first, pre-drill the holes, then use the same 3mm gap around the door to judge whether the second hinge also needs attention. (Wikihow)
Suppose the new hinge screws are slightly longer than the old ones. That helps only if they reach framing or firmer wood behind the jamb. If they bottom out or split the jamb, stop and shorten the fix rather than forcing the screws.
How do you keep alignment correct?
Keep the leaf flush in the mortice, watch the 3mm gap on all four sides, and check the latch side after every hinge swap. If the door drifts, correct that hinge before moving on. A supported door that closes cleanly after each step is much easier to keep in line than one left to sag between changes.
How do you check for hinge-related sagging?
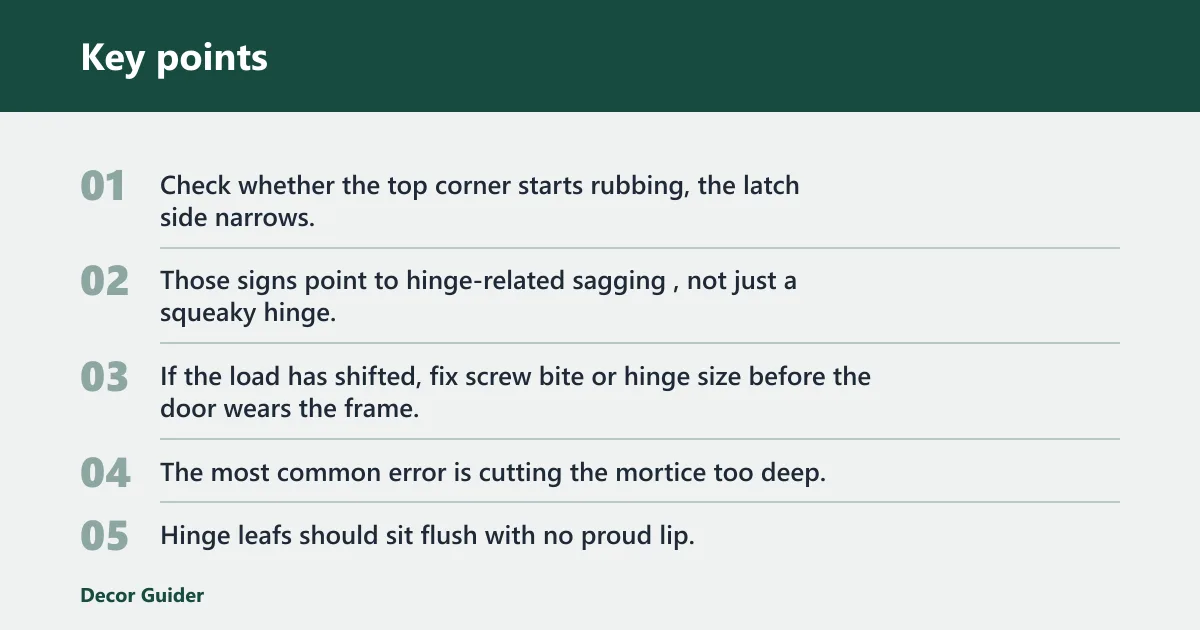
Check whether the top corner starts rubbing, the latch side narrows, or the door needs a lift to close. Those signs point to hinge-related sagging, not just a squeaky hinge. If the load has shifted, fix screw bite or hinge size before the door wears the frame.
Check the mortice depth
The most common error is cutting the mortice too deep. Hinge leafs should sit flush with no proud lip. If the leaf drops too far into the recess, the door can bind or rub at the top corner. Use a chisel or router adjustment only if the recess depth is the problem.
Watch the 3mm clearance gap
A standard internal door should have a 3mm gap on all four sides. After each hinge swap, check the reveal at the head, latch side, and threshold line, with the gap kept roughly even. If the gap tightens at the top corner, the hinge is sitting wrong or the jamb may be out of line.
Use longer screws where appropriate
Longer screws may be needed to fix stripped holes when the original holes no longer hold well. Pre-drill first. If the screw still will not bite, repair the hole with wood filler or a dowel before retrying. Do not rely on loose screws to carry the door. Standard repair practice is to rebuild the hole, let the filler or dowel provide fresh material, and then re-drill for a tighter fit.
What is the best fix for stripped screw holes?
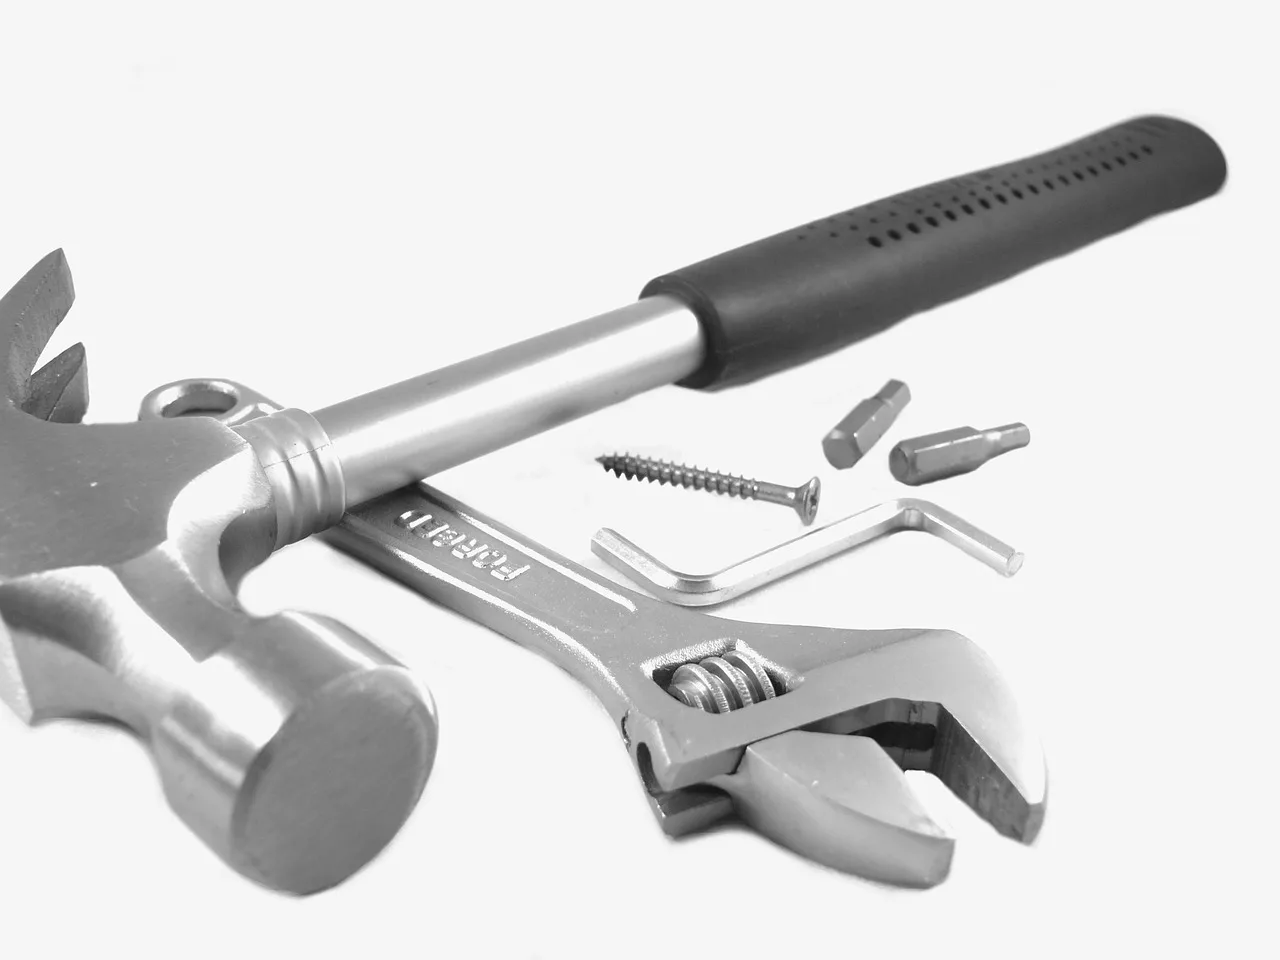
The most reliable fix is to rebuild the hole with wood filler or a dowel, then pre-drill and refit the screw. Longer screws help only when there is sound wood behind the jamb; if the hole itself is crushed or enlarged, the screw has nothing solid to grip.
Screw-hole repair steps
- Remove one loose screw and inspect whether the hole is enlarged, cracked, or soft.
- Pack the hole with a dowel or wood filler so the screw has fresh material to bite into.
- Let the repair cure fully if the product requires drying time.
- Pre-drill a pilot hole, then reinstall the screw snugly without over-tightening.
- Repeat for each failed screw hole before moving to the next hinge.
If the jamb wood is split rather than just worn, repair the split first. A screw can only hold if the surrounding wood is intact enough to clamp the hinge leaf flat against the mortice.
What are the most common mistakes?
Most hinge swaps go wrong because the leaf is not flush, the screws are the wrong length, or the door is left unsupported during the change. Those mistakes affect alignment more than the hinge itself, so the fix should focus on fit, bite, and clearance rather than speed.
- Leaving a proud hinge leaf, which changes the door position and can cause rubbing
- Using the wrong screw length, which can leave the hinge loose or split the jamb
- Ignoring a warped jamb, which makes the new hinge look wrong even when the hinge is correct
- Stopping after the first hinge when the door still rubs, which leaves the load uneven
- Using dry lubricant as a repair for stripped screws or bent knuckles, which only hides the noise
A common first-timer mistake is to quiet a squeaky hinge with dry lubricant and stop there. That can help for noise, especially if dirt or debris is inside the knuckle, but it does nothing for sagging, loose screws, or a leaf that no longer sits flush.
When should you replace hinges instead of tightening them?
Replace the hinge when tightening fails, the knuckle is bent, the leaf is worn, or the screw holes no longer hold. If the door only squeaks, dry lubricant may buy time. If the door sags, rubs, or the screws keep spinning, the hinge needs replacement rather than another tightening pass.
If that didn’t work, try this next
- Check the hinge screws first. If they spin, repair the holes and pre-drill again.
- Check the mortice depth next. If the leaf is proud or too deep, correct the recess.
- Check the frame last. If the jamb is warped or split, the hinge swap may not solve the problem.
If the door still will not close after the first repair, stop and assess the frame. A hinge swap is enough when the leaf fit, screw bite, and 3mm clearance gap all return to normal. It is not enough when the jamb is damaged or the door itself is warped.
Frequently asked questions
Can you change door hinges without removing the door?
Yes, on many interior doors. The key is to keep the door supported while you swap a full hinge assembly, not just the pin. If the frame is sound and the screw holes can be repaired, this approach avoids taking the leaf off the jamb.
How many screws should hold an interior door hinge?
The exact screw count varies by hinge model, so match the original hardware and fill every hole the hinge was designed for. Use pre-drilled holes, and if a screw will not hold, repair the hole before refitting. A hinge with missing fasteners is more likely to sag.
What size hinges do I need for an interior door?
Most internal doors use two 76mm hinges on a standard non-fire door. Heavier leaves often use 100mm hinges. Match the old hinge size first, then confirm the handedness, corner radius, and finish so the replacement sits in the same mortice.
Can you replace one hinge at a time?
Yes. That is the safest no-door-off method for a standard interior butt hinge. Replace one hinge, recheck the gap, then move to the next. If the door sags after the first swap, use longer screws where appropriate or repair the stripped holes before continuing.
What tools do I need to replace a door hinge?
At minimum, you need a matching screwdriver, a hammer, a punch or nail set, a drill with pilot bits, and a wedge or support to hold the door steady. A combination square helps check flush fit and mortice depth, and wood filler or dowels are useful if the screw holes are stripped.
Products related to this article
Sponsored / affiliate links. As an Amazon Associate I earn from qualifying purchases. I may earn additional commission from eligible campaigns.