How to Replace a Bifold Door Pivot Bracket
Replace a bifold door pivot bracket only after confirming the door is out of plumb and the pin or socket in the top or bottom bracket appears worn, bent, or stripped; otherwise, adjust the track or door first. Using the wrong fix usually leaves the door rubbing, drifting open, or slipping off its track. This guide shows how to identify the failed bracket, match the correct replacement, swap top or bottom hardware, and check the fit.
Bifold pivot bracket basics
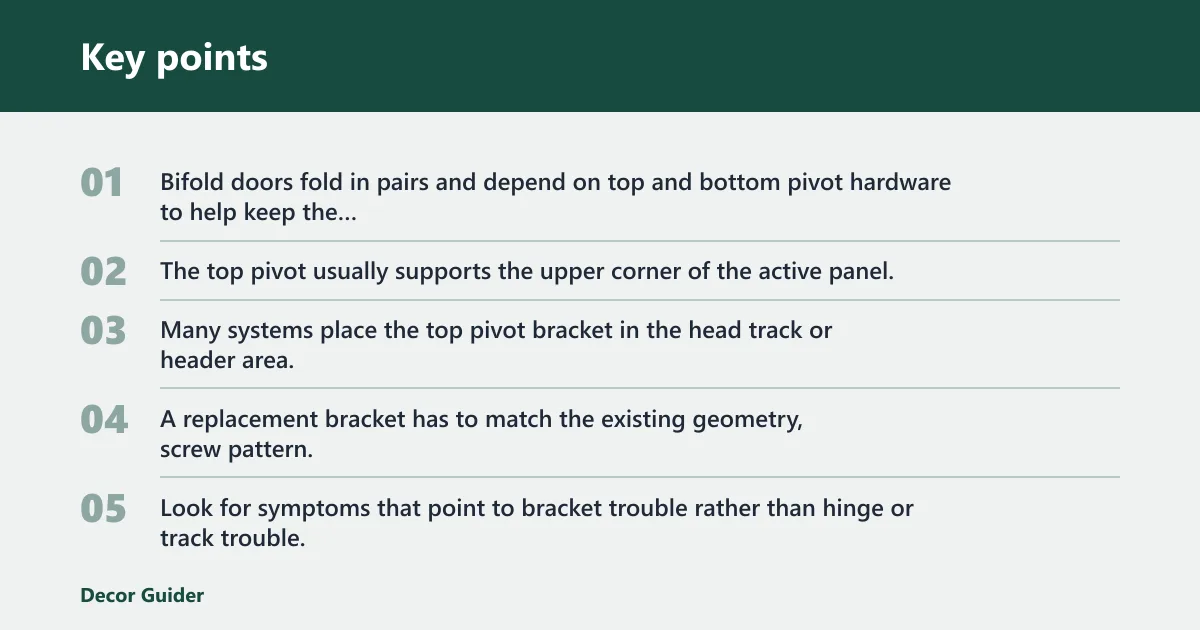


Bifold doors fold in pairs and depend on top and bottom pivot hardware to help keep the active panel centered and moving freely. The top pivot usually supports the upper corner of the active panel, while the bottom pivot sets the lower rotation point and keeps the panel from wandering as it opens and closes.
Many systems place the top pivot bracket in the head track or header area, and the bottom pivot bracket at the jamb or floor-side hardware. That mounting position matters. A replacement bracket has to match the existing geometry, screw pattern, and pivot pin engagement, or the door may fit but still bind.
Troubleshoot before you replace
Look for symptoms that point to bracket trouble rather than hinge or track trouble. Wobble, popping out, sag at the upper corner, dragging at the floor, and a door that will not stay aligned often point to the pivot hardware. A bent pin, loose hinge, or misaligned track can create similar symptoms, so inspect those parts too.
What you’ll need
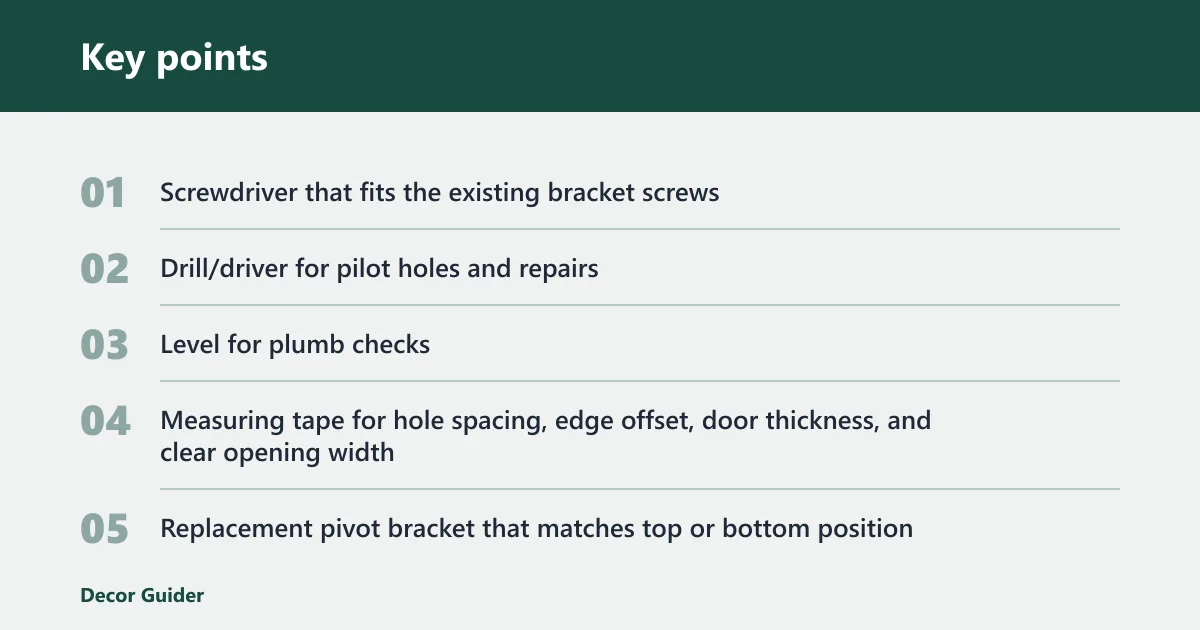
- Screwdriver that fits the existing bracket screws
- Drill/driver for pilot holes and repairs
- Level for plumb checks
- Measuring tape for hole spacing, edge offset, door thickness, and clear opening width
- Replacement pivot bracket that matches top or bottom position
- Replacement screws in corrosion-resistant finish
- Wood screws sized to fit the original mounting points or repaired holes
- Anchors for hollow jambs, if the bracket mounts there
- Wood filler, plug, or hole repair kit for stripped screw holes
- Utility knife or small pry tool for removing trim or covers, if needed
Compatibility checks before you buy
Check the center-to-center hole spacing, edge offset, door thickness, and bracket orientation before purchase. Also compare the pivot pin size, the socket shape, and whether the replacement is meant for the top or bottom position. If the door is a single panel pair setup, confirm the hardware matches that panel configuration and weight distribution.
Picture a hollow-core closet door with stripped upper holes and a bracket that uses a different screw pattern. A close-looking part can still fail if the screw spacing is off by even a little, or if the pivot pin sits at the wrong offset and shifts the door out of line.
| Symptom | Likely failed part | Quick test | Replacement part type | Reinstallation check |
|---|---|---|---|---|
| Upper corner wobble or popping out | Top pivot bracket | Lift the active panel slightly and check whether the upper socket or pin feels loose | Top pivot bracket that matches the existing screw pattern and pin geometry | Bracket sits flush, pin seats fully, upper corner stays supported |
| Dragging, binding, or lower corner drift | Bottom pivot bracket | Open and close the door while watching the lower pivot point for shift or scrape | Bottom pivot bracket with matching orientation and pivot geometry | Door swings without floor drag and keeps equal reveal at the jamb |
| Bracket loosens again after tightening | Stripped screw holes | Try snugging one screw by hand; if it spins, the hole is damaged | Repair kit, longer wood screws, or anchors for hollow jambs | Screws bite solidly and the bracket no longer rocks |
| Door still slips after bracket swap | Bent pivot pin | Roll the pin on a flat surface and look for wobble | Replacement pin or full pivot assembly if pin is not separate | Pin drops into place without forcing and stays centered |
| Door rubs even with new hardware | Misaligned track | Check the top track with a level and inspect for bends or loose fasteners | Track repair or track replacement, not just a bracket | Track is straight, secure, and aligned with the opening |
| Panel leans or door opening changes shape | Door sag or hinge wear | Check hinge knuckles and compare the gap at top and bottom | Hinge repair, door rehang, or full hardware set if wear is widespread | Panel hangs square and the gap reads evenly at both sides |
How do you know which part failed?
Use the symptom, not the guess, to choose the part. If the upper corner pops or wobbles, start with the top pivot. If the lower edge drags or the door will not stay aligned, start with the bottom pivot. If tightening does nothing, stripped holes, a bent pin, or track misalignment may be the real problem.
Decide between one bracket and a full hardware set
- Inspect the failed bracket, the opposite pivot, the pin, hinges, and track.
- Replace only the bracket if the opposite pivot is sound and the screw pattern matches.
- Replace the full set if both pivots are worn, the pin is bent, or the hardware styles do not match.
- Repair stripped holes first if the bracket rocks or pulls free.
- Recheck alignment after each change before moving to the next part.
Remove the door and inspect the hardware
Remove the panel before replacing either bracket. That gives you access to the pivot points and lets you inspect the screw holes, pin seat, and nearby wood without fighting the door’s weight. Check for edge damage near the pivot holes, since cracked wood can make a correct bracket look bad.
Measure the existing hole spacing, edge offset, door thickness, and clear opening width while the door is off. Also check plumb with a level, not just a tape measure, because a door can be the right width and still lean enough to bind.
- Fold the door panel partially closed.
- Lift the panel off the bottom pivot, then ease the top pin out of the track or socket.
- Set the door flat on a protected surface.
- Inspect the bracket, pin, hinge, and screw holes for wear, looseness, or deformation.
- Check the opening with a level and confirm the track is straight and secure.
How do you replace the top pivot bracket?
Replace the top pivot bracket only after you confirm the upper hardware is the failing part. The new bracket should sit flush and secure, support the upper corner of the active panel, and match the existing mounting pattern. If the track is bent or loose, fix that first or the new bracket will not hold alignment.
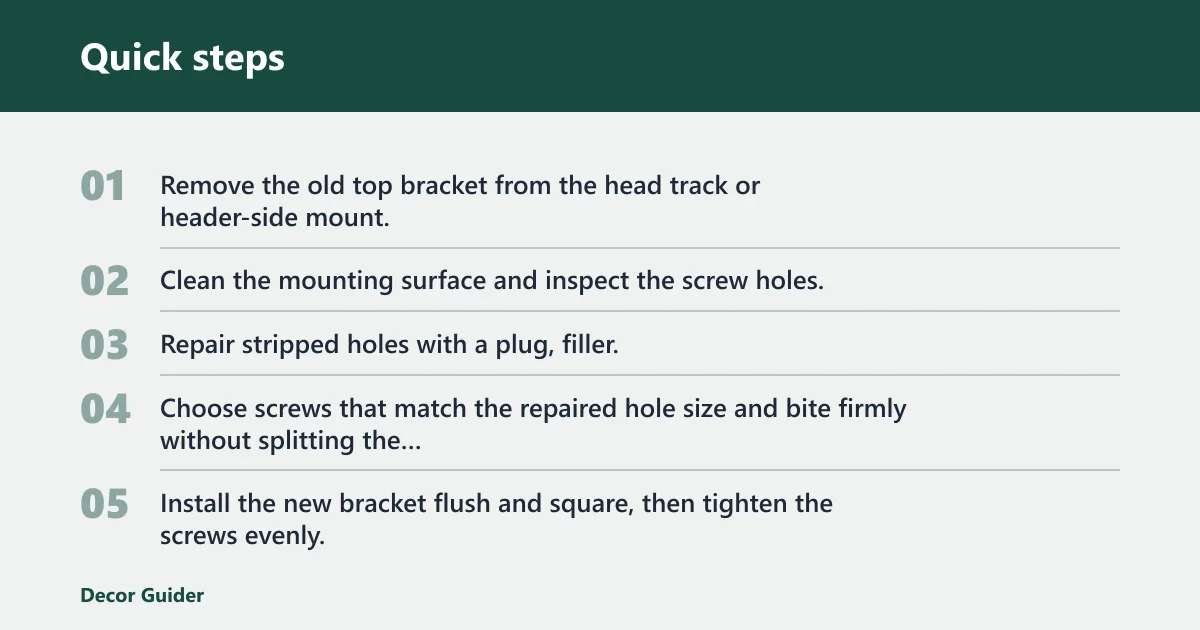
- Remove the old top bracket from the head track or header-side mount.
- Clean the mounting surface and inspect the screw holes.
- Repair stripped holes with a plug, filler, or a repair kit before reinstalling the top bracket.
- Choose screws that match the repaired hole size and bite firmly without splitting the wood.
- Install the new bracket flush and square, then tighten the screws evenly.
- Re-seat the pivot pin and confirm it engages fully without force.
- Hang the panel and check that the upper corner is stable and the door clears the jamb.
Top bracket fit checks
A top bracket that sits proud of the mounting surface can tilt the panel and cause popping or drift. After installation, open and close the door several times, then recheck the gap at the jamb and the clearance at the floor. If the pin rides out of the socket, stop and verify bracket orientation and pin size.
How do you replace the bottom pivot bracket?
Replace the bottom pivot bracket when the lower pivot point is dragging, loose, or no longer keeps the panel aligned. The replacement should match the top pivot geometry so the door swings on the same axis. If the new bottom bracket is offset differently, the panel may bind or sit crooked even when tightened correctly.
- Remove the lower bracket or floor-side hardware from the jamb or floor mount.
- Inspect the mounting holes and repair any stripped or softened wood.
- Match the replacement bracket to the top pivot geometry and the original orientation.
- Set the bracket in place and tighten the screws evenly.
- Reinstall the door so the lower pivot seats cleanly.
- Open and close the door to confirm it swings without dragging.
- Check clearance at the floor and jamb, then make sure the panel spacing stays even.
If that didn’t work, try this next
If the new bottom bracket still drags, inspect the track, hinges, and the upper pivot for a hidden mismatch. A bent pin or loose top mount can push the lower edge out of line. If the screw holes are still weak, move to a larger repair or replace the full pivot set rather than chasing the same loose mount.
Common mistakes
Most failed fixes come from mixing up the top and bottom locations, reusing damaged holes, or installing a bracket that looks close but does not match the pin geometry. Another common miss is checking the door width but not the offset from the edge, which can shift the panel just enough to bind.
Say your upper bracket is sound but the bottom mount is off by a small amount. The door may still close, but it can rub the jamb every time it swings. Fix the actual failure point first, then verify plumb, spacing, and smooth travel before calling it done.
- Do not reuse stripped holes without repair.
- Do not assume a bent pin is a bad bracket.
- Do not ignore a loose or bent track.
- Do not skip the level check after reassembly.
- Do not force a mismatched bracket into place.
Frequently asked questions
What tools do I need to replace a bifold door pivot bracket?
At minimum, gather a screwdriver, drill/driver, level, measuring tape, replacement screws, and a repair option for stripped holes. If the bracket mounts to a hollow jamb, add anchors sized for that material. Keep the manufacturer’s instructions nearby if the door system uses a nonstandard pivot layout.
Why does a bifold door keep popping out of the pivot bracket?
That usually points to a loose bracket, a worn socket, a bent pin, or track misalignment. Check the top and bottom mounts separately, because the symptom can appear at one end while the real fault sits at the other. If the screw holes are stripped, the bracket can loosen again even after tightening.
How do I know if I need a top or bottom pivot bracket replacement?
Look at where the symptom starts. Upper corner wobble, popping, or sag points to the top pivot. Lower dragging, binding, or poor alignment points to the bottom pivot. If both ends look worn, or if the pin and holes are damaged, replace the full hardware set rather than one piece.
How much does it cost to replace a bifold door?
DIY replacement of a bifold door is estimated at 4 hours, with DIY material cost listed at $120. A carpenter charges $276 to replace a bifold door. The right choice often depends on whether the problem is one bracket, a bent pin, or hardware wear across the whole setup.
One short prevention step helps: tighten the bracket screws after the door settles, then recheck plumb and clearance. If the screw holes start to loosen again, repair them before the hardware shifts far enough to damage the panel or track.
Products related to this article
Sponsored / affiliate links. As an Amazon Associate I earn from qualifying purchases. I may earn additional commission from eligible campaigns.