How to Paint an Interior Door Without Removing It
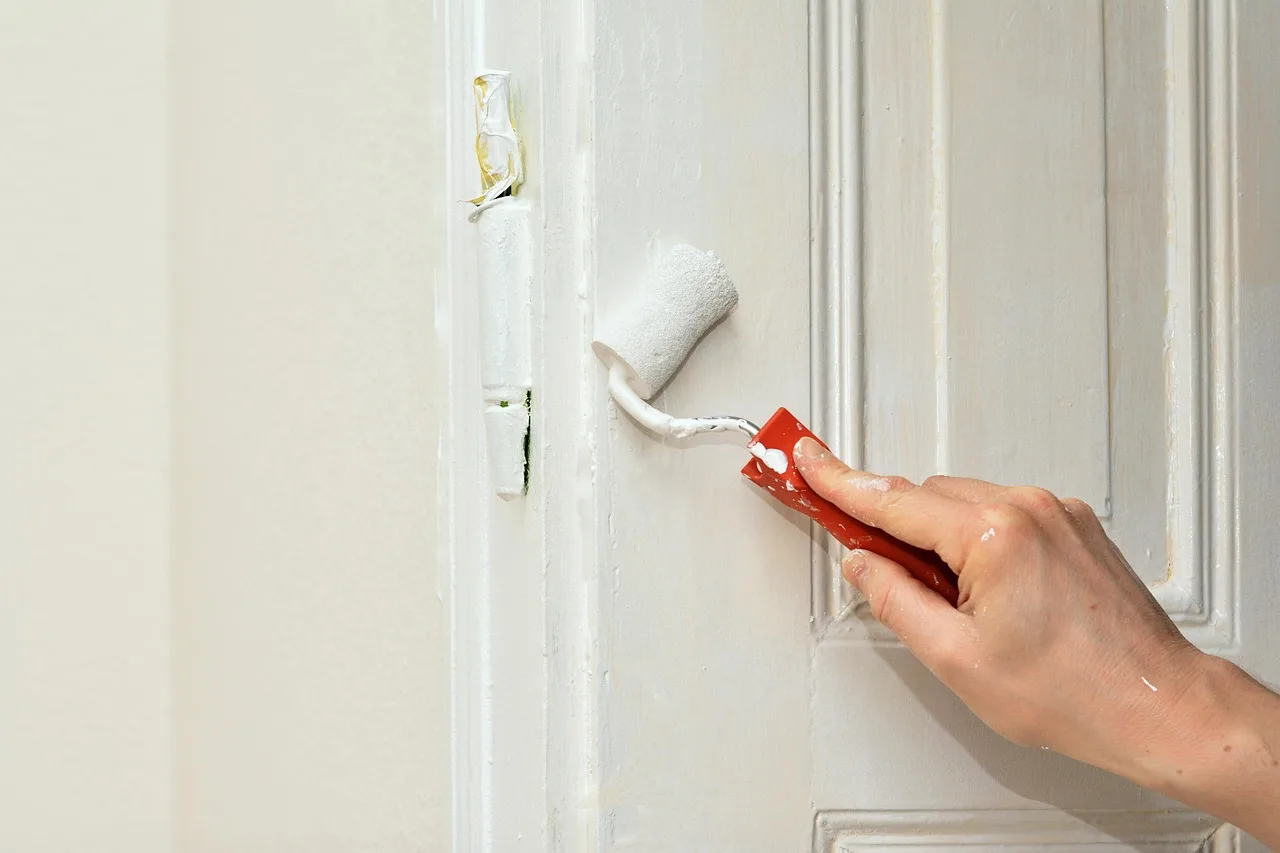
Paint an interior door without removing it by opening it fully, taping or shielding the frame, painting the latch edge first, then the flat panels and stiles in thin coats. Remove the door only if it rubs, won’t stay open, or has heavy hardware. Rushing this job can leave sticky edges, chipped paint, and a door that binds in the frame. This guide shows the in-place method, when removal is worth it, and the edge and hardware details that keep the finish clean.
Should you paint it hung or remove it?
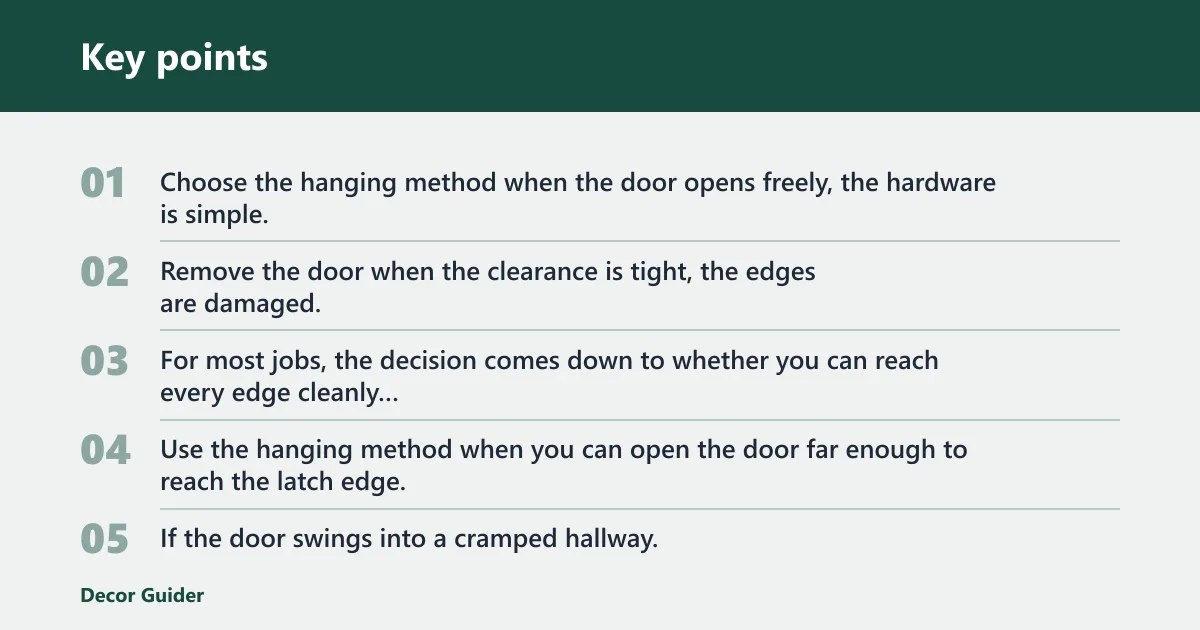
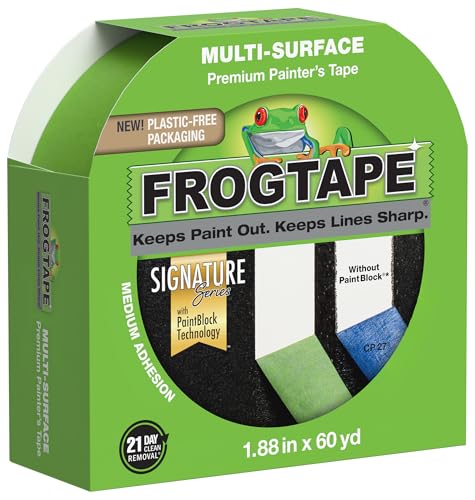


Choose the hanging method when the door opens freely, the hardware is simple, and the surface is already sound. Remove the door when the clearance is tight, the edges are damaged, or the hardware creates too much masking risk. For most jobs, the decision comes down to whether you can reach every edge cleanly without closing the door against fresh paint.
Door type and hardware check
| Door type | Hardware condition | Room clearance | Finish risk | Recommended method |
|---|---|---|---|---|
| Paneled wood, sound edges | Knob and latch remove cleanly | Enough to hold the door slightly open | Low | Paint hung |
| Flat slab, previously painted | Lever or knob can be masked well | Moderate | Low to medium | Paint hung |
| Fiberglass or steel, glossy surface | Old hardware is stuck or pitted | Limited | Medium | Remove if possible |
| Hollow-core with damaged bottom edge | Lockset is loose or outdated | Tight | High | Remove |
Room clearance and finish-risk check
Use the hanging method when you can open the door far enough to reach the latch edge, bottom edge, and hinge edge without scuffing the floor or jamb. If the door swings into a cramped hallway, the floor space is too small for clean brush work. If a bedroom door is about 30 inches wide, has a narrow hall, and a loose knob, that is a strong case for removing it.
For a smooth, previously painted wood or fiberglass door in a rental, hanging is often the better balance of speed and control. For a glossy steel door with old paint ridges around the hardware, removal usually gives a cleaner result.
How do I prep the door in place?
Wipe off dust, skin oils, and grime first, then scuff-sand the painted surface so the new coat has tooth. Fill dents and spot-prime bare wood or repaired areas before you touch the color coat. A clean, lightly abraded surface matters more than forceful sanding. Glossy, primed, and previously painted doors all need different prep, but none should be painted over dust or grease.
- Wash the door with a mild cleaner and let it dry fully.
- Scuff-sand glossy areas with 150–180 grit using light pressure.
- Vacuum the dust and wipe with a tack cloth.
- Patch dents, nail holes, and edge chips, then sand smooth with 220 grit.
- Spot-prime bare wood, patches, or any oil-to-water transition.
Manufacturer technical data sheets from major paint brands consistently call for clean, dry, sound surfaces before recoating; they also note that primer and topcoat adhesion depends on proper cleaning and sanding. A bare-wood repair or an oil-to-water switch needs primer because the finish coat alone is more likely to telegraph stains, sheen changes, or adhesion issues.
If that didn’t work, try this next: sand only the repaired spots again with 220 grit, then wipe with a tack cloth a second time. A common first-timer mistake is to leave dust in the hinge-side grooves, which shows up as grit under the topcoat.
How do you tape hinges and hardware when painting a door in place?
Cover the hinges, frame, and nearby trim, then decide whether the knob or lever, latch, and lock should come off or stay masked. Keep the door slightly open while painting so the edge does not glue itself to the jamb. The hinge edge and mortise area need special care because paint build-up there can make the door drag.
Hardware removal or masking
Remove the knob or lever if the screws are accessible and the finish is worn or tarnished. Mask the latch and lock only when removal would leave a bigger repair than the paint job can justify. Reinstall hardware only after full dry time, not just when the surface feels dry.
Major paint-brand how-to guides commonly recommend masking only what cannot be removed cleanly, because clean removal usually gives sharper edges than trying to paint around hardware. If the latch plate is heavily painted over already, masking is safer than prying it loose and chipping the jamb.
How do you paint the edges without sticking?
Paint the edges in a fixed order and keep the door propped slightly open so wet paint does not bond to the jamb or floor. Follow the label for recoat and cure times; keep the door ajar until edges are no longer tacky. The edge sequence matters because it controls where wet paint can land and which edge can dry without being trapped.
Edge-painting order
| Order | What to paint | Common failure |
|---|---|---|
| 1 | Top edge | Paint drips onto the face if you start elsewhere |
| 2 | Latch edge | The door can stick shut if this edge is skipped |
| 3 | Bottom edge | Unpainted wood wicks moisture and looks unfinished |
| 4 | Hinge edge | Fresh paint builds up in the mortise and binds the door |
Sheen comparison: use this as a quick finish guide before you buy paint.
| Sheen | Appearance | Cleaning | Best for |
|---|---|---|---|
| Satin | Soft, low-luster | Moderate | Older doors with patching or minor surface flaws |
| Semi-gloss | Noticeable shine | Easy | Most interior doors and trim |
| Gloss | High shine | Very easy | Hard-wearing areas where surface flaws are minimal |
How do I paint the bottom of a door without removing it? Open the door enough to reach under it with a brush, then paint the bottom edge before you do the large faces. Use a drop cloth directly under the swing path, and keep the brush nearly dry so the paint does not run onto the floor or the carpet. On tight clearances, avoid building up the bottom edge heavily, because excess paint can cure into a ridge and cause binding.
How do you prime and coat it?
Use primer only on bare wood, patched spots, oil-to-water transitions, or stains that may bleed through. For the finish coat, use waterborne acrylic or acrylic-alkyd interior enamel in satin or semi-gloss. Manufacturer data sheets for many interior enamels specify recoat windows that vary by product, temperature, and humidity, so the label should guide the schedule rather than a fixed clock.
- Prime only the bare or repaired areas first.
- Let the primer dry fully before topcoating.
- Brush the panel recesses and detail edges first.
- Roll the flat areas with a mini foam or microfiber roller.
- Brush out lightly after rolling to smooth ridges.
- Apply a second thin coat after full dry time.
What paint sheen is best for interior doors? Satin hides small flaws better, semi-gloss is easier to scrub, and gloss shows the most defects but cleans well. Most major paint brands steer interior doors toward satin or semi-gloss because those sheens balance durability and appearance. Semi-gloss is the most common pick for doors and trim, while satin is a good compromise on older doors with patched edges or roller marks.
How long should I wait between coats on an interior door? Follow the label for recoat and cure times; keep the door ajar until edges are no longer tacky. Dry-to-touch can arrive sooner than true cure, so the surface may feel ready before it can safely close against the jamb. For bathrooms and rentals, give extra time before locking or latching the door.
Common mistakes
Brush marks, drips, and sticky edges usually come from too much paint and not enough dry time. Keep the coat thin, watch the hinge-side edge, and do not shut the door until the finish has enough set time to avoid transfer. If the room is humid, drying slows down and the risk of sticking goes up.
- Brush ridges: Load the angled sash brush lightly and tip off the paint after each pass.
- Roller texture: Use a mini foam or microfiber roller and follow with a light brush pass.
- Drips: Check the top rail, bottom edge, and latch edge before leaving the door to dry.
- Hinge adhesion: Keep the door slightly open until the paint is no longer tacky at the edge.
How do I keep paint from dripping on a hanging door? Use a nearly dry brush, work from the top down, and stop before the coat looks heavy. If a drip forms, smooth it immediately with the brush, then recheck the lower rail after a few minutes. A top-up of paint should be tiny: one light brush load, then recheck the sheen and edge coverage.
Should you stop and remove the door?
Stop and remove the door if it will not stay open, if the latch edge is damaged, or if the hardware and clearances make masking unreliable. That rule is simple: if you cannot reach every edge without touching fresh paint, the hanging method is the wrong choice. Remove the door before the second coat if access problems are still there after prep.
A common first-timer mistake is trying to save time on an old hollow-core door with a chewed-up bottom edge and sticky lockset. That setup usually needs removal, because patching, masking, and edge control all become harder at once. For a solid wood door with clean hardware, painting in place is still reasonable.
Frequently asked questions
How do I paint a door without removing it?
Open the door fully, mask the frame and hinges, then paint the edges first and the flat surfaces last. Use an angled sash brush for detail work and a mini foam or microfiber roller for broad areas. Keep the door slightly open until the finish is dry enough not to transfer.
Can you paint a door without removing it?
Yes, if the door swings freely and the hardware can be removed or masked cleanly. This works well on previously painted, primed, or sound glossy doors that do not rub the jamb. If the door is hard to reach or the edges are damaged, removal is often the better call.
How do I paint the bottom of a door without removing it?
Prop the door open enough to reach the bottom edge, then paint it before the faces. Use a drop cloth under the swing path and keep the brush light so paint does not run onto the floor. Let that edge dry before you touch the door again.
Do I need to remove the door knob before painting?
Remove the knob or lever if the screws come out easily and the finish around it is worn. If removal would damage old hardware or leave a bigger repair, mask it carefully instead. Reinstall it only after the final coat has dried fully and stopped feeling tacky.
What paint sheen is best for interior doors?
Semi-gloss is the usual choice because it cleans easily and holds up well. Satin hides more flaws on older doors or patchy surfaces, while gloss gives the hardest shine and shows imperfections fastest. For most interior doors, satin or semi-gloss in enamel is the practical range.
How do I tape hinges when painting a door in place?
Press painter’s tape around the hinge leaves and barrel, then leave the mortise area exposed only as needed for coverage. Keep the door slightly open so the hinge side does not bond to the frame. Remove the tape before the paint fully hardens so the edge stays clean.
Products related to this article
Sponsored / affiliate links. As an Amazon Associate I earn from qualifying purchases. I may earn additional commission from eligible campaigns.
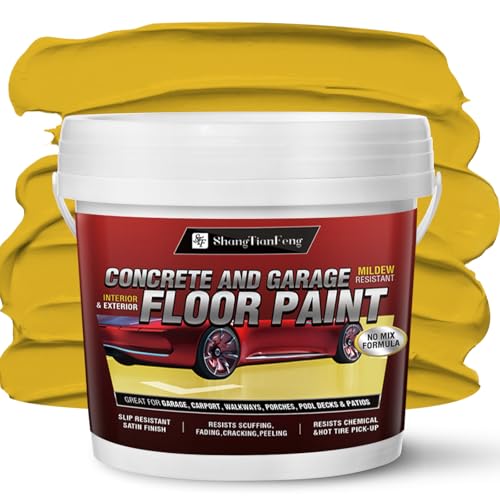 Professional Floor Paint Kit (1 Gallon) - Yellow Acrylic Concrete Coating for household floor,which is dirt-resistant Garages & Basements | Single Component Formula | Scratch Resistant
 SOUJAP 8 Roll Pre Taped Masking Film, 5 x 65 Feet Plastic Covering Dust Tape and Drape for Painting, Furniture, Appliance