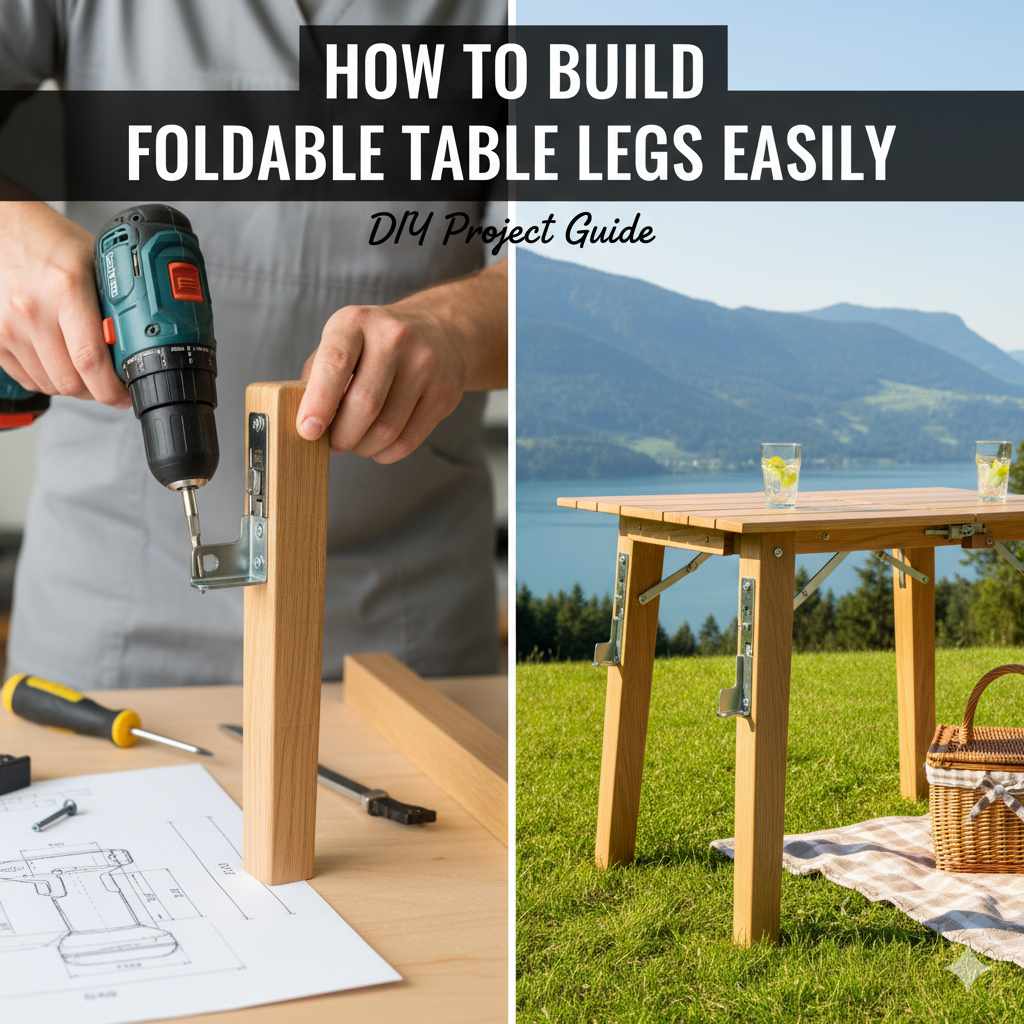
How To Build Foldable Table Legs Easily
Building foldable table legs involves choosing the right hinges and supports. The goal is a design that is both strong when open and compact when folded. This guide will show you how to achieve that. You will learn about different materials and methods to make your table functional and easy to store.
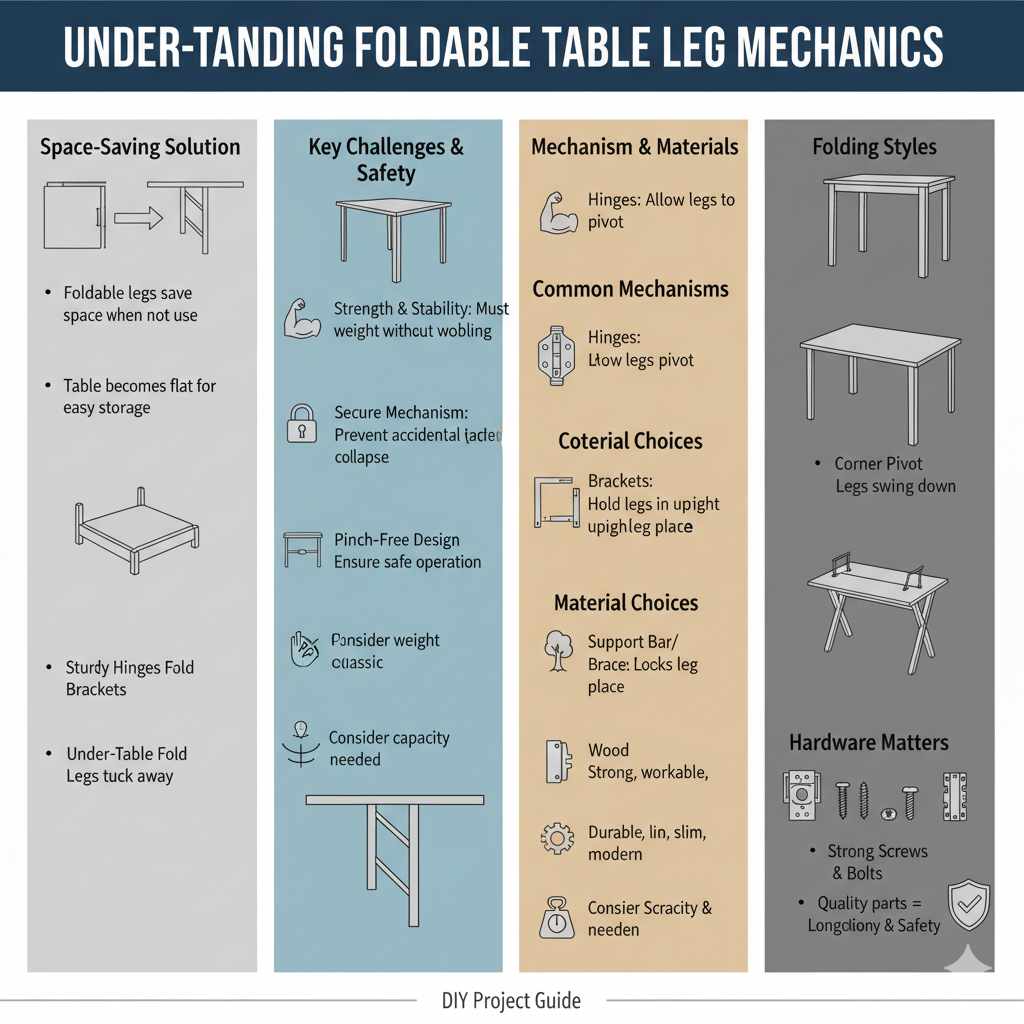
Understanding Foldable Table Leg Mechanics
Foldable table legs are a smart solution for many homes. They offer a way to save space. When you are not using the table, the legs fold up.
This makes the table much flatter. You can then slide it under a bed or store it in a closet. The main challenge is making sure the legs are strong enough when they are down.
They need to hold weight without wobbling. Also, the folding mechanism needs to be secure. It should not accidentally collapse.
Think about how a simple support bar works. It locks the leg in place.
The design of foldable legs often uses hinges. These allow the legs to pivot. They connect the leg to the tabletop or a frame.
Brackets are also very common. They help hold the leg in its upright position. Sometimes, a simple leg brace is used.
This brace can swing out to support the leg. When you fold the table, this brace folds too. The key is smooth operation.
You want it to be easy to fold and unfold. It should not be stiff or catch on anything. Safety is also a big part of the design.
You don’t want fingers to get pinched.
Materials play a big role too. Wood is a popular choice for table legs. It is strong and easy to work with.
Metal is another option. It can make legs very strong and slim. The type of project will decide the best material.
A dining table needs strong legs. A small side table might not need as much strength. Consider the weight the table will hold.
This will guide your choice of material and hardware. Think about how the legs will attach to the tabletop. This connection point is very important for stability.
There are different types of foldable leg mechanisms. Some legs fold inward. Others fold outward.
Some legs might fold down and then tuck away. The most common type involves legs that pivot from the corners. These legs then swing down to the floor.
They are often supported by a brace or a locking pin. Another style might have legs that fold up towards the underside of the table. These are common for folding desks or work surfaces.
The goal is always to balance strength and portability. A table that is too flimsy is useless. A table that is too heavy to move is not much of a space-saver.
The hardware you choose is critical. Hinges must be sturdy. Brackets need to lock firmly.
Screws and bolts must be strong. The quality of the parts affects how long the table will last. It also affects how safe it is to use.
My First Foldable Table: A Tale of Wobble and Wisdom
I remember trying to build a foldable console table for my entryway. I had this narrow space where I wanted a small surface. But I also wanted to be able to fold it away when guests came over.
I saw these beautiful folding tables online. They looked so simple and elegant. I thought, “How hard can it be?” So, I bought some nice wood and some heavy-duty hinges.
I envisioned a sleek, sturdy table that would be my secret space-saving weapon.
I cut the legs and the tabletop. I attached the hinges to the tabletop’s edge. Then I attached the other side of the hinge to the top of each leg.
It seemed to work! The legs swung down. But when I stood the table up, it wobbled.
Not just a little wobble, but a significant, alarming sway. I put a single book on it, and it leaned precariously. My heart sank.
All that work, and it felt like it might just fold up on its own. It was a wobbly mess. I felt so disappointed.
I had visions of a functional piece, but I had a shaky failure.
I learned a big lesson that day. Hinges are just one part of the puzzle. You need support.
You need a way to lock the legs into place. Just letting them hang on a hinge isn’t enough. That experience taught me to look deeper into how these things are built.
It pushed me to research different bracing mechanisms and locking systems. It was frustrating, but it was a necessary step towards understanding.
Understanding Leg Support Types
When building foldable table legs, support is key. The leg needs to be held firm when in use.
Hinges: Connect the leg to the table. They allow movement.
Braces: These are bars or pieces of wood. They swing out. They brace the leg against the tabletop.
This stops the wobble.
Locking Pins: Small pins that slide into holes. They secure the leg. They prevent it from folding accidentally.
Tabletop Reinforcement: Sometimes, the edge of the tabletop needs extra strength. This helps hold the hinges and leg securely.
Choosing the Right Materials and Hardware
Picking the right stuff makes a big difference. For the legs, wood is often a good choice. Pine is affordable and easy to cut.
Hardwoods like oak or maple are stronger. They look nicer too. You could also use metal.
Metal legs can be very thin and strong. However, they can be harder to work with. You might need special tools for metal.
For the tabletop, plywood is a solid option. It is strong and stable. MDF is cheaper but not as water-resistant.
Solid wood boards can also work. But they might warp over time. Think about the size of your table.
A bigger table needs stronger materials. It will hold more weight.
Hardware Checklist for Foldable Legs
Heavy-Duty Hinges: Choose hinges that are strong. They should be rated for the weight. Stainless steel is good for durability.
Look for offset hinges if you need the leg to fold flush.
Table Leg Brackets: These are L-shaped metal pieces. They screw onto the tabletop. The leg then fits into them.
Some are designed for folding legs.
Folding Leg Braces: These are often metal bars. They connect the leg to the underside of the table. They lock in place.
Screws and Bolts: Use wood screws for wood. Use machine screws for metal. Make sure they are long enough.
They should go deep into the wood. Use washers to spread the load.
Wood Glue: Always use wood glue. It makes joints much stronger. Let it dry fully.
When you buy hardware, check the weight rating. This tells you how much weight the hinge or bracket can safely support. Don’t guess.
The wrong hardware can lead to a weak table. It could even be dangerous. Think about the finish of the hardware.
Do you want brushed nickel? Black? Chrome?
Make sure it matches your table’s style.
For attaching legs to the tabletop, there are a few ways. You can use strong corner brackets. These are L-shaped.
They screw to the table and the leg. Some brackets are specifically made for folding legs. They often have a pivoting arm.
This arm locks the leg in position. Another method is to use hinges directly. But this often requires a good support system.
Consider the thickness of your materials. A thicker leg will be stronger. A thicker tabletop can hold hardware better.
Measure carefully. Ensure your screws will not poke through the other side. This is especially important for the tabletop.
You don’t want screw heads showing.
The style of the hinge matters too. Some hinges lie flat. Others have a slight offset.
This offset can help the leg fold more cleanly. Think about how much space you have under the table. Will the folded leg fit neatly?
Will the hardware obstruct anything?
Designing Your Foldable Leg System
Let’s talk about how to plan your foldable legs. The first step is to decide on the type of table. Is it a coffee table?
A small desk? A dining table? This affects the size and strength needed.
Then, think about where it will be stored. This will dictate how flat it needs to fold.
A common and simple design uses a sturdy leg. This leg pivots from the corner of the tabletop. It swings down.
A brace then locks it into place. The brace can be a piece of wood or metal. It swings out from the leg.
It connects to the underside of the table. You might need to cut a small notch in the leg. This allows the brace to sit flush when folded.
Folding Leg Design: Key Considerations
Pivot Point: Where the leg attaches to the table. Make this point strong.
Folding Direction: Will the legs fold inward or outward? Consider clearance.
Locking Mechanism: How will the leg stay open? This is vital for safety.
Storage Size: How flat does it need to be? This impacts the hardware choice.
Aesthetics: How will the folded legs look? Will they be hidden?
Another popular design uses table leg brackets. These brackets attach to the table. They hold the leg.
Some brackets are made so the leg can pivot. You then add a separate locking mechanism. This could be a simple pin.
Or it could be a hinged brace.
If you are making legs that fold up against the table’s underside, the hardware is different. You might use a strong hinge. Then you might use a latch.
This latch keeps the leg secure against the table. This is common for wall-mounted tables or desks.
Think about the angle of the legs when they are down. Most table legs have a slight angle. This adds stability.
Your foldable legs should also have this. If the legs are perfectly vertical, the table is more likely to tip. Consider the height of the table.
The leg length should account for the thickness of the tabletop. It should also account for any hardware that sits above the leg.
For a strong folding leg, consider a double-brace system. This uses two braces. One braces against the side of the leg.
The other braces against the front. This provides maximum stability. It makes the leg feel very solid when it is down.
When you are drawing your design, sketch it out. Measure everything twice. Think about the angles.
For example, if you use a folding brace, what angle does it create? Does that angle provide enough support? Will it interfere with your shins when you sit at the table?
Step-by-Step Guide to Building Foldable Legs
Let’s get into the building process. First, gather your materials. You will need wood for the legs and tabletop.
You will also need your chosen hardware. This includes hinges, brackets, screws, and any braces or locking pins. You will need your tools: a saw, a drill, a measuring tape, sandpaper, and safety glasses.
Step 1: Cut Your Wood. Cut the wood for your tabletop to the desired size. Cut the wood for your legs. The length of the legs will depend on your table height.
Make sure the legs are all the same length.
Step 2: Prepare the Legs. If you are using a folding brace system, you may need to cut a small notch into the leg. This is where the brace will sit when folded. Sand all the edges of your wood pieces until they are smooth.
This prevents splinters.
Step 3: Attach Hardware to the Tabletop. Decide where your legs will attach. For many designs, this is near the corners. If you are using table leg brackets, screw them securely to the underside of the tabletop.
Make sure they are placed so the legs will fold correctly.
Quick-Scan Table: Leg Attachment Methods
| Method | Pros | Cons | Best For |
| Direct Hinges | Simple, minimal hardware | Often needs extra support, can be less stable | Light-duty tables |
| Corner Brackets | Strong support, easy to install | Legs might not fold perfectly flat | Most general tables |
| Specialized Folding Brackets | Designed for folding, good stability | Can be more expensive, specific designs | Tables needing compact folding |
Step 4: Attach Legs to Hardware. If you are using brackets, you might screw the leg directly into the bracket. If you are using hinges, attach one side of the hinge to the tabletop edge. Then attach the other side to the top of the leg.
Ensure the hinge is straight and aligned.
Step 5: Install Braces and Locking Mechanisms. This is a crucial step for stability. If you are using folding braces, attach them to the leg and the underside of the tabletop. Ensure they swing freely.
Test the locking action. Does it hold the leg firmly? If you are using locking pins, drill holes.
Make sure the pins slide in easily. They should click into place.
Step 6: Test and Refine. Carefully unfold the table. Check for wobble. Does it feel stable?
Gently push on the tabletop. Does it feel secure? If it wobbles, you may need to adjust your braces.
Or perhaps reinforce the connection points. If the legs don’t fold smoothly, check for any obstructions. Sand down any rough spots.
Small adjustments can make a big difference.
Step 7: Finishing Touches. Once you are happy with the stability and function, you can finish the table. You can paint it or stain it. Add a protective top coat.
Make sure the finish is durable. This protects the wood and makes it easy to clean.
Remember to work safely. Always wear safety glasses when cutting or drilling. Use clamps to hold pieces steady.
If you are unsure about a step, look for tutorials online. Watching someone else do it can be very helpful. Take your time.
Rushing can lead to mistakes.
Real-World Contexts for Foldable Tables
Foldable tables are incredibly useful in many situations. Think about small apartments. Space is often limited.
A foldable dining table can be a lifesaver. It can serve as a regular kitchen table for two. Then, when guests come, it can expand or a larger top can be added.
Or, it can be folded and put away. This frees up valuable floor space.
They are also great for temporary workspaces. Maybe you need a desk for a few weeks. Or you work from home part-time.
A foldable desk can be set up when needed. Then it can be folded and stored. This keeps your living area clutter-free.
Craft rooms also benefit from foldable tables. They provide a large work surface when you are crafting. Then they can be folded up to save space.
Common Uses for Foldable Tables
Small Apartments: Maximizing living space.
Guest Rooms: Providing a surface that can be easily stored.
Crafting & Hobbies: A temporary, large work surface.
Work from Home: A space-saving desk solution.
Outdoor Use: Lightweight tables for patios or camping.
Event Planning: Serving tables that are easy to set up and store.
Consider the environment where the table will be used. If it’s for outdoor use, you need weather-resistant materials. The hardware should also be rust-proof.
Stainless steel is a good choice for outdoor hardware. For indoor use, you have more material options.
User behavior is also a factor. How often will the table be folded and unfolded? If it’s daily, the mechanism needs to be very smooth and durable.
If it’s only occasionally, perhaps a simpler design is fine. Think about who will be using the table. If it’s for children, safety is paramount.
Ensure there are no sharp edges. Make sure the locking mechanism is secure and not easily dislodged.
The design of your home also plays a role. Do you have deep closets? Is there space under your bed?
This will influence how flat your table needs to fold. Some tables fold almost completely flat. Others might fold to a few inches thick.
Both can be space-saving.
The material of your flooring matters too. If you have delicate flooring, you might want to add felt pads to the bottom of the legs. This prevents scratches when the table is moved or folded.
The weight of the table is also a consideration. If you have to lift it often, lighter materials are better. But lighter materials might mean less stability.
What This Means for Your DIY Project
Building foldable table legs is totally doable. It might seem a bit tricky at first. But with the right plan, it’s quite straightforward.
For most DIYers, a simple folding brace system is a great start. It offers good stability. It’s also not too complicated to build.
You don’t need super specialized tools. A basic set of woodworking tools will get you far.
When is a foldable leg design normal? It’s normal when it functions well. When the legs lock securely in place.
When the table doesn’t wobble. When it folds and unfolds smoothly. Most people find that a well-built foldable table is a huge convenience.
It makes small spaces feel much larger. It offers flexibility for different needs.
When should you worry? You should worry if the legs feel wobbly. If they don’t lock securely.
If they seem like they might collapse. This is a safety concern. If the hardware feels loose or strained, it’s a sign something is wrong.
Always err on the side of caution. If it doesn’t feel safe, don’t use it. Go back and check your connections and hardware.
Simple Checks for Foldable Leg Stability
Visual Inspection: Look at all the connection points. Are screws tight? Are hinges straight?
Wobble Test: Gently push on the table from different sides. Does it move too much?
Locking Mechanism Check: Ensure the braces or pins engage fully. Can they be accidentally released?
Weight Test: Place a moderate amount of weight on the table. See how it holds up.
The main takeaway is to focus on the support. The hinges let the leg move. But the braces and locking mechanisms are what keep it stable.
Don’t skimp on these parts. Invest in good quality hardware. Take your time when installing it.
Make sure everything is aligned perfectly.
If you are building a table that will hold a lot of weight, like a workbench or a dining table, pay extra attention to the leg material and the connection to the tabletop. Use thicker wood for the legs. Use strong screws.
Consider adding metal plates to reinforce the connection points.
The beauty of DIY is that you can customize. If you need a very specific fold, you can engineer it. If you need a very strong leg, you can build it that way.
It’s about understanding the principles. Then applying them to your project.
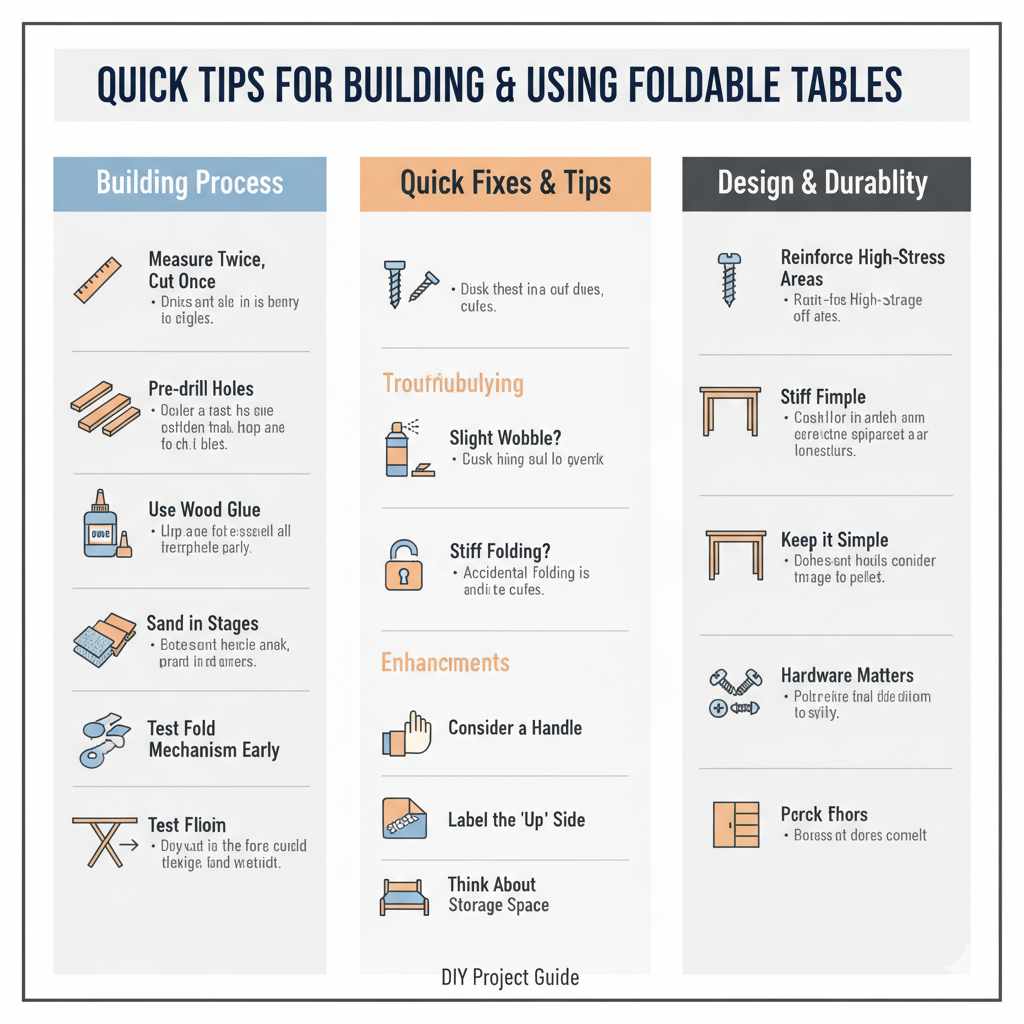
Quick Tips for Building and Using Foldable Tables
Here are some quick ideas to make your building process smoother and your table more useful.
1. Measure Twice, Cut Once: This old saying is so true for furniture building. Double-check all your measurements before you cut any wood.
Small errors can add up.
2. Pre-drill Holes: Before you screw pieces together, especially in hardwood, pre-drill small pilot holes. This prevents the wood from splitting.
It also makes driving screws much easier.
3. Use Wood Glue: For any joints that will bear weight, use wood glue in addition to screws. It creates a bond that is much stronger than screws alone.
4. Sand in Stages: Start with a coarser grit sandpaper. Then move to finer grits.
This will give you a beautifully smooth finish. Wipe away dust between grits.
5. Test the Fold Mechanism Early: Don’t wait until the very end to test how the legs fold. Test it as you build.
This lets you catch any alignment issues early on.
Quick Fixes & Tips
Slight Wobble? Try adding a small shim where the brace meets the tabletop. Or check if all legs touch the floor evenly.
Stiff Folding? Lubricate hinges with a bit of wax or silicone spray. Check for any wood that is rubbing.
Accidental Folding? Ensure your locking mechanism is robust. Consider a secondary latch or pin.
Protect Floors: Add felt pads to the bottom of the legs.
6. Consider a Handle: If your table will be moved often, think about adding a small handle. This makes it easier to carry or position.
7. Label the “Up” Side: For tables with a distinct top and bottom, or legs that fold in a specific way, a small, discreet label can help remind users which way is up.
8. Think About Storage Space: Before you build, measure the space where you plan to store the folded table. This ensures it will fit.
9. Reinforce High-Stress Areas: If you know a certain part will take more strain, add extra screws or a metal plate for reinforcement. This is especially true where legs meet the tabletop.
10. Keep it Simple: For your first foldable table, start with a simpler design. Master the basic principles.
Then you can move on to more complex designs later.
Frequently Asked Questions About Foldable Table Legs
What is the best type of wood for foldable table legs?
Hardwoods like oak, maple, or walnut are very strong and durable for table legs. Pine is a more affordable option and easier to work with, but it’s softer. For outdoor tables, consider cedar or redwood, which are naturally resistant to rot and insects.
How do I make sure my foldable table legs are stable?
Stability comes from strong hardware and a good locking mechanism. Use sturdy hinges and robust brackets. A well-designed folding brace or a secure locking pin is essential.
Ensure all connections are tight. Test for wobble thoroughly before use.
Can I use regular hinges for foldable table legs?
For light-duty tables, regular hinges might work. However, for tables that need to support weight, it’s best to use heavy-duty hinges. Look for hinges rated for the expected load.
Offset hinges can also help the leg fold more flush against the table.
What is the purpose of a folding brace?
A folding brace acts like a support beam. When the table leg is down, the brace swings out. It connects the leg to the underside of the tabletop.
This prevents the leg from folding inward and provides crucial stability. It stops the table from wobbling.
How do I prevent my foldable table from collapsing accidentally?
This is where a reliable locking mechanism comes in. Use strong, positive-locking hardware. This could be a spring-loaded brace that snaps into place, a robust pin that slides into a hole, or a latch system.
Ensure it’s easy to operate but secure when engaged.
What kind of screws should I use for attaching the hardware?
Use wood screws with a length appropriate for your material thickness. Ensure they are long enough to get a good grip without going all the way through. For stronger joints, especially in hardwoods, pre-drilling pilot holes is recommended.
Using washers can help distribute the pressure from the screw head.
Can I make foldable legs for a dining table?
Yes, but it requires careful planning and very strong materials and hardware. Dining tables bear significant weight. You’ll need robust legs, strong hinges, and a highly reliable locking system.
Consider thicker wood for the legs and reinforce the attachment points on the tabletop extensively.
Conclusion
Building your own foldable table legs is a fantastic project. It combines creativity with practical needs. You have learned about the mechanics, materials, and design choices.
Remember to focus on stability and safety. With careful planning and execution, you can create a functional piece of furniture. Enjoy the process and the satisfaction of a job well done!
Products related to this article
Sponsored / affiliate links. As an Amazon Associate I earn from qualifying purchases. I may earn additional commission from eligible campaigns.