
Choosing the right sandpaper grit is key for a smooth, professional finish on your cabinets. Start with coarser grits for rough spots and finish with fine grits for a polished look. The best approach uses a sequence of grits, not just one.
Understanding Sandpaper Grits for Cabinets
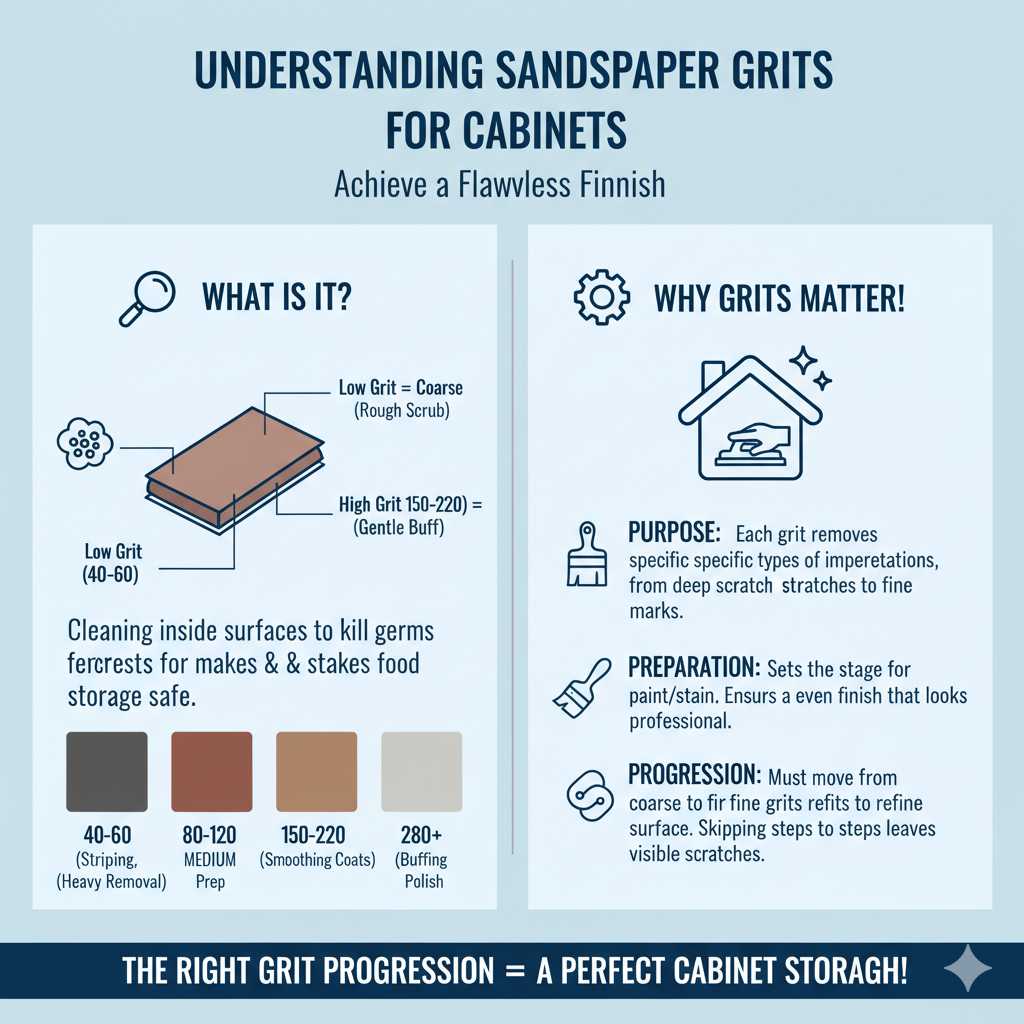
Sandpaper is measured by its grit number. A lower grit number means a coarser sandpaper. Coarser sandpaper removes more material, faster. Think of it like a rough scrub brush. A higher grit number means finer sandpaper. Finer sandpaper smooths the surface more. It’s like a gentle buff. For cabinets, you usually need a range of grits. You don’t just pick one and go.
Why Different Grits Matter
Each grit serves a specific purpose. A coarse grit is for dealing with big problems. This could be old paint drips or deep scratches. It makes quick work of rough patches. But it leaves behind deep scratches. These look bad on finished cabinets. So, you need a medium grit next. This grit smooths out the marks from the coarse grit. It starts to refine the surface. Then, you move to finer grits.
These finer grits get the surface ready for paint or stain. They create a smooth canvas. This is where the magic happens. Without these steps, your paint might look bumpy. Your stain might not soak in evenly. It’s all about preparation. Think of it like getting ready for a portrait. You need to prep the canvas perfectly.
The Grit Spectrum Explained
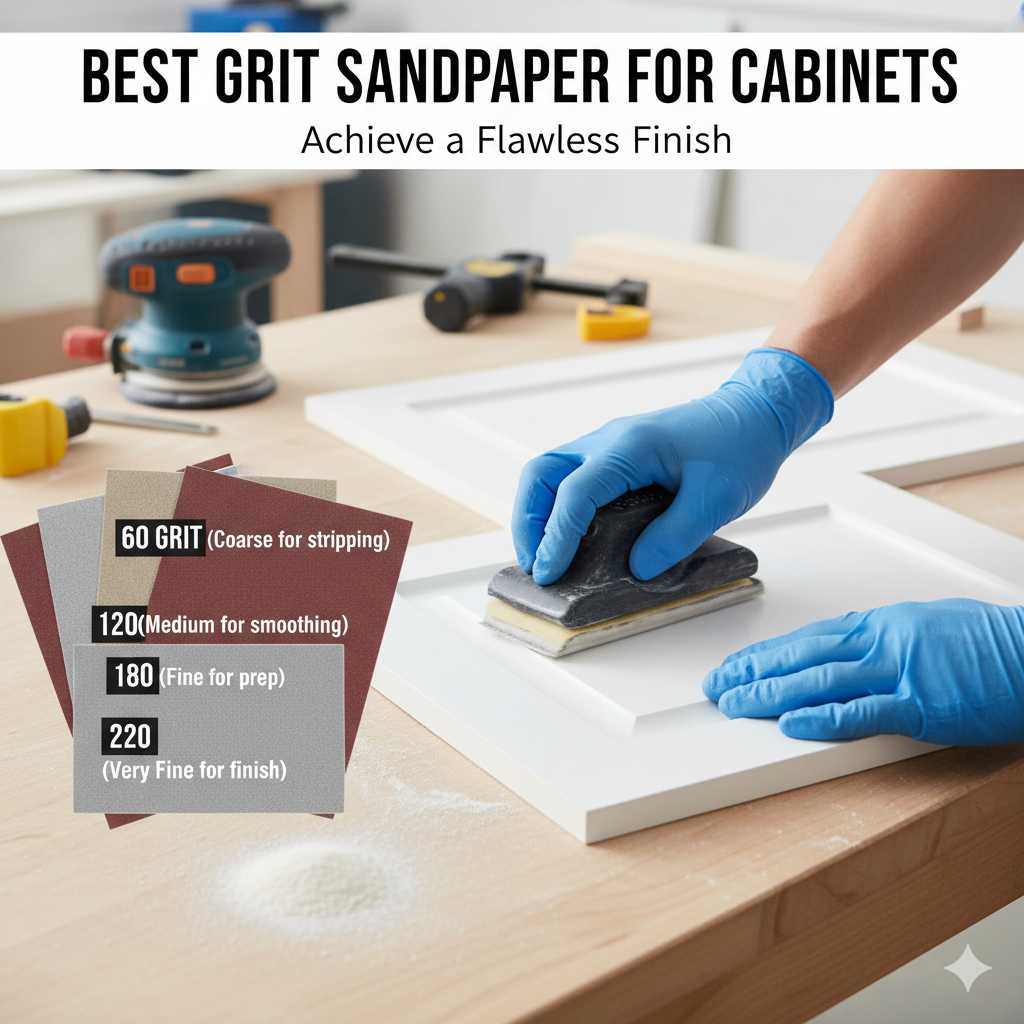
Sandpaper is grouped into general categories. Coarse grits are usually 40 to 60. Medium grits are 80 to 120. Fine grits are 150 to 220. Extra-fine grits go from 280 up to 400 and beyond. For most cabinet refinishing, you’ll spend time in the medium and fine ranges. Coarse grits are only for very specific, tough jobs.
My Cabinet Sanding Saga: A Lesson Learned
I remember my first cabinet project. It was a disaster waiting to happen. I thought, “I’ll just use 120 grit. That sounds about right.” I bought a huge pack of it. I sanded for hours. The cabinets felt smoother, but when I put on the primer, it looked terrible. Every tiny imperfection showed. The old finish wasn’t fully gone. The surface was uneven. I had created more work for myself.
I felt so defeated. I had spent my whole weekend on it. Then I realized my mistake. I hadn’t used a proper sequence. I hadn’t started coarse enough to remove imperfections. And I hadn’t gone fine enough to smooth out the coarser grit marks. It was a classic case of rushing the process. That experience taught me a lot. It showed me that patience and the right tools are everything.
The Best Grit Sandpaper Sequence for Cabinets
Here’s a step-by-step guide that works. This sequence is proven to give you that smooth, factory-like finish.
Step 1: Initial Sanding (if needed)
If your cabinets have peeling paint, deep gouges, or a really rough old finish, you need a coarser grit. For this, 80 or 100 grit is a good starting point. You won’t use this grit for long. It’s just to get rid of the major issues. If your cabinets are in good shape with only minor wear, you might skip this and start with 120 grit.
Step 2: Smoothing the Surface
This is where 120 grit sandpaper shines. It’s a workhorse for cabinets. It removes the deeper scratches from the coarser grit. It also smooths out any remaining imperfections from the old finish. Spend good time here. Make sure you sand the entire surface evenly. Go with the grain of the wood. This is super important.
Step 3: Preparing for Finish
Now you move into the finer grits. 150 grit is the next step. This grit refines the surface further. It removes the faint scratches left by the 120 grit. You’re getting closer to that smooth feel. After 150 grit, move to 180 grit. This is a crucial step for a really nice finish. It makes the wood feel almost silky.
Step 4: The Final Polish
For the absolute best results, especially before painting, use 220 grit sandpaper. This fine grit smooths everything out perfectly. It removes any last traces of scratches. The surface will feel incredibly smooth. It’s now ready for primer and paint. If you are staining, you might stop at 180 grit. Some stains can look hazy on wood that’s too smooth. Always test your stain on a scrap piece first.
Cabinet Sanding Grit Cheat Sheet
For Rough Surfaces (Peeling Paint, Deep Scratches):
- Start with: 80 or 100 Grit
- Purpose: Remove heavy imperfections.
- Use for: Short periods, only where needed.
For General Smoothing and Preparation:
- Next step: 120 Grit
- Purpose: Smooth out coarser grit marks.
- Use for: Even sanding across the whole surface.
For a Fine Finish (Before Paint):
- Next step: 150 Grit
- Purpose: Refine surface, remove 120 grit scratches.
- Use for: Even sanding with light pressure.
For a Silky Smooth Surface (Before Paint):
- Next step: 180 Grit
- Purpose: Create a very smooth feel.
- Use for: Light, even passes.
The Final Touch (Before Paint):
- Next step: 220 Grit
- Purpose: Perfect the surface for primer/paint.
- Use for: Very light pressure, ensure uniformity.
For Staining (Test First!):
- Often stop at: 180 Grit
- Why: Wood may absorb stain differently on very fine grit.
Types of Sandpaper and How They Work
Not all sandpaper is created equal. The grit is important, but so is the material.
Aluminum Oxide Sandpaper
This is the most common type. It’s durable. It works well on wood. It’s good for both sanding and finishing. It’s also relatively inexpensive. This is likely what you’ll use most for cabinets. It holds up well to repeated use.
Silicon Carbide Sandpaper
This type is sharper and more brittle. It’s great for hardwoods and for wet sanding. Wet sanding means using water or mineral spirits with the sandpaper. It can help reduce dust and create an even smoother finish. For cabinets, you might use this for the final stages if you’re going for a super high-gloss finish.
Garnet Sandpaper
Garnet paper is natural. It’s softer than aluminum oxide. It’s good for soft woods. It wears down faster. It’s usually used for initial sanding. It’s not the top choice for cabinet finishing.
Emery Sandpaper
This is typically used for metal. It’s not suitable for wood cabinets. You’ll see this in hardware stores, but avoid it for your project.
Real-World Cabinet Scenarios: Grit Choices
Let’s look at some common situations.
Scenario 1: Revitalizing Old Painted Cabinets
Your cabinets are painted, but the paint is chipped in places. There are some dark scuff marks.
Start with 100 grit sandpaper. This will remove the loose paint chips. It will also help smooth out the scuff marks.
Move to 120 grit. This removes the deeper scratches from the 100 grit.
Then use 150 grit to further refine the surface.
Finish with 180 or 220 grit for a smooth feel.
Scenario 2: Refinishing Natural Wood Cabinets Before Staining
The wood is worn but has no paint. You want a rich stain.
Start with 120 grit. This removes any old finish or light damage.
Move to 150 grit. This refines the surface.
Many pros stop here or at 180 grit for staining. You want the wood to absorb the stain. Too fine a grit can seal the pores. Always test your stain on a hidden area or scrap wood.
Scenario 3: Painting Over Varnished Cabinets
The varnish is intact but you want a new paint color.
Lightly scuff with 150 grit. You don’t need to remove all the varnish. You just need to dull its shine. This helps the new paint adhere.
You can then move to 180 or 220 grit. This creates a very smooth surface for painting.
Sanding Technique Tips
- Always Sand With the Grain: This is the most important rule. Going against the grain leaves visible scratches that are hard to fix.
- Use Light, Even Pressure: Don’t press down hard. Let the sandpaper do the work. Too much pressure can create uneven spots.
- Keep it Moving: Don’t let the sandpaper sit in one spot for too long. Keep it moving in a steady motion.
- Clean Between Grits: After using each grit, wipe down the cabinets. Use a damp cloth or tack cloth. This removes dust. Dust left behind can get ground into the wood by the next grit.
- Consider Orbital Sanders: For large cabinet doors or flat areas, an orbital sander can save time. Use it with a light touch. Always follow up with hand sanding in corners and details.
What This Means for Your Cabinet Project
Choosing the right grit sandpaper is not just about smoothness. It’s about the final look and longevity of your finish.
When a Rougher Grit is Okay
If you have very deep gouges or uneven wood that needs shaping, you might start with 60 or even 40 grit. But this is rare for cabinet doors themselves. It might be more for fixing a damaged cabinet frame. After using such coarse grit, you MUST be diligent with the subsequent grits. You’ll need to sand out all those deep scratches.
When to Worry About Your Grit Choice
If you only use one grit, say 120 grit, on cabinets that are very rough, you’ll struggle. The surface will feel okay, but the scratches from the 120 grit will still be there. When you paint, these show up. They look like faint lines. This is especially true for lighter paint colors. You might think your cabinets are just bad wood. But it’s often the sanding.
If you sand too much with a coarse grit and don’t smooth it out, you’ll never get a smooth finish. The wood itself can get damaged.
Simple Checks for Sanding Success
After sanding with a grit, run your hand over the surface. It should feel smooth. There should be no catches or rough spots. Hold a light source at an angle. Look for shiny lines. These are scratches. If you see them, you need to sand more with that grit or move to a finer grit to remove them. The surface should feel uniform.
Quick Tips for Sanding Cabinets
Here are some handy tips to make sanding easier.
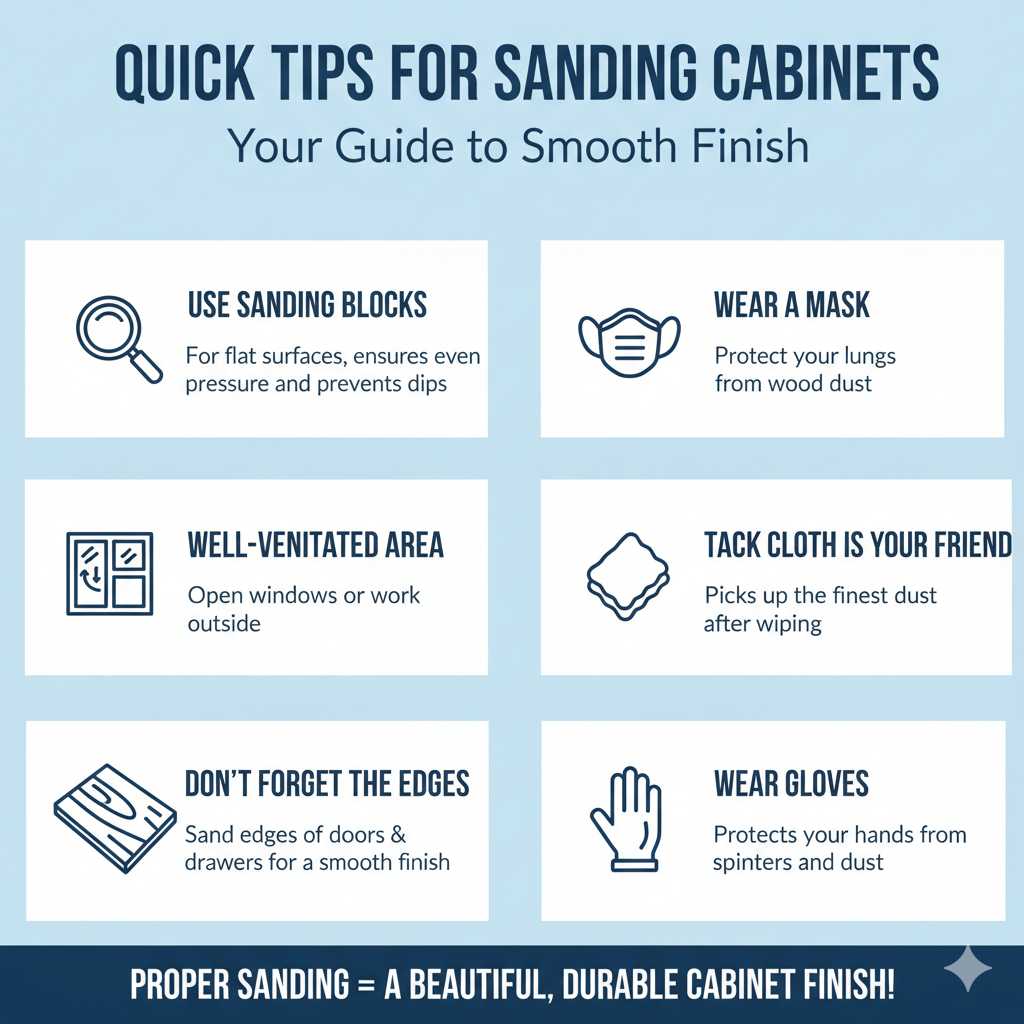
Use Sanding Blocks: For flat surfaces, use a sanding block. This helps keep the pressure even. It prevents you from creating dips or waves.
Wear a Mask: Always wear a dust mask. Wood dust is not good to breathe.
Work in a Well-Ventilated Area: Open windows or work outside if possible.
Tack Cloth is Your Friend: After wiping with a damp cloth, use a tack cloth. It picks up the finest dust particles.
Don’t Forget the Edges: Sand the edges of cabinet doors and drawers too. They need to be smooth for the finish.
The Grit Progression – A Visual
Imagine a tiny mountain range:
40-60 Grit: Big, sharp mountains. Removes lots of material fast. Leaves deep valleys (scratches).
80-100 Grit: Smaller mountains. Rounds off the sharp peaks. Starts to fill in some valleys.
120 Grit: Hills. Most big mountains are gone. Valleys are shallower.
150 Grit: Gentle slopes. Very few noticeable peaks or valleys.
180 Grit: Almost flat. The land is very smooth.
220 Grit: Perfectly smooth plain. Ready for your finish.
Frequent Questions About Cabinet Sandpaper Grit
What is the best grit sandpaper for primer on cabinets?
After your final sanding with 180 or 220 grit, you don’t usually need to sand the primer. If you do need to lightly scuff the primer for a second coat or to fix a minor flaw, use a very fine grit like 320 or 400. The goal is just to knock down any dust nibs, not to remove primer.
Can I use just one grit of sandpaper for cabinets?
No, it’s highly recommended not to. Using only one grit will likely result in a finish that shows imperfections or is not as smooth as it could be. A progression of grits is essential for properly preparing the surface.
Do I need to sand between coats of paint on cabinets?
Typically, yes, but with a very fine grit. If you’re applying multiple coats of paint, a light scuff sand with 220 or 320 grit sandpaper between coats can help with adhesion and smoothness. Always wipe with a tack cloth afterwards.
Is 220 grit sandpaper too fine for cabinets?
No, 220 grit is generally considered an excellent final grit for cabinets before painting. It creates a very smooth surface that paint adheres to well. For staining, you might stop at 180 grit, but for painting, 220 is ideal.
What grit sandpaper should I use for distressing cabinets?
For distressing, you often want to create wear marks that look natural. You might start with a medium grit like 100 or 120 to create initial wear. Then, you can use finer grits to blend the edges of the distressed areas.
Sometimes, even steel wool can be used for subtle distressing.
How do I know when I’ve sanded enough?
You’ve sanded enough when the surface feels uniformly smooth to the touch. Visually, when light is shone across the surface at an angle, you shouldn’t see any shiny lines (scratches) from previous grits. The wood should look and feel consistent across the entire surface.
Conclusion: Your Cabinet Finishing Journey
Getting the best grit sandpaper for your cabinets is about understanding the journey. You start with a problem, then you smooth, refine, and polish. Each grit plays a vital role. Don’t be afraid of the numbers. Embrace the progression. Your cabinets will thank you with a beautiful, lasting finish. Happy sanding!


