How to Replace Drawer Pulls and Knobs
Replace drawer pulls and knobs by matching the existing hole spacing for pulls, or the center hole for knobs. If the new hardware misses by more than about 1/16 inch, fill and redrill. Wrong spacing leaves crooked hardware, stripped wood, and visible holes. This guide shows how to measure, diagnose fit problems, and choose reuse, repair, or redrill.
This guide is part of our Chairs guide: types, buying and care series.
What to measure before you buy


Measure first, buy second. For knobs, check the center hole diameter and the screw thread before picking a replacement. For pulls, record the center-to-center spacing between the two screw holes, then confirm that the drawer front has room for the new hardware and any hidden holes behind the current piece.
Check hole diameter
Most knobs use a single machine screw, and a standard knob hole is often around 5/16 inch. That size still needs verification, because cabinetry varies and some previous installs leave enlarged or out-of-round holes. If the hole is worn, the knob may sit crooked even when the finish looks fine.
Identify screw thread type
North American cabinet hardware commonly uses 8-32 machine screws. Some European hardware uses M4 metric screws. Those threads do not match each other, so a knob insert and replacement screw must agree before you tighten anything. A visually similar screw can still fail to seat or can damage the insert.
Record pull spacing and drawer layout
Pulls use two screws at a set center-to-center distance. Common sizes are 3-inch and 3-3/4-inch, but the only spacing that matters is the one already on the drawer or the one you plan to drill. Also note whether the drawer front hides old holes, because those hidden marks change the replacement plan.
Which hardware fits your drawer?
Choose hardware by fit, then by style. A knob fits best when the drawer front has one centered hole, limited space, or a small face where a bar pull would crowd the edge. A pull fits best when you need a wider grip, a straight line, or a drawer that sees frequent use.
When a knob is the better fit
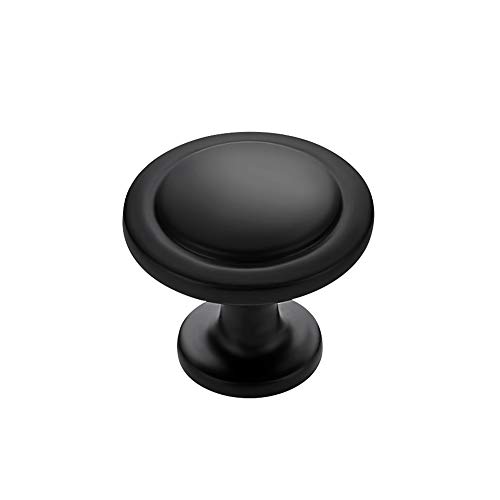
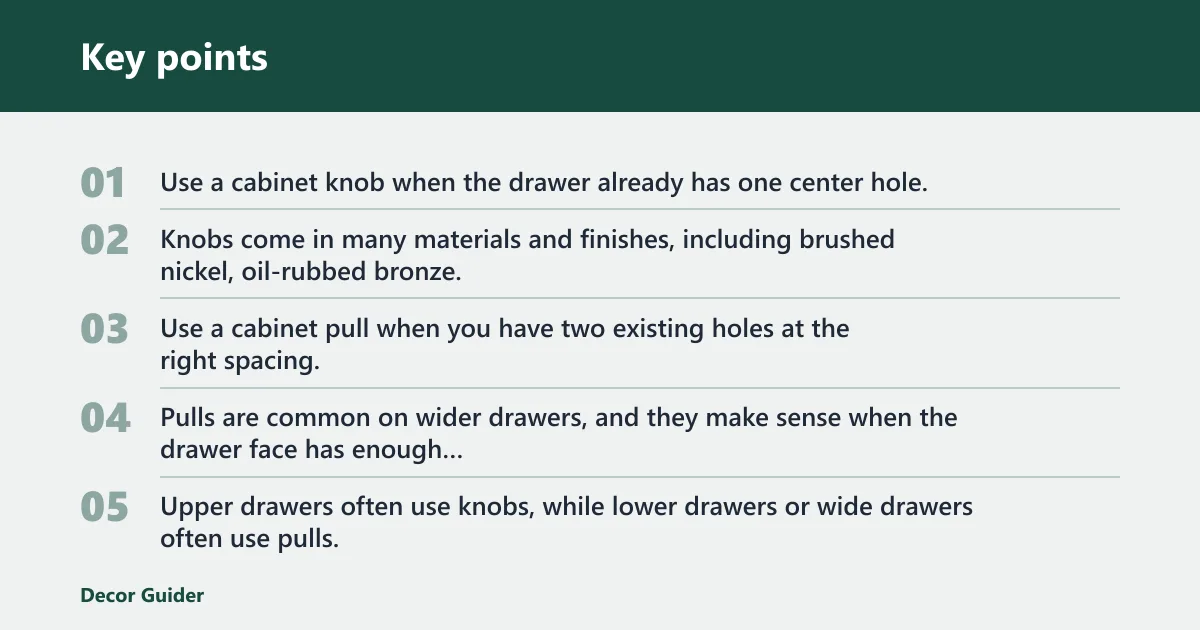
Use a cabinet knob when the drawer already has one center hole, when the existing hole is near 5/16 inch, or when you want to reuse a single machine-screw attachment. Knobs come in many materials and finishes, including brushed nickel, oil-rubbed bronze, chrome, and matte black.
When a pull is the better fit
Use a cabinet pull when you have two existing holes at the right spacing, or when a larger handhold makes opening easier. Pulls are common on wider drawers, and they make sense when the drawer face has enough room for the two screw points and the bar itself.
When mixed hardware makes sense
Mixed layouts are normal. Upper drawers often use knobs, while lower drawers or wide drawers often use pulls. That layout works when the room keeps one finish family and the spacing stays disciplined across the cabinet run. Keep the hole pattern consistent within each zone, or the face can look accidental.
Say your kitchen has knobs on shallow top drawers and 3-inch pulls on deep lower drawers. That can work cleanly if the finishes match and the top row stays centered. The problem starts when one drawer gets a different spacing without a clear reason, because the mismatch reads as a drilling error.
Tools and materials you need
You do not need a long tool list. A screwdriver, a drill, wood glue, and a few repair materials will cover most swaps. Add a tape measure or ruler, painter’s tape, and a template or jig if you are drilling multiple drawers or repeating the same placement across a row.
Basic removal and installation tools
- Screwdriver that fits the existing screw head
- Drill with the correct bit size for new holes
- Measuring tape or ruler
- Painter’s tape for marking and chip control
- Small clamp if you need to hold hardware in place while starting the screw
Repair materials for damaged holes
- Two-part wood filler for stripped or misplaced holes
- Wood glue and toothpicks for small stripped holes
- Screw extractor for broken screw stubs
- Sandpaper for smoothing cured filler before redrilling
Drilling aids for repeat placement
A cabinet hardware template or jig helps you mark repeated placement accurately. These tools are commonly sold for about $10 to $25, and they reduce drift when several drawers need the same offset. That matters most when you are installing a whole set, not a single replacement.
How do you remove old drawer hardware?
Remove old hardware by backing out the screw from the inside of the drawer or cabinet front. If the screw spins, strips, or breaks, stop and identify the failure before forcing it. A clean removal protects the finish and makes the next step, whether reuse or repair, much easier.
Remove a standard knob or pull
Open the drawer, hold the hardware from the front if needed, and loosen the screw from behind. For pulls, remove both screws evenly so the bar does not bind against the face. If the finish is delicate, place painter’s tape around the area before you start.
Deal with a stuck screw or broken stub
If the screw head is damaged, use a driver that fully fits the slot or recess before trying anything stronger. If the screw has snapped and a stub remains in the insert or wood, a screw extractor is the right tool for that failure case. Do not redrill until the broken piece is out. (Wikipedia)
Protect the cabinet finish during removal
Support the front face so the hardware does not twist against the finish. A slipped bit can mark paint or veneer quickly. If the knob or pull is stuck, work it gently from the inside rather than prying from the front, which can leave a visible chip.
Drawer hardware decision table
Use the table below to match the problem to the correct next step. The key question is not only what looks broken, but whether the hole pattern, thread type, or insert still gives you a solid fastening point.
| Scenario | Measurement needed | Repair step | New holes required? | Recommended screw or filler type |
|---|---|---|---|---|
| Loose knob | Check thread size and hole diameter | Tighten the machine screw and verify the insert is seated | No, if the hole is sound | Match the existing machine screw, usually 8-32 or M4 |
| Stripped screw | Check head shape and remaining thread engagement | Remove the damaged screw and replace it | No, if the insert is intact | Replacement machine screw with the same thread |
| Stripped wood hole | Measure the damaged hole width | Pack with toothpicks and wood glue for a small hole, or use two-part wood filler for heavier damage | Yes, after repair and cure | Wood glue with toothpicks, or two-part wood filler |
| Mismatched pull spacing | Measure center-to-center spacing on the pull | Fill old holes and mark a new pattern | Yes | Two-part wood filler for the old holes |
| Switching knob to pull | Measure the old knob hole and the new pull spacing | Reuse the center hole only if the pull spacing matches; otherwise fill and redrill | Usually yes | Wood filler or epoxy for the abandoned knob hole |
| Spinning insert | Check insert diameter and thread match | Remove the insert, repair the surrounding material, then reinstall or replace | Sometimes, if the old location fails | Replacement insert plus matching machine screw |
How do you switch between knobs and pulls?
Switching between knobs and pulls changes the hole pattern, not only the look. A knob can leave one usable center hole, while a pull needs two holes at a fixed spacing. If the old pattern does not match the new hardware exactly, you must fill the old holes and mark new ones.
Replace a knob with a pull
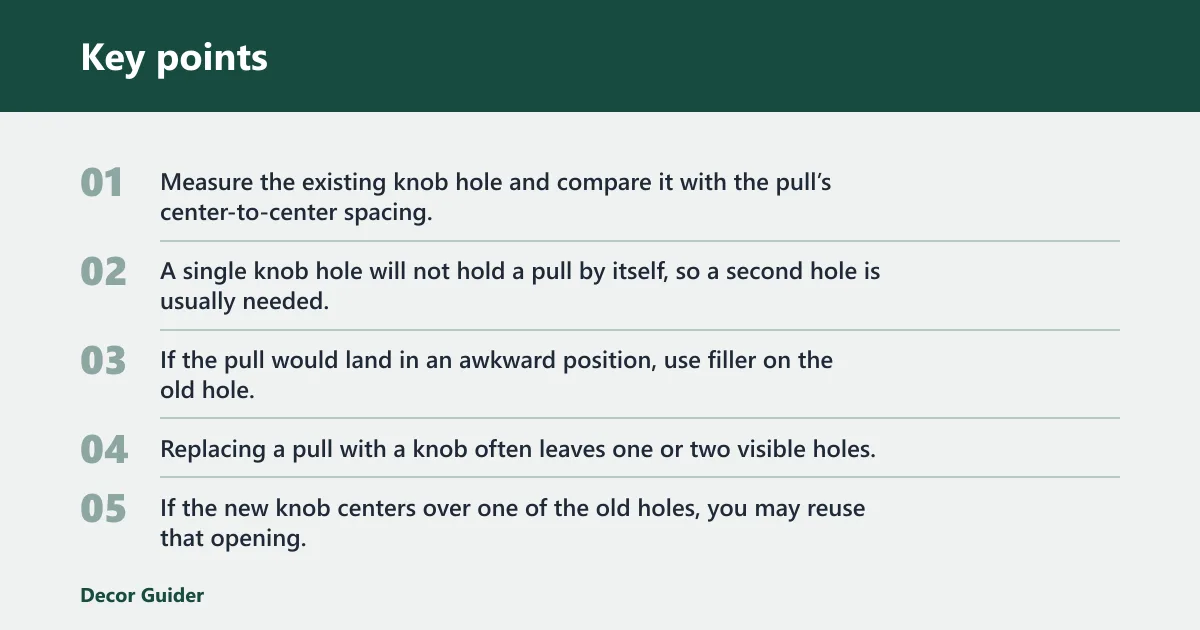
Measure the existing knob hole and compare it with the pull’s center-to-center spacing. A single knob hole will not hold a pull by itself, so a second hole is usually needed. If the pull would land in an awkward position, use filler on the old hole, then drill both new points.
Replace a pull with a knob
Replacing a pull with a knob often leaves one or two visible holes, depending on the pull’s spacing and where the knob will sit. If the new knob centers over one of the old holes, you may reuse that opening. If not, fill the unused holes first, then drill the new center if needed.
Handle existing hole patterns
Hidden hole patterns matter. A drawer front that once held a different pull may already have patched holes behind the visible hardware. Before drilling anything new, remove the old piece and inspect the face from the inside. That step often decides whether you can reuse, repair, or redrill cleanly.
Suppose a drawer already has two holes for a 3-inch pull, but the new handle is 3-3/4-inch. The old holes will not line up, even if the handles look similar from the front. In that case, fill the old holes and drill the new spacing, not the screws.
How should you repair stripped or misplaced holes?
Repair holes by matching the fix to the amount of damage. A small stripped hole can often take the toothpick-and-glue method. Larger damage needs two-part wood filler, especially when the old hole has become loose, oval, or misplaced. Always let the repair cure before drilling or reinstalling hardware.
Use toothpick-and-glue for small damage
The toothpick-and-wood-glue method is a quick fix for a small stripped hole. Pack the hole tightly, trim the excess, and let the glue set before reinstalling the screw. It works best when the hole is only slightly enlarged and the surrounding wood is still firm.
Use filler or epoxy for larger damage
For stripped or misplaced holes, two-part wood filler is the better repair. Two-part epoxy is preferred when the damage is badly worn or the hole will not hold shape. Build the repair flush, let it cure fully, and sand it smooth before you mark or drill again.
Sand, cure, and redrill before reinstalling
Do not rush this stage. A soft repair will collapse under the screw, and the hardware will loosen again. After curing, sand the area flush, check your mark, and redrill only after the filler is firm. That sequence keeps the new screw centered and helps the finish stay clean.
How do you drill new holes accurately?
Drill new holes only after you confirm the spacing and the screw type. Mark the centerline, use a template or jig when repeating the same layout, and drill slowly to avoid splintering. A clean hole matters more than speed, especially on painted or veneered cabinet fronts.
Mark center-to-center spacing
For pulls, mark the distance between screw centers, not the total width of the bar. That measurement is what makes the pull fit. For knobs, mark the single center point carefully, because even a small offset is easy to see once the hardware is installed.
Use a template or jig
A hardware template or jig keeps repeated holes aligned. It is useful when several drawers need the same pull spacing or when upper and lower drawers share a consistent offset. Templates reduce mistakes that show up only after the screws are tightened and the faces no longer line up.
Drill without chipping the finish
Use painter’s tape over the drill point if the finish chips easily. Start the bit slowly, keep it square to the face, and support the back of the panel when possible. A clean pilot hole helps the screw seat without tearing the wood or lifting the veneer around it.
Frequently asked questions
How do you install drawer pulls and knobs?
Measure the existing holes first, then match the screw type and spacing before you drill or tighten anything. Knobs usually use one machine screw, while pulls use two screws at a fixed center-to-center distance. If the hardware does not fit the hole pattern, repair or redrill before installation.
How do you change drawer pulls to knobs?
Remove the pull, inspect the old holes, and decide whether one hole can serve as the new center point. If the pull spacing does not match the knob location, fill the old holes and drill the new center. The key step is hole placement, not the finish on the knob.
How do you replace cabinet pulls with knobs?
You can replace a pull with a knob only if the new knob can sit over a usable center point or a repaired area. Most pull holes will not match a knob cleanly, so filling is common. Check the drawer face from both sides before choosing the final placement.
Are drawer knobs universal?
No. Knobs vary by thread size, insert type, finish, and hole diameter. North American hardware commonly uses 8-32 machine screws, while some European hardware uses M4. A knob that looks right on the shelf can still fail if the screw thread does not match the insert.
Should drawers have knobs or pulls?
Either can work, but the drawer size and hole pattern should lead the choice. Knobs suit single-hole layouts and smaller faces. Pulls suit wider drawers and more frequent use. Mixed layouts are fine when the finish stays consistent and the hole pattern is planned, not improvised.
How do you replace drawer knobs?
Back out the screw from inside the drawer, remove the old knob, and compare the hole to the replacement screw. If the hole is worn, fix it before reinstalling. Match the finish to the cabinet if you want the new knob to blend with the existing hardware.
Products related to this article
Sponsored / affiliate links. As an Amazon Associate I earn from qualifying purchases. I may earn additional commission from eligible campaigns.