How to Build a Simple Bed Frame
Build a simple bed frame with four side rails, four legs, center support for queen and king sizes, and slats spaced no more than 3 inches apart. Skip the center support or use weak joinery, and the frame will squeak, sag, and wear out the mattress faster. This guide covers the simplest sound design, the lumber and hardware to buy, and the upgrade points for queen and king frames.
What you need to measure first
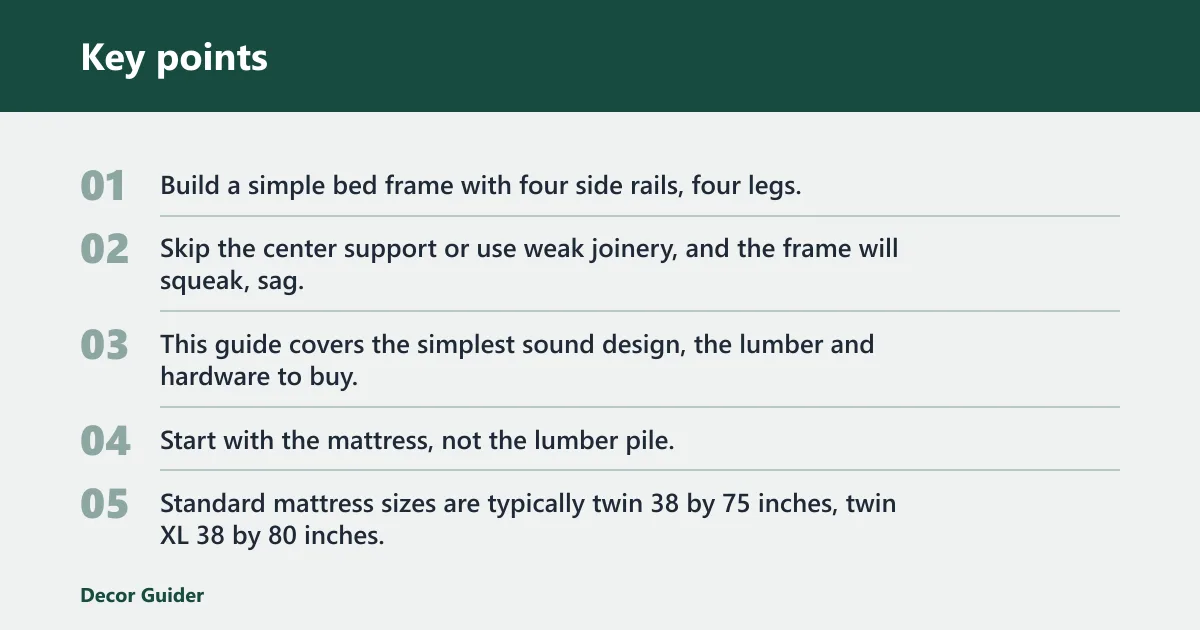


Start with the mattress, not the lumber pile. Standard mattress sizes are typically twin 38 by 75 inches, twin XL 38 by 80 inches, full 54 by 75 inches, queen 60 by 80 inches, king 76 by 80 inches, and California king 72 by 84 inches. Plan the finished inside opening with a small clearance allowance so the mattress can slide in without binding; a practical target is roughly 1/4 to 1/2 inch total in each direction, then adjust for the corner hardware you choose.
That clearance matters because wood moves, hardware takes space, and a frame cut too tight can bind at the corners. Mark the finished inside opening first, then work backward to side-rail length, end-rail length, and leg height.
Say your mattress is queen size and you cut the frame to the exact mattress size. The fit may seem fine at first, but the rail hardware or bolts can steal a little room, and the mattress will rub the rails instead of settling cleanly.
Choose the simplest frame style
The simplest structurally sound option is a rectangular platform frame with four legs and a flat deck. It is easier than adding a box spring ledge, storage drawers, or a full headboard-and-footboard set. Fred’s DIY Plans classifies a platform bed as easy, while a standard bed frame is medium difficulty. If you want a deeper platform comparison before you cut lumber, see the platform version guidance.
If you want the cleanest beginner build, keep the corners square, the rails thick, and the support surface flat. Bed rail hangers or clips make the corners rigid and removable, while a lag-bolt connection is the backup if you do not have hanger hardware. Woodgears uses bed rail hooks for easy disassembly.
Decide now whether you need a headboard or footboard. If you do not, skip them. If you do, add them later as separate parts rather than complicating the main rectangle.
Which build should you choose?
If you are building a twin, choose the simplest rectangular platform with slats and four corner legs. If you are building a queen, add a center beam and at least one center leg. If you are building a king, choose the same layout but upgrade the center beam and support count so the long span does not flex or squeak. The more width and span you add, the more the frame needs center support rather than just thicker corners.
| Best use case | Simple build choice | Why it wins | Upgrade to avoid later |
|---|---|---|---|
| Twin / single | Basic platform with slats | Lowest lumber count, simplest square layout, easiest to keep rigid | Do not skip corner stiffness if the frame will be moved often |
| Queen | Platform with center beam and one center leg | Best balance of cost, stiffness, and beginner difficulty | Do not rely on slats alone across the full span |
| King | Platform with stronger center beam and two center legs | Reduces mid-span sag and long-span squeaks | Do not use a single unsupported beam in the middle |
A basic bed frame is a rectangle, four legs, and a mattress support surface. Measure first, cut second, and dry-fit every corner before final assembly. If you want the easiest route, build the platform style and skip decorative parts until the structure is square and quiet.
Use this order: cut the rails, fasten the corners, add the support blocks, install the center beam where needed, then fit slats or plywood. Finish with sanding, protection, and felt pads under the legs. That order keeps rework low and makes it easier to catch a bad fit early.
Simple assembly sequence
- Confirm mattress size and mark the finished inside opening.
- Cut side rails, end rails, legs, and any center supports.
- Sand the cut faces and ease sharp edges.
- Join the corners with hangers or lag bolts.
- Install support blocks and the center beam if your size needs it.
- Add slats or plywood.
- Check for square, then add finish and felt pads.
Bed frame decision table
| Build class | Recommended lumber | Minimum support points | Hardware choice | Main failure to avoid |
|---|---|---|---|---|
| Twin / single | Softwood rails with at least 45 mm thickness; spruce or pine is the beginner-friendly choice | 4 corner legs, 1 center support only if the deck is flexible | Bed rail hangers or clips; lag bolts only with washers and pilot holes | Racking at the corners from thin rails or loose joints |
| Queen | 45 mm-thick side rails in spruce or pine; use harder wood if weight or movement is a concern | 4 corner legs plus at least 1 center beam with mid-span support points | Bed rail hangers or clips; lag-bolt alternative only if the bolt pattern stays consistent | Mid-span sag from a long unsupported opening |
| King | Heavier side rails in spruce, pine, beech, oak, or ash; hardwoods move less but cost more and are harder to cut | 4 corner legs plus a center beam with extra support points along the span | Bed rail hangers or clips are preferred; lag bolts need washers and careful pilot holes | Squeaks and sagging from weak center support or oversized spans |
Cut the rails and legs
Use finished lengths, not rough store lengths, when you plan the cut list. Fred’s DIY Plans says the inside frame should be 2 cm wider and 2 cm longer than the mattress, and it recommends at least 45 mm thick beams for the sides. For beginners, spruce or pine keeps the cost and cutting effort lower than beech, oak, or ash.
Use a circular saw or mitre saw for clean, repeatable cuts. A store cut service can save time, but only if the pieces still arrive long enough for the final trim and the hardware layout. Sand cut ends before assembly so the hardware seats flat.
Plain-text cut list
Twin / single example cut list
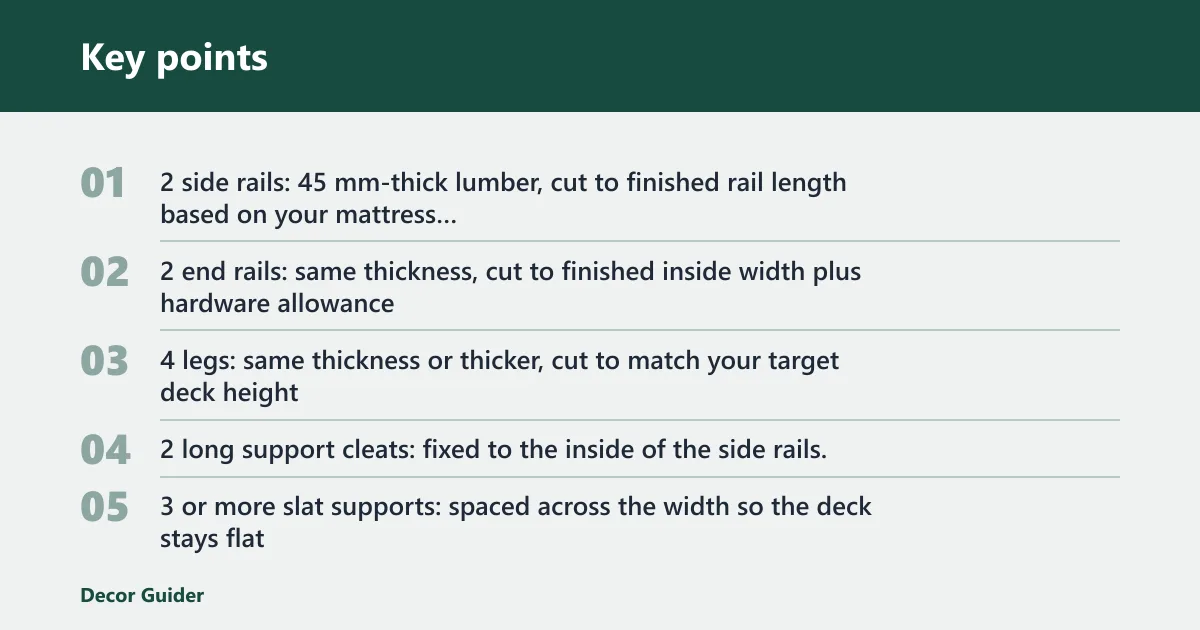
- 2 side rails: 45 mm-thick lumber, cut to finished rail length based on your mattress plus the 2 cm inside allowance and your chosen corner hardware
- 2 end rails: same thickness, cut to finished inside width plus hardware allowance
- 4 legs: same thickness or thicker, cut to match your target deck height
- 2 long support cleats: fixed to the inside of the side rails, full rail length minus end clearances
- 3 or more slat supports: spaced across the width so the deck stays flat
Queen example cut list
- 2 side rails: 45 mm-thick lumber, long enough for the queen inside length plus corner connection allowance
- 2 end rails: cut to the queen inside width plus corner connection allowance
- 4 corner legs
- 1 center beam: runs from head to foot rail
- 2 or more center support blocks along the beam
- Long deck slats or multiple plywood sections, sized to the opening
King example cut list
- 2 side rails: 45 mm-thick lumber, with extra care for straight grain and twist
- 2 end rails: cut for the king inside width plus hardware allowance
- 4 corner legs
- 1 center beam with more than one support point
- Deck slats or plywood sections sized to the larger opening
Spruce and pine are softwoods, so they are usually easier to cut and buy, but they dent more easily than beech, oak, or ash. Hardwood gives more stiffness and often less movement, but it adds cost and can be harder on beginner tools.
How do you join the corners?
Use bed rail hardware or clips when you want a rigid, repeatable corner connection that can still come apart later. WikiHow recommends bed rail hangers for rigid corner connections, and Woodgears uses bed rail hooks for easy disassembly. That setup is cleaner than relying on wood screws alone.
If you use lag bolts instead, drill pilot holes first and use washers under the bolt heads. WikiHow says lag bolts can substitute for hangers, but they should not be treated like a loose shortcut. Keep the bolt size consistent across the frame so the clamping force matches at every corner.
Butt joints are the weakest option for the main corners. They can work for a very light frame, but only if they are backed up with hardware, glue, or brackets. Dowels and mortise-and-tenon joints are stronger, yet they take more layout time and are less beginner-friendly than hangers or lag bolts.
A common first-timer mistake is to drive long screws straight into end grain and assume the frame is tight enough. That joint can loosen with movement, then the bed starts to squeak every time you sit down.
Add support blocks and a center beam
Support blocks keep the rail hardware located and give the beam a solid seat. WikiHow uses a 1.5-by-3.5-inch centered slot for support blocks, and that centered fit helps the block sit square against the head and foot rails. For support rail screws, WikiHow spaces them about 12 inches apart. (Wikihow)
The center beam matters most on queen and king frames because the span is long enough to sag in the middle. Put the beam under the slats or under the plywood deck so the mattress support surface stays flat. If the frame creaks later, inspect the beam-to-block connection and the span between supports first.
For a queen, one center support beam is the minimum sensible upgrade. For a king, use extra support points along that beam so the middle does not act like a trampoline under load.
Typical stock for this stage is a 2×4 center beam for a queen and a 2×6 or doubled 2×4 center beam for a king. Typical slats are 1×4 boards, which are easy to source and give a broad bearing surface without adding much weight.
Support block layout
- Mark the block position on the inside face of the head and foot rails.
- Cut the centered slot to 1.5-by-3.5 inches.
- Test-fit the block so it sits flush and square.
- Fasten through the rail with screws spaced about 12 inches apart where the rail length allows.
- Check that the center beam lands directly on the block before you install the deck.
Simple bed frame table
This is the practical planning view: use the mattress size as your starting point, then add a little inside clearance, pick a rail stock that matches the span, and size the center support to the load. The most common beginner failure is underbuilding the center span on queen and king frames, not overbuilding the corners.
| Mattress size | Example inside opening | Example rail lengths | Cleat size | Slat count / spacing | Center beam section | Center legs | Most common failure |
|---|---|---|---|---|---|---|---|
| Twin / single | 38 1/2 x 75 1/2 in. | Side rails: 77 in.; end rails: 38 in. | 1 x 2 nominal, actual 3/4 x 1 1/2 in. | 11 slats of 1 x 4 stock, about 3 in. clear between slats | No center beam required for a rigid slatted platform | 0 | Corner racking from thin rails or poor squareness |
| Queen | 60 1/2 x 80 1/2 in. | Side rails: 82 in.; end rails: 60 in. | 1 x 2 nominal, actual 3/4 x 1 1/2 in. | 12 slats of 1 x 4 stock, about 2 1/2 to 3 in. clear between slats | 2 x 4 nominal, actual 1 1/2 x 3 1/2 in. | 1 | Mid-span sag because the center beam is too light or unsupported |
| King | 76 1/2 x 80 1/2 in. | Side rails: 82 in.; end rails: 76 in. | 1 x 2 nominal, actual 3/4 x 1 1/2 in. | 12 slats of 1 x 4 stock, about 2 1/2 to 3 in. clear between slats | 2 x 6 nominal, actual 1 1/2 x 5 1/2 in., or doubled 2 x 4 | 2 | Squeaks and sagging from a single underbuilt center support |
Slats or plywood deck?
Choose slats when you want airflow under the mattress and simpler handling of the deck parts. Choose plywood only when the sheet or sheets match the frame opening correctly. A single standard 4×8 sheet is not a blanket answer for queen or king frames, because those openings are larger and need more than one sheet or a different deck layout.
For slats, a common rule of thumb is to keep the spacing no more than about 3 inches apart. Many mattress makers are stricter for foam and latex beds, so use 2 3/4 inches or less when the mattress manufacturer calls for closer support. Fasten slats with screws sized to bite into the rails without punching through the top face; 1 1/4-inch to 1 5/8-inch wood screws are a practical range for attaching slats to cleats or rails. Place the screws near both ends of each slat so the board cannot lift or twist.
For a plywood deck, fasten the sheet edges and intermediate support lines with screws around the perimeter and onto the center beam or cleats. Use enough fasteners to keep the panel from drumming, but do not overdrive them. Plywood works best when the frame opening is matched to the sheet layout; otherwise you end up with unsupported gaps.
WikiHow’s platform-bed materials include 75-inch and 57-inch 2×12 lumber pieces, which shows how platform builds often rely on specific board lengths rather than a single universal panel.
Frequently asked questions
How to build a simple bed frame out of wood
Cut four rails, four legs, and a support surface, then join the corners with bed rail hardware or lag bolts. Keep the inside opening 2 cm wider and 2 cm longer than the mattress, and add a center beam for queen and king sizes so the middle span does not sag.
Is it cheaper to build your own bed frame?
It depends on wood type, hardware, and finish choices. Fred’s DIY Plans estimates single-bed material costs at €100 to €180 in spruce and king-bed material costs at €200 to €320 in spruce. Spruce or pine is usually the lower-cost route, while beech, oak, and ash tend to cost more.
Products related to this article
Sponsored / affiliate links. As an Amazon Associate I earn from qualifying purchases. I may earn additional commission from eligible campaigns.