Best Floating Shelves for DIY Beginners: Build Guide
For many beginners, an easier floating shelf build is a pre-routed shelf with hidden brackets anchored into wall studs. If you’re on drywall with no stud access, use a rated drywall anchor system for light decor and other very light items only. I have seen bad first builds pull out of the wall, split wood, and waste money on tools and hardware you cannot use safely. This guide compares the best first-shelf methods by tool budget, wall type, and load so you can buy the right path before you cut anything.
This guide is part of our Chairs guide: types, buying and care series.
Best floating shelf build for most beginners


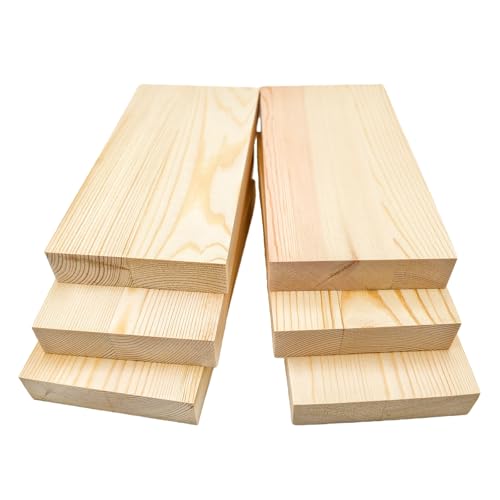
The top pick is a concealed bracket shelf mounted into at least one wall stud, using simple lumber and drilled shelf holes. That path gives the best balance of safety, clean appearance, and tool cost for a first project. It is far less punishing than a full box-style build, and it is easier to level before you commit to glue and finish.
Why this path is the safest first buy
Hidden-bracket shelves depend on a floating shelf bracket with a concealed or blind design. The rod or pin section slides into drilled shelf holes, while the back plate anchors to the wall. The bracket’s load rating depends on the wall fasteners and framing, so the real strength comes from the stud, not the metal alone.
For a beginner, that matters more than appearance. A shelf that looks clean but pulls loose is a bad purchase. A stud-mounted bracket shelf gives a clear safety margin and usually needs fewer woodworking parts than a full cleat box.
What makes it easier than a full box-style build
A box shelf built around a wall-mounted cleat can look excellent, but it asks more of the builder. The cleat system needs a clean fit between the wall-mounted cleat and the hollow box, plus careful alignment so the shelf sits flush. A concealed bracket shelf usually tolerates small planning errors better.
If the goal is the safest first project, fewer parts is better. A simple board, a bracket, a stud, and careful drilling beat a more complex assembly that depends on perfect joinery.
According to How to Build the Easiest DIY Floating Shelves Ever (Only 2 Tools Needed!) — Anika’s DIY Life says the easiest build is beginner level and takes 1 to 2 hours plus drying time.
Quick picks for beginner needs
Choose the build path first, then buy parts. That keeps you from spending money on tools that do not fit the wall or the load.
- No-table-saw build: buy pre-finished boards and a concealed bracket kit, then cut only if the home center can make the length cut.
- No-stud-nearby build: use heavy-duty, weight-rated drywall anchors only for light decor, not books or dense objects.
- Renter-safe build: choose the lightest removable setup possible, and assume the shelf is for framed prints, plants, or small decor.
- Heavy-decor build: mount a concealed bracket into a stud, or use a cleat shelf only when the wall framing is favorable and the shelf will carry real weight.
No-table-saw build
For a first project without a table saw, solid pine or poplar boards in 1 x 8 sizes or pre-finished boards are a practical starting point. A miter saw helps with clean cuts, but a circular saw with a straightedge can work. Keep the shelf short, because shorter lengths are easier to keep square and less likely to sag.
No-stud-nearby build
If there is no stud where the shelf must go, use a rated drywall anchor system only for light items. Drywall anchors are a weaker choice than framing, and they are not a good answer for books. They can be acceptable for light decor when the shelf is shallow, short, and loaded gently.
Renter-safe build
A renter-safe shelf should be light, short, and easy to remove with minimal wall repair. That usually means fewer fasteners, a modest depth, and very light contents. A heavy hidden-bracket shelf is the wrong bet if wall damage needs to stay small.
Heavy-decor build
For heavier objects, choose a stud-mounted concealed bracket or a cleat shelf tied firmly into framing. This is the path for ceramics, stacked books, or dense display items. Drywall-only mounting is the wrong choice here, even with a neat finish.
What is the easiest floating shelf design for beginners?
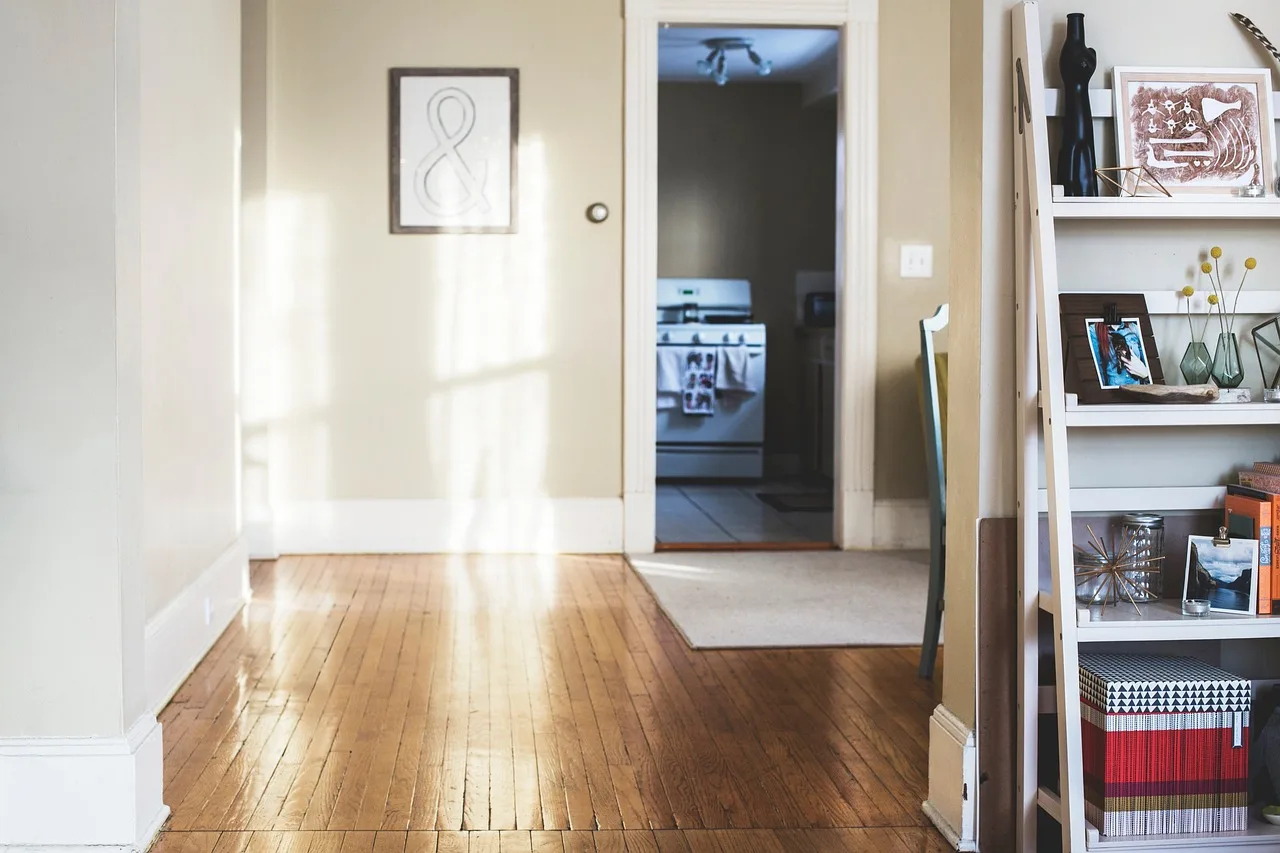
The easiest floating shelf design for beginners is usually a concealed bracket shelf with a simple board shell. It needs fewer parts than a full cleat box, and it lets the builder focus on stud placement, hole drilling, and level mounting. A cleat system can be cleaner, but it asks for more accuracy.
Concealed bracket shelf vs cleat system
A floating shelf bracket uses hidden rods or pins that slide into drilled shelf holes. The back plate is fixed to the wall, and the shelf slips over the hardware. A cleat system uses a wall-mounted cleat plus a hollow box shelf that hides the structure. The cleat method is strong, but the fit must be more exact.
Beginners who want the least frustration should usually start with concealed brackets and simple lumber. The cleat shelf is better for someone comfortable measuring twice, checking for square, and building a hollow shell around the mount.
When a simple box shelf is better
A simple box shelf is better when the shelf must look fully built-in or when the wall layout favors a wide, hidden support. It also works well if the builder wants to avoid visible end grain. The tradeoff is a longer assembly sequence and more chances for misalignment.
Which design tolerates small mistakes best
Concealed bracket shelves usually tolerate small mistakes better. A slight sanding correction or a small shift in the drilled holes is easier to live with than a box shelf that sits crooked on a cleat. If the first priority is avoiding failure, choose the simpler geometry.
How much weight can a beginner floating shelf hold?
A beginner floating shelf should be loaded by wall type, not by hope. Stud-mounted shelves can handle far more than drywall-only shelves, but the practical load still depends on shelf depth, span, and the quality of the anchors or screws. Books are the most punishing common load, while decor pieces are far easier.
Load limits by wall type
Stud-mounted shelves are the strongest option because the stud is the primary structural support. Drywall anchors can help when a stud is unavailable, but they reduce the safe load. A concealed bracket also depends on the wall fasteners, so the metal rating alone does not tell the whole story.
For a beginner, the safest rule is simple: stud mounting for medium to heavy use, drywall anchors only for light use. If the shelf will hold dishes, stacks of books, or dense pottery, the stud should be part of the plan.
Practical load assumptions for decor, dishes, and books
Light decor means framed prints, small vases, candles, or a few accessories. Medium use means a few heavier objects spaced apart. Books create concentrated weight and more front-edge pressure, which increases sagging and pullout risk. That is why drywall-only mounting is a weak choice for book storage.
For first builds, the safest assumption is that a shelf can hold decor more comfortably than bulk weight. If the shelf will be read as storage, not display, move to stud-based support and keep the shelf short.
Do floating shelves need to hit studs?
Yes, at least one stud should be used whenever possible. A wall stud is the primary structural support, and a stud finder helps locate it before drilling. 3-inch screws are commonly used into framing because they give a more secure bite than short fasteners in drywall alone.
Why at least one stud is the target
Studs carry the load into the wall structure. Drywall does not. That is the basic reason the shelf should land on framing if the goal is real carrying strength. One stud is better than none, and two studs are better still when the shelf length allows it.
When heavy-duty drywall anchors are acceptable
Heavy-duty, weight-rated drywall anchors are acceptable when the shelf is shallow, short, and light-duty. They are not a good choice for heavy books. They also reduce the margin for error if the shelf is bumped, overloaded, or installed with poor hole spacing.
Why stud placement should shape shelf size
Stud placement should influence the shelf length, bracket spacing, and even the room location if possible. If the studs are awkwardly spaced, a shorter shelf is often the better answer. Longer unsupported spans increase sagging risk, especially with softer woods and deeper shelves.
How to choose wood, depth, and size for a first shelf
Solid pine is the easiest wood for a first floating shelf because it cuts and sands easily. Poplar is a good pick when the shelf will be painted or stained darker. Pre-finished boards save time. For beginner builds, 1 x 6, 1 x 8, and 2 x 2 stock are the most useful starting points.
What wood is best for a first floating shelf project?
Solid pine is usually the easiest first choice. It is forgiving to cut and simple to sand, and I use it often for fast shop builds. Poplar is a better choice for paint or a darker stain where grain mismatch matters less. Plywood and MDF can work in some builds, but they are less friendly choices for a first shelf if the goal is a clean edge and simpler fastening.
Why 8 inches is a common beginner depth
A depth of about 8 inches is often a practical beginner choice because it can fit framed decor, small plants, and basic display items without adding too much front-edge pull. Deeper shelves create more force at the front edge and can sag more if the support is weak. Shorter depth is easier to support and easier to keep level.
How length and span affect sagging
Longer shelf lengths are harder for beginners because they increase the chance of bowing, uneven support, and visible misalignment. A short shelf is easier to cut square, mount level, and keep tight to the wall. If the design stretches too far between supports, the shelf will telegraph that weakness over time.
What tools do I need to build floating shelves?
Common must-have tools are a drill/driver, level, stud finder, and either a miter saw or circular saw. A sander helps with fit and finish. A brad nailer can help, but it is optional rather than required. Keep the tool list short unless the build path clearly demands more.
Must-have tools
- Drill/driver for screws, pilot holes, and bracket mounting
- Level for setting the shelf line and checking final alignment
- Stud finder for locating framing
- Miter saw or circular saw for cutting the stock
- Sander for smoothing edges and fit
Optional tools that speed up assembly
A brad nailer can speed up box construction, but it is optional. Clamps help during assembly. A countersink bit makes screw heads sit cleaner. None of these tools should be treated as required for a first shelf unless the design depends on them.
Low-tool-budget setup
If the budget is tight, choose a pre-routed concealed bracket kit, buy pre-finished boards, and ask the store to cut the board to length. That path reduces tool needs and keeps the project closer to the easiest beginner version.
Beginner decision table: choose your build path
The table below is the practical shortcut. It compares failure risk, tool cost, and wall type before purchase. Use it to match the build to the room, not the other way around.
| Build path | Tools | Estimated cost | Difficulty | Maximum practical load assumption |
|---|---|---|---|---|
| No-table-saw | Drill/driver, level, stud finder, sander, saw cut service or circular saw | About $30 to $40 for a shelf or two | Low | Light to medium decor on one stud; keep length short |
| No-stud-nearby | Drill/driver, level, anchor-rated install kit, stud finder for checking nearby framing | About $50 to $100 per shelf for traditional hidden hardware | Medium | Light decor only with rated drywall anchors; avoid books |
| Renter-safe | Drill/driver, level, stud finder, sander, minimal fastening hardware | About $20 to $40 depending on shelf length and finish | Low | Very light decor; prioritize easy removal and small wall repair |
| Heavy-decor use | Drill/driver, level, stud finder, miter saw or circular saw, sander | Varies with lumber and bracket quality; plan on stud-based hardware | Medium to high | Heavier items only when the bracket is fixed into studs |
For many homeowners, a good option is a concealed bracket shelf anchored into at least one stud. For renters, the answer is usually a lighter shelf with light decor only, or a temporary wall solution. For heavy objects, skip drywall-only thinking and move straight to framing support.
Fast recommendation rule by wall type and tool budget
If you have a stud where the shelf belongs, buy concealed brackets and simple lumber. If you do not have a stud, limit the plan to light decor and weight-rated anchors. If you want the cleanest built-in look and are comfortable with more steps, choose a cleat shelf. If you want the fewest ways to fail, keep the shelf short and shallow.
How do I make floating shelves look clean and level?
Clean, level shelves come from careful layout, straight cuts, and a snug fit over the bracket or cleat. Use a level to mark the line before drilling. Dry-fit the shelf before final fastening. Small alignment errors are easier to fix early than after the finish is on.
Finishing basics
Wood glue helps with strength and assembly, especially around a box shell or cleat construction. Sand with progressively finer grits until the edges feel even, and the surface reads as one plane. For softwoods like pine, a pre-stain conditioner helps reduce blotching. Finish with stain, natural oil, or a top coat depending on the look you want.
Common mistake checklist
- Using drywall anchors for heavy books or dense decor
- Skipping the stud finder and missing framing
- Choosing a shelf that is too deep for the support
- Spacing holes poorly so the bracket binds during installation
- Mounting out of level and forcing the shelf to sit crooked
- Using weak anchors or short screws where framing is available
- Building a long shelf without enough support points
Should I buy concealed brackets or build a cleat shelf?
Buy concealed brackets if this is the first shelf, the wall has a stud, and the goal is a simpler build with less alignment risk. Build a cleat shelf when you want a more custom box look and can handle tighter joinery. For most beginners, the concealed bracket path is the safer first purchase.
Frequently asked questions
How deep can a DIY floating shelf be before it sags?
About 8 inches is a common beginner depth because it balances utility and support. Deeper shelves increase the front-edge force on the bracket or cleat and can sag more, especially over longer spans. If the shelf needs to be deep, keep it shorter and mount it to framing.
Can I build floating shelves without a table saw?
Yes. Many beginner shelves can be built with a circular saw, a miter saw, or store-cut lumber. Pre-finished boards and pre-routed bracket kits reduce the need for shop equipment. The simplest path is to choose a shelf design that does not depend on exact sheet-good processing.
Products related to this article
Sponsored / affiliate links. As an Amazon Associate I earn from qualifying purchases. I may earn additional commission from eligible campaigns.