
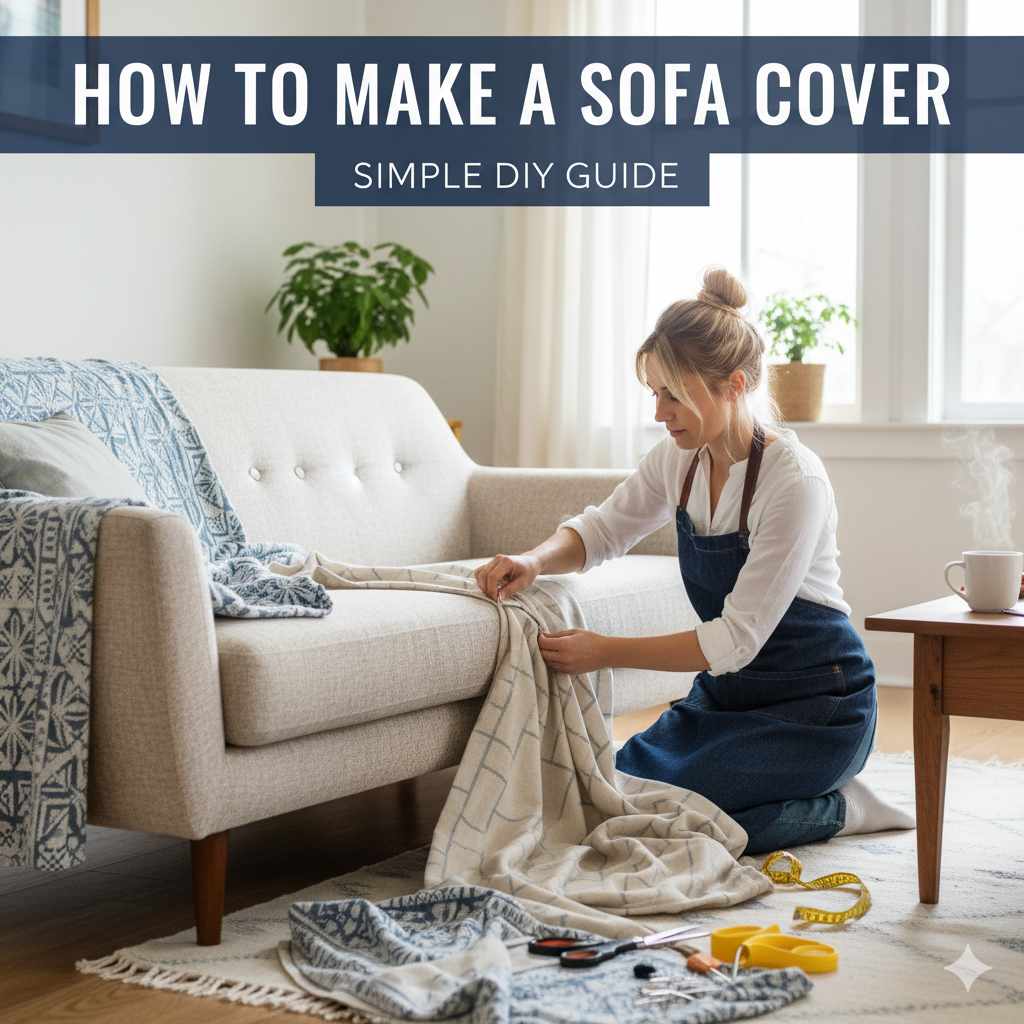
It’s so frustrating when your beloved sofa starts to look a little worn. Maybe it’s a stain that just won’t budge, or the fabric is faded from the sun. Or perhaps you just want a fresh new look without buying a whole new couch.
You know, the kind of thing that makes you want to hide it with throws and pillows. But what if you could give it a brand new life yourself? It might sound tricky, but making your own sofa cover can be simpler than you think.
This guide will walk you through it, step-by-step.
Making a sofa cover involves measuring your furniture, cutting fabric, and sewing the pieces together. It’s a great way to refresh your living space, protect your sofa from wear, and even change its style without a huge cost. You can achieve a custom fit that looks professional with a little time and the right approach.
Understanding Your Sofa Cover Project
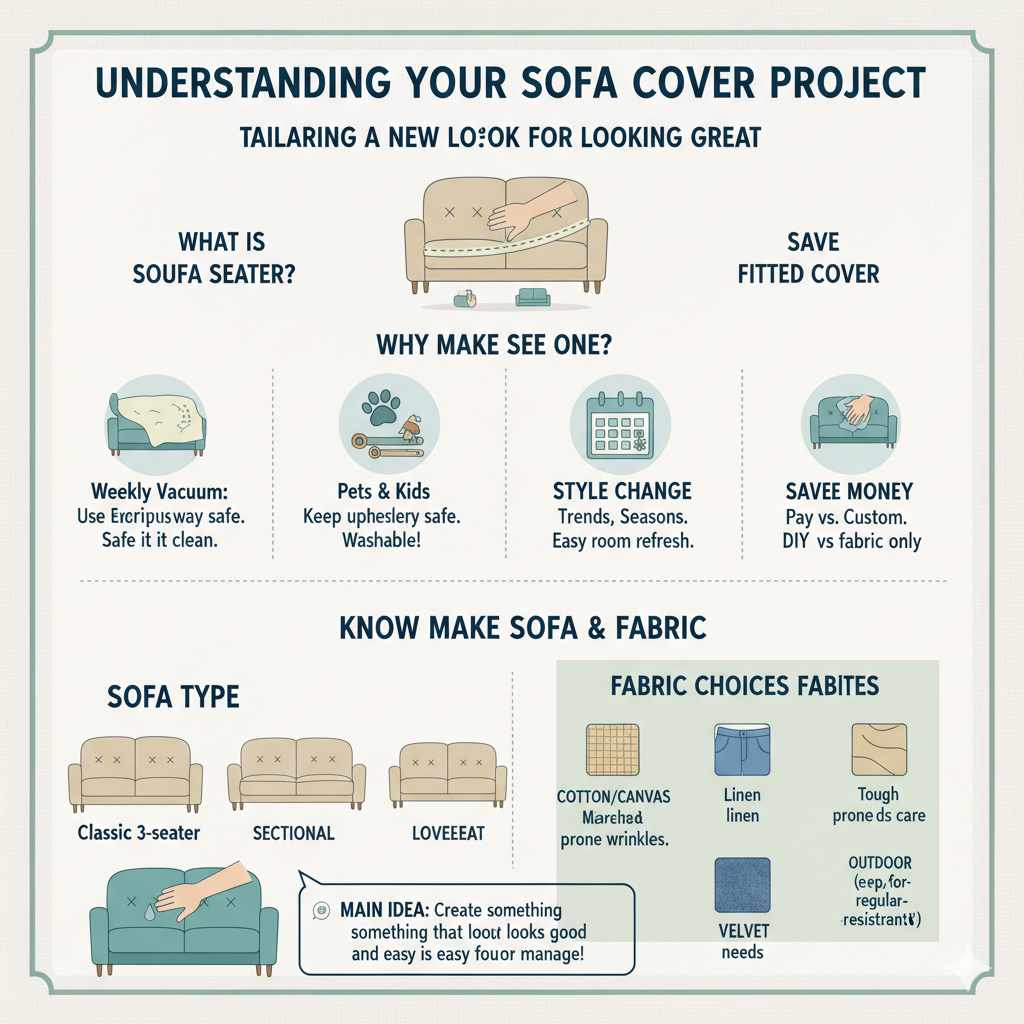
So, what exactly is a sofa cover? Think of it as a tailored jacket for your couch. It’s a piece of fabric that fits snugly over your sofa’s frame, cushions, and arms.
The main goal is to protect the original upholstery. It also offers a way to change the look of your room easily. They can be slipcovers, which are more loose-fitting, or fitted covers that hug every curve.
Why do people make them? The reasons are many. For some, it’s a matter of necessity.
Pets and kids can be tough on furniture. A washable cover is a lifesaver. For others, it’s about style.
Trends change, and so can your sofa’s appearance. You might want a warmer feel for winter or a lighter tone for summer. This project lets you experiment.
It’s also a budget-friendly option. Buying custom-made slipcovers can cost hundreds, sometimes even thousands, of dollars. Sewing your own dramatically cuts that price.
You’re paying mainly for the fabric. Plus, there’s a real sense of pride in creating something functional and beautiful with your own hands. It adds a personal touch to your home that’s hard to beat.
Before you start cutting fabric, it’s good to know what kind of sofa you have. Is it a classic three-seater? A sectional?
Maybe a loveseat? The shape and size are key. You’ll also need to think about the fabric.
Different materials wear differently and offer different looks. We’ll dive into all of that. The main idea is to create something that looks good and is easy to manage.
My Own Sofa Cover Mishap (and What I Learned)
I remember one Saturday afternoon. The sun was streaming into my living room, highlighting a coffee stain on my light-beige sofa. It was a disaster.
I’d tried everything: special cleaners, baking soda pastes, even a bit of dish soap. Nothing worked completely. The stain was still there, a pale ghost of spilled latte.
I felt defeated. My sofa, once my pride and joy, now had a glaring imperfection.
I spent hours online looking at new sofas. But the prices! My wallet started crying just thinking about it.
Then I saw some beautiful custom slipcovers. Again, the cost was shocking. I almost gave up.
That’s when a little voice in my head whispered, “What if you made one yourself?” I’d never sewn anything more complex than a button. The thought was daunting. But the stain was more daunting.
I grabbed an old, flat sheet and threw it over the sofa. It looked terrible, like a ghost costume. It kept slipping off.
But it got me thinking. I started researching. I watched videos.
I read blogs. My first attempt was… well, let’s just say it wasn’t pretty. The fabric bunched in weird places.
The seams were crooked. It looked like a poorly fitted potato sack. I was so disappointed.
It felt like a waste of money on fabric. But I didn’t quit. I learned so much from that first try.
I learned about measuring carefully. I learned that some fabrics are easier to work with. Most importantly, I learned that perfection isn’t always the first goal.
Improvement is.
That experience taught me the value of patience and practice. It also showed me that a little creativity can go a long way. You don’t need to be a master tailor to tackle this project.
You just need the right information and a willingness to try. The end result was a sofa cover that wasn’t perfect, but it was functional, protected my sofa, and made me feel incredibly proud. It was a huge win.
Choosing the Right Fabric for Your Sofa Cover
Picking your fabric is like choosing the outfit for your sofa. It sets the tone. It also impacts how easy the cover is to care for and how long it lasts.
There are many great options out there for making a sofa cover. You want something that’s durable, washable, and looks good. Here are some popular choices you’ll often find:
Fabric Choices for Your Sofa Cover
Cotton: This is a natural fiber. It’s breathable and soft. Cotton is usually easy to wash.
Look for tight weaves, like duck cloth or canvas. They are stronger and resist wear better. Cotton can wrinkle, though.
It’s a good choice for a casual look.
Linen: Linen has a lovely, natural texture. It feels cool to the touch. It’s also quite strong.
Linen can be a bit more expensive. It wrinkles easily. But for some, that lived-in look is part of its charm.
It’s best for formal living rooms or when pets aren’t a major concern.
Polyester Blends: These are very popular. They often mix polyester with cotton or other fibers. This makes them durable and wrinkle-resistant.
Polyester is also easy to clean. It holds its color well. Many modern sofa fabrics are polyester blends.
They offer a good balance of style and function.
Microfiber: This is a synthetic fabric. It’s very soft and dense. Microfiber is great for homes with pets.
It repels liquids and is easy to wipe clean. It also resists stains well. It can sometimes feel warm, depending on the weave.
Denim: A sturdy cotton twill. Denim is tough. It can give your sofa a relaxed, casual vibe.
It’s easy to wash. Like cotton, it can fade over time. This can actually add to its appeal for some.
When you select your fabric, think about your lifestyle. Do you have kids or pets that might climb on the sofa? If so, a durable, stain-resistant fabric like microfiber or a tightly woven polyester blend is a smart move.
Do you want something that feels luxurious and natural? Linen or a good quality cotton might be better. Consider the color and pattern too.
Darker colors hide stains better. Lighter colors can brighten a room. A busy pattern can disguise minor wear and tear.
You’ll need enough fabric. This is a common pitfall. It’s always better to have a little extra than to run short.
We’ll talk about measuring later, but plan for more fabric than you think you’ll need. Measure your sofa’s height, width, and depth. Then add extra for seams, skirts, and any design elements like piping or ties.
Online calculators can help estimate yardage. But a good rule of thumb is to buy about 2.5 to 3 times the longest measurement of your sofa.
Also, consider the weight of the fabric. A lighter fabric might be easier to sew. But it might not drape as nicely or hold its shape as well.
A heavier fabric can look more structured and luxurious. It will also be more durable. Check the fabric’s “rub count” or Martindale score if available.
A higher number means it’s more resistant to abrasion. For upholstery, you want a score of at least 15,000 to 30,000.
Finally, think about how the fabric feels. If possible, get a small sample. Feel it against your skin.
Imagine how it will look in your home. Does it feel scratchy? Too warm?
Too thin? Your sofa cover should be comfortable and inviting. The right fabric makes a big difference to the final look and feel of your project.
Gathering Your Tools and Supplies
Before you start cutting and sewing, make sure you have everything you need. It’s like preparing for a big meal; having all your ingredients ready makes the process smoother. You don’t want to stop halfway through because you’re missing a vital tool.
This list will help you get set up for success when making your own sofa cover.
Essential Tools and Supplies
- Measuring Tape: A flexible, long tape measure is crucial for accurate measurements.
- Fabric Scissors: Sharp scissors dedicated only to fabric will give you clean cuts.
- Sewing Machine: A reliable sewing machine is your best friend here. Make sure it’s in good working order.
- Thread: Choose a strong, durable thread that matches your fabric color. Polyester thread is a good, strong choice.
- Pins: Lots of pins to hold fabric pieces together before sewing. Safety pins can also be useful.
- Chalk or Fabric Marker: For marking your cut lines and seam allowances on the fabric.
- Paper or Pattern Material: You might use pattern paper, old newspaper, or even craft paper to draft your pattern pieces.
- A Comfortable Sewing Space: Good lighting and enough room to spread out fabric are important.
- Your Chosen Fabric: Enough yardage for your sofa and any extra design details.
- Optional: Interfacing: For areas that need extra stiffness, like armrests or a skirt hem.
- Optional: Zipper or Velcro: If you want a removable cover that’s easy to get on and off.
- Optional: Piping Cord and Bias Tape: For decorative trim along seams.
Having the right tools makes all the difference. Sharp scissors are non-negotiable. Dull scissors will fray your fabric and make your cuts uneven.
A good sewing machine is also key. If yours is a bit temperamental, do a test run on some scrap fabric. Make sure it’s stitching nicely.
Thread type matters too. You want a strong thread that won’t break when the cover is pulled or used. Gutermann or Coats & Clark are reputable brands.
Match the thread color as closely as possible to your fabric. Sometimes, using a slightly darker or lighter shade can be an intentional design choice. But for a clean look, matching is best.
Don’t forget about seam allowances. These are the extra bits of fabric you add around the edges of your pattern pieces. They are where you will sew.
Standard seam allowances are usually 1/2 inch or 5/8 inch. Make sure to factor these into your measurements and pattern cutting. Consistent seam allowances are important for a professional finish.
If you’re new to sewing, it might be helpful to watch a few online tutorials on basic sewing techniques. Things like sewing straight lines, making neat corners, and finishing seams. These skills will be directly applied to making your sofa cover.
The more prepared you are, the less likely you are to feel overwhelmed when you actually start. It’s about setting yourself up for a successful and enjoyable crafting experience. This project can be a lot of fun!
Measuring Your Sofa Accurately
This is arguably the most important step. An ill-fitting cover will look sloppy and won’t function well. Take your time here.
Measure twice, cut once, as the old saying goes! You need to capture the exact shape of your sofa. Think of it like tailoring a suit; every curve and line matters for a perfect fit.
Your sofa cover should hug every contour.
Start with the main body of the sofa. Measure the width from the outside of one arm to the outside of the other arm. Then, measure the height from the floor to the top of the back cushion.
Next, measure the depth from the front of the sofa to the back. You’ll also need to measure the depth of the seat cushion. And the height of the back cushion.
Now, let’s get more detailed. You need to measure the height of the arms. Measure the width of the arms.
Measure the length of the sofa seat from one arm to the other. Don’t forget the sides. Measure the height from the seat cushion down to the floor for the skirt, if you plan to have one.
If your sofa has a unique shape, like curved arms or a particular back style, you’ll need to measure those specific dimensions.
A good tip is to use a flexible measuring tape. This way, you can measure around curves and contours accurately. It’s also helpful to write down every measurement as you take it.
Keep a notebook handy. Label each measurement clearly (e.g., “Left Arm Width,” “Seat Depth”). This will prevent confusion later on.
Think about how you want the cover to fit. Do you want it super tight, like a second skin? Or a bit looser, with some drape?
If you want a very tight fit, you’ll need to be even more precise. If you want a looser fit, you can add a little extra ease. For a fitted cover, add about 1 to 2 inches to your measurements for ease.
This allows for movement and makes it easier to put the cover on and take it off. For a loose slipcover, you’ll add even more. But for a custom-fitted look, precise measurements are key.
Consider any features your sofa has. Are there buttons? Piping?
Exposed seams? You’ll need to account for these. You might want to replicate them or cover them.
If you plan to add a skirt, measure the length from the base of the sofa to where you want the skirt to end. For seat and back cushions, measure their height, width, and depth. You might want to make separate cushion covers.
This often gives a cleaner, more professional look than one continuous cover.
It’s also helpful to take some photos of your sofa from different angles. You can refer back to these if you get confused about a measurement or a particular shape. Once you have all your measurements, you’re ready to move on to creating your pattern.
This is where you’ll translate those numbers into fabric shapes.
Creating Your Sofa Cover Pattern
Now that you have your measurements, it’s time to make a pattern. This is like drawing a blueprint for your sofa cover. It ensures all the pieces fit together correctly.
You can do this directly on paper, or you can even drape the fabric on the sofa itself. The draping method can be more intuitive for complex shapes.
Pattern Creation Methods
Paper Pattern Method: Draw out each section of your sofa to scale on large sheets of paper. You can buy pattern paper or use craft paper or even taped-together newspaper sheets. Label each piece clearly (e.g., “Sofa Front Panel,” “Right Arm Outer”).
Include seam allowances on all edges. This method is great for simpler sofa shapes.
Draping Method: This is often considered the most accurate for fitted covers. You’ll use inexpensive muslin or an old sheet. Drape the fabric directly onto your sofa.
Pin and tuck it to fit snugly. Mark the seams and edges with chalk. Then, carefully remove the fabric, trace your marks onto paper, and add seam allowances.
This method is excellent for sofas with unique curves and details.
Using an Existing Cover: If you happen to have an old, well-fitting sofa cover that you’re replacing, you can use that as a template. Carefully take it apart at the seams. Then, use these pieces to trace onto your new fabric or pattern paper.
This is a good shortcut if your current cover is already a good shape.
Let’s talk about the draping method a bit more, as it’s very effective. Start by covering your sofa with your chosen fabric or inexpensive muslin. Smooth it out.
Begin pinning and tucking the fabric to create a snug fit. You’ll want to create seams where the different parts of the sofa meet, like where the seat meets the back, or where the arms meet the sides. Use plenty of pins to hold the shape.
Once the fabric is draped and pinned to your satisfaction, you’ll use chalk or a fabric marker to draw your seam lines directly onto the fabric. Mark the edges of the fabric where you want to trim. Pay attention to curves and corners.
You want those to be as smooth as possible. If you’re adding a skirt, measure and mark its length from the bottom edge of the sofa base.
After marking, carefully remove the draped fabric from the sofa. Lay it flat on a large surface. You will now have a sort of “mold” of your sofa.
You can then trace these shapes onto your pattern paper. Remember to add your seam allowances. A standard 1/2 inch seam allowance is usually good.
If you’re unsure, a bit more is safer than less. You can always trim excess fabric later, but you can’t add it back.
Separate the pieces based on your sofa’s structure. You’ll likely have pieces for the main back, the sides, the seat, the arms, and possibly a skirt. If your sofa has separate cushions, you’ll want to create separate patterns for those too.
This will make them removable and washable on their own. For cushion patterns, measure each side of the cushion, adding seam allowances. Don’t forget to account for the thickness of the cushion when calculating the fabric needed for its sides and top.
When you’re done, you should have a set of pattern pieces that represent each part of your sofa cover. Lay them out. Do they look like they’ll fit together?
Do the measurements make sense? This is your chance to adjust before cutting into your good fabric. This careful planning will save you headaches later.
Cutting Your Fabric
This is where your pattern pieces come to life. Accuracy is crucial. Measure your fabric.
Make sure it’s laid out flat and smooth. There should be no wrinkles or folds that could throw off your measurements. Fold your fabric in half lengthwise if the pattern pieces allow, this saves time and ensures symmetry.
Lay out your pattern pieces onto the fabric. Arrange them in a way that uses the fabric most efficiently. You don’t want to waste good material.
Consider the direction of the fabric’s weave or any pattern on the fabric. You want this to be consistent across all pieces. Usually, this means the longest dimension of the pattern piece runs parallel to the selvage edge of the fabric.
Once you’re happy with the placement, use pins to secure the pattern pieces to the fabric. This prevents them from shifting. Then, use your fabric marker or chalk to trace around the outside of each pattern piece.
Remember, your pattern pieces should already include seam allowances. If they don’t, you need to add them now. For example, if your pattern piece is the exact size of a sofa panel, you’ll draw a line 1/2 inch (or your chosen seam allowance) outside of that piece all around.
After tracing, use your sharp fabric scissors to cut along the traced lines. Take your time. Slow, steady cuts will result in straighter edges.
This makes sewing much easier. If you’re cutting multiple pieces that are identical, like two arm pieces, you can often cut them at the same time if you align them carefully. Or cut one, then use it as a template for the second.
As you cut each piece, label it clearly with chalk or a fabric marker. Something like “Left Arm Outer,” “Seat Panel,” “Back Pillow Top.” This labeling is a lifesaver when you start assembling. You don’t want to mix up similar pieces.
This stage requires patience. It’s the foundation for your sewing work. A well-cut fabric means a well-sewn cover.
If you are working with a patterned fabric, pay extra attention to how the pattern aligns on different pieces. For example, if you have a floral pattern, you might want a specific flower to appear prominently on the front panel. You might need to adjust the placement of your pattern pieces to achieve this.
This extra attention to detail elevates your homemade cover from good to fantastic. It’s these small things that make a big impact on the final appearance.
For any pieces that need to be cut on the fold, ensure your fabric is folded correctly. Then place the pattern piece along the folded edge. When you cut, you will only cut three sides.
The fold forms the fourth side. This creates a symmetrical piece without a seam in the middle. This is common for sofa backs or seats that are one continuous piece.
If your sofa has very complex shapes, like rounded corners or rolled arms, you might find it easier to cut larger panels and then trim them down to fit perfectly as you sew. This is especially true if you used the draping method. The initial cut can be generous, and you can refine the fit as you go.
Sewing Your Sofa Cover: Step-by-Step
Now for the exciting part: bringing it all together! Sewing can seem intimidating, but breaking it down into smaller steps makes it manageable. Always start by sewing a small test seam on a scrap piece of your fabric to check your machine’s tension and stitch length.
Ensure your stitch length is appropriate for the weight of your fabric.
Step 1: Assemble the Main Body. Start with the largest pieces. Pin together the back panel and side panels. Make sure right sides of the fabric are facing each other.
Sew along the pinned edges using your chosen seam allowance. Repeat for the other side. You’re essentially building the structure of the sofa cover piece by piece.
Step 2: Attach the Seat Panel. Pin the seat panel to the front edge of the main body assembly. Again, right sides together. Sew this seam.
Now you should have something resembling the basic shape of your sofa. Ensure the seams are pressed open or to one side for a neater finish. This makes subsequent steps easier.
Step 3: Add the Arms. Pin the arm pieces to the sides of the main body and the seat panel. Make sure they align correctly. Sew these seams securely.
If your arms are separate pieces (inner and outer), sew those together first before attaching them to the main body. For rounded arms, you might need to clip the seam allowance to help the fabric lie flat. This means making small cuts into the seam allowance around curves.
Step 4: The Skirt (if applicable). If you’re adding a skirt, prepare it first. Sew your skirt panels together to form one long strip. Hem the bottom edge of the skirt.
Then, pin the top raw edge of the skirt to the bottom edge of your main sofa body. Gather or pleat the skirt as needed to fit the width of the sofa. Sew this seam securely.
Step 5: Cushion Covers. If you’re making separate cushion covers, assemble them now. For a simple envelope-style cushion cover, you’ll sew three sides of the cover closed, then hem the fourth side. You’ll then overlap the hemmed fabric to create an opening for the cushion.
For zippered or buttoned covers, follow specific tutorials for those closure types. Ensure the cushion covers are slightly larger than the cushion inserts for a full look.
Step 6: Finishing Touches. Once all major seams are sewn, try the cover on your sofa. Pin any areas that need adjusting. You might need to take in a seam or two for a tighter fit.
Check the drape and the overall look. Trim any excess fabric. You can finish raw edges with a serger, a zigzag stitch, or by folding and stitching them for a cleaner look and to prevent fraying.
This step is crucial for durability.
Step 7: Hemming and Closures. Hem any open edges, like the bottom of a skirt or the back opening of a cushion cover if you’re not using a zipper. If you’re adding a zipper or Velcro to the back or underside for easier removal, install that now according to the manufacturer’s instructions.
If you’re aiming for a very professional look, you might consider adding piping along seams. This involves sewing cording into the seam. It adds a structured, tailored edge.
You would typically create bias tape for this. Piping can be a bit fiddly but makes a big difference to the final aesthetic.
Remember to press your seams as you go. Use a hot iron and press the seams flat. This creates sharp, professional-looking lines.
It makes the entire sewing process easier and the final result much better. Don’t skip this step. It’s often overlooked but very important.
Don’t be afraid to baste stitches first. Basting is a temporary stitch, often done by hand or with a long machine stitch. It allows you to try the cover on and make adjustments before committing to permanent stitches.
Once you’re happy with the fit, you can then sew the final seams.
Adding Decorative Elements
A basic sofa cover is great, but adding a few decorative touches can really elevate it. These details can make your DIY project look like it came from a high-end store. They add personality and polish.
You don’t need to go overboard; a few well-placed accents can do wonders.
Decorative Ideas for Your Sofa Cover
Piping: As mentioned, piping adds a crisp, tailored edge. You can buy pre-made piping in various colors or make your own using bias tape and cording. Apply it along the seams of your sofa cover, especially around the arms, back, and cushions.
Tassels or Fringe: If your sofa has a skirt, adding a trim of tassels or fringe along the bottom hem can create a more traditional or bohemian look.
Studs: For a more modern or industrial look, consider adding decorative upholstery tacks or studs along the base of the sofa or the edges of the arms. You’ll need a fabric mallet and a steady hand for this.
Contrast Fabric Panels: You could use a contrasting fabric for the seat cushion, the back, or the inside of the arms. This creates visual interest and breaks up a solid color.
Decorative Buttons: Tufted buttons can add a touch of elegance. You can use a tufting kit or simply sew on large decorative buttons to the cushions or the back of the sofa.
Tie-Backs or Straps: For a more casual, slipcover look, you can add fabric ties or straps that wrap around the arms or back to help secure the cover in place. These can also be decorative.
When adding decorative elements, think about the overall style of your room and your sofa. A French country sofa might suit delicate fringe. A modern sofa might look great with clean piping or metal studs.
The key is to choose elements that complement, not clash with, your existing decor.
Applying decorative elements often involves sewing them on. For example, piping is sewn into the seams. Tassels or fringe are usually sewn onto a hemmed edge.
Studs are hammered into the frame. Contrast fabric panels are sewn just like any other fabric pieces. Always test your method on scrap fabric first to ensure you achieve the desired effect.
Consider the practicality of your decorations too. If you have young children or pets, very delicate fringe or loose buttons might not be the best choice. They could become a choking hazard or be easily damaged.
Opt for decorations that are securely attached and durable. The goal is to enhance your sofa cover, not to create a new set of problems!
For example, if you’re adding studs, place them evenly and ensure they are hammered in flat so they don’t snag clothing. If you’re using contrast panels, make sure the stitching is neat and secure, as these lines will be very visible. These touches are what turn a homemade item into something truly special and eye-catching.
It’s the little details that showcase your effort and skill.
Maintaining Your New Sofa Cover
You’ve put in all the hard work, and now your sofa looks fantastic! To keep it that way, a little bit of care goes a long way. Just like any piece of clothing, your sofa cover needs proper maintenance to stay looking its best and to last as long as possible.
This is especially true if you chose a washable fabric.
Quick Care Tips
- Regular Vacuuming: Use a soft brush attachment on your vacuum cleaner. This removes dust, crumbs, and pet hair. Do this weekly to prevent dirt from setting in.
- Spot Cleaning: For small spills, act fast. Blot the stain immediately with a clean, dry cloth. Don’t rub, as this can spread the stain. Use a mild soap and water solution for tougher spots, testing it on an inconspicuous area first.
- Washing: If your fabric is machine washable, follow the care instructions for the fabric type. Usually, washing on a gentle cycle with cold water is best. Use a mild detergent. Avoid bleach unless the fabric specifically allows it.
- Drying: Air drying is often the safest bet. Hang the cover to dry or lay it flat. If you must use a dryer, use a low heat setting and remove it while slightly damp to prevent shrinkage or excessive wrinkling.
- Ironing: If needed, iron the cover on the appropriate heat setting for your fabric. It’s often easiest to iron it while it’s still slightly damp, or use a pressing cloth for delicate fabrics.
The specific care instructions will depend heavily on the fabric you chose. For example, linen might need to be dry-cleaned or hand-washed to maintain its shape and texture. Microfiber is usually very forgiving and can be wiped clean or machine washed and dried.
Cotton might shrink if washed in hot water.
Always check the fabric’s care label if it came with one. If you purchased fabric from a specialty store, they can often provide care recommendations. When in doubt, it’s always safer to be gentler.
A gentle wash cycle, cold water, and air drying will minimize the risk of damage.
When you put the cover back on after washing, smooth out any wrinkles. This makes it look much tidier. If you used separate cushion covers, putting the cushions back in can be a bit of a wrestling match.
Start with one corner and work your way around. This helps avoid tearing the seams.
Consider having a backup plan. Maybe a simple, plain sheet or a lightweight throw you can quickly put over the sofa if you have unexpected guests and your cover is in the wash. It’s not a perfect solution, but it can save you from embarrassment.
Taking good care of your handmade sofa cover means it will continue to look great and protect your sofa for a long time. It’s an investment in the longevity and appearance of your furniture.
When to Worry and When It’s Just Normal Wear
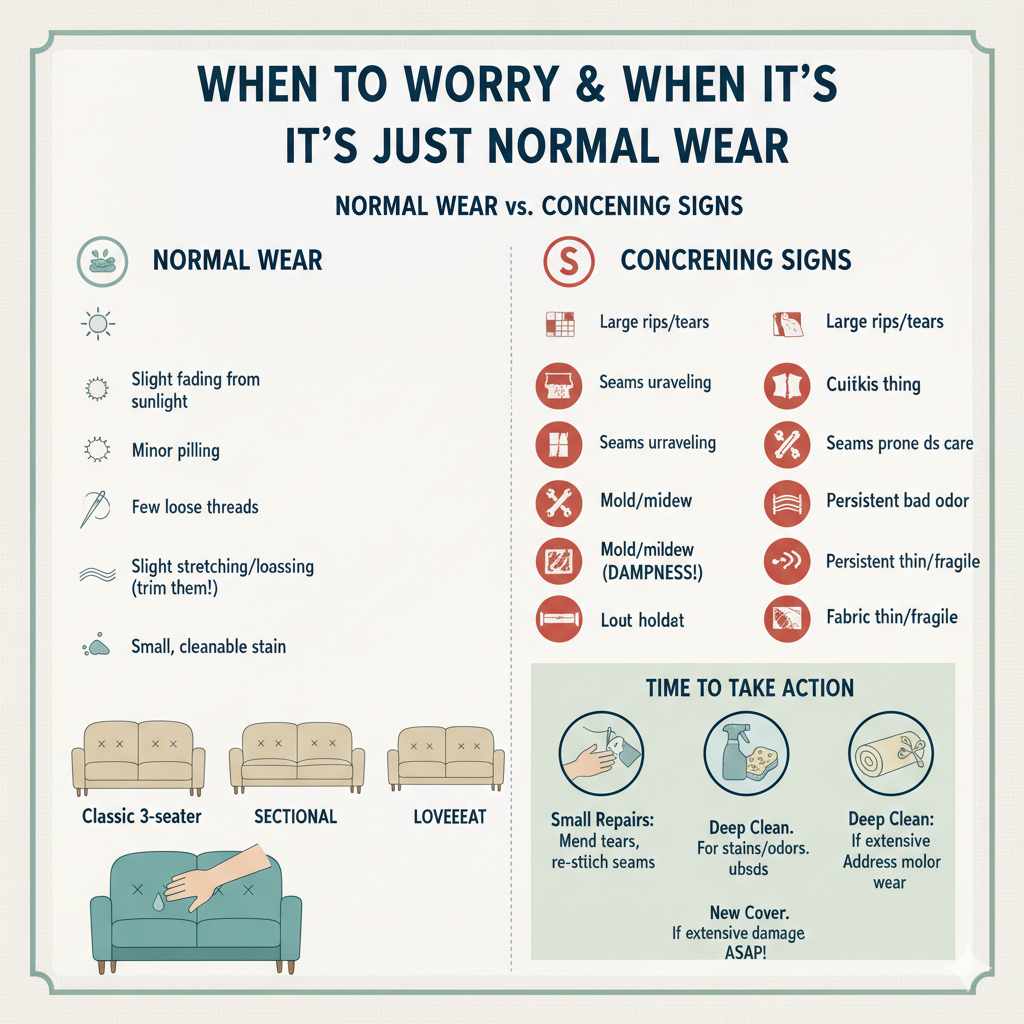
Even with a sturdy, well-made sofa cover, you might notice changes over time. It’s helpful to know what’s normal and what might signal a problem with the cover itself or the sofa underneath. Most of the time, signs of wear are expected, especially with regular use.
Normal vs. Concerning
Normal Wear:
- Slight fading of the fabric from sunlight exposure.
- Minor pilling on high-traffic areas (like armrests or seat cushions).
- A few loose threads along seams that can be trimmed.
- Slight stretching or loosening of the fabric over time.
- A small, easily cleanable stain that happened recently.
Concerning Signs:
- Large, spreading stains that won’t come out.
- Significant rips or tears in the fabric, especially along stress points.
- Seams that are completely unraveling.
- Mold or mildew growth on the fabric, often from prolonged dampness.
- A persistent, unpleasant odor that doesn’t go away after cleaning.
- The fabric feeling unusually thin or fragile in spots.
If you notice significant ripping or unraveling seams, it’s time to consider repairs or a new cover. Small tears can often be mended with a needle and thread or a sewing machine. If the damage is extensive, it might be more cost-effective to make a new cover, especially if the sofa itself is older.
Mold or mildew is a more serious issue. It can indicate a problem with moisture under the cover or a spill that wasn’t properly dried. This needs to be addressed immediately.
You may need to treat the fabric and ensure the sofa is completely dry before putting the cover back on. If the mold has penetrated the sofa’s upholstery, that’s a bigger problem needing professional attention.
Persistent odors can also be a red flag. While some odors can be treated with specialized cleaners or airing out, a strong, lingering smell might mean something is deeply ingrained in the fabric or even in the sofa’s stuffing. If the cover itself smells musty, it might be due to being stored while damp or in a humid environment.
Remember, your sofa cover is designed to protect your sofa. If the sofa underneath is showing signs of damage (like sagging springs or worn-out cushions), the cover won’t fix that. It’s meant to preserve the exterior.
Regularly inspecting your sofa and its cover will help you catch issues early. Early detection makes repairs easier and less expensive.
Think of your cover as a shield. Shields can get worn down. Some wear and tear is natural.
It shows that your sofa is being used and loved. But if the wear and tear starts to impact the functionality of the cover (like if it no longer fits properly or protects the sofa) or if it indicates an underlying issue with the sofa or fabric, then it’s time to take action. This might mean a simple repair, a deep clean, or even starting a new cover project.
Frequently Asked Questions about Making Sofa Covers
Can I really make a sofa cover myself if I’m a beginner at sewing?
Yes, absolutely! While it might seem daunting, making a sofa cover is a project that beginners can tackle. The key is to choose a simple fabric, measure very carefully, and take your time.
Start with a basic sofa shape if possible. Many online tutorials break down the process into easy-to-follow steps. Don’t aim for perfection on your first try; focus on learning and creating something functional.
How much fabric do I need for a standard three-seater sofa?
This can vary depending on the sofa’s dimensions and the width of your fabric. A general guideline for a standard three-seater sofa is about 8 to 12 yards of fabric. It’s always best to measure your sofa meticulously and then consult a fabric store or an online yardage calculator.
It’s wise to buy a little extra fabric to account for seam allowances, potential mistakes, and any pattern matching.
What is the easiest fabric to use for a DIY sofa cover?
For beginners, sturdy, non-stretch cottons like duck cloth or canvas are often recommended. Polyester blends are also excellent choices because they are durable, often stain-resistant, and less prone to wrinkling or stretching than natural fibers. Microfiber is another great option for its durability and ease of cleaning, making it ideal for homes with pets or children.
How do I get a tight, fitted look for my sofa cover?
To achieve a tight, fitted look, precise measurements are essential. Use the draping method on your sofa with inexpensive fabric or a muslin to capture every curve. When cutting your fabric, add only a small amount of ease (1-2 inches) to your measurements.
Accurate sewing with clean, neat seams also contributes significantly to a tailored appearance. Consider adding elastic or drawstrings to the bottom edges for extra snugness.
Should I make separate covers for the cushions?
Yes, making separate covers for the seat and back cushions is highly recommended. It makes the covers much easier to put on and take off. It also allows for easier washing and care.
Separate cushion covers generally give a neater, more professional finish than trying to incorporate them into one large cover. You can create envelope closures or zipper closures for easy removal.
What if my sofa has an unusual shape or lots of curves?
For sofas with unusual shapes or many curves, the draping method is your best friend. Instead of relying solely on flat paper patterns, drape your fabric directly onto the sofa. Pin, tuck, and mark the fabric to follow the sofa’s contours.
This method is more forgiving and will result in a cover that hugs the unique shape of your furniture much better than trying to draw it out on paper alone.
Final Thoughts on Your Sofa Cover Journey
Making your own sofa cover is a rewarding project. It allows you to refresh your furniture, protect it, and add a personal touch to your home. You’ve learned about choosing fabrics, measuring, pattern making, sewing, and even adding decorative touches.
Remember that patience and practice are key. Don’t be discouraged if your first attempt isn’t perfect.
The journey of creating something with your own hands is often more valuable than the final product alone. You gain skills, confidence, and a unique piece that fits your home. Enjoy the process and the beautiful, functional new look for your sofa!


