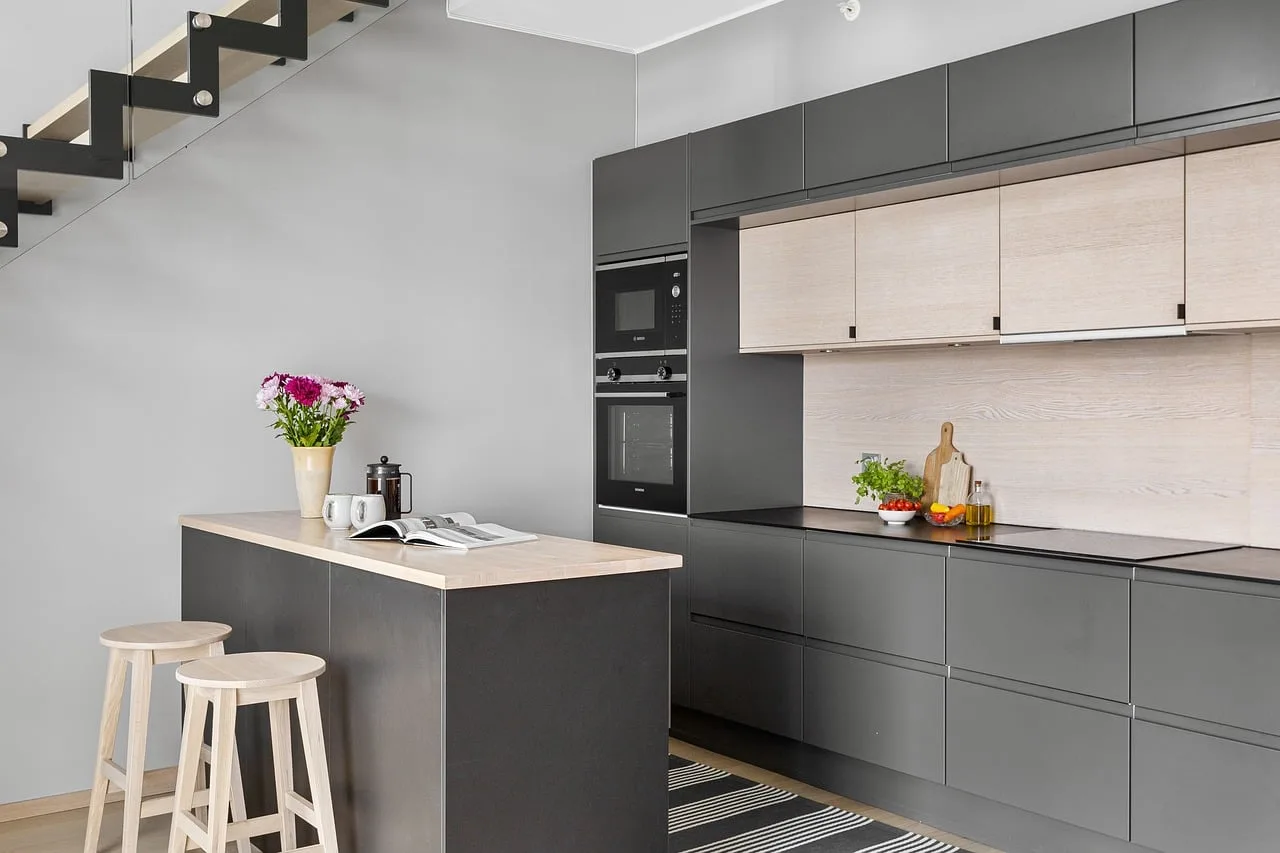
How to Organize Kitchen Cabinet Storage
Organize kitchen cabinet storage by matching each cabinet type to the items’ shape and choosing inserts that fit the cabinet’s height, depth, and door swing first. A poor fit wastes space, buries daily-use items, and makes shelves harder to reach. This guide covers how to sort by cabinet type, choose storage for plates, pots, lids, and pantry goods, and adapt the setup for small or rental kitchens.
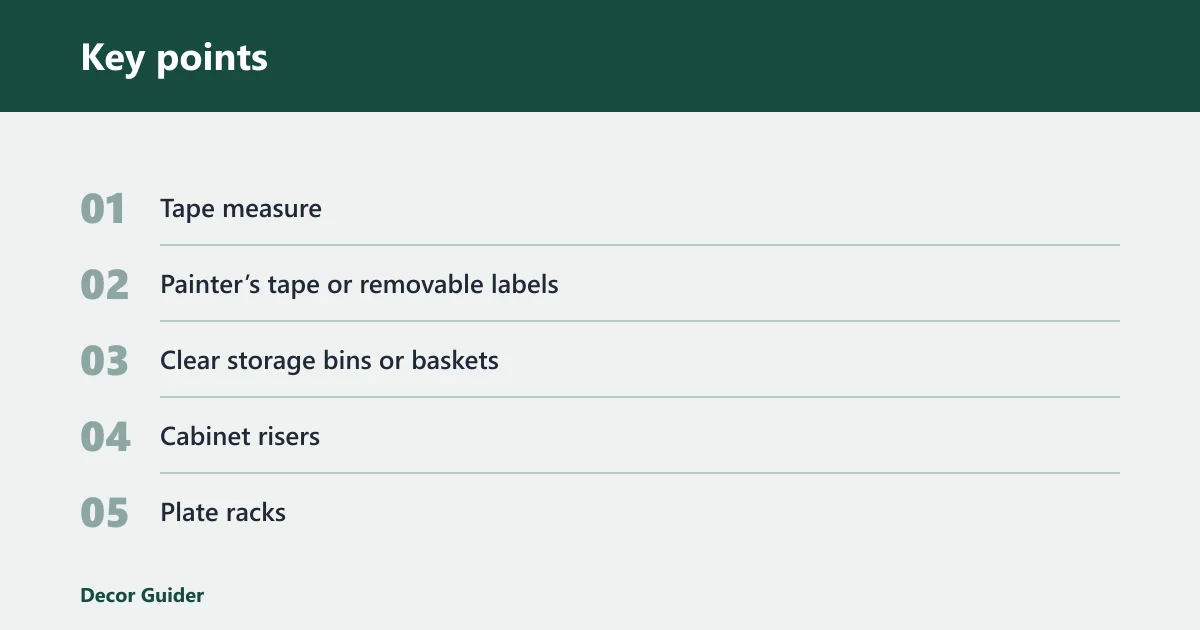
What you’ll need


- Tape measure
- Painter’s tape or removable labels
- Clear storage bins or baskets
- Cabinet risers
- Plate racks
- Bakeware racks
- Pot and pan organizers
- Pullout containers or baskets
- Matching spice jars and labels
- Self-adhesive door bins
How do you map cabinet zones?
Start by sorting items into cabinet zones by function, then place the highest-use categories closest to where you cook, wash, and prep. Keep food, cleaning, cooking, dishware storage, and preparation in separate zones so each cabinet has one main job. That cuts down on stack shuffling and repeated searching.
Sort by use, not by brand
- Remove broken items, duplicates, and pieces you do not use.
- Pull like items together on one counter.
- Assign daily-use items to the easiest cabinet reach.
- Move bulk, backup, and seasonal items to higher or deeper zones.
- Keep one cabinet zone per task when possible.
Say your kitchen has one upper cabinet beside the stove and one deep base cabinet under the counter. Put spices, oil, and a few cooking tools near the stove, then send baking sheets and spare containers to the deeper base cabinet. The shortest path wins for daily tasks.
How do you measure cabinet fit?
Measure the inside height, depth, and width of each cabinet before buying organizers. Then check shelf height and door clearance, since a bin can fit the box but still hit the shelf above it or the door face when pulled forward. That is the difference between useful storage and wasted space.
Measure these three points
- Measure usable interior width from side wall to side wall.
- Measure usable interior depth from face frame to back panel.
- Measure usable height from shelf to shelf, or shelf to ceiling.
- Measure door clearance with the door fully open.
- Leave room for fingers to lift items out.
A common first-timer mistake is buying a tall bin for a shelf that looks roomy from the front. If the shelf above leaves only a narrow opening, the bin may fit by a few centimeters but still block access. Check the opening height first, then the bin height.
How do you choose organizers by item shape?
Choose the organizer that matches the item’s shape, then verify that the cabinet can actually hold it. Tall stacks need risers, flat items need racks, and loose containers need bins that hold their footprint. Shape matters as much as category, especially in shelf-light kitchens.
Use risers, racks, and pullouts for the right items
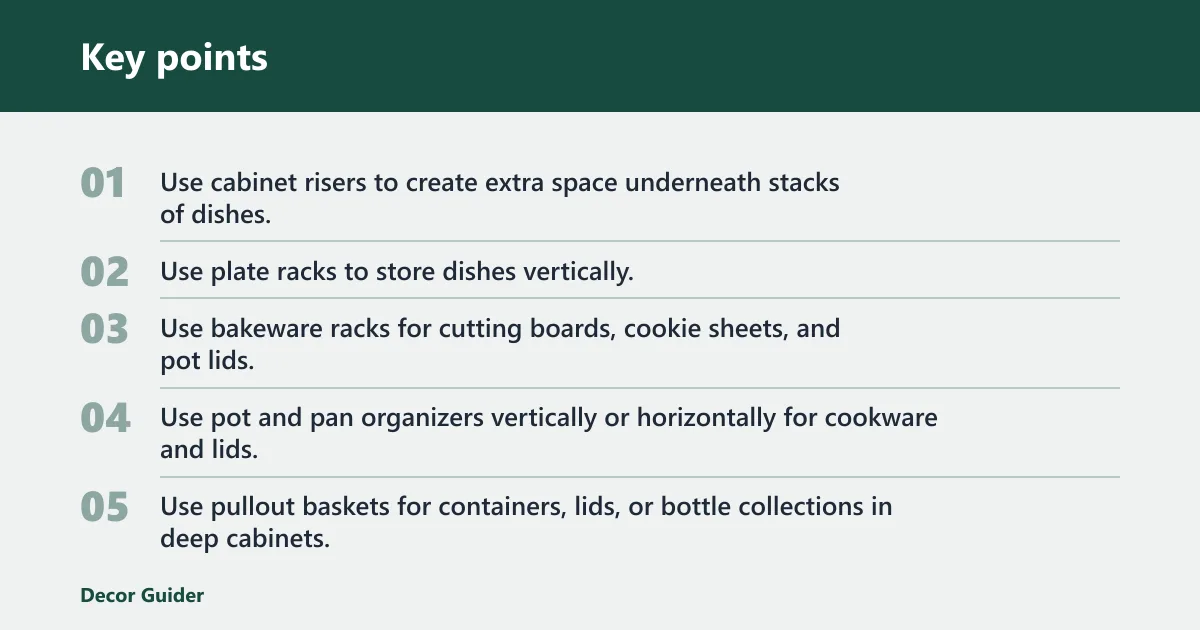
- Use cabinet risers to create extra space underneath stacks of dishes.
- Use plate racks to store dishes vertically.
- Use bakeware racks for cutting boards, cookie sheets, and pot lids.
- Use pot and pan organizers vertically or horizontally for cookware and lids.
- Use pullout baskets for containers, lids, or bottle collections in deep cabinets.
Clear storage bins work well on top shelves and pantry-style cabinet zones because they slide in and out easily and help use the full shelf width. Size them to sit side by side. Matching spice jars and labels also help the cabinet read cleanly and make spices easier to scan near the stove.
Kitchen cabinet zoning checklist
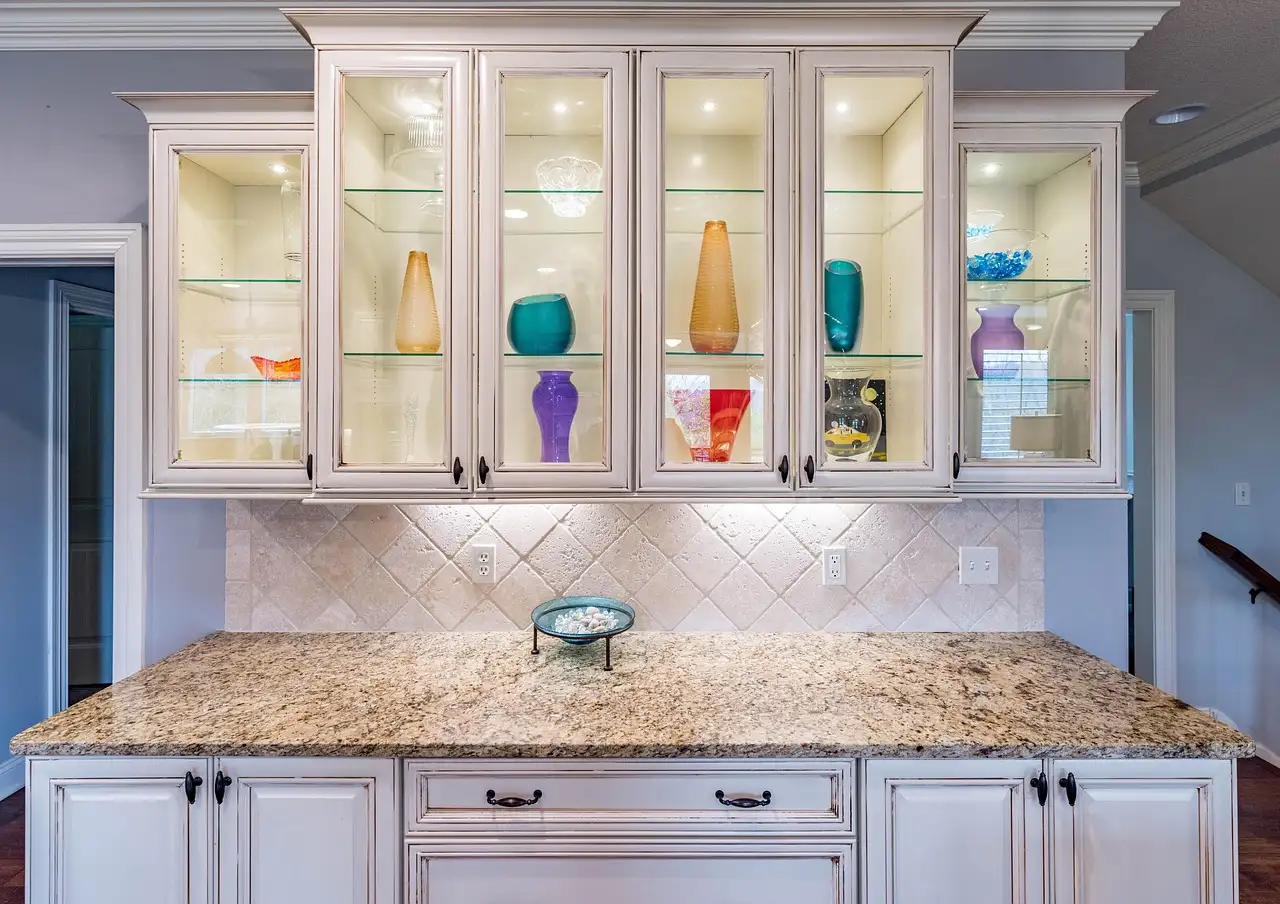
Use this checklist to match cabinet type, item shape, and organizer choice before you buy anything. The fit test matters as much as the category. If the cabinet fails on height, depth, or door clearance, switch the organizer or move the item to a different zone.
| Cabinet type | Interior dimensions to measure | Item category | Recommended organizer type | Fit test: shelf height, depth, door clearance | Troubleshooting notes |
|---|---|---|---|---|---|
| Upper cabinet | Opening height, shelf depth, door swing width | Plates, bowls, spices, light pantry items | Plate racks, clear bins, matching spice jars, risers | Yes if a hand can lift items out and the door clears the front edge | Use clear bins for top shelves; avoid bulky stacks that block reach |
| Base cabinet | Cabinet height, internal depth, toe-kick clearance, door opening | Pots, pans, lids, containers, small appliances | Pot and pan organizers, pullout baskets, bakeware racks | Yes if the organizer fits depth and still allows doors to open fully | Deep base cabinets often need pullouts or vertical dividers |
| Corner cabinet | Corner depth, blind-corner width, front opening size | Rarely used cookware, bulk items, backup supplies | Pullout baskets, rotating inserts, long-handled bins | Yes if the front opening allows safe reach without scraping knuckles | Deep blind corners waste space without pullout access |
| Under-sink cabinet | Clearance around plumbing, door opening, depth at front and back | Cleaning supplies, dishwasher tablets, sponges | Door organizers, narrow bins, stackable caddies | Yes if plumbing leaves enough room for a bin to sit flat | Work around pipes; do not force tall bins under the trap |
| Tall cabinet | Full height, shelf spacing, depth, door swing | Dry food, baking ingredients, appliances, backstock | Clear bins, risers, appliance garage, tall pullout baskets | Yes if upper shelves stay visible and lower shelves do not crowd each other | Use one zone per shelf to prevent stacking and forgetting items |
How do you organize kitchen cabinets for pots and pans?
Store pots and pans in a base cabinet near the stove, where the weight is easier to manage and the workflow makes sense. Use a vertical or horizontal pots and pans organizer so cookware and lids stay separated instead of stacked. That reduces rearranging every time you cook.
Use the shape of the cookware
- Stand lids upright in a bakeware rack or divider slot.
- Store pans on edge if the cabinet depth allows it.
- Keep heavy pots on the lowest accessible shelf.
- Group matching lids with the pot they fit most often.
- Reserve the hardest-to-reach space for spare or seasonal cookware.
For example, a 24-inch base cabinet may have one deep shelf and no divider. A horizontal stack looks tidy at first, then turns into a pile every time you pull one skillet. A vertical organizer keeps each pan visible and removes the need to rebuild the stack after cooking.
How do you organize kitchen cabinets for plates and bowls?
Use upper cabinets for plates and bowls when the shelf opening is easy to reach, then add risers or plate racks to make the stack more stable. Plate racks store dishes vertically and reduce stacking damage risk. Clear bins also help when bowls or serving pieces need one defined zone.
Keep dishware easy to grab
- Place everyday plates at shoulder height or lower.
- Use cabinet risers to create space underneath smaller stacks of bowls.
- Store serving pieces on the higher shelf only if they are light.
- Separate lunch plates, dinner plates, and kid dishes when access matters.
How to organize kitchen cabinet shelves efficiently often comes down to this: keep the heaviest daily dishes lowest, then use vertical supports to stop stacks from spreading. If the cabinet is tall, add a riser so the bottom shelf is not wasted on one short stack.
How do you organize kitchen storage when you do not have a pantry?
Without a pantry, move nonrefrigerated food into tall cabinets, upper cabinets, and deep base zones according to use frequency. Keep breakfast items, baking goods, snacks, and bulk backups in separate bins so food stays visible. Cabinet zones can replace a pantry when every shelf has one job.
Use cabinet height like shelf real estate
- Put daily dry goods at eye level.
- Use clear storage bins for snacks, packets, or baking ingredients.
- Reserve higher shelves for overflow and unopened stock.
- Keep similar food types together to make inventory easier.
How to organize kitchen storage without a pantry depends on volume as much as category. A family that buys large cereal boxes needs wider bins or a tall cabinet shelf, while a renter with a shallow upper cabinet may need two side-by-side clear bins instead of one deep basket.
What should you store on cabinet doors to save space?
Use cabinet doors for small, frequently used items that do not need a full shelf, such as dishwasher tablets, sponges, wrap, and foil. Self-adhesive bins add hidden storage without external hooks, which is useful in rentals or cabinets with limited interior width. Keep the door load light so it still closes cleanly.
Best door storage candidates
- Dishwasher tablets
- Sponges and scrub pads
- Foil and wrap boxes if the door has room
- Small packet items
A door organizer should never block the shelf it faces. Measure the bin depth against the item you store and check for hinges, pull handles, or plumbing that may stop the door from closing. If the door feels crowded, move the bulkier items back to the shelf.
What if your cabinets have no shelves?
Cabinets without shelves can still work if you create zones with risers, racks, pullouts, and door storage. The goal is to divide the open box into usable levels and keep one category per section. This matters most in older rentals and low-cost kitchens with very few adjustable parts.
Build levels inside the box
- Add a riser for dishes or mugs.
- Use a vertical rack for bakeware or lids.
- Set a pullout basket in a deep base cabinet.
- Mount a self-adhesive bin on the door for small items.
- Keep the tallest items in the back only if they are light enough to reach.
How to organize kitchen cabinets without shelves often comes down to containers that create structure. In a tall open cabinet, one riser plus one basket can separate daily dishes from backups without drilling into the cabinet box.
Common mistakes
Most storage problems come from fit, not from a lack of products. If the cabinet type and item shape do not match the organizer, the setup will fail even when the cabinet looks tidy on day one.
- Storing by category only instead of by cabinet type and shape.
- Ignoring shelf height, depth, and door clearance.
- Using one deep bin for mixed items that need different access.
- Packing cabinet doors so full that they block the shelf behind them.
- Putting heavy cookware high up instead of in a base cabinet.
- Leaving deep blind corners for items you reach every day.
If that did not work, move one category out of the cabinet and test the opening again. If the cabinet still feels tight after one adjustment, reduce the organizer footprint by about 2 to 4 inches in width or depth. Keep the second change isolated so you can tell what fixed the problem.
Frequently asked questions
How do you organize kitchen cabinet shelves efficiently?
Sort items by use, then place daily dishes, food, and tools on the easiest shelf to reach. Use clear bins for top shelves, risers for stacks, and labels for groups that look similar. The fastest wins come from matching shelf height to item height before adding more containers.
How do you organize kitchen cabinets without shelves?
Turn the open cabinet into zones with risers, racks, pullouts, and door bins. Use vertical space first, then keep only one category per section. In a shelf-free cabinet, a plate rack or bakeware rack often helps more than a large basket because it stops piles from sliding.
What is the best way to use vertical space inside kitchen cabinets?
Use risers, plate racks, and bakeware racks to turn height into usable layers. Vertical storage works best when the organizer matches the cabinet opening and the item shape. For taller cabinets, keep short items in bins and reserve the upper space for light backups.
Products related to this article
Sponsored / affiliate links. As an Amazon Associate I earn from qualifying purchases. I may earn additional commission from eligible campaigns.