How to Replace Kitchen Cabinet Handles
Replace kitchen cabinet handles by matching the existing center-to-center hole spacing. If there is no match, choose the new handle first and drill new holes from a template. Bad spacing leaves crooked pulls, extra holes, and doors that need patching or refinishing. This guide shows you how to measure the hole centers, choose a compatible replacement, and install handles without guesswork.
Before you start
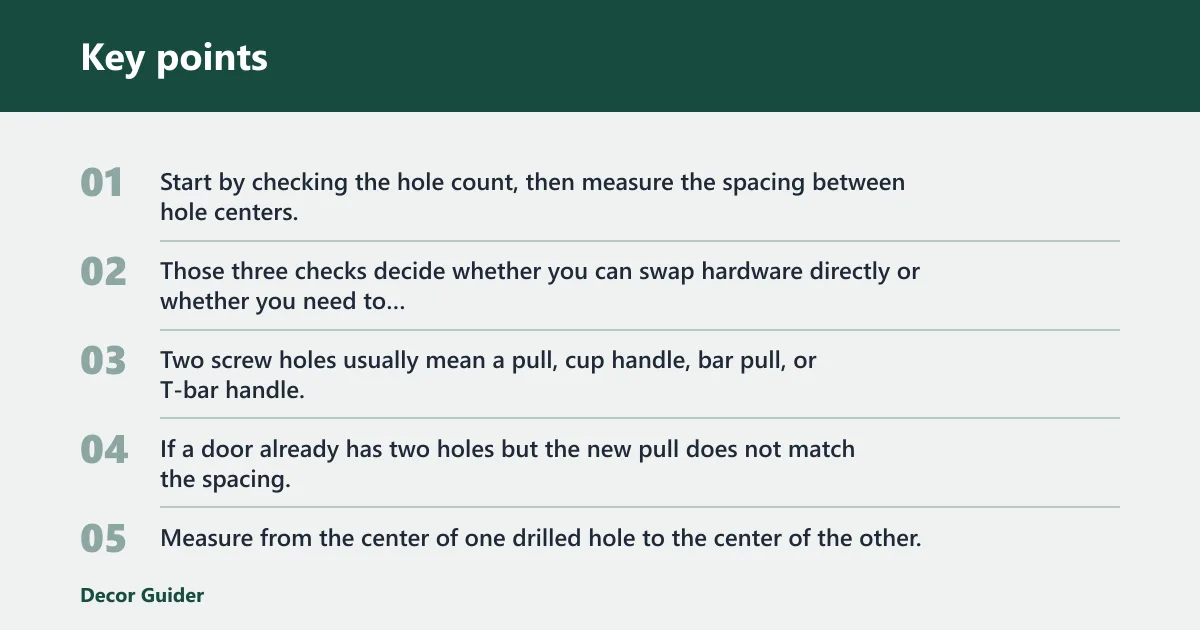


Start by checking the hole count, then measure the spacing between hole centers, and finally identify whether you are working on a door, a drawer, or a tall pantry front. Those three checks decide whether you can swap hardware directly or whether you need to fill old holes and redrill.
Check the existing hole count
One screw hole usually means a knob. Two screw holes usually mean a pull, cup handle, bar pull, or T-bar handle. If a door already has two holes but the new pull does not match the spacing, treat it as a refit job rather than a simple swap.
Measure center to center
Measure from the center of one drilled hole to the center of the other. Standard center spacing matters because many replacements are sold in common fixed lengths such as about 128 mm, 160 mm, and 220 mm. UK/EU-style shopping often uses metric sizing, while some ranges are sold in imperial equivalents, so check the listing before you buy.
Identify the front type
Cabinet doors, drawers, and tall pantry fronts do not always use the same placement. Wickes says handles should sit opposite the hinges, with base cabinet handles close to the top and upper cabinet handles lower down for easier access. Homes and Gardens also notes a 50mm inset from the leading edge for door handles, while drawer handles should be centered both horizontally and vertically.
What you’ll need
- Tape measure for hole spacing and repeatable placement
- Pencil for light marks that are easy to erase
- Combination square or spirit level to keep handles straight
- Cordless drill with the correct bit for the supplied fixings
- Hardware jig or template for repeated drilling across multiple cabinets
- Screwdriver for final fastening
- Replacement handles or knobs
- Matching screws, often an M4 furniture screw about 4 mm in diameter
- Dowel rod fillers for unused holes
- Spackle and sandpaper for finishing repaired spots
Handle compatibility checklist
Use this table before you drill. It separates quick swaps from jobs that need repair work.
| Existing hole count | Center-to-center spacing | Right replacement method | Required tools | Filling needed? | Risk level |
|---|---|---|---|---|---|
| 1 | Single hole only | Single-hole knob swap | Tape measure, pencil, screwdriver | No | Low |
| 2 | Matches a standard pull, such as 128 mm, 160 mm, or 220 mm | Two-hole pull replacement | Tape measure, cordless drill, screwdriver, level | No | Low |
| 1 to 2 | No match for the new handle pattern | Knobs-to-pulls conversion | Template, drill, tape measure, pencil, level | Yes, for the unused hole | Medium |
| 2 or more | Old spacing does not match the new handle | Mismatch repair | Template, drill, dowel fillers, spackle, sandpaper | Yes | High |
Knobs fit best when you want a single anchor point on a compact door or shallow drawer front. Pulls suit larger doors, wider drawers, and many pantry fronts because they spread the grip across two screws. Opa Interiors says many furniture handles use an M4 screw about 4 mm in diameter, and rail handles may use two or more screws, so always check the supplied fixings before you commit to the layout.
How do you measure existing holes?
Measure from center to center, then compare that number with the handle listing before you buy. If the centers match, installation is usually direct. If they do not match, the safest move is to choose a handle with the correct centers or plan a repair and redrill.
Confirm whether the spacing is standard
Those numbers are standard centers, not overall handle length. A handle may look close in size and still miss the hole centers by several millimeters, which is enough to force a refill and repaint on a visible door face.
Check screw length and thread size
Dry-fit one screw before you mount the whole set. Many replacement handles accept M4 furniture screws, but some packs include shorter or longer fixings for different door thicknesses. If the screw bottoms out before the handle seats flat, trim it or use the correct length from the packet.
How do you mark the new positions?
Mark new positions with a faint pencil line, then confirm the placement with a combination square or spirit level. Keep the line light. That makes it easy to erase without leaving dents or shiny marks on the finish.
Use a light pencil mark
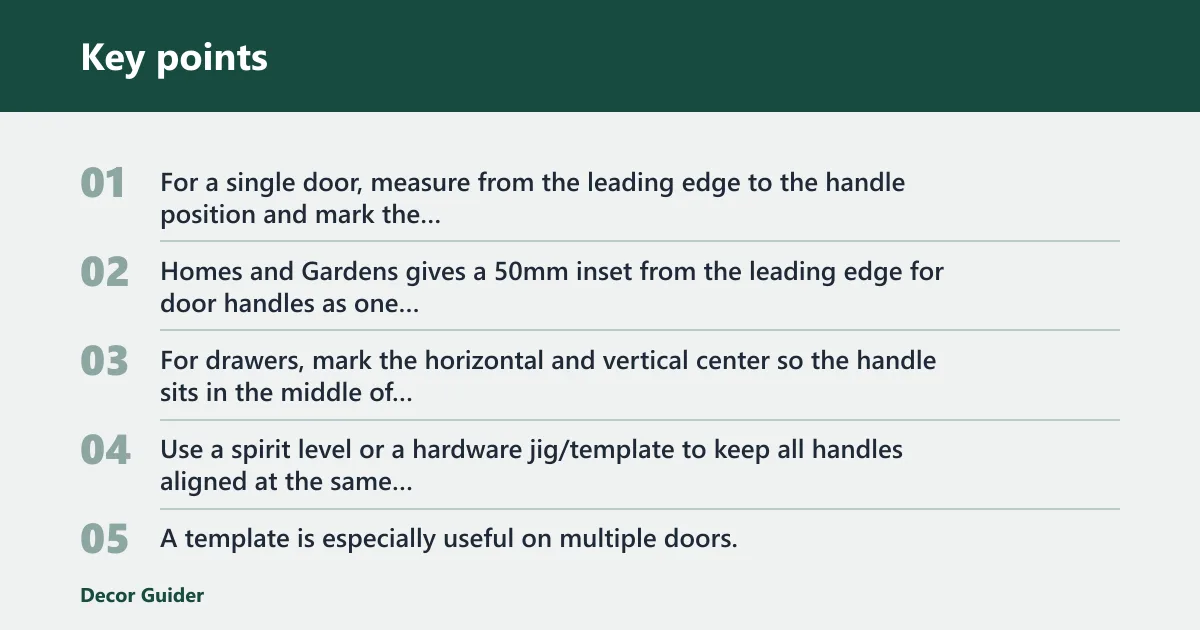
For a single door, measure from the leading edge to the handle position and mark the screw centers lightly. Homes and Gardens gives a 50mm inset from the leading edge for door handles as one reference method. For drawers, mark the horizontal and vertical center so the handle sits in the middle of the front.
Keep handles level across the run
Use a spirit level or a hardware jig/template to keep all handles aligned at the same height. A template is especially useful on multiple doors, because repeated hand measurements drift by a few millimeters fast. That small error becomes obvious once the kitchen run is viewed straight on.
Set door-edge placement consistently
For base cabinets, Wickes says handles should sit close to the top. For wall cabinets, place them lower down for easier access. On tall pantry fronts, keep the style and height consistent with the adjoining doors so the run reads as one set, not a mixed layout.
How do you drill and fit the handles?
Drill pilot holes carefully, then fasten the handle without crushing the door face. Match the drill bit to the supplied fixings. If the bit is too large, the screw can spin; if it is too small, the finish can chip or the face can tear out.
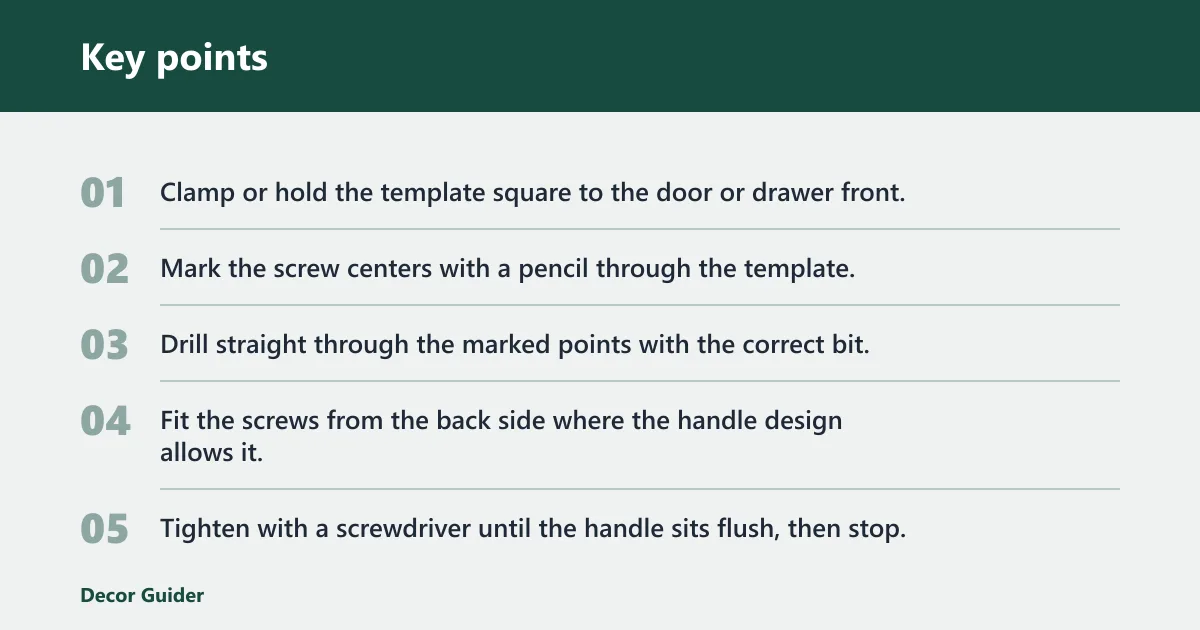
- Clamp or hold the template square to the door or drawer front.
- Mark the screw centers with a pencil through the template.
- Drill straight through the marked points with the correct bit.
- Fit the screws from the back side where the handle design allows it.
- Tighten with a screwdriver until the handle sits flush, then stop.
Say your drawer front is 600 mm wide and the old knob is in the center. If you switch to a 160 mm pull, the old single hole no longer works as a direct swap. That is a conversion job, so you either fill the old hole and drill two new centers from a template or keep the knob style.
Suppose a two-hole pull on a pantry door has 128 mm centers, but the replacement pull is 160 mm. The visible face will not line up, even if the handle looks similar in the catalog. In that case, stop before drilling and choose a matching 128 mm pull or accept a full repair.
How do you handle holes, damage, and mismatch repairs?
If the new pattern does not match the old one, fill the unused holes before you mount the new hardware. Dowel rod fillers give the hole structure, then spackle and sandpaper finish the surface. That is the right path when you want the old position to disappear instead of sitting under a new handle.
- Remove the old handle and clean the hole edges.
- Cut a dowel rod filler to fit the old hole snugly.
- Glue the filler in place and let it set fully.
- Trim the filler flush, then apply spackle over the repair.
- Sand smooth, check the finish, and only then mark the new position.
A common first-timer mistake is drilling the new holes first and thinking the old ones can stay hidden. They rarely do. If the new handle sits too far away from the old pair, the unused holes can remain visible from normal standing height, especially on a painted door.
Prevention: choose the handle first when the old centers are nonstandard. That keeps you from drilling twice.
Common mistakes
Mixing up hole spacing standards is the most common error. A 160 mm pull will not fit a 128 mm pattern, even if the style looks close. Check the center-to-center measurement before you order, not after the old hardware is off the door.
Drilling before checking alignment causes tilted handles and uneven rows. Use a template or a spirit level on repeated doors. If the first hole is off, every door in the run will repeat the same mistake.
Leaving old holes visible is another problem. Fill them with dowel rod fillers, then finish with spackle and sandpaper before you paint or refit the new handle. If the repair is on a high-visibility front, do not skip the sanding step.
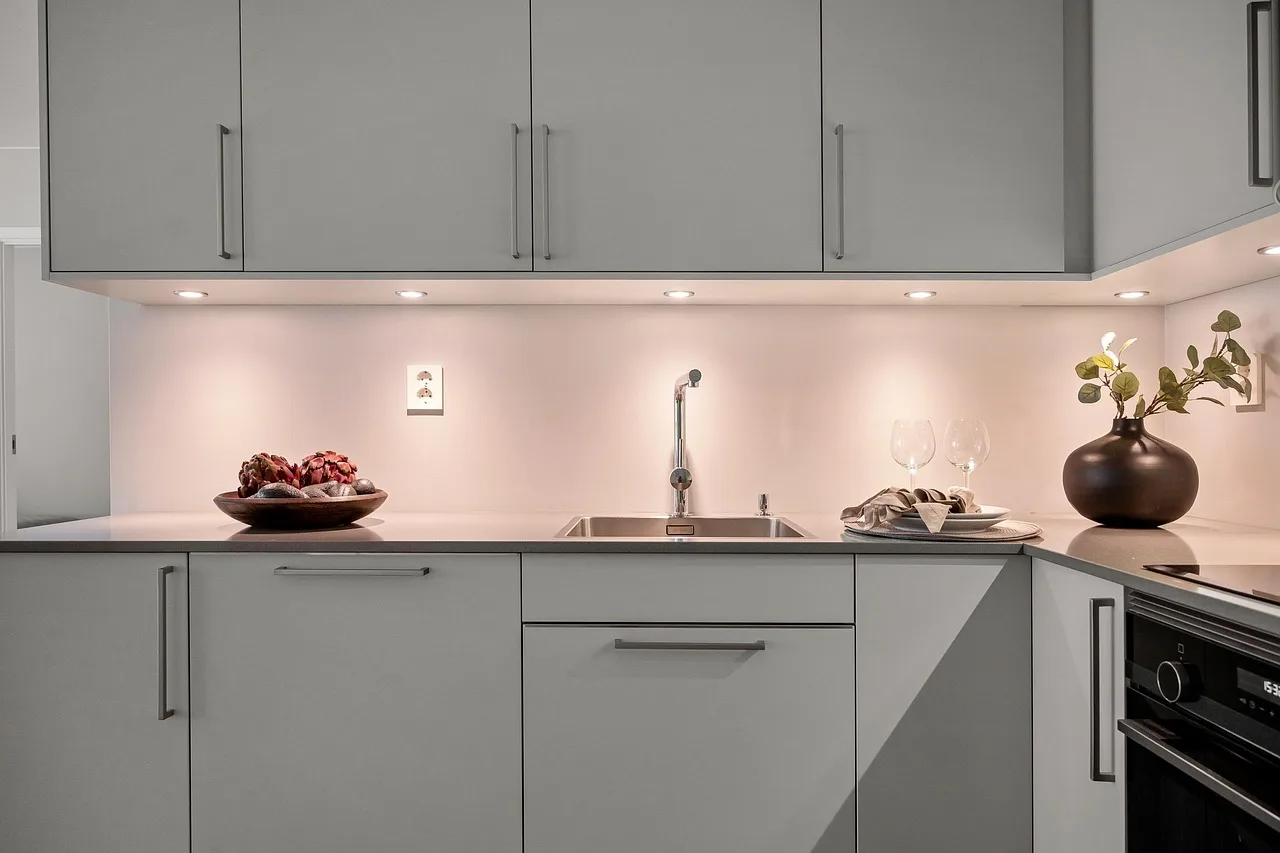
Choosing the wrong handle type for the front also creates trouble. Knobs suit single-hole swaps. Pulls suit two-hole fronts and larger cabinet pieces. Cup handles, bar pulls, and T-bar handles each need their own spacing check before installation.
Frequently asked questions
Can you replace cabinet knobs with handles?
Yes, but only if you are willing to match or change the hole pattern. A knob usually uses one hole, while a pull usually needs two. If the new pull does not share the same centers, you need a template and, often, filling for the old single hole.
Products related to this article
Sponsored / affiliate links. As an Amazon Associate I earn from qualifying purchases. I may earn additional commission from eligible campaigns.