How to Install Kitchen Cabinet Shelves
Choose the shelf type first. Then measure the cabinet opening at the narrowest point and cut or order shelves to fit with 1/8 inch side clearance and enough front-to-back depth for the door to close. Bad measurements cause binding doors, sagging shelves, wasted material, and stored items that do not clear hinges or frames. This guide covers shelf types, measuring, cutting, support options, and step-by-step installation for face-frame, frameless, and IKEA-style cabinets.
What you’ll need


- 4-foot level, or a 6-foot level for tall runs
- Tape measure
- Square
- Pencil and layout line or chalk line
- Stud finder
- Drill/driver
- 1/8-inch drill/countersink bit
- 2-1/2-inch screws for cabinet installation where fasteners reach studs
- Shelf pins, shelf support brackets, cleats, or pull-out slides matched to the cabinet type
- Plywood, MDF, or solid wood shelf blank
- Edge banding or front-edge trim for cut shelf fronts
- Shims and filler strips
- Optional laser level for long cabinet runs
📊 This Old House estimates cabinet installation time at 8 to 10 hours. Source: Thisoldhouse.
How do you choose the right shelf type?
Pick the shelf type by cabinet use, opening size, and access needs. Fixed shelves suit simple storage and damaged cabinet interiors. Adjustable shelves work best when you need flexibility. Pull-out shelves help with deep cabinets, but they need slide clearance, stronger fastening, and more careful fit checks before you buy hardware or cut anything.
Fixed shelf
Choose a fixed shelf when you want a permanent divider or a replacement for a broken shelf. Cut it to the cabinet’s inside width and depth, then anchor it with cleats, shelf support brackets, or fasteners that match the cabinet material. Finish the front edge too, because the cut edge shows and can chip if left raw.
Adjustable shelf
Choose an adjustable shelf when the cabinet already has a pre-drilled hole system or when you want to change shelf height later. Shelf pins usually fit standard hole patterns and only work if the holes are straight, evenly spaced, and not stripped. A damaged pin hole pattern often needs repair before a shelf can carry load safely.
Pull-out shelf
Choose a pull-out shelf for deep cabinets, lower bases, or hard-to-reach corners. Pull-out shelves use slides and need more cabinet opening clearance than fixed shelves. Full-extension slides expose the whole shelf, while partial-extension slides do not. Load capacity depends on the slide set, not just the shelf board.
How to measure the cabinet opening
Measure the opening before you buy, cut, or order hardware. Record inside width, inside depth, and inside height at more than one point because cabinet boxes are often slightly out of square. Check hinge clearance and face-frame clearance, then confirm level and plumb so the shelf does not bind or tip after installation.
Inside width and depth
Measure the inside width at the front, middle, and back. Use the narrowest number for the shelf cut size. Then measure inside depth from the back panel to the inside edge of the face frame or door stop. Leave room for the door to close without hitting the shelf front.
Side clearance and hinge clearance
Leave about 1/8 inch of side clearance on each side for a fixed shelf unless the hardware maker specifies otherwise. For doors with concealed hinges, check the hinge cup, arm, and mounting plate before cutting. A shelf that looks correct on paper can still catch hinge hardware by a few millimeters.
Height, level, and plumb checks
Use a 4-foot level for typical cabinet runs, or a longer level for a full bank. Mark a reference line across the cabinet run, then check for high and low points on the floor if the shelf will relate to multiple cabinets. If the cabinet sides are not plumb, plan for shims or a repair before fastening anything.
Kitchen cabinet shelf fit checklist
Use this checklist to match shelf size, support method, and load to the cabinet opening. The table below is a planning guide, not a substitute for the hardware maker’s instructions. If your cabinet falls outside the clearances below, repair the box or choose a different shelf type before installation.
| Cabinet width | Cabinet depth | Side clearance | Hinge clearance | Shelf thickness | Support type | Maximum recommended load |
|---|---|---|---|---|---|---|
| Up to 24 in. | 10 to 12 in. | 1/8 in. each side | At least 1/4 in. | 3/4 in. plywood or solid wood | Shelf pins or cleats | Light to medium kitchen items |
| 24 to 36 in. | 12 to 24 in. | 1/8 in. each side | At least 1/4 in. | 3/4 in. plywood; MDF only with full support | Brackets plus pins or cleats | Medium load with support at both ends and center if needed |
| Deep base cabinet | 18 to 24 in. | Depends on slide set | Check slide and hinge path | 3/4 in. plywood | Full-extension or partial-extension slides | Use slide rating only |
Decision box
- Choose fixed if the shelf will stay in one position, the opening is simple, and you want the fewest moving parts.
- Choose adjustable if you need to change shelf height later or the cabinet already has a drilled hole system.
- Choose pull-out if the cabinet is deep, the shelf will hold heavy pantry items, or reaching the back is the main problem.
How to install a fixed shelf
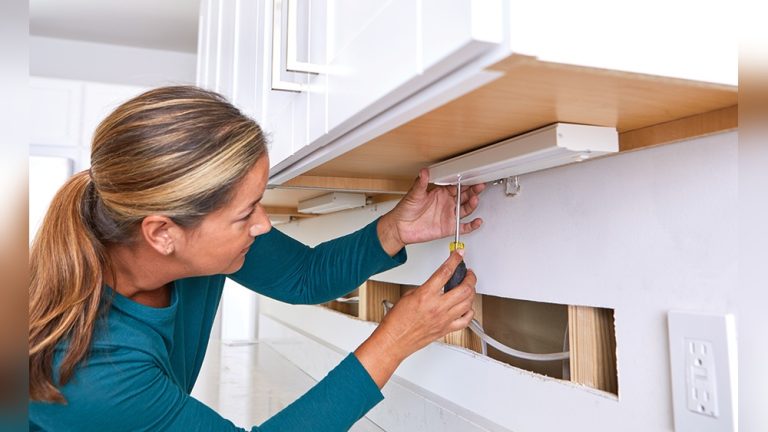
A fixed shelf is the simplest option when the cabinet interior is sound and the size is known. Cut the shelf to the measured width and depth, finish the front edge, then anchor it with cleats, shelf support brackets, or fasteners that suit the cabinet material. If the bottom is uneven, correct that first or the shelf will sit out of level.
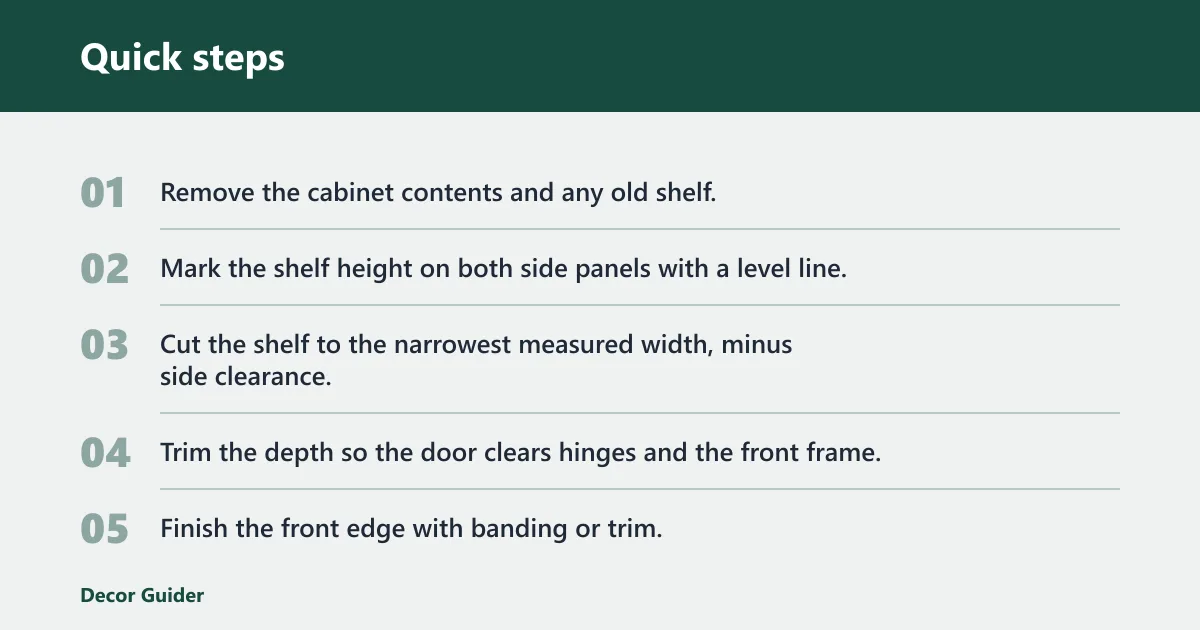
- Remove the cabinet contents and any old shelf.
- Mark the shelf height on both side panels with a level line.
- Cut the shelf to the narrowest measured width, minus side clearance.
- Trim the depth so the door clears hinges and the front frame.
- Finish the front edge with banding or trim.
- Install cleats or brackets at matching heights, keeping them level and aligned.
- Set the shelf in place and check for front-to-back level.
- Fasten only after the shelf sits flat and square.
How to replace kitchen cabinet shelves
Replacement starts with matching the old shelf’s footprint, then checking for hidden damage that changed the fit. If the old shelf was bowed or swollen, do not copy its warped dimensions. Measure the cabinet again, compare to the old shelf only as a reference, and correct any side damage before installing the new board.
How to replace kitchen cabinet bottom shelf
Bottom shelf replacement needs extra care because the cabinet floor often carries the load and may be uneven or damaged. Remove the old bottom, inspect for water swelling, then add shims or filler strips where needed so the new bottom does not rock. If the floor is soft, replace the damaged section before loading it.
How to install an adjustable or pull-out shelf
Adjustable and pull-out shelves depend on accurate hole spacing, bracket alignment, and enough clearance for travel. Shelf pins should match the cabinet’s existing hole diameter and spacing, while pull-out shelves need the correct slide length and opening clearance. If the cabinet is frameless, the hardware usually mounts differently than on a face-frame cabinet.
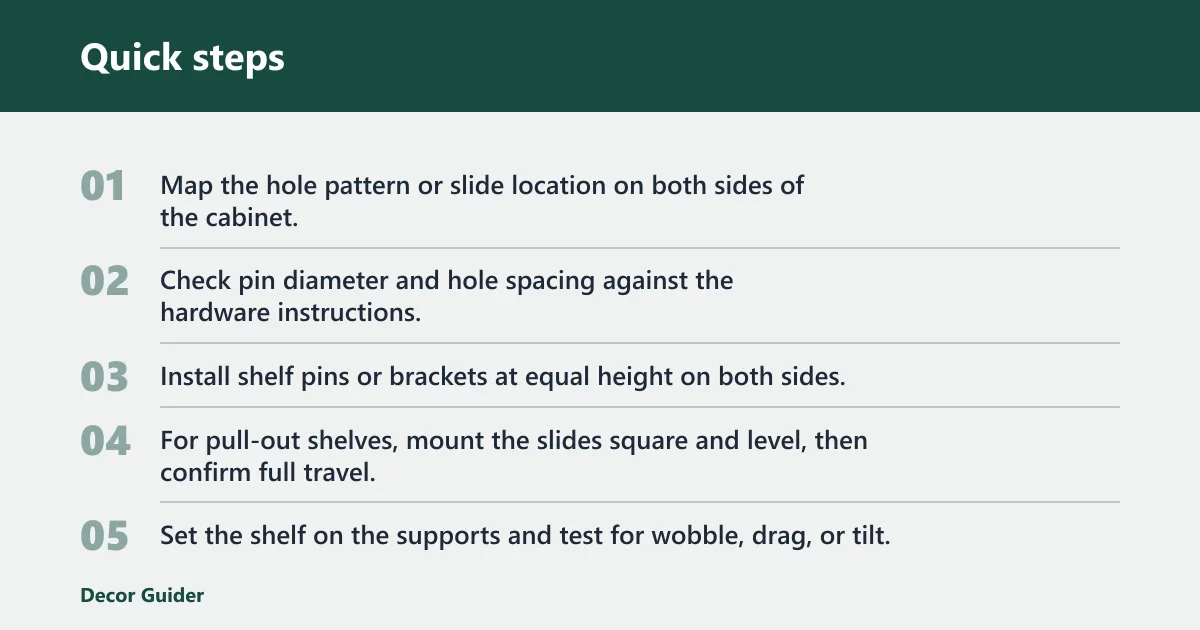
- Map the hole pattern or slide location on both sides of the cabinet.
- Check pin diameter and hole spacing against the hardware instructions.
- Install shelf pins or brackets at equal height on both sides.
- For pull-out shelves, mount the slides square and level, then confirm full travel.
- Set the shelf on the supports and test for wobble, drag, or tilt.
- Add contents only after the shelf moves cleanly and holds level under load.
How to install kitchen cabinet pull out shelves
Pull-out retrofits work best in cabinets with enough opening width for the slide hardware and enough depth for the shelf to travel without striking doors or hinges. Full-extension slides give better access to the back of the shelf. Use the slide maker’s load rating, since the shelf board itself is not the limiting part.
How to install kitchen cabinet shelves with brackets
Brackets need solid alignment and material compatibility. Use shelf support brackets rated for the load, and pair them with shelf pins or cleats when the shelf spans more than a short distance. Plywood, MDF, and solid wood react differently, so match the bracket style to the board thickness and expected load.
How to install ikea kitchen cabinet shelves
IKEA-style cabinets are usually frameless, so the shelf support pattern depends on the cabinet system, not a face frame. Confirm the hole spacing and required pin size before drilling or buying replacements. If the cabinet uses a proprietary rail or connector, follow that system rather than forcing a standard bracket into the wrong hole pattern.
Common mistakes to avoid
Most shelf failures come from fit errors, weak support, or damaged cabinet parts that were ignored during measuring. Stop and repair the cabinet if the sides are bowed, the bottom is damaged, or the pin holes are stripped. Those defects usually get worse under load and make hardware alignment unreliable.
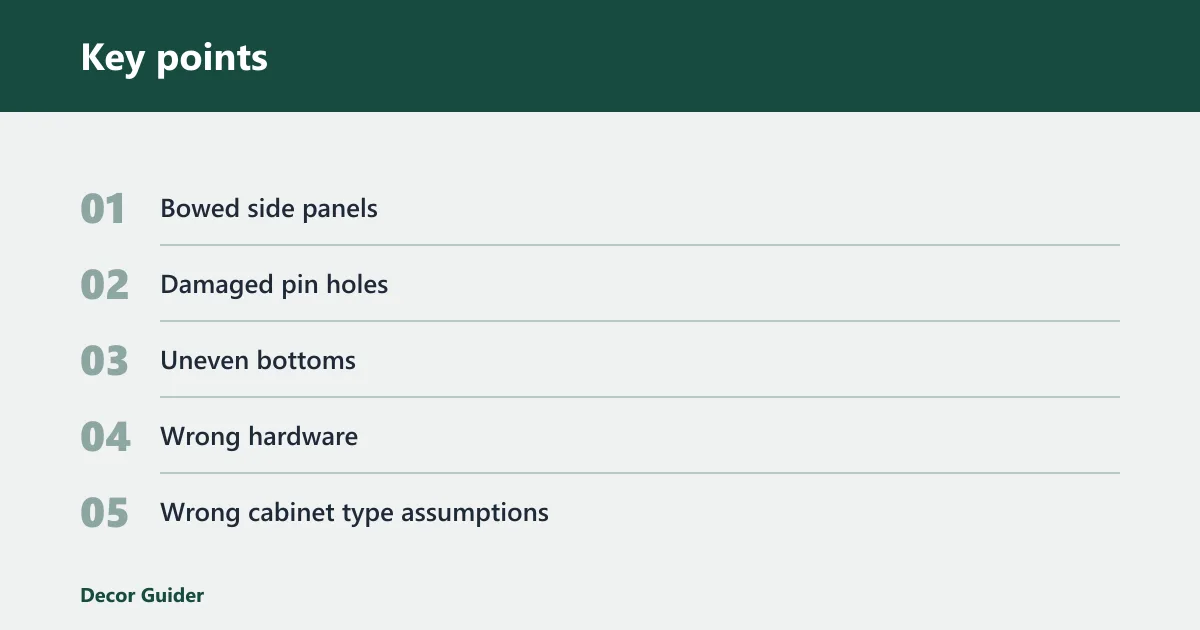
- Bowed side panels: Measure at the front, middle, and back. Use the narrowest opening or repair the box first.
- Damaged pin holes: If shelf pins will not seat tightly, patch or redrill to the correct spacing before loading the shelf.
- Uneven bottoms: Shim the low points or rebuild the base so the shelf does not rock.
- Wrong hardware: Do not mix shelf pins, brackets, and slides that are not rated for the board and load.
- Wrong cabinet type assumptions: Face-frame, frameless, and IKEA-style cabinets do not always accept the same mounting method.
Use a cabinet opening that is about 14 1/4 inches wide at the front and about 14 1/8 inches wide at the back as the example. Cut to the narrower number, then leave 1/8 inch side clearance so the shelf slides in without scraping the side panels.
Suppose a deep pantry cabinet gets a pull-out shelf with partial-extension slides instead of full-extension slides. The shelf may still work, but the back items stay harder to reach. In that case, switching slide type is the better fix than forcing a longer board into the same opening.
Prevention: Keep the cabinet dry and recheck fasteners after the first week of loading, especially on bottom replacements and pull-out retrofits.
Frequently asked questions
How to install kitchen cabinet pull out shelves: measure depth, side clearance
Measure depth, side clearance, and door swing before buying the slide set. Full-extension slides are usually easier to access than partial-extension slides. Mount both slides level, test the movement with the shelf empty, then load the shelf gradually to confirm the rated capacity holds under use.
Products related to this article
Sponsored / affiliate links. As an Amazon Associate I earn from qualifying purchases. I may earn additional commission from eligible campaigns.