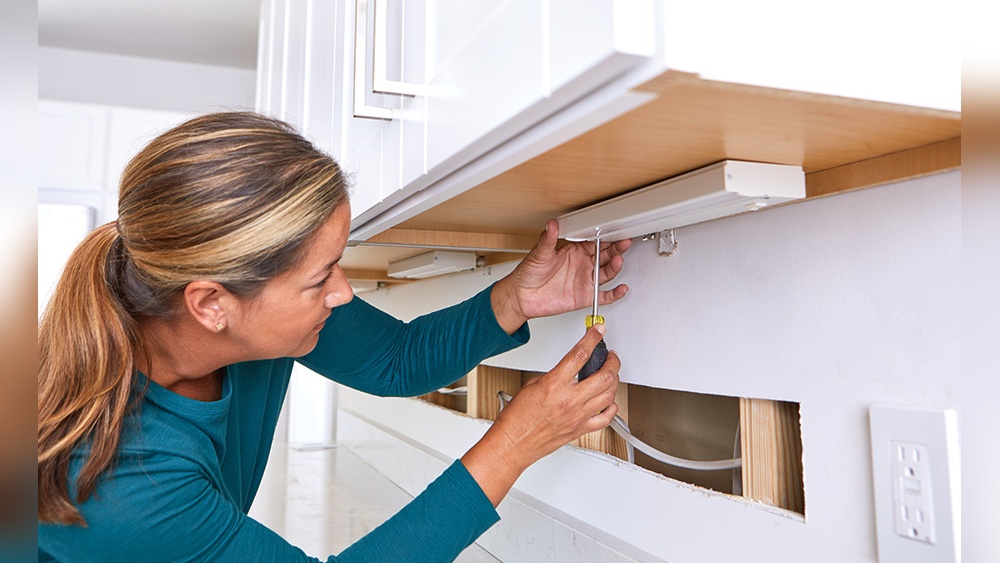
How To Install Under Cabinet Lighting
Installing under cabinet lighting is one of the most transformative upgrades you can make in a kitchen, workshop, or workspace. The right lighting instantly modernizes your space, enhances visibility for food prep, and adds a professional polish that’s hard to achieve with ceiling fixtures alone.
With the surge in affordable, energy-efficient LED systems and easy-to-install kits, even DIY beginners can achieve stunning results. Homeowners and renters alike are embracing this project to boost functionality and property value.
But the process isn’t as simple as peeling and sticking a strip of LEDs under your cabinets. Choosing the right system, understanding wiring options, and achieving a seamless look require know-how and planning. This comprehensive guide will walk you through every aspect of under cabinet lighting installation, from selecting the best type for your needs to troubleshooting common pitfalls.
Whether you want to brighten up your kitchen or add ambiance to a workbench, you’ll find actionable advice, real-world examples, and expert tips to ensure your project is a success.
Key Takeaways
- Under cabinet lighting dramatically improves both workspace visibility and room aesthetics.
- There are three main types: LED strip lights, puck lights, and linear bars, each suited for different needs.
- Careful planning and measurement are crucial for a seamless, safe installation.
- Both plug-in and hardwired options are available, choose based on your electrical skills and permanence required.
- Real-world examples show how lighting can boost value and daily usability.
- This guide includes troubleshooting, safety, and maintenance tips for long-term performance.
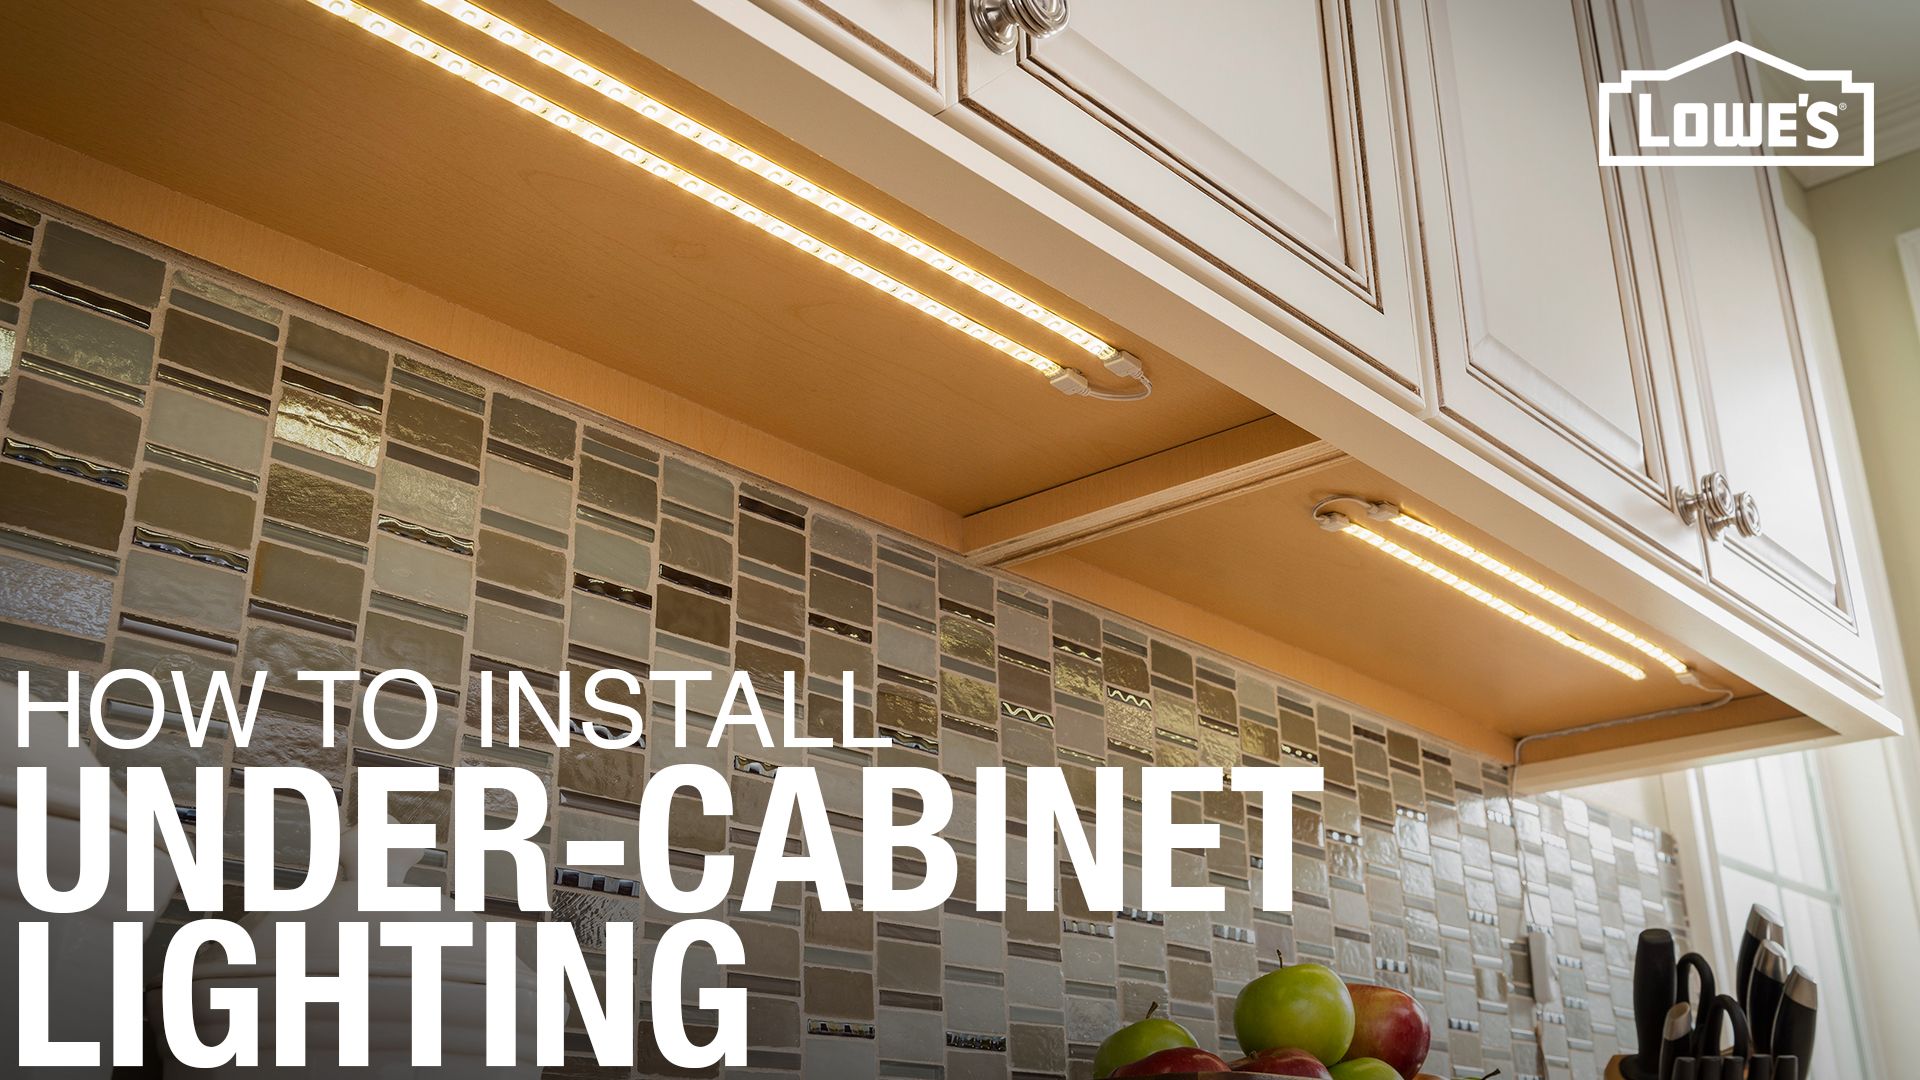
Credit: www.lowes.com
Understanding Under Cabinet Lighting: Types, Benefits, And Considerations
Properly chosen and installed, under cabinet lighting can make your kitchen tasks easier, highlight décor, and even reduce eye strain. However, the wide range of products can make selection overwhelming. Here’s what you need to know before starting.
Types Of Under Cabinet Lighting
- LED Strip Lights: Flexible, low-profile, and energy-efficient. Ideal for continuous illumination along the length of cabinets.
- Puck Lights: Small, round fixtures that produce focused “spots” of light. Great for highlighting specific areas or objects.
- Linear Bar Lights: Rigid bars that provide even, bright coverage. Often used for longer runs or more professional installations.
| Type | Pros | Cons | Best For |
|---|---|---|---|
| LED Strip Lights | Flexible, easy to install, energy-efficient | May show “dotting” if not diffused | Continuous accent lighting |
| Puck Lights | Focused illumination, easy to aim | Can cause uneven lighting, shadows | Highlighting décor, small areas |
| Linear Bar Lights | Even light distribution, professional look | Less flexible for odd shapes | Full-length cabinet runs |
Key Benefits
- Improved Visibility: Makes food prep and reading recipes safer and easier.
- Aesthetic Enhancement: Adds dramatic flair, highlights backsplashes and countertops.
- Energy Efficiency: Modern LEDs consume up to 80% less electricity than incandescent bulbs (U.S. Department of Energy).
- Property Value: Upgraded lighting is consistently ranked among top ROI kitchen improvements.
Critical Considerations
- Voltage: Most consumer kits use low-voltage (12V or 24V), but some require direct wiring to 120V mains.
- Dimming Compatibility: If you want adjustable brightness, choose compatible fixtures and controls.
- Color Temperature: “Warm white” (2700K, 3000K) is cozy, while “cool white” (4000K, 5000K) is crisp and ideal for task lighting.
- Wiring and Power Source: Decide whether you’ll use a plug-in system or hardwire for a permanent, seamless look.
Pro Tip: Measure cabinet lengths and plan for power access before purchasing, this will save time and frustration during installation.
Planning Your Under Cabinet Lighting Project
A successful installation begins with careful planning. Taking time to assess your needs, map your space, and gather supplies will streamline the process and prevent costly errors.
Assessing Your Lighting Needs
- Functionality: Do you need bright task lighting for food prep, or subtle accent lighting?
- Coverage: Will you illuminate all cabinets or only specific sections?
- Aesthetics: Are you aiming for seamless, hidden lighting or decorative, visible fixtures?
For instance, in my experience adding LED strips to a small galley kitchen, I found that continuous lighting made the space appear larger and more inviting, far more so than puck lights, which left distracting shadows.
Measuring And Mapping
- Measure Cabinet Lengths: Use a tape measure to record the exact length of each cabinet run.
- Identify Power Sources: Locate nearby outlets or junction boxes. If none are present, you may need to hire an electrician for hardwiring.
- Plan Wire Routing: Visualize how wires will run, behind, between, or through cabinets.
A simple diagram can prevent mistakes. Mark outlets, switches, and planned fixture locations.
Gathering Tools And Materials
Standard tools and supplies may include:
- LED strips, bars, or puck lights (with connectors)
- Power supply (adapter or transformer)
- Extension cords (if needed)
- Screws, mounting brackets, or adhesive
- Wire cutters/strippers
- Screwdriver and drill
- Electrical tape or wire nuts (for hardwired systems)
- Measuring tape and pencil
If you’re considering other kitchen upgrades, such as canning or food preservation, having the right workspace lighting is as essential as choosing the right canning jar (choosing the right canning jar makes preserving food easier).
Safety First
Working with electricity carries inherent risks. If you’re uncomfortable with wiring, hire a licensed electrician. Always switch off power at the breaker before starting electrical work.
Warning: Never attempt to hardwire lights to mains voltage unless you have proper training and permits, mistakes can cause fires or serious injury.
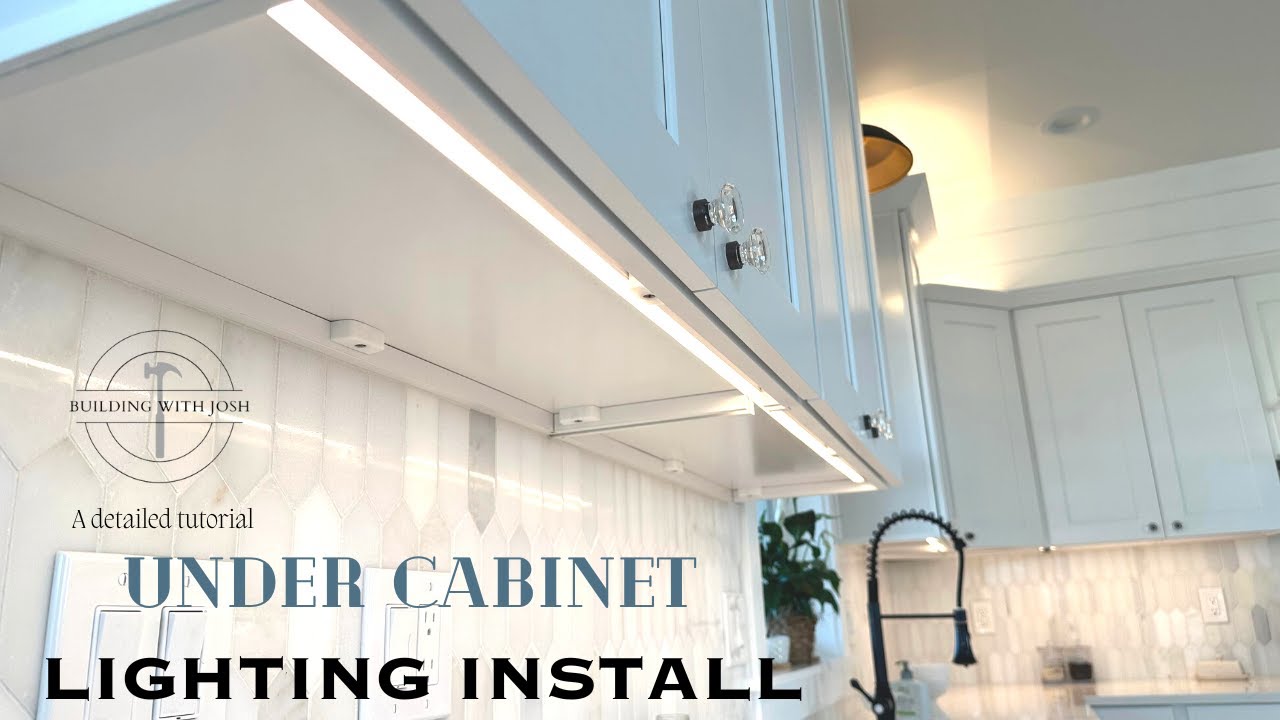
Credit: www.youtube.com
Choosing The Right Under Cabinet Lighting: Product Selection Guide
With dozens of options available, selecting the perfect lighting system can be daunting. Consider these criteria to ensure you purchase the best product for your project.
Led Strip Lights
- Adhesive Backing: Look for strong, 3M-quality tape to prevent sagging.
- CRI (Color Rendering Index): A CRI above 80 ensures colors appear natural.
- Cuttable Sections: Many strips can be cut to size at marked intervals.
- Water-Resistance: For kitchens, splash-resistance is a plus.
Example: The Philips Hue Lightstrip Plus offers app control and high-quality light but comes at a premium price.
Puck Lights
- Surface vs. Recessed: Surface-mounted are easier to install, while recessed offer a cleaner look.
- Battery vs. Wired: Battery-powered are portable but require frequent changes; wired are more permanent.
- Beam Angle: Wider beams reduce harsh shadows.
Linear Bar Lights
- Length Options: Choose bars that closely match cabinet widths to minimize gaps.
- Linkable Design: Some bars can be daisy-chained for longer runs.
- Diffuser Quality: A frosted cover creates smoother light.
| Feature | LED Strip Lights | Puck Lights | Linear Bar Lights |
|---|---|---|---|
| Ease of Installation | Very Easy | Easy | Moderate |
| Light Distribution | Continuous | Spot | Even |
| Cost | Low-Mid | Low-Mid | Mid-High |
| Best Use Case | Accent/Task | Spotlighting | Full coverage |
Dimming And Control Options
Modern systems often include:
- Inline dimmer switches
- Remote controls
- Smart home integration (Alexa, Google Home, Apple HomeKit)
If you want to adjust brightness for different moods or times of day, check for dimming compatibility before purchasing.
Evaluating Price Vs. Performance
While budget options are tempting, higher-quality products often yield better longevity, color consistency, and installation ease. Researching reviews and manufacturer warranties can help avoid costly replacements later.
Example: A homeowner chose a bargain LED strip kit from an unknown brand, only to find the adhesive failed after two months. Upgrading to a reputable brand with better tape and connectors solved the issue.
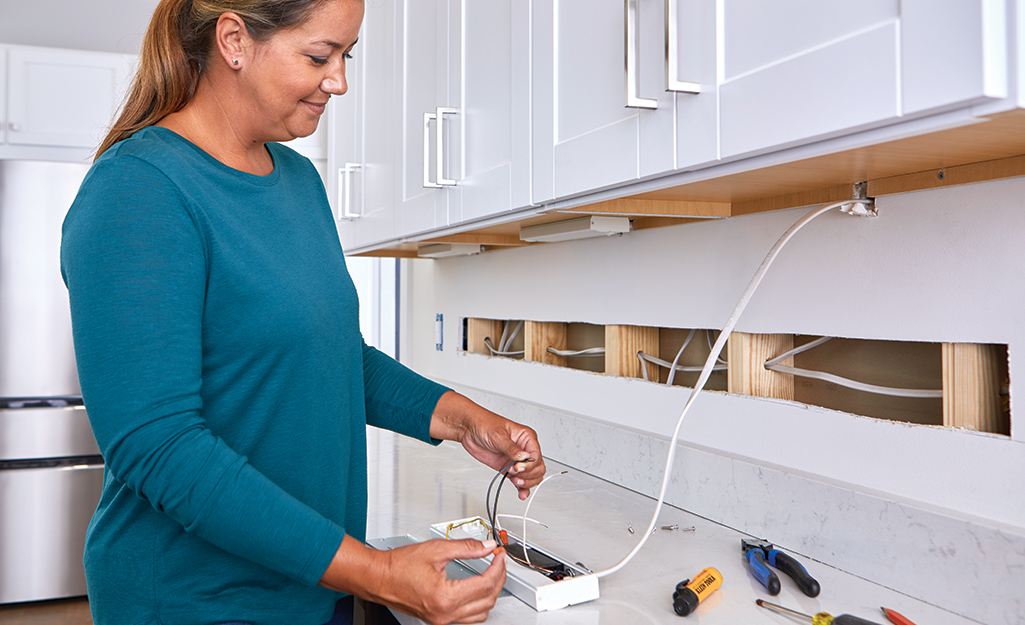
Credit: www.homedepot.com
Step-by-step Installation Guide
Once you’ve selected your lights and gathered materials, follow these steps for a professional-looking installation. The process differs slightly between plug-in and hardwired systems, so choose the method that matches your skill level and desired permanence.
Step 1: Prep And Layout
- Clean the underside of cabinets to ensure adhesives or brackets adhere properly.
- Lay out all fixtures and connectors, double-checking lengths and positions before mounting.
- Confirm access to power, if using a plug-in system, ensure the cord will reach the outlet.
Step 2: Mounting The Lights
Led Strip Lights
- Peel and Stick: Remove backing and press the strip firmly along the cabinet underside.
- Secure Edges: For long runs, reinforce with mounting clips every 12, 18 inches.
- Cut to Fit: Only cut at marked intervals to avoid damaging LEDs.
Puck Lights
- Mark Locations: Evenly space pucks for balanced coverage.
- Mount: Use screws or adhesive pads, as directed.
- Connect Wires: Link pucks with supplied cables, hiding excess wire.
Linear Bar Lights
- Position Bars: Hold in place to confirm fit.
- Screw or Clip: Attach with included hardware.
- Daisy Chain: If linkable, connect additional bars.
Step 3: Power And Wiring
Plug-in Systems
- Plug the power supply into a nearby outlet.
- Route cables neatly, using cable clips or raceways for a tidy appearance.
- Test the system before finalizing wire placement.
Hardwired Systems
- Turn off power at the breaker.
- Connect the light’s wires to the power feed (black to black, white to white, ground to ground) using wire nuts.
- Secure connections with electrical tape.
- Restore power and test.
Pro Tip: Use a voltage tester before touching any wires to confirm power is off.
Step 4: Hide Wires And Final Touches
- Conceal cords with adhesive cable channels or run them through cabinet grooves.
- Tidy up with zip ties or clips.
- Attach optional diffusers or covers for a professional finish.
Step 5: Testing And Adjustment
- Turn on the system and inspect for dark spots or glare.
- Adjust positioning or add diffusers if needed.
- Test dimming or smart controls.
Example: A couple who installed linear bar lights found that repositioning bars just 1 inch farther from the backsplash eliminated harsh reflections and produced a softer glow.
Real-world Examples And Case Studies
Learning from real projects can help you anticipate challenges and visualize results. Here are three examples showcasing different approaches.
Example 1: Small Apartment Kitchen Makeover
A renter with a dark galley kitchen installed adhesive LED strips under cabinets using a plug-in kit. The entire project took less than 90 minutes and required no drilling. The result was a kitchen that looked brighter and more spacious, with increased motivation for cooking at home.
- Type: Plug-in LED strip
- Cost: Under $50
- Time: 1.5 hours
- Result: Dramatic improvement with minimal investment
Example 2: Custom Hardwired Installation In A New Build
A homeowner working with a contractor chose hardwired linear bars to match new cabinetry. The lights were installed during the build, with wiring run inside walls for a completely seamless look. The system was paired with a dimmer and tied into the main kitchen lighting circuit for unified control.
- Type: Hardwired linear bars
- Cost: $400 (including electrician labor)
- Time: Integrated into construction schedule
- Result: High-end, permanent solution with no visible wires
Example 3: Workshop Task Lighting
In a basement workshop, puck lights were added under open shelves to illuminate tool storage and work surfaces. A battery-powered kit was chosen to avoid running new wiring. The project improved visibility for detail work and reduced eye strain during long sessions.
- Type: Battery puck lights
- Cost: $30
- Time: 1 hour
- Result: Focused task lighting without electrical work
Troubleshooting And Common Installation Challenges
Even with careful planning, issues can arise during or after installation. Here’s how to address the most frequent problems.
Flickering Or Dimming Lights
- Loose Connections: Check all connectors and power supply plugs.
- Incompatible Dimmer: Use only compatible dimmers with your light type.
- Voltage Drop: For long runs, voltage may decrease at the end, upgrade to a higher wattage power supply if needed.
Adhesive Failure
- Dirty Surfaces: Clean surfaces thoroughly before mounting.
- Low-Quality Tape: Reinforce with mounting clips or switch to a better adhesive.
- Heat Exposure: LEDs generate some heat; if tape fails repeatedly, try mechanical fasteners.
Uneven Lighting Or Hot Spots
- Light Spacing: Adjust puck spacing or add more fixtures for even coverage.
- Lack of Diffusers: Add diffusers or covers to soften output.
Power Supply Issues
- Overloading: Ensure your power supply matches the total wattage of all connected lights.
- Short Circuits: Double-check wiring, especially with hardwired systems.
Pro Tip: Keep manufacturer instructions and warranty information handy in case replacements or technical support are needed.
Enhancing Your Installation: Smart Features, Maintenance, And Safety
To maximize your investment and minimize future hassles, consider these advanced features and care tips.
Integrating Smart Controls
Many modern systems are compatible with smart home platforms. Benefits include:
- Voice Control: Adjust brightness or turn lights on/off hands-free.
- Scheduling: Automate lighting based on time of day.
- Remote Access: Control lights from your phone, even when away.
Example: A tech-savvy homeowner integrated under cabinet lights with a smart speaker, enabling easy dimming and remote operation when hands are messy during meal prep.
Maintenance And Cleaning
- Dust Regularly: Wipe fixtures with a dry microfiber cloth to maintain brightness.
- Check Connections: Periodically inspect wires and connectors for wear.
- Replace Batteries: For battery-powered systems, keep spares on hand.
Long-term Safety
- Overheating: LEDs run cool, but poor ventilation can cause overheating. Ensure airflow around fixtures.
- Moisture Protection: In areas prone to splashes, choose water-resistant products.
- Electrical Code Compliance: For hardwired systems, follow local codes or hire a licensed electrician.
For those interested in food preservation, proper lighting can make tasks like canning or pickling easier and safer. See how canning salt and iodized salt differ in purity and use for more kitchen insights (canning salt and iodized salt differ in purity and use).
| Feature | Benefit | Maintenance Required |
|---|---|---|
| Smart Home Integration | Convenient control, automation | Occasional app updates |
| Water Resistance | Safe in kitchens and bathrooms | Wipe down as needed |
| High CRI | Better color accuracy | None |
Frequently Asked Questions
How Do I Choose The Right Color Temperature For Under Cabinet Lighting?
Color temperature determines the warmth or coolness of the light emitted. For kitchens, a range between 3000K (warm white) and 4000K (neutral white) is most popular. Warmer tones create a cozy, inviting atmosphere, while cooler tones improve clarity for detailed tasks. For display cabinets, cooler light (up to 5000K) can make colors pop, but it may feel less homey.
Can I Install Under Cabinet Lighting Without Drilling Holes?
Yes, many modern systems, especially LED strip lights and some puck lights, come with strong adhesive backing. These are ideal for renters or those who want to avoid permanent modifications. However, adhesives may not stick well to textured surfaces or in areas exposed to excessive heat or moisture, so always test a small section first.
Are There Wireless Or Battery-powered Options For Under Cabinet Lighting?
Absolutely. Battery-powered puck lights and LED strips are widely available and easy to install. They’re best suited for areas where running wires is difficult or for temporary solutions. Keep in mind that battery life varies: some units last several months on a set, while others require frequent changes. For frequent use, plug-in or hardwired options are more convenient.
How Can I Avoid Seeing The Light Source Or “hot Spots” Under My Cabinets?
To achieve a seamless glow:
- Choose fixtures with integrated diffusers.
- Position lights closer to the cabinet front for better coverage.
- Use continuous strip lights rather than spaced pucks for even illumination.
- Paint the underside of cabinets a matte white to help diffuse light.
What’s The Difference Between Plug-in And Hardwired Under Cabinet Lighting Systems?
Plug-in systems connect to a standard outlet and are ideal for DIYers and renters. They’re simple to install and remove but may have visible cords. Hardwired systems are connected directly to household wiring (often by an electrician), offering a seamless, permanent solution with no exposed wires. Hardwired systems often integrate with wall switches and dimmers, but require more planning and expertise.
If you’re weighing different preservation methods for your kitchen projects, you might also be interested in Freeze-drying vs canning: Which is better for long-term food storage?.
Adding under cabinet lighting is a rewarding project that can be tailored to any skill level and budget. With proper planning and attention to detail, you can create a beautifully lit, highly functional space that enhances your daily routines and adds value to your home.
Whether you’re a seasoned DIY enthusiast or tackling your first project, the satisfaction of flipping the switch on your new lights makes the effort truly worthwhile.
Products related to this article
Sponsored / affiliate links. As an Amazon Associate I earn from qualifying purchases. I may earn additional commission from eligible campaigns.