How to Adjust Kitchen Cabinet Doors: Hinge Screw Map
To adjust kitchen cabinet doors, match the symptom to the hinge screw: side-to-side for gaps, depth for rub, height for sag, and the soft-close tab for rebound. Using the wrong screw can leave doors crooked, scraping, or refusing to close. This guide shows how to identify each symptom and turn only the correct screw once on standard concealed hinges.
What you’ll need
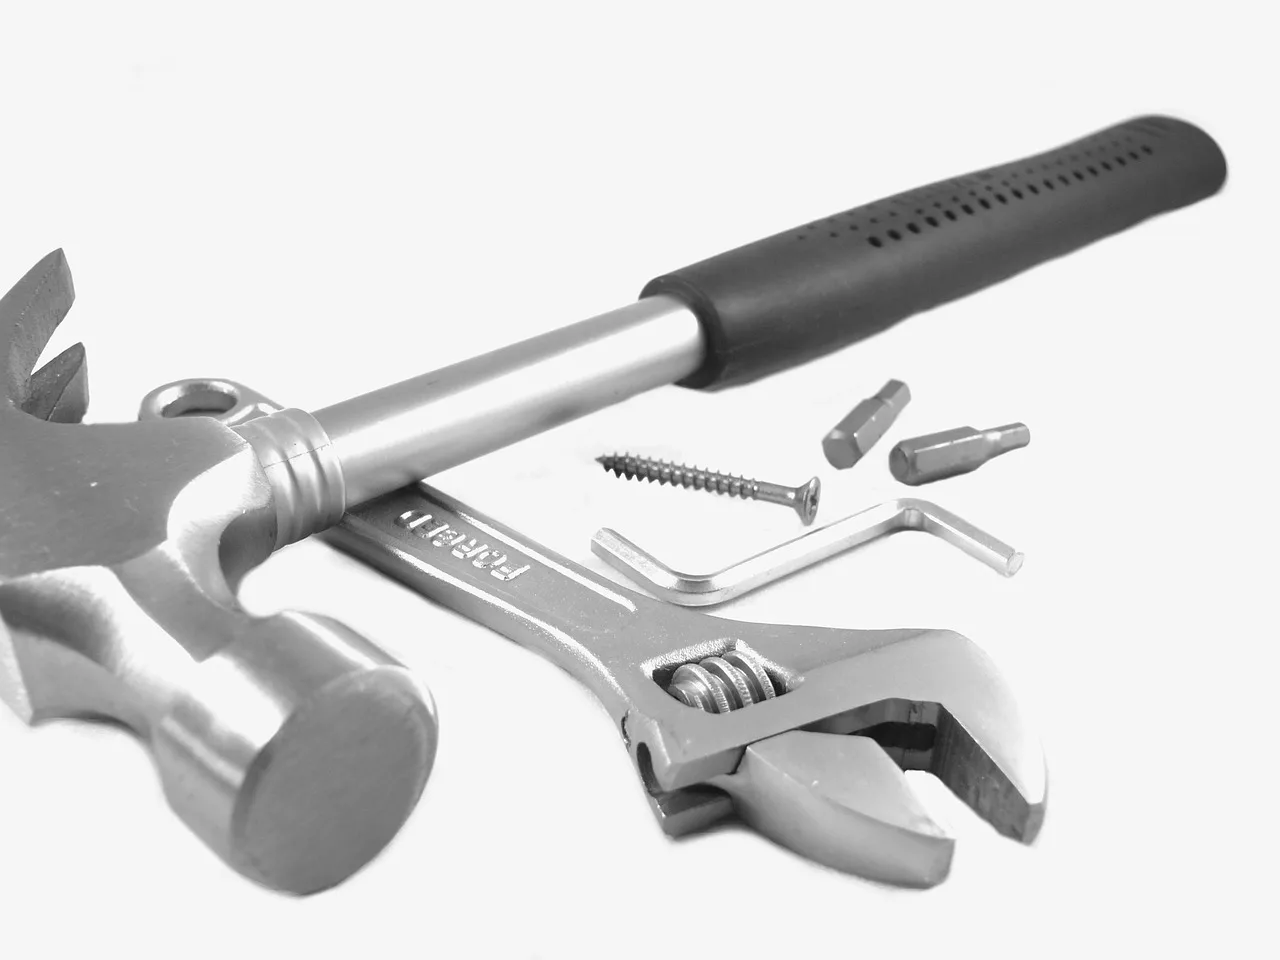
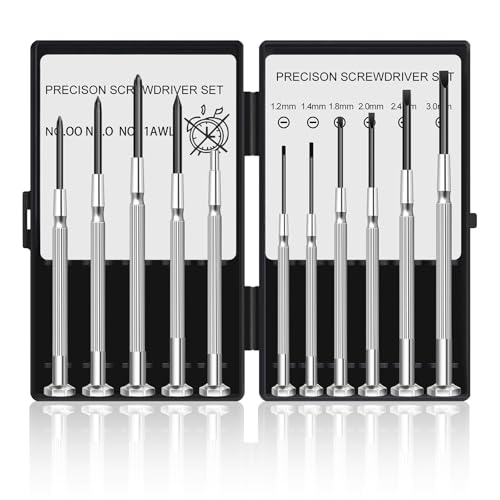

- Phillips screwdriver
- Optional level for verification
- Clear access to the hinge side of the door
- Good lighting so you can see the reveal and screw positions
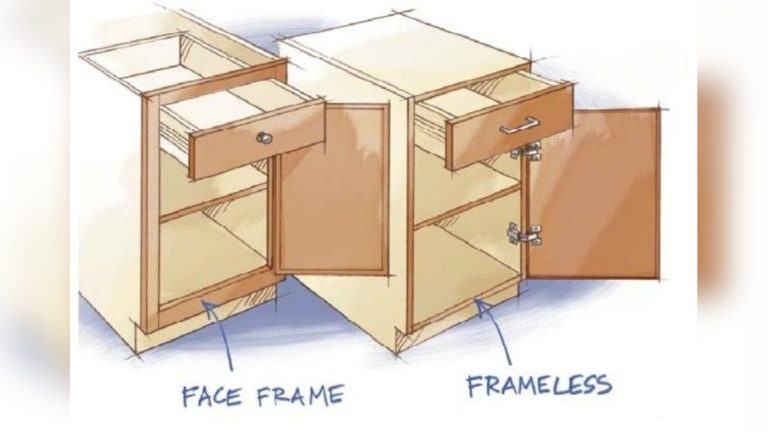
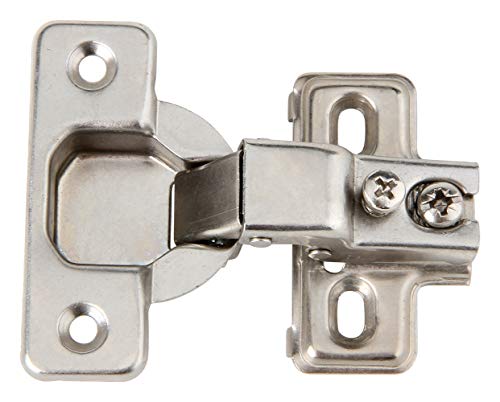
European-style cabinet hinges are concealed inside the cabinet and usually adjust in three directions: height, side-to-side, and depth. They are common on frameless cabinets and use screwdriver-based adjustments. Some hinges also have a soft-close tab, but not every model includes one.
📊 wikiHow says cabinet doors should be about 4 mm from the top of the cabinet. Source: Wikihow.
Cabinet door symptom matrix
Use the symptom first, then choose the screw. That keeps you from turning all three adjustments at once and makes it easier to stop when the cabinet door alignment gap looks even. If the door still misbehaves after the right screw moves, the problem may be mounting hardware, warping, or an out-of-square box.
| Symptom | Likely cause | Hinge type | Screw to turn | First adjustment | When to stop and repair |
|---|---|---|---|---|---|
| Gap is wider on one side | Door is shifted left or right | Concealed Euro hinge | Side-to-side adjustment screw | Turn 1/4 turn, then recheck the reveal | Stop if the hinge plate or screw holes move with the screw |
| Door sags or drags at the bottom | Door sits too low | Concealed Euro hinge | Height adjustment screw | Raise both hinges together by 1/8 turn each | Stop if the door keeps dropping after tightening |
| Door overlaps the neighbor door | Side-to-side spacing is off | Concealed Euro hinge | Side-to-side adjustment screw | Shift the door until the reveals match | Stop if one door must move so far that the gap becomes uneven elsewhere |
| Door rubs at the top | Door sits too high or is pitched inward | Concealed Euro hinge | Height adjustment screw | Lower both hinges in equal amounts | Stop if the top edge stays high after a full pass |
| Door rubs at the side | Depth or side-to-side is off | Concealed Euro hinge | Depth adjustment screw | Move the door slightly in or out | Stop if the cabinet face or door is warped |
| Door will not close all the way | Depth, obstruction, or soft-close resistance | Concealed Euro hinge | Depth adjustment screw or soft-close tab | Reduce interference, then test closure | Stop if a shelf, dish, or frame twist blocks closure |
| Door rebounds with soft-close hardware | Soft-close tab is set too high or the hinge is binding | Soft-close concealed hinge | Soft-close adjustment tab | Change damping or resistance in the direction the maker allows | Stop if the tab is missing or broken |
| Door moves after tightening | Loose mounting screws or stripped holes | Concealed or older hinge | Mounting screws | Tighten plate and cup screws before fine-tuning | Stop if the screws spin without biting |
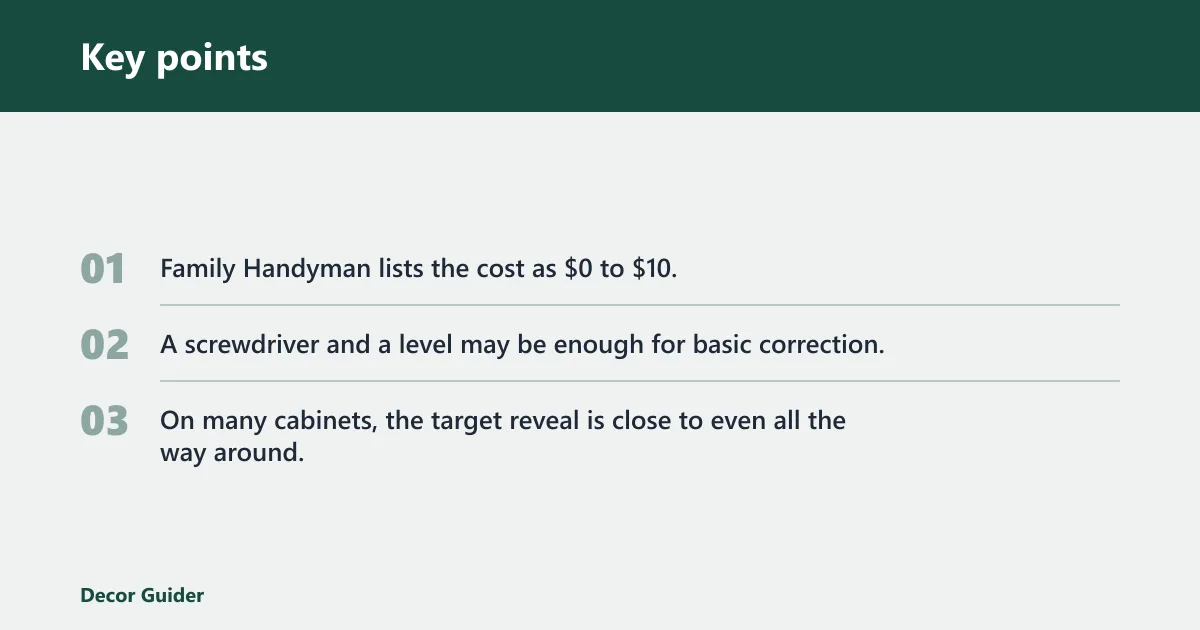
Family Handyman lists the cost as $0 to $10, and the project is estimated at 10-30 minutes. A screwdriver and a level may be enough for basic correction, though the level is only a check, not the main adjustment tool. On many cabinets, the target reveal is close to even all the way around; wikiHow notes some doors should sit about 4 mm from the top of the cabinet.
How do you adjust kitchen cabinet doors hinges?
Start by opening the door fully and locating the three screws on the concealed hinge. On many European-style hinges, the middle screw is commonly used for side-to-side adjustment, the rear-most screw changes depth, and the mounting screws hold the plate in place. Tighten loose mounting screws first, because a loose plate can make every later adjustment drift.
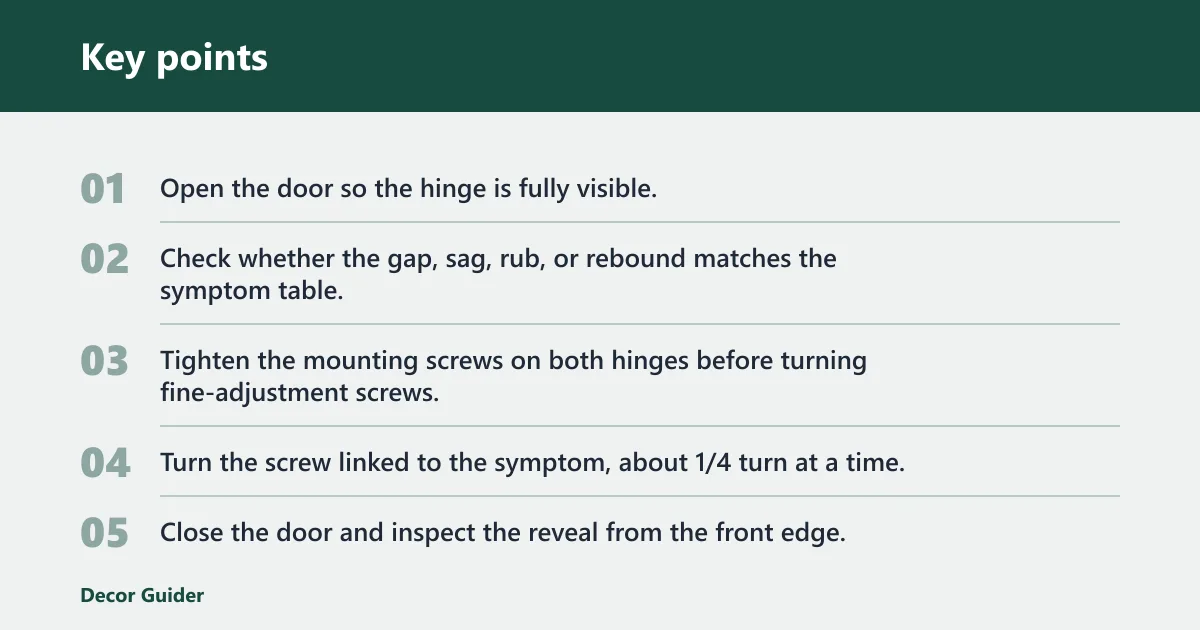
- Open the door so the hinge is fully visible.
- Check whether the gap, sag, rub, or rebound matches the symptom table.
- Tighten the mounting screws on both hinges before turning fine-adjustment screws.
- Turn the screw linked to the symptom, about 1/4 turn at a time.
- Close the door and inspect the reveal from the front edge.
- Repeat only if the door is still off after the first correction.
Adjust the side-to-side fit
Use the side-to-side adjustment screw when the reveal is uneven or one door overlaps its neighbor. This screw shifts the door left or right without changing its height. If the hinge resists, loosen the depth setting slightly first so the door can slide cleanly, then recheck the cabinet door alignment gap.
- Find the center screw on each hinge arm.
- Turn each one by 1/8 to 1/4 turn in the same direction.
- Match the reveal at the top, middle, and bottom edge.
- Stop when the door lines up with the adjacent door and the gap looks even.
Suppose a 600 mm wall cabinet door sits about 2 mm closer to the left side panel than the neighboring door. A 1/4 turn on the side-to-side screw can move that edge enough to match the reveal without changing height or depth.
How do you raise or lower the door?
Use the height adjustment when the door sits too high, too low, or drags at the bottom. Make this adjustment on both the upper and lower hinges so the door stays square. If the door moves after tightening, go back and confirm the mounting screws on the hinge plate.
- Support the door with one hand if it feels loose.
- Loosen the mounting screws just enough to allow repositioning.
- Raise or lower both hinges by the same amount; a common rule of thumb is about 1/8 turn each.
- Tighten the mounting screws again before checking closure.
- Verify that the top edge is level with the neighboring door.
A common first-timer mistake is raising only the top hinge. That can twist the door and create a new rub point at the latch side. Keep the change balanced across both hinges, then check whether the door closes cleanly.
How do you fix a door that will not close?
When a door will not close, inspect depth first, then look for a cabinet obstruction, soft-close resistance, or a frame that is out of square. Depth moves the door in or out and controls the gap between the door and the cabinet face. If the soft-close tab is present, it can also control closing speed or resistance.
- Open the door and look for a shelf edge, dish, hinge arm, or stored item blocking travel.
- Turn the depth adjustment screw by about 1/8 turn to move the door in or out.
- Close the door and see whether the latch point now reaches fully.
- If the door rebounds, check the soft-close tab and reduce resistance if the hinge allows it.
- If the door still hangs open, inspect the cabinet box for square and the hinge for bend or wear.
What if the hinge has no soft-close tab?
Some hinges do not include soft-close hardware, so there is nothing to adjust there. In that case, the fix is usually depth, side-to-side alignment, or clearing an obstruction. If the door is still resisting closure after those checks, the issue may be a damaged hinge or a warped door panel.
When should you stop adjusting and repair?
Stop when the reveal is even, the door closes without rubbing, and the latch engages without force. If the screw turns freely, the hinge plate wobbles, or the door shifts back as soon as you let go, adjustment is no longer the main fix. Repair is the next step.
Loose holes, warped doors, and older hardware
Worn screw holes, stripped mounting screws, bent hinges, warped doors, and out-of-square cabinet boxes can defeat normal hinge adjustment. Face-frame cabinets and older hinge styles may also use different hardware, so the screw layout may not match a modern concealed hinge. If the screws will not hold position, repair the wood or replace the hardware before continuing.
Common mistakes
Most failed adjustments come from turning the wrong screw or trying to fix everything with one change. Keep the sequence simple: tighten, diagnose, adjust one direction, then recheck. That order avoids overcorrecting the door and making a second problem harder to see.
- Turning the wrong screw: match the symptom first, then use the correct adjustment direction.
- Skipping mounting screws: loose plates make fine-tuning useless.
- Overcorrecting: 1/4 turn is usually enough to show a change.
- Ignoring obstructions: food containers or shelf items can mimic hinge failure.
- Assuming every hinge is the same: some older or face-frame hinges do not follow Euro-hinge layout.
Picture a pantry door that closes perfectly until a tall bottle is placed on the top shelf. The hinge may look wrong, but the real issue is clearance. Remove the obstruction before turning anything else.
Frequently asked questions
How to adjust kitchen cabinet doors up and down
Use the height adjustment on both hinges, not just one. Loosen the mounting screws, move the door in equal amounts, then retighten and test the top reveal. A level is optional for verification, but the real check is whether the top edge matches adjacent doors.
How to adjust kitchen cabinet doors with soft close hinges
Look for the soft-close tab on the hinge arm. If the door rebounds or feels overly stiff, adjust that tab only if the model provides one. If there is no tab, use depth and side-to-side adjustments instead, because the problem may be alignment rather than damping.
Products related to this article
Sponsored / affiliate links. As an Amazon Associate I earn from qualifying purchases. I may earn additional commission from eligible campaigns.