
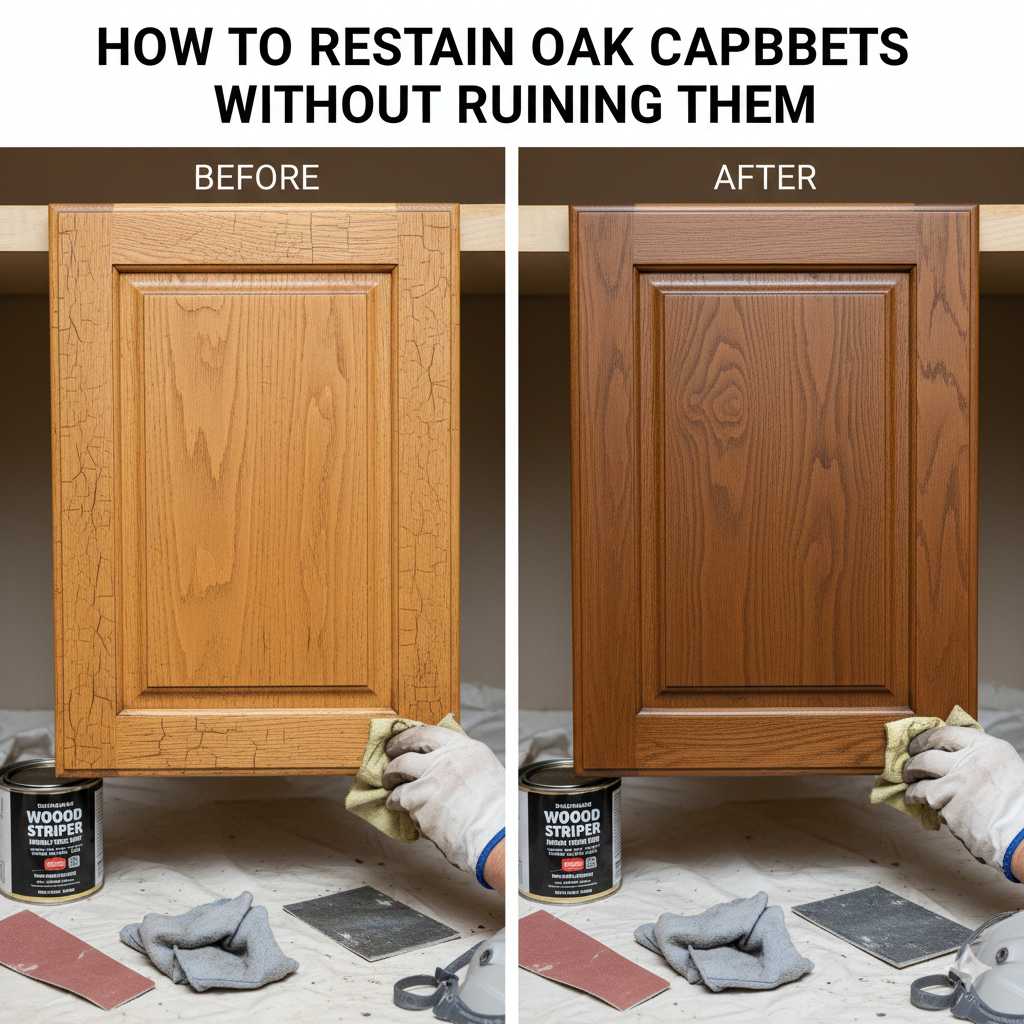
It’s a common feeling, isn’t it? You look at your kitchen cabinets, maybe they’re oak, and you just think, “They need a refresh.” Or maybe the finish is worn, or the color just feels dated. You’ve seen those stunning ‘after’ pictures online, and you think, “I could do that!” But then the doubt creeps in. What if you mess it up? What if you ruin them? The fear of irreversibly damaging your kitchen cabinets can be really paralyzing. It’s a big project, and the stakes feel high. You want a beautiful outcome, but the thought of a botched stain job is a constant worry. You’re not alone in this. Many homeowners feel this exact same hesitation before diving into a cabinet staining project. But here’s the good news: with the right knowledge and a little patience, you absolutely can achieve beautiful results. This guide is designed to walk you through the process, step by step, focusing on how to restain oak cabinets safely and effectively. We’ll cover everything you need to know, from preparing your cabinets to applying the stain and finishing them off. Our goal is to give you the confidence and clarity to tackle this project and love your updated kitchen.
You can restain oak cabinets by carefully preparing the surface, choosing the right stain, applying it evenly, and sealing it properly. Focus on thorough cleaning, light sanding, and testing stain colors. Patience and attention to detail are key to avoiding mistakes and achieving a lasting, beautiful finish.
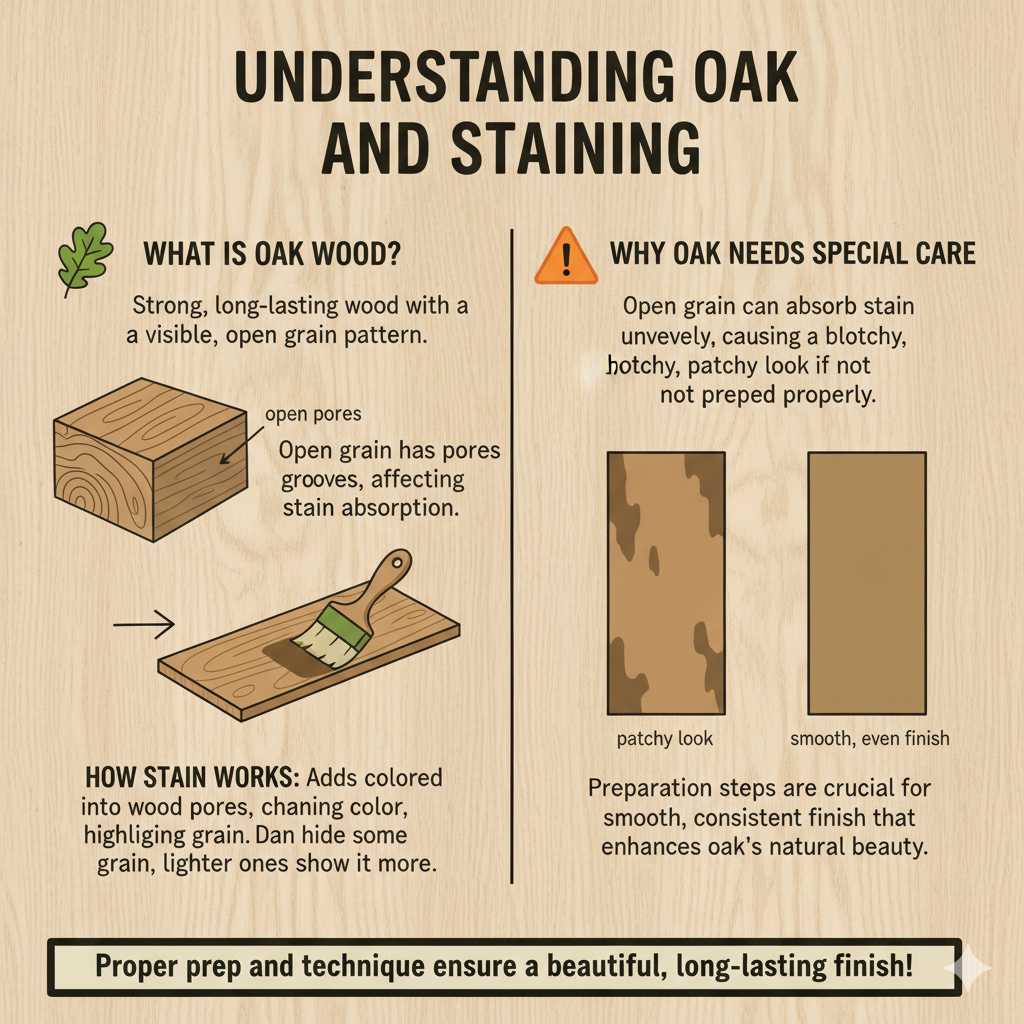
Understanding Oak and Staining
Oak is a popular choice for cabinets. It’s strong and lasts a long time. Oak has a very visible grain pattern. This grain can be open, meaning it has little pores and grooves. This openness is what makes oak look unique and can affect how stain absorbs. Some stains soak in evenly. Others can look blotchy on oak, especially if you don’t prep right.
When you stain wood, you’re not really coloring the wood itself. You’re adding color to a finish that sits on top. Wood stain is like a colored varnish or oil. It seeps into the wood’s pores. It changes the color of the wood you see. The way the grain looks can really change with the stain color. Darker stains can hide some grain. Lighter stains show it off more.
Why Oak Needs Special Care
Oak’s open grain is beautiful. But it can be tricky for staining. If you don’t prepare it well, the stain can soak in too much in some spots. It might not soak in enough in others. This leads to a patchy look. It’s like trying to paint a bumpy wall. Some parts get more paint than others.
This is why the preparation steps are so important. They help the stain go on evenly. They make sure the final look is smooth and consistent. You want the color to look like it belongs there. You want it to highlight the wood’s natural beauty, not fight against it.
The All-Important Preparation Phase
This is where most projects either succeed or fail. Seriously, don’t skip these steps. It’s like building a house. You need a strong foundation. For cabinets, this means getting them perfectly clean and smooth.
First, you need to take your cabinet doors and drawers off. This is much easier than trying to stain them while they’re still on the cabinets. Lay them flat. Use drop cloths to protect your floors. This also helps prevent drips from running onto your cabinets.
Step 1: Cleaning is Key
You need to remove all grease and grime. Kitchen cabinets get a lot of buildup. Think cooking splatters, hand oils, and dust. A good degreaser is your best friend here. Mix it with warm water. Use a soft cloth or sponge. Wipe down every surface. Get into the corners and edges.
Rinse the cabinets well with clean water. Use a damp cloth. You don’t want any soap residue left behind. Soap can mess with how the stain sticks. Let them dry completely. You can speed this up with a fan or by opening windows.
Step 2: Sanding for Smoothness
Now for the sanding. You’re not trying to remove the old finish entirely unless it’s peeling badly. You’re just scuffing it up. This creates a surface that the new stain can grip onto. It helps the stain absorb more evenly.
Use a medium-grit sandpaper. Something like 120 or 150 grit is usually good. Sand with the grain of the wood. Go over every surface you plan to stain. Don’t press too hard. You just want to dull the shine.
After sanding, you MUST clean off all the dust. A vacuum with a brush attachment works well. Then, use a tack cloth. A tack cloth is a sticky cloth that picks up tiny dust particles. It’s super important for a smooth finish. Make sure there’s no dust left at all. Any dust will show up under the stain.
Step 3: Dealing with the Old Finish
If your old finish is glossy and looks like it’s in good shape, light sanding is enough. But what if it’s damaged? What if it’s peeling or looks uneven? In those cases, you might need to strip it.
Stripping is a bigger job. It involves using chemical strippers or a heat gun. This takes time and safety precautions. Always wear gloves and eye protection. Work in a well-ventilated area. Follow the product instructions carefully.
After stripping, you still need to sand. You’ll want to use a finer grit sandpaper then. Maybe 180 or 220 grit. This will smooth out any marks from the stripper. And then, of course, clean off all the dust again.
Cabinet Prep Checklist
- Remove doors and drawers.
- Wash with degreaser and water.
- Rinse with clean water.
- Dry completely.
- Lightly sand all surfaces (120-150 grit).
- Clean dust with vacuum and tack cloth.
- (If needed) Strip old finish, then sand (180-220 grit) and clean dust.
Choosing the Right Stain and Tools
There are different types of wood stains. Oil-based stains are popular. They give a rich color. They take longer to dry. Water-based stains dry faster. They are easier to clean up. Gel stains are also an option. They are thicker. They are good for achieving a deeper color in one coat.
For oak, I often lean towards oil-based stains. They seem to penetrate the open grain a bit better. But water-based stains have come a long way. They can work well too. It really depends on the look you want.
Testing is Non-Negotiable
Before you stain your actual cabinet doors, test the stain! Find a scrap piece of oak wood. Or even the back of a cabinet door you won’t see. Apply different stains. See how they look. Try different application methods. This is your chance to experiment.
You can also test on an inconspicuous area of a cabinet door. Like the inside edge. This lets you see how it looks in place. Different wood tones will take stain differently. It’s crucial to see it on your oak.
Stain Colors for Oak
Popular choices for oak include:
Golden Oak: Enhances the natural yellow tones.
Honey Oak: A warm, inviting color.
Cherry: Adds a reddish hue.
Walnut: For a richer, darker look.
Espresso/Dark Walnut: Very deep, almost black tones.
Consider your kitchen’s overall color scheme. What color are your countertops? Your backsplash? The floor? The stain should complement these elements.
Gathering Your Tools
You’ll need:
Good quality wood stain: The color you chose.
Pre-stain wood conditioner (optional but recommended for oak): This helps the stain absorb more evenly.
High-quality brushes: Foam brushes can work for smooth finishes. Natural bristle brushes are good for oil-based stains.
Clean, lint-free cloths: For wiping off excess stain.
Gloves: To protect your hands.
Safety glasses: Always a good idea.
Drop cloths: To protect your work area.
Sandpaper: For touch-ups if needed.
Topcoat/Sealer: Polyurethane is common.
Applying the Stain: The Delicate Dance
This is the moment of truth. Take a deep breath. Remember all that prep work. It’s going to pay off.
Using a Pre-Stain Conditioner
If you’re using a pre-stain conditioner, apply it first. Follow the product’s instructions. Usually, you brush it on. Then you wipe off any excess. Let it dry for a specific time. This step is especially helpful for oak’s open grain. It helps prevent blotchiness.
Applying the Stain
Stir the stain well. Don’t shake it. Shaking adds air bubbles. You don’t want bubbles in your finish.
Work in small sections. Apply the stain liberally. Use a brush or a cloth. Brush or wipe it on. Always go with the direction of the wood grain. Don’t brush back and forth.
Let the stain sit for a few minutes. The time depends on the stain and how dark you want the color. Check your stain can for recommendations. This is where testing really helps. You’ll know how long to leave it.
Wiping Off the Excess
This is a crucial step. Use a clean, lint-free cloth. Wipe off the excess stain. Again, always wipe with the grain.
Don’t leave stain sitting on the surface for too long. It can get sticky. It can dry unevenly. You want the stain to soak into the wood. You don’t want a thick layer on top.
Wipe until the surface looks uniformly colored. You might need to use several cloths. Change them as they get saturated with stain.
Dealing with Drips and Splotches
If you see a drip, wipe it up immediately. If you see a splotch forming, try to blend it out gently. This is why working in small sections is important. It gives you time to fix mistakes before they set.
I remember one time I was staining my own kitchen cabinets. I got distracted by the phone. A bit of stain dried too long in one spot. It looked like a dark, ugly mark. I had to do some careful sanding to fix it. It was a good reminder to stay focused.
Stain Application Tips
- Stir stain, do not shake.
- Work in small, manageable sections.
- Apply stain with the grain.
- Let stain penetrate for recommended time.
- Wipe off excess stain thoroughly with the grain.
- Change cloths as they become saturated.
- Address drips and splotches immediately.
Drying and Curing Times
Wood stain needs to dry. Then it needs to cure. Drying is when it feels dry to the touch. Curing is when it reaches its full hardness. This takes longer.
Oil-based stains can take 24 hours to dry. They might take several days to cure. Water-based stains dry faster. They might be dry to the touch in a few hours. But they still need time to cure.
Always check the instructions on your stain can. It will tell you the recommended drying and recoating times. Rushing this process can lead to problems later. Like the topcoat not adhering well. Or the stain rubbing off onto things.
Applying the Topcoat for Protection
The stain gives you the color. The topcoat protects that color. It also protects the wood. Polyurethane is a very common choice. It’s durable. It comes in different sheens: matte, satin, semi-gloss, and gloss.
Satin or semi-gloss are popular for cabinets. They hide minor imperfections. They are also easy to clean. Glossy finishes show every little mark. Matte finishes can sometimes look a bit flat.
Choosing Your Sheen
Think about the look you want. A satin finish offers a soft glow. It’s not too shiny. A semi-gloss finish is a bit more reflective. It can make a kitchen feel brighter. A matte finish is very subtle.
I usually recommend satin or semi-gloss for kitchen cabinets. They strike a good balance between looks and practicality.
Applying Polyurethane
Use a good quality polyurethane. Again, stir it gently. Don’t shake.
Apply thin, even coats. Use a high-quality brush or a foam applicator. Apply with the grain. Don’t overwork the brush. This can create bubbles.
Let the first coat dry completely. Check the can for drying times. Lightly sand between coats. Use very fine-grit sandpaper (220 grit or higher). This helps the next coat stick better. Then wipe away the dust with a tack cloth.
Apply a second coat. Let it dry. Lightly sand again. Wipe off dust.
Apply a third coat. Most cabinets need at least three coats for good protection. Some might even benefit from four.
Curing the Topcoat
The topcoat needs to cure. This is the longest part. Even after it feels dry, it’s still soft. Avoid heavy use. Don’t place heavy items on the surfaces. Don’t clean them with harsh cleaners for at least a week, sometimes two. The longer you can let it cure, the more durable your finish will be.
This is where patience really pays off. You’ve worked hard on these cabinets. Give the finish time to become its strongest.
Topcoat Application Steps
- Choose your desired sheen (satin, semi-gloss recommended).
- Apply thin, even coats with the grain.
- Let each coat dry completely.
- Lightly sand between coats (220+ grit).
- Wipe away dust with a tack cloth after sanding.
- Apply at least three coats for durability.
- Allow full curing time (1-2 weeks) before heavy use.
Common Mistakes and How to Avoid Them
It’s easy to make errors when staining cabinets. Knowing these common pitfalls can save you a lot of headaches.
Mistake 1: Not Cleaning Enough
I touched on this earlier, but it’s worth repeating. If cabinets aren’t clean, the stain won’t stick well. You’ll get peeling or uneven color. Always use a good degreaser. And always rinse thoroughly.
Mistake 2: Skipping the Sanding or Tack Cloth
This leads to a rough finish. Or worse, dust trapped under the stain. Sanding creates the grip. The tack cloth removes the dust. Both are vital for a smooth surface.
Mistake 3: Not Testing the Stain
Applying stain directly to your cabinets without testing is a gamble. The color might not be what you expected. It might look blotchy. Always test on a scrap piece or an hidden area first.
Mistake 4: Applying Stain Too Thickly or Not Wiping Enough
This can lead to a gummy finish. Or a finish that looks like paint, not stain. You want the stain to soak into the wood. Wipe off the excess completely.
I once saw a friend’s attempt. They left way too much stain on. It looked like they had painted them a dark color. It wasn’t the rich wood tone they wanted. We had to sand most of it off and start again.
Mistake 5: Rushing the Drying and Curing Times
This is a big one. If you apply a topcoat over wet stain, you’ll get a mess. If you don’t let the topcoat cure, it can scratch easily. Be patient. Let each step fully complete.
Myth vs. Reality
| Myth | Reality |
|---|---|
| You can just wipe on any stain and get good results. | Proper prep, especially cleaning and light sanding, is crucial for even stain absorption on oak. |
| Drying time is just when it feels dry to the touch. | Stain and topcoats need to cure fully to reach maximum hardness and durability, which takes much longer. |
| Any brush will work for staining. | Using a high-quality brush or applicator suitable for the stain type helps ensure a smooth, even finish. |
When Is Restaining the Right Choice?
Restaining is a fantastic option when your cabinets are structurally sound. They are in good shape but the finish is tired. Or the color is just not working for you anymore. It’s a way to get a whole new look without the cost of replacement.
If your cabinets have major damage, like warped doors or broken hinges, then restaining might not be enough. In those cases, you might need to consider refacing or replacement. But for most cosmetic updates, restaining is perfect.
What This Means for Your Kitchen
Restaining can completely transform your kitchen. It can make it feel brighter, more modern, or warmer. It’s a significant upgrade that adds value to your home. It’s also a very rewarding DIY project. Seeing your hard work pay off with beautiful, updated cabinets is a great feeling.
Think about the style you want. Do you want a light, airy kitchen? Or a cozy, traditional space? The stain color you choose will play a big role in this.
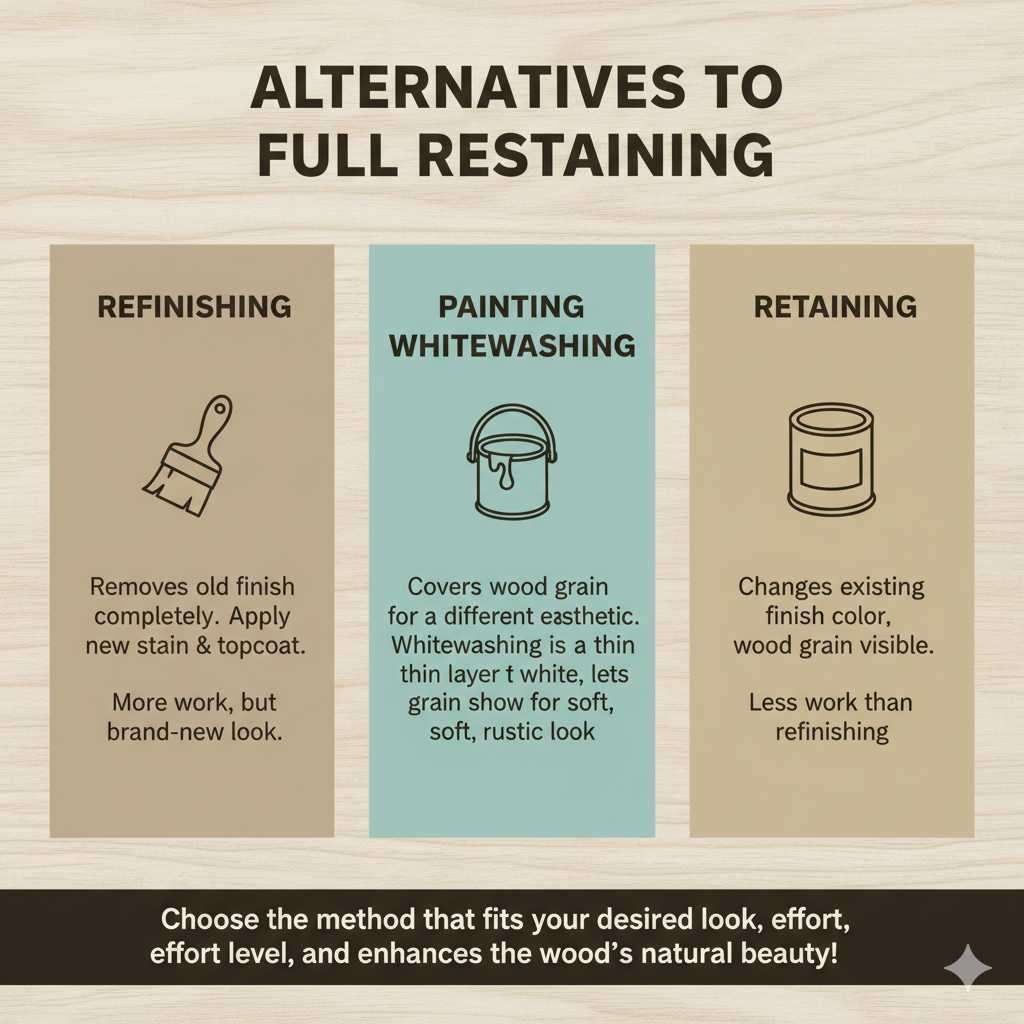
Alternatives to Full Restaining
Sometimes, a full restain isn’t needed. Or maybe you want a different look.
Refinishing: This usually means removing the old finish completely. Then you apply a new stain and topcoat. It’s more work than restaining but gives a brand-new look.
Painting: This is a totally different process. It covers the wood grain. It offers a different aesthetic. Many people paint their oak cabinets for a modern look.
Whitewashing: This is a technique where a thin layer of white paint is applied. It allows some of the wood grain to show through. It creates a soft, rustic look.
Restaining is about changing the color of the existing finish while letting the wood grain show. It’s a great middle ground between doing nothing and a complete overhaul.
Frequency Questions About Restaining Oak Cabinets
Can I restain my oak cabinets without removing them?
While technically possible for minor touch-ups, it’s strongly recommended to remove cabinet doors and drawer fronts. This allows for thorough preparation and even application of stain and topcoat on all surfaces, ensuring a professional-looking result and preventing drips.
How long does it take to restain kitchen cabinets?
The time varies greatly depending on the size of your kitchen, your speed, and drying times. A typical project can take anywhere from a weekend for small kitchens if you work fast, to a full week or more if you take your time with drying and curing.
Will restaining cover up the oak grain?
No, restaining is meant to enhance the wood’s natural grain. The stain soaks into the wood pores, coloring them. The raised grain will still be visible, giving your cabinets character.
If you want to cover the grain completely, you would need to paint them.
Is it better to use oil-based or water-based stain on oak?
Both can work well. Oil-based stains often penetrate the open grain of oak a bit better and offer richer colors, but they take longer to dry and clean up. Water-based stains dry faster, are easier to clean, and have improved significantly in quality.
What grit sandpaper should I use for sanding oak cabinets before staining?
For initial scuff sanding after cleaning, a medium grit like 120-150 is usually sufficient. If you’ve stripped the old finish, you’ll want to follow up with finer grits like 180-220. For sanding between topcoats, use very fine grits like 220-320.
Do I need to use a wood conditioner on oak cabinets before staining?
Yes, using a pre-stain wood conditioner is highly recommended for oak. Oak has an open grain that can absorb stain unevenly, leading to blotchiness. A conditioner helps to even out the absorption, giving you a smoother, more consistent color.
Final Thoughts on Your Cabinet Project
Restaining your oak cabinets is a project that’s totally within reach. It takes planning and patience. But the results are so worth it. Focus on each step. Don’t rush. Enjoy the process of transforming your kitchen. You’ve got this!


