
How to Clean Inside Kitchen Cabinets
Clean inside kitchen cabinets with a vacuum, microfiber cloth, and a diluted dish soap solution for painted wood or laminate. Use mineral spirits on greasy unfinished wood only, and avoid excess water on moisture-sensitive engineered wood. Wrong cleaners can swell boards, strip finishes, and leave grease that attracts dust and odors. This guide shows what to use, what to avoid, and when a deeper degreasing step is worth it for cabinets and drawers.
How do you prep cabinet interiors?
Empty each cabinet and drawer, pull out loose liners, and move food, dishes, and small appliances away from the work area. Check expiration dates, toss leaks or stale crumbs, and clear enough space so you can reach shelf edges, corners, and the back panel without leaving residue behind.
Prep matters because crumbs, old spills, and broken liner adhesive can smear if you wipe around them. A quick sort also keeps clean items from picking up cleaner residue or dust during the job.
- Take everything out of the cabinet or drawer.
- Remove shelf liners, contact paper, and loose inserts.
- Vacuum crumbs with a brush attachment.
- Sort food for expiry, leaks, and spilled grains or powders.
- Set clean dishes aside on a dry counter or table.
Say a lower pantry cabinet holds an upside-down bag of rice and a sticky sugar ring on the shelf. Remove the contents first, vacuum the grains, then clean the sticky area before putting anything back. That order keeps the residue from spreading across the interior.
What cleaner works for your cabinet material?

The safest default is warm water with a few drops of mild dish soap, followed by a clean-water wipe to remove residue. Add white vinegar only for light film on nonporous surfaces, and switch to a degreaser when you have stubborn grease near the stove or along handle edges.
Use less water on moisture-sensitive materials. Wood, MDF, and particleboard can swell if you soak seams or leave liquid pooling near joints.
Cabinet cleaning matrix
| Cabinet material | Safe cleaner | Scrubbing tool | Drying time | No-go mistakes |
|---|---|---|---|---|
| Wood | Warm water plus mild dish soap; mineral spirits for greasy unfinished wood | Microfiber cloth, soft-bristle brush for seams | Wipe dry at once; doors open 15 to 30 minutes | Soaking, abrasive pads, leaving liquid in grain or seams |
| Painted finish | Diluted dish soap; vinegar only for light film, then rinse wipe | Soft sponge or microfiber cloth | Wipe dry at once; doors open 15 minutes | Harsh scrubbers, strong alkaline cleaners, over-wetting edges |
| Laminate or melamine | Dish soap and warm water; degreaser for stubborn grease after spot test | Microfiber cloth, toothbrush for grooves | Wipe dry immediately; doors open 10 to 20 minutes | Steam, abrasives, standing water at seams or corners |
| Old cabinets | Gentle dish soap solution first; vinegar only if finish is stable | Soft cloth and soft-bristle brush | Wipe dry at once; longer airflow if joints are loose | Heavy soaking, aggressive degreasers, scraping peeling finish |
When vinegar is a good option
Vinegar fits light buildup on laminate, melamine, glassy painted interiors, and other nonporous surfaces that only need a mild film remover. Keep it diluted, test first, and rinse or wipe with clean water afterward so the acid does not sit on the finish.
When to switch to a degreaser
Use a stronger degreaser only when dish soap leaves a tacky layer behind, especially in areas that tend to collect cooking residue. If the surface still feels slick after a soap wash and rinse, that is the cue to step up.
Wear gloves with stronger cleaners, keep the room ventilated, and test on a hidden spot. If the finish turns dull, sticky, or cloudy, stop and go back to the mild cleaner.
How do you clean shelves, corners, and hardware?
Clean the highest interior shelf first, then move down so dust and loosened grime fall onto areas you have not cleaned yet. Use a microfiber cloth for flat panels, a soft sponge for broad surfaces, and a toothbrush or soft-bristle brush for seams, grooves, and hardware where residue hides.
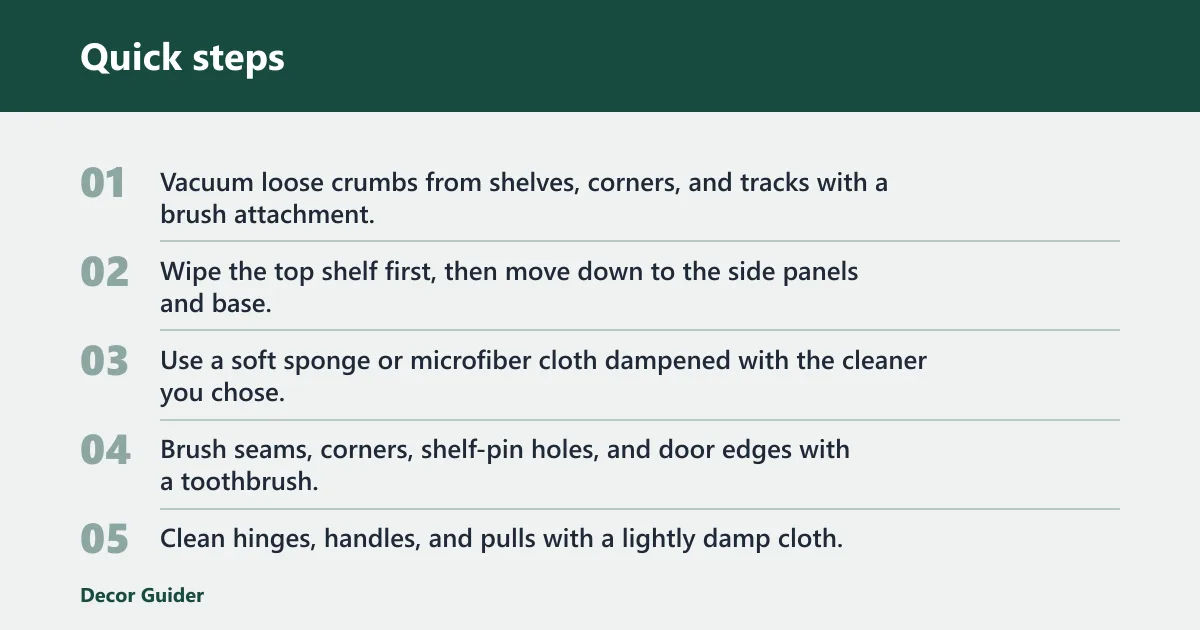
Hinges, shelf pins, door edges, handles, pulls, and tracks collect skin oils and cooking residue. These spots need detail work, not a second broad wipe.
Step-by-step interior cleaning
- Vacuum loose crumbs from shelves, corners, and tracks with a brush attachment.
- Wipe the top shelf first, then move down to the side panels and base.
- Use a soft sponge or microfiber cloth dampened with the cleaner you chose.
- Brush seams, corners, shelf-pin holes, and door edges with a toothbrush.
- Clean hinges, handles, and pulls with a lightly damp cloth.
- Rinse-wipe with clean water if you used soap, vinegar, or degreaser.
A common first-timer mistake is wiping only the visible front edge of the cabinet and leaving crumbs in the corners. The corner seam and the groove at the front edge usually hold the sticky ring, so those spots need the brush step before drying.
How do you remove grease and sticky residue?
Grease needs more attention near the stovetop, where vapor lands on nearby cabinet sides and lower edges. For light dust and mixed grime on upper cabinets, a soap wipe is usually enough. For tacky residue, give the area a second pass with a stronger cleaner after a hidden-spot test.
Location-based cleanup
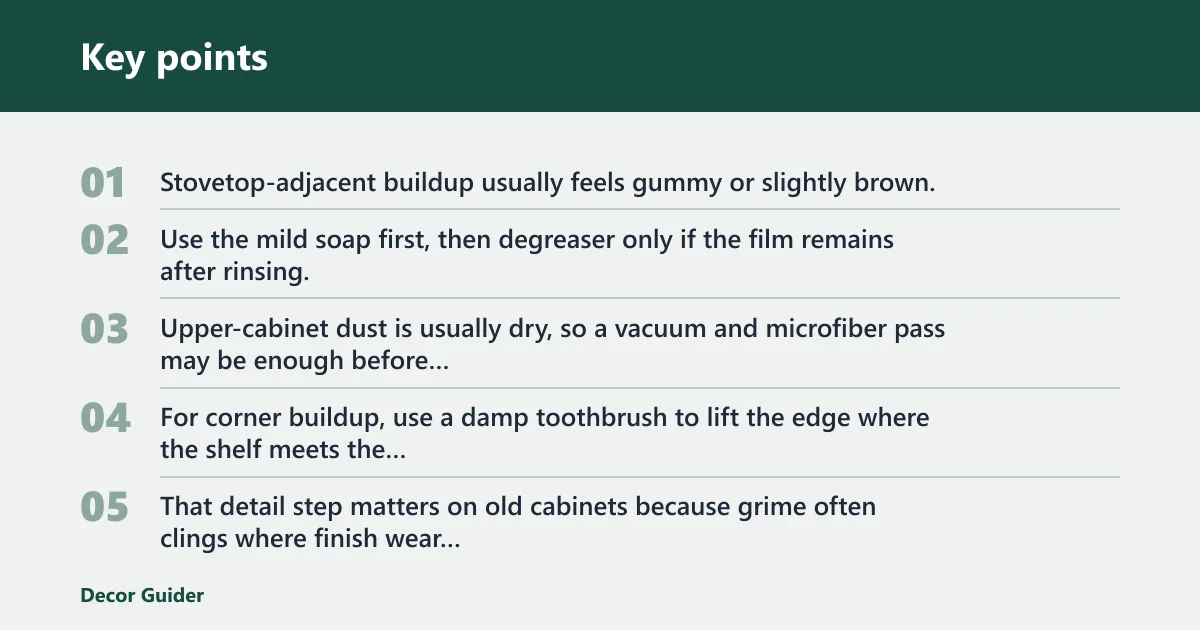
Stovetop-adjacent buildup usually feels gummy or slightly brown. Use the mild soap first, then degreaser only if the film remains after rinsing. Upper-cabinet dust is usually dry, so a vacuum and microfiber pass may be enough before you wash.
For corner buildup, use a damp toothbrush to lift the edge where the shelf meets the side wall. That detail step matters on old cabinets because grime often clings where finish wear has roughened the surface.
When a deeper degreasing step makes sense
Reach for a degreaser when you see visible grease streaks, sticky handprints, or a dull film that resists dish soap. Do not start there for routine dust or light crumbs. Stronger products increase the chance of residue and finish damage if you use them too often.
Say a cabinet above the range has a thin yellow film and the soap wipe still leaves a tacky patch. That is a good case for a degreaser, but only after spot testing and only on the affected area, not the full interior.
How should you rinse and dry cabinets?
After cleaning, wipe away cleaner residue with a fresh cloth dampened with clean water. Then dry the surfaces with a separate cloth and leave cabinet doors open for airflow so trapped moisture can escape before you restock. This helps prevent swelling, streaking, and lingering odors.
Do not leave puddles in corners, around shelf pins, or at the bottom edge of doors. Those places hold water longer than the flat panel.
Drying rules that matter
Use a dry cloth first, especially on wood and old cabinets with loose joints. If the finish looks streaky, a second dry pass usually removes the last trace of cleaner better than another wet wipe.
Leave doors and drawers open until the interior feels fully dry. For moisture-sensitive materials, that extra airflow is worth the wait.
How often should you clean inside kitchen cabinets?
Most cabinets need a monthly wipe-down, a seasonal deep clean, and spot cleaning after spills. The right cadence depends on grease level and kitchen traffic. Cabinets near the stove or sink need more frequent attention than pantry cabinets that only hold dry goods.
Cleaning schedule by soil level
| Soil level | Frequency | Method |
|---|---|---|
| Light dust, crumbs, dry debris | Monthly | Vacuum, microfiber wipe, quick dry |
| Grease film, mixed grime, corner buildup | Seasonal | Soap wash, rinse wipe, detail brush, full dry |
| Spills, leaks, sticky residue, expired food traces | As needed | Spot clean right away, then dry and restock |
How often should you clean inside kitchen cabinets? If the cabinet holds spices, oils, or snacks, check it monthly. If it sits above the range, look sooner, because heat and steam deposit residue faster than a pantry cabinet.
Frequently asked questions
How do you clean inside kitchen cabinets naturally?
Use warm water with a small amount of mild dish soap as your main cleaner, and use diluted vinegar only on nonporous surfaces with light film. Vacuum crumbs first, wipe with a microfiber cloth, then dry the cabinet fully. Avoid soaking wood, MDF, or particleboard.
How do you clean inside kitchen cabinets and drawers?
Treat drawers the same way as cabinets, but remove every liner and check the corners and runner tracks more carefully. Vacuum first, clean the flat surfaces with soap solution, brush the edges and grooves, then wipe dry before replacing liners or restocking utensils.
What is the best way to clean inside wooden kitchen cabinets?
The best method is a barely damp microfiber cloth with mild dish soap, followed by a clean-water wipe and immediate drying. Use a soft brush for grooves and hinges. If the wood is unfinished and greasy, mineral spirits can be used sparingly on those spots only.
How do you clean inside old kitchen cabinets without damaging them?
Use the gentlest cleaner that gets the job done: warm water, mild dish soap, a soft cloth, and light pressure. Test a hidden spot first. Avoid heavy soaking, harsh abrasives, and aggressive degreasers, because older finishes often chip, peel, or hold moisture at loose joints.
How do you clean inside new kitchen cabinets before use?
Before first use, vacuum dust from the factory interior, wipe with a lightly damp microfiber cloth, and dry every shelf and corner. Check for packing residue, sawdust, or adhesive spots. Leave the doors open until the interior is fully dry before adding food or dishes.
What is the best product to clean inside kitchen cabinets?
For most cabinets, the best product is still a simple one: mild dish soap diluted in warm water. Keep a vinegar spray only for light film on suitable surfaces, and reserve a degreaser for stubborn grease near the stove. Match the cleaner to the finish, not the label.
Products related to this article
Sponsored / affiliate links. As an Amazon Associate I earn from qualifying purchases. I may earn additional commission from eligible campaigns.