Roaster Oven Insert Not Fitting Problems
A roaster oven insert should match the cavity opening closely enough that it sits flat, the lid closes without force, and the loaded pan does not crowd the cover. Hamilton Beach’s 18-quart guidance ties fit to specific pan shapes and sizes, and the manual also says the insert pan must always be used when cooking. If the insert is on the wrong rack position, is the wrong generation, or is even slightly oversized, it can rock, rattle, or keep the lid from sealing. A poor fit can leave food undercooked, spill juices, or damage the enamel and heating element. This guide shows how to measure the cavity, check rack position and lid clearance, and confirm the correct replacement or safe substitute before you cook. (Hamilton Beach 18-quart roaster oven manual)
Why the insert does not fit

Fit failures usually come from four problems: the replacement is for a different model family, the rim is bent, the roaster size does not match the listed pan shape, or the pan only seems to fit until food raises the load. Because the insert pan must always be used during normal cooking, the first job is to identify which mismatch is happening and whether the pan can be corrected or must be replaced. (Hamilton Beach support/manual)
Wrong-generation replacement parts
Two inserts can look similar and still be incompatible. A replacement made for a different model line may have the wrong rim profile, a different depth, or a base that lands on the support points in the wrong place. That matters even when the listed capacity sounds close, because the manufacturer’s fit references are model-specific rather than universal. (Hamilton Beach 18-quart roaster oven manual)
A Hamilton Beach 18-quart roaster oven is a useful reference point because the manual ties fit to specific pan sizes, not just to overall capacity. If your old insert was lost, do not assume any 18-quart replacement will work. Check the model number and the pan shape the manual expects. (Hamilton Beach 18-quart roaster oven manual)
Warped rims and bent edges
A rim that is slightly oval, dented, or bowed can make an otherwise correct insert rock in the base. The pan may sit low on one side and high on the other, which can leave the lid crooked or create one tight edge that scrapes the cavity.
Look for bright scuffs on the rim, pinch points, or a gap that opens when you press down on opposite corners. If the pan appears to fit empty but binds after it is loaded, a bent edge is often the reason. If the unevenness remains after cleaning and reseating, the insert is likely the wrong shape or has bent rims. (Hamilton Beach troubleshooting guidance)
Capacity mismatch and model-specific sizing
Capacity alone does not guarantee fit. A pan can be marked for a roaster oven and still be too wide at the rim, too tall at the handles, or too deep for the lid to close. The safest check is to compare the insert’s outside dimensions with the cavity opening, then confirm the lid still clears.
Say your replacement insert is marketed as “universal,” but its rim is wider than the original. It may drop into the base and still prevent the cover from seating. That is a fit failure, even if the food pan inside seems usable at first glance.
How to measure the fit
Measure the roaster cavity first, then measure the replacement insert or cookware in the same order. Use the interior base length and width, the top opening or rim width, the insert’s outside length and width, the insert depth, the rack-installed height, and the lid clearance. Then compare those numbers with the maximum compatible pan sizes listed in the manual before you buy or cook. (Hamilton Beach 18-quart roaster oven manual)
Measure the cavity first
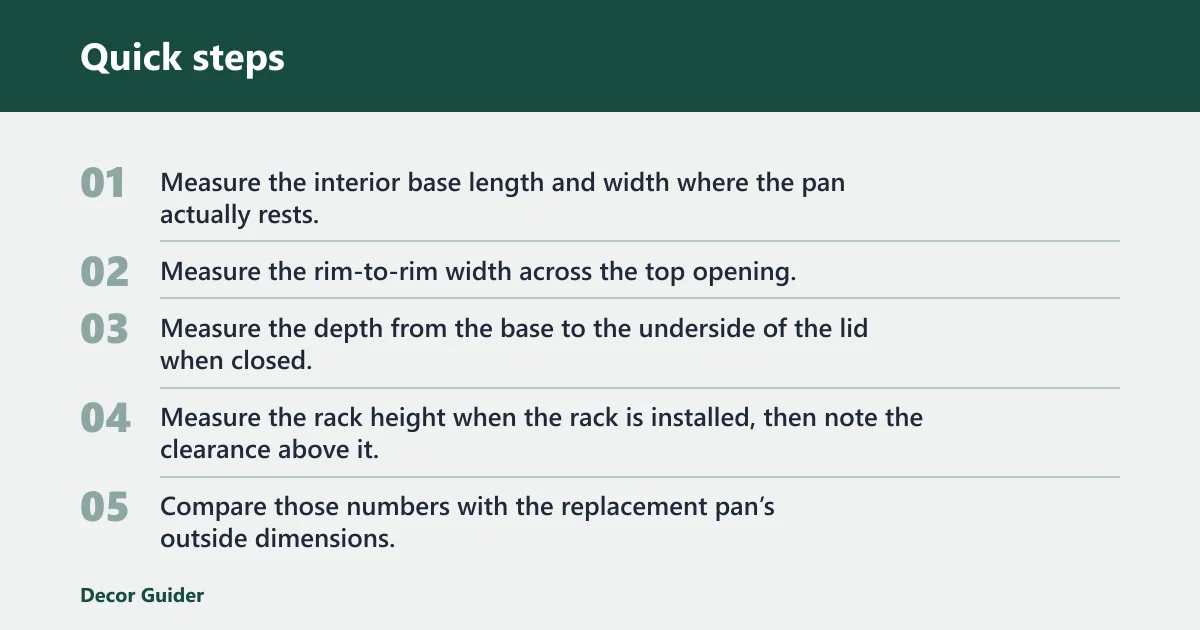
- Measure the interior base length and width where the pan actually rests.
- Measure the rim-to-rim width across the top opening.
- Measure the depth from the base to the underside of the lid when closed.
- Measure the rack height when the rack is installed, then note the clearance above it.
- Compare those numbers with the replacement pan’s outside dimensions, not its advertised cooking surface.
The rack changes usable height and heat circulation. A pan that fits on the rack may not fit once food is added, and a pan that only fits with the rack removed may sit too low for even heating. Keep the lid check in the process every time. (Hamilton Beach support/manual)
Check the loaded height, not just the empty pan
Set the cookware in the insert pan before filling it to make sure it fits. That check matters because food can raise the profile enough to touch the lid or block the cover from closing. A casserole dish that fits empty can fail once it holds a full lasagna or a tall roast.
Picture a 9 x 13-inch baking pan that clears the cavity by a small margin when empty. Add a domed casserole or a sheet of foil with food above the rim, and the lid may no longer close. The pan did not change, but the usable height did.
Roaster fit table
Use this table before you order a replacement insert or try a substitute pan. Match the cavity, the rim, the rack, and the lid together. If any answer is no, do not treat the pan as ready for normal use. The table below is the practical comparison set readers use against the Hamilton Beach fit examples and support guidance. (Hamilton Beach 18-quart roaster oven manual; Hamilton Beach support/manual)
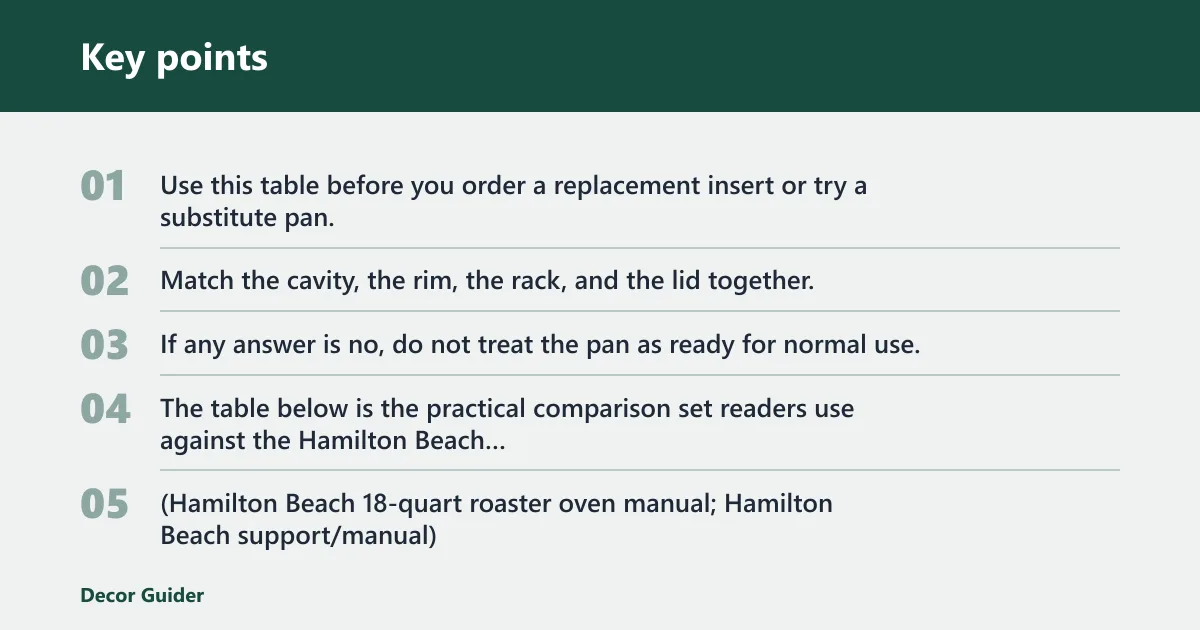
| What to compare | What to measure or confirm | Why it matters | Common mismatch cause | Yes/no check |
|---|---|---|---|---|
| Interior base length and width | Pan bottom must sit flat in the roaster base | Controls whether the pan drops in without binding | Wrong-generation replacement or wrong capacity | Does the base sit flat with no rocking? |
| Rim-to-rim width | Top rim must clear the cavity opening | Prevents scraping and lid interference | Oversized universal or third-party pan | Does the rim clear on all sides? |
| Insert outside length and width | Outer profile must stay inside the cavity opening | Confirms the pan can enter and exit cleanly | Handles, rolled edges, or flared sides are too wide | Can you lower and lift the pan without catching? |
| Depth | Food-filled pan must stay below the lid line | Protects lid closure and heat retention | Pan is too tall when loaded | Will the lid close with food inside? |
| Rack installed height | Measure space with the rack installed and removed | Changes usable height and heat circulation | Rack left in the wrong position | Does the pan fit with the rack where you plan to cook? |
| Lid clearance | Confirm the cover seats without pressure | Allows the lid to close without stress on the rim | Cover binds on rim or handles | Does the lid close without force? |
| Manual-listed max pan sizes | Confirm the listed pan shape and size | Gives the safest fit reference | Assuming all pans in the same capacity fit | Is the pan size listed by the manual? |
| Mismatch diagnosis | Identify whether the issue is size, shape, rack position, or warping | Prevents guessing at the wrong fix | Treating every fit issue as a replacement problem | Which mismatch explains the failure? |
| Buy/use decision | Decide whether to buy, return, remeasure, or cook | Keeps the roaster safe and usable | Forcing a near-fit pan into service | Is the setup safe enough to use as-is? |
What pans fit an 18-quart roaster oven?
The manual for an 18-quart roaster oven gives shape-specific fit examples, which is more useful than capacity alone. It specifically says one 9 x 13-inch baking pan will fit, one 10 x 14-inch roasting pan will fit, two 9 x 5-inch loaf pans will fit, two 8 x 4-inch loaf pans will fit, and one tube pan or Bundt pan is compatible. Those are the manufacturer’s reference sizes for this capacity, not a promise that every brand’s version of those pans will match the same rim or handle geometry. (Hamilton Beach 18-quart roaster oven manual)
Use the manual’s listed sizes as references
Those sizes are the best starting point when you shop for a replacement insert or a substitute pan. They tell you what the cavity can handle with the rack and cover arrangement the manufacturer expects. They do not mean every pan with the same label will clear every rim or lid shape. (Hamilton Beach 18-quart roaster oven manual)
A common first-timer mistake is to buy a 10 x 14-inch roasting pan because the manual lists it, then discover the handles or rolled rim are wider than the original insert. The listed size is the cooking surface reference, not a promise that every version of that pan will fit.
Shape matters as much as size
Tube pans and Bundt pans are listed as compatible shapes, which makes them useful fit references when you compare third-party cookware. The same is true for loaf pans: two 9 x 5-inch loaf pans fit, and two 8 x 4-inch loaf pans fit. The outer profile still needs a dry test-fit. (Hamilton Beach 18-quart roaster oven manual)
Can you remove the rack?
Yes, the rack can be removed if you need space for a large roasting pan, but that change also changes heat circulation and support. The rack is meant to hold baking pans and casserole dishes in a better heating position. If you remove it, confirm that the cookware still sits level and the lid still closes. (Hamilton Beach support/manual)
When rack removal helps
Removing the rack can create the extra height needed for a larger roasting pan or a taller casserole dish. It can also help when the cookware fits the cavity but the rack legs or rails take up the last bit of space needed for the rim to clear.
That said, rack removal is a fit workaround, not a fix for an oversized pan. If the pan only fits after the rack comes out and then still touches the lid, it is still too tall for normal use.
When to keep the rack in place
Keep the rack in place when you want better heat circulation around baking pans and casserole dishes. The manual recommends setting cookware on the rack for best heat circulation. If you are roasting something shallow, the rack can also help keep the pan off the base and reduce hot spots. (Hamilton Beach support/manual)
Can you use a glass casserole dish?
Hamilton Beach says most heat-resistant glass casserole dishes fit in the roaster oven, but that does not make every dish an automatic match. A glass dish should be dry test-fit first, then checked again with the lid on. If the dish fits the base but blocks the cover, it is not a working setup. (Hamilton Beach support/manual)
Dry test-fit before filling the dish
Set the empty dish in the insert pan or directly in the base, depending on your model and the rack setup. Check that it sits flat, does not wobble, and does not press against the sides. Then place the cover on top without forcing it.
Use the same check after the dish is filled. Food can raise the top edge enough to create a lid problem even when the empty dish looked fine.
Check cover closure after loading
A dish that fits the base but not the lid is a common failure case. If the lid needs to be pushed down, tilted, or latched with pressure, the setup is wrong. Do not cook that way, because pressure on the lid can trap steam unevenly and strain the rim. If the lid will not close easily, the issue belongs in the troubleshooting step rather than the cooking step. (Hamilton Beach troubleshooting guidance)
Choosing a replacement insert
Choose between an exact-fit replacement, a universal replacement pan, and a third-party substitute only after you verify the cavity and lid clearances. The insert pan is the required cooking component for normal use, so a replacement should match the roaster’s opening, rim shape, and support points as closely as possible. (Hamilton Beach manual/support)
Exact-fit versus universal replacement pans
An exact-fit insert is built for the same model family and is the safest choice when the original part is available. A universal replacement may fit the capacity label but still miss the rim shape, depth, or lid height needed by your unit. That is why measurements matter more than the product title.
What to do if the original insert is discontinued
If the original insert is no longer sold, use the manual’s listed compatible pan sizes as your shopping filter. Then compare outside dimensions, rim shape, and handle clearance. If a replacement is close but not exact, verify the lid with a dry fit before you fill the pan. (Hamilton Beach 18-quart roaster oven manual)
What to do if the replacement sits unevenly
If the insert sits unevenly, first check for bent edges, debris under the rim, or a rack that is installed backward or off its support points. Then compare the replacement’s bottom dimensions with the base opening. A crooked fit usually means the pan is forcing itself against the cavity or riding on the wrong surface.
If the base fit is correct but the cover will not close, stop there. The pan is too tall, the rim is too wide, or the loaded dish is exceeding the usable height. A lid that needs force is a sign to remeasure, not to press harder.
Can I use my roaster oven without the insert?
The manual says the insert pan must always be used when cooking, so normal operation should not skip it. The insert is part of the cooking system, not an optional liner. If it is missing, damaged, or not the correct part for the model, replace it before regular use rather than improvising a permanent workaround. (Hamilton Beach roaster oven manual)
Frequently asked questions
Why is my roaster oven insert not fitting?
Most fit problems come from a wrong-generation replacement, a bent rim, a size mismatch, or cookware that fits empty but binds once food is added. Check the model number, measure the cavity and rim, and confirm that the lid closes with about 1/8 to 1/4 inch of clearance only if your manual or support page states that clearance for your model; otherwise use the smallest clear closure that does not force the lid. (Hamilton Beach support/manual)
How do I know if a pan will fit in my roaster oven?
Compare the pan’s outside dimensions with the interior base length and width, the rim-to-rim opening, and the depth under the lid. Then dry test-fit it in the roaster before filling it. If the lid does not close easily, the pan is not a usable fit. The 18-quart manual’s listed examples—9 x 13-inch baking pan, 10 x 14-inch roasting pan, two 9 x 5-inch loaf pans, two 8 x 4-inch loaf pans, and one tube pan or Bundt pan—are the manufacturer’s benchmark sizes for comparison. (Hamilton Beach 18-quart roaster oven manual)
What should I do if my replacement insert is too small or too large?
If it is too small, it may shift, rattle, or sit unevenly on the supports. If it is too large, it can scrape the cavity or block the lid. Recheck the model number, compare the manual’s listed pan sizes, and return to an exact-fit replacement when possible. If the pan is only slightly off, do not force it into service; remeasure the cavity, rack position, and lid clearance first. (Hamilton Beach manual/support)
How do I troubleshoot a roaster oven when the insert sits unevenly?
Start by checking for warped edges, food debris, or a rack that is not seated correctly. Then set the insert into the base and look for rocking corners or one side sitting higher. If the unevenness remains after cleaning and reseating, the insert is likely the wrong shape or has bent rims. For a broader step-by-step checklist, use the troubleshooting guide that addresses roaster oven fit problems and insert seating issues. (Hamilton Beach troubleshooting guidance)
What pans fit in a Hamilton Beach roaster oven?
For an 18-quart Hamilton Beach roaster oven, the manual specifically lists one 9 x 13-inch baking pan, one 10 x 14-inch roasting pan, two 9 x 5-inch loaf pans, two 8 x 4-inch loaf pans, and one tube pan or Bundt pan. Most heat-resistant glass casserole dishes also fit, but still need a dry test-fit. (Hamilton Beach 18-quart roaster oven manual; Hamilton Beach support/manual)
Products related to this article
Sponsored / affiliate links. As an Amazon Associate I earn from qualifying purchases. I may earn additional commission from eligible campaigns.