Roaster Oven Problems and Troubleshooting
Check the cord, outlet, lid fit, and heating element before you do anything else. If the roaster still will not heat, or a breaker trips twice, stop using it. Faults like these can spoil food, damage wiring, or create a fire risk. This guide maps roaster oven problems and troubleshooting by symptom, so you can tell what is normal, what to test next, and when the unit is unsafe.
Troubleshooting symptoms, checks, and safety
Begin with the symptom, then work from power checks to heat-output and fit issues. That order helps you separate a loose plug or tripped breaker from a failed element, warped insert, or thermostat drift.
A roaster oven can fail in ways that look similar. No heat can mean no power, a bad element, or a control problem. Uneven cooking can come from rack tilt, lid leakage, or temperature error. Smoke can be harmless burn-off on first use, or a sign of grease, residue, or electrical trouble. Safety guidance from appliance makers and consumer-safety agencies also points to the same order: stop use for repeated breaker trips, visible damage, melted parts, or electrical odor.
What you’ll need
- Oven thermometer
- Dry cloth or paper towels
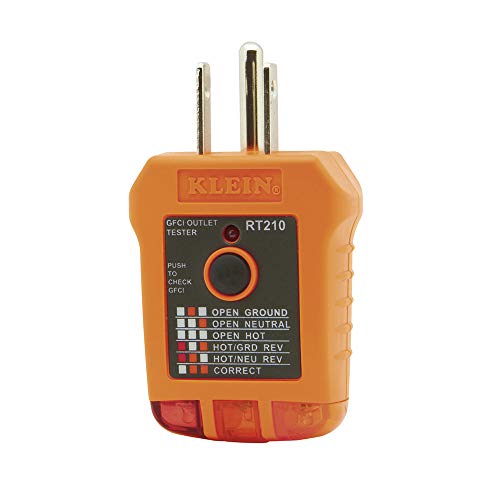
- Another appliance for outlet testing
- Flashlight for cord and element inspection
Roaster oven troubleshooting matrix
| Symptom | Most likely cause | What is normal | Unsafe to continue using | Check first in order | Quick test | Safe DIY fix | Escalation trigger |
|---|---|---|---|---|---|---|---|
| Won’t turn on | Loose plug fit, dead outlet, or tripped breaker | No lights or heat until power is restored; some units have no indicator when off | Burning smell, scorch marks, melting, or a cord that gets hot | Outlet, plug, breaker, cord | Test the outlet with another appliance; check the breaker panel | Reseat the plug and move the roaster to a known live outlet | Outlet is live but the unit stays dead |
| Won’t heat | Heating element failure, blown fuse, or control fault | A preheat period before the cavity comes up to temperature; the outside can warm before the full cavity does | Visible damage to the element, repeated cutoff, or electrical odor | Power source, element, control | Look for dark spots, scorch marks, breaks, or no warmth after preheat | None if the element is damaged | Visible damage or no heat after power checks |
| Uneven cooking | Warped pan, tilted rack, lid leakage, or overcrowding | Some temperature swing is normal; food should still brown and cook through with a level insert and seated lid | Lid will not sit flat, steam escapes heavily, or food burns while the cavity never stabilizes | Rack, pan, lid, load size | Check that the insert sits level and the lid rests flat on the rim | Reposition the rack, reduce load, and seal the lid properly | Food still cooks unevenly after placement and load checks |
| Breaker trip | Shared circuit overload or internal short | One trip can happen if the circuit is already heavily loaded | Repeated breaker trips, especially on a different circuit | Breaker load, other appliances, roaster cord | See whether another high-wattage appliance is on the same circuit | Move the roaster to a different circuit and unplug other heavy loads | Breaker trips again on a different circuit |
| Smoke or odor | First-use burn-off, grease residue, or failing wiring | Light smoke or a mild odor can be normal on first use and should fade after burn-off and cleaning | Sharp electrical smell, sparks, or smoke near the cord or switch | Cleanliness, first-use status, cord, element | Check whether the smell fades after a short preheat with ventilation | Clean residue and ventilate for temporary first-use smoke | Persistent burning smell, sparks, or electrical odor |
| Temperature drift | Thermostat inaccuracy or control wear | A modest gap between dial setting and thermometer reading can happen; use the thermometer as the reference | Repeatable drift that is large enough to change doneness or cause scorching | Thermometer placement, preheat, dial setting | Compare the dial setting with an oven thermometer after preheat | Use the thermometer reading to adjust cooking time or setting | Variance stays beyond a small, repeatable offset |
| Cord damage | Heat damage, abrasion, or internal break in the cord | The cord should stay cool and flexible during use | Cracks, exposed wire, softened insulation, or a warm/hot plug | Cord, plug, strain relief | Inspect the cord end-to-end with a flashlight | None; remove from service | Any exposed conductor, melting, or heat at the plug |
| Lid warp/seal loss | Warped lid, bent rim, or residue preventing contact | The lid should sit evenly and retain steam during normal cooking | Lid rocks, gaps are visible, or steam escapes continuously | Lid edge, rim, warp, residue | Check whether the lid sits flat all the way around | Clean the rim and reseat the lid; replace a visibly warped lid | Lid remains warped or the seal cannot be restored |
| Stop using now | Electrical failure, visible damage, or overheating | None; these are not normal operating conditions | Scorch marks, melting, repeated breaker trips, or electrical smell | Unplug immediately | Unplug the unit and inspect cord, plug, and element | None; remove from service | Scorch marks, melting, repeated breaker trips, or electrical smell |
Why is my roaster oven not turning on?
If the unit has no lights, heat, or fan action, the most likely causes are a loose plug, a dead outlet, or a tripped breaker. Test power first. If the outlet works and the plug is secure, a failed cord, switch, or internal component becomes more likely.
- Push the plug fully into the outlet and check that it fits snugly.
- Plug another appliance into the same outlet to confirm outlet function.
- Reset a tripped breaker at the panel if the outlet is dead.
- Move the roaster off a shared circuit with a toaster, microwave, or other high-wattage appliance.
If that did not work, move to another outlet on a different circuit. If the roaster stays off in one kitchen outlet but works in a hallway outlet, the problem is the original outlet or circuit, not the roaster itself. If the cord or plug is damaged, do not keep testing the appliance.
Why is my roaster oven not heating up?
No heat after power checks usually points to the heating element, a blown fuse, or a control failure. If the cord and outlet are fine, inspect the element for breaks, scorch marks, or dark spots. A damaged element is usually replaced, not repaired.
- Unplug the roaster and let it cool fully.
- Use a flashlight to inspect the heating element for visible damage.
- Check for burn marks, separated coils, or a section that looks broken.
- Preheat while monitoring the unit with an oven thermometer.
If the element shows damage, stop there. A repair is rarely sensible for a cracked or burned element in a countertop appliance; replacement is the safer path. If the element is not visibly damaged but the unit still does not warm, a safe at-home continuity check may help confirm an open element only if you already know how to use a multimeter and can do it with the appliance unplugged. If that is not comfortable, stop and replace or service the unit.
How do I check if a roaster oven heating element is broken?
Look for a visible break, scorch mark, or area that never warms during preheat. A healthy element should show even heating behavior across the full cycle. If one section stays cold while the rest heats, the element may be failing even when it still powers on.
A common first-timer mistake is stopping at “it still turns on.” Power alone does not prove the element is sound. If the roaster runs but the cavity stays cool, treat that as a heating failure until the element and control are checked. Hidden element damage can also show up as inconsistent heat, repeated shutdowns, or a hot smell before any break is visible.
Why does my roaster oven cook unevenly?
Uneven cooking usually comes from placement, airflow, or heat retention problems. Check the roasting pan, rack, and lid before blaming the dial. A tilted insert, overcrowded pan, or poor lid fit can create hot and cool spots that look like a bad thermostat.
- Set the roasting pan flat in the base and confirm it does not rock.
- Place the rack level so food sits evenly above the pan.
- Leave space around the food for air circulation.
- Seat the lid on the rim and check for gaps or warp.
- Use an oven thermometer to compare the actual cavity temperature with the dial setting after preheat.
If that did not work, reduce the load and retest. If a turkey, vegetables, and a full rack crowd the insert, one item can block airflow and slow the edges while the center overcooks. Uneven cooking is usually a food-quality problem, not an immediate electrical-fire risk, unless it comes with smoke, odor, or intermittent power loss.
How do I fix a roaster oven lid that doesn’t seal properly?
A lid that warps, sits crooked, or leaks steam can weaken heat retention and lengthen cook times. Check that the lid rests evenly on the rim and that no bent area lifts it off the edge. If the fit is poor, the loss of steam can also dry out food.
- Remove the lid and inspect the rim for bends or residue buildup.
- Wipe the rim and lid edge so dirt is not blocking contact.
- Set the lid back on and check for an even sit all the way around.
- If the lid is visibly warped, replace it rather than forcing a fix.
How do I test a roaster oven thermostat?
Use an oven thermometer as the reference tool. Preheat the roaster, place the thermometer inside, and compare the reading with the dial setting. A small offset can happen in countertop appliances; if the difference is consistent and large enough to affect doneness, the thermostat or control may be drifting.
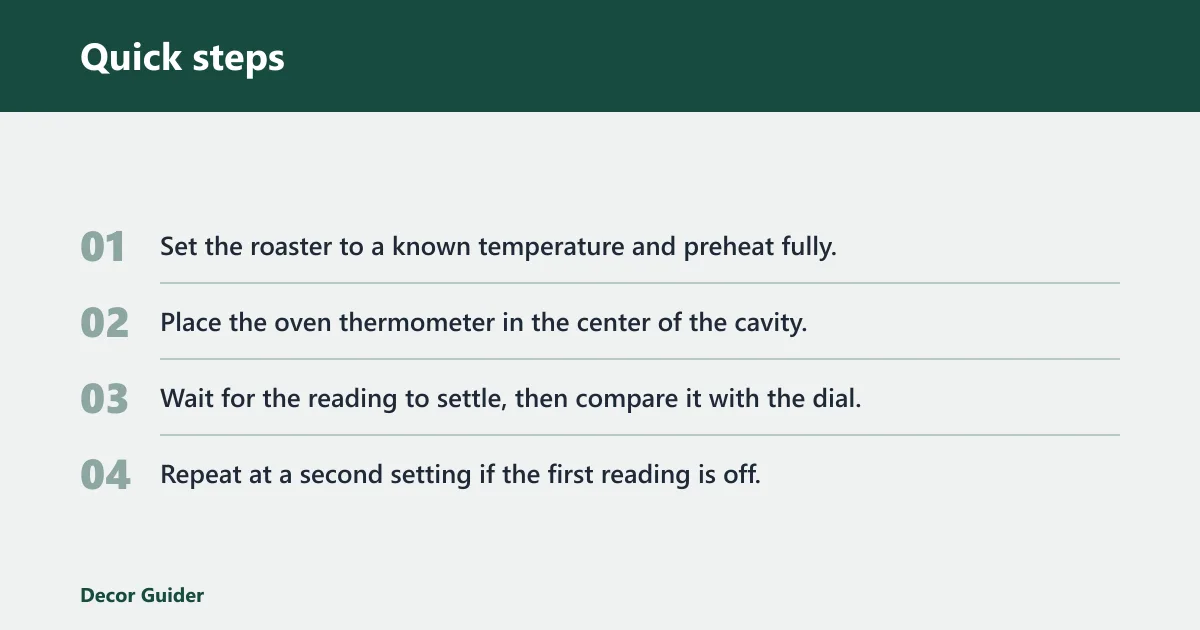
- Set the roaster to a known temperature and preheat fully.
- Place the oven thermometer in the center of the cavity.
- Wait for the reading to settle, then compare it with the dial.
- Repeat at a second setting if the first reading is off.
If the difference stays outside a small repeatable offset, the thermostat may be inaccurate or worn. Adjust cooking time if the error is minor. Replace or service the unit if the error is large and repeatable.
Why does my roaster oven keep tripping the breaker?
A tripped breaker often means the circuit is overloaded, but repeated trips can also point to an internal electrical fault. Check whether the roaster shares a circuit with a microwave, toaster, or other high-wattage appliance. If it trips on a different circuit, stop using it. Consumer-safety guidance treats repeated breaker trips as a stop-use sign because they can indicate overheating or a short.
- Reset the breaker once and note whether the trip returns immediately.
- Unplug nearby high-wattage appliances from the same circuit.
- Move the roaster to a different outlet on a separate circuit.
- Test again with no other heavy appliance running.
If the breaker trips twice, it is generally treated as a stop-use sign. Repeated electrical faults are not a normal cooking issue.
Why is my roaster oven smoking or smelling bad?
Temporary smoke or odor on first use can be normal burn-off residue from manufacturing oils or dust. If the smell fades after a short preheat with ventilation, that is usually all it needs. Persistent smoke, a sharp electrical odor, or visible sparking means the unit should be stopped immediately. This is especially important if the smell comes from the cord, plug, or switch rather than the cavity.
- Open a window or run ventilation before preheating.
- Run the empty roaster briefly to see whether the odor fades.
- Wipe out the cavity, pan, and rim if residue is present.
- Check the element for scorch marks or smoke near wiring.
If that did not work, unplug the unit and do not reuse it. Burn-off should shrink, not intensify. A smell that turns acrid or electrical is a different problem.
Common mistakes
Many roaster oven problems are made worse by skipping the basics in the wrong order. Check power first, then heat, then fit. That sequence avoids needless part replacement and keeps unsafe units from going back into service.
- Ignoring a tripped breaker or repeated power loss.
- Trusting the dial without an oven thermometer check.
- Using a warped pan, loose rack, or poor lid fit.
- Running the roaster with old grease or residue inside.
- Leaving the unit on a shared circuit with other heavy appliances.
Keep the cord untwisted during storage, clean grease after each use, and preheat with the lid seated correctly before loading food. That cuts odor, hot spots, and repeat breaker trips.
Frequently asked questions
Roast vs bake oven setting?
Roast settings usually run with stronger surrounding heat for browned exteriors, while bake settings aim for more even, gentler heat. If your model has both, use the setting named for the food’s goal, then confirm the actual temperature with an oven thermometer rather than relying on the label alone.
Why did my oven stop working?
If a roaster or oven stops suddenly, check the outlet, plug, and breaker first. A dead outlet or tripped breaker is the easiest fix to confirm. If power is present but the unit is still dead, or if there is scorch damage or odor, stop using it and have it replaced or serviced.
Products related to this article
Sponsored / affiliate links. As an Amazon Associate I earn from qualifying purchases. I may earn additional commission from eligible campaigns.