How to Use a Roasting Pan for Sheet Pan Dinners
Use a roasting pan for sheet pan dinners by keeping the food in a single layer, leaving about 1 inch between pieces, and adding tender ingredients in the last 10 to 15 minutes when the recipe calls for it. Ignore that setup, and you get steamed vegetables, pale edges, and meat that dries before the rest finishes. This guide shows how to choose the right pan, adjust timing, and keep browning when the pan is deeper than a sheet tray.
How roasting pan depth changes browning and airflow
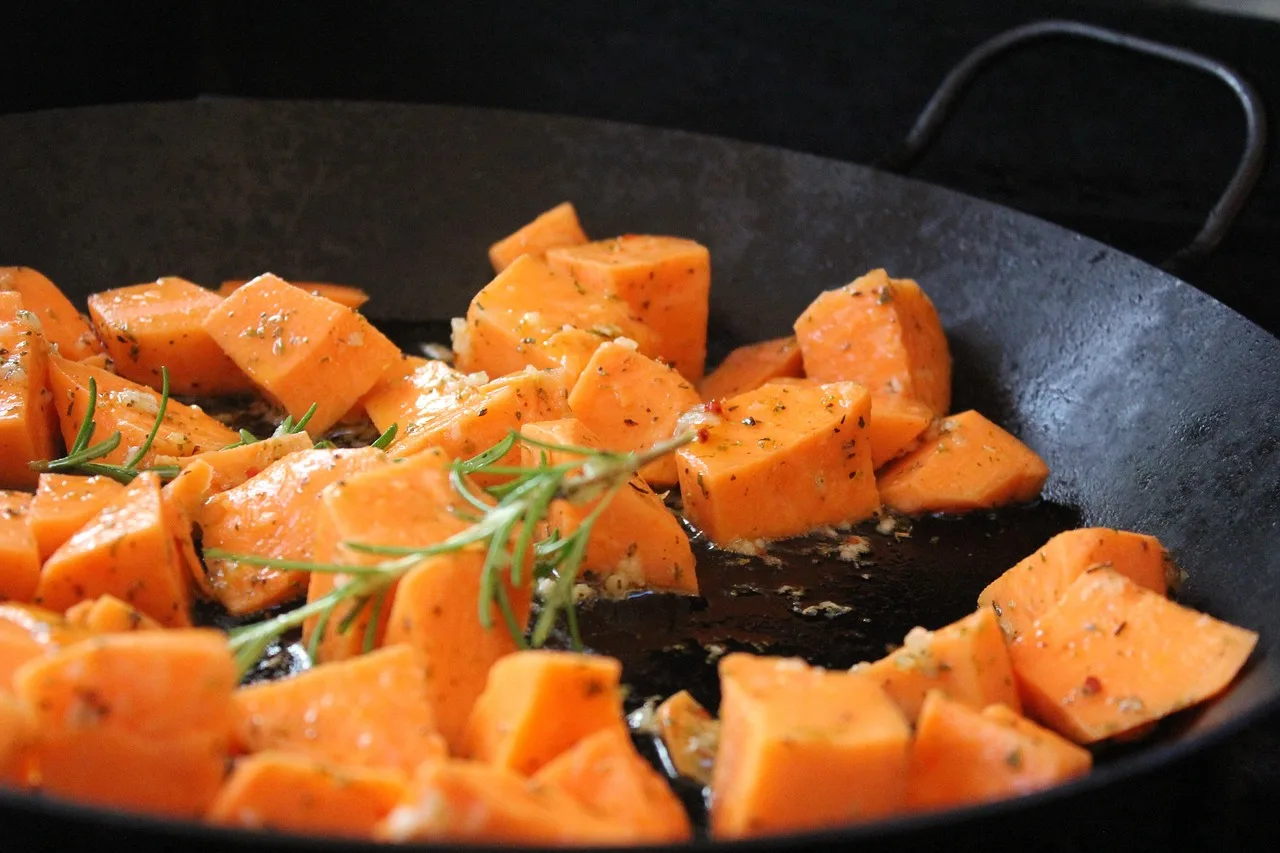
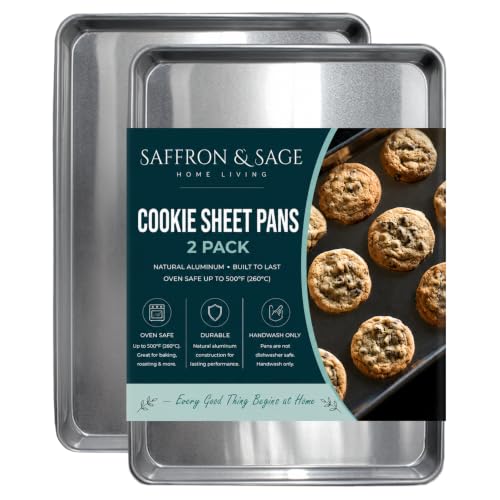

A rimmed roasting pan has deeper sides than a half-sheet pan, so it can catch juices and keep the oven cleaner. That same depth changes airflow: if the pan is crowded, steam stays around the food instead of moving away, which slows browning. A half-sheet pan, often about 18×13 inches, gives you more exposed surface and easier spacing.
What changes when the pan is deeper
Depth matters because heat moves differently in a deeper pan. Food sitting low in the pan stays closer to collected moisture, so a crowded load can turn into a steamed dinner instead of a roasted one. A single-layer arrangement helps hot air hit more surfaces at once, which gives vegetables and chicken browned edges.
That difference is why a roasting pan is not just a sheet pan with taller walls. A deeper vessel contains drippings well, but it also makes it easier to trap steam if the ingredients are packed too tightly.
When a half-sheet pan is the better choice
Use a half-sheet pan when you want maximum browning, more surface area, and looser spacing. It is the common reference point for sheet pan dinners, and it works well when the ingredient mix is dry enough to roast without trapping much steam. If the recipe depends on crisp edges, the shallower pan usually gives better results.
Common half-sheet pan size references are about 18×13 inches, while many full-size restaurant sheet pans are 26×18 inches. The half-sheet is the practical benchmark for home roasting because it balances capacity with airflow.
When a roasting pan makes more sense
A roasting pan is a better fit for saucy dinners, higher-fat ingredients, smaller batches, and recipes where spills are a concern. It can also be the safer choice in a compact oven when you are using one pan for a modest amount of food and want to keep drippings contained.
That said, deeper does not mean better for every dinner. If the meal is mostly vegetables and the goal is crisp browning, the half-sheet pan usually wins.
Can you use a roasting pan instead?
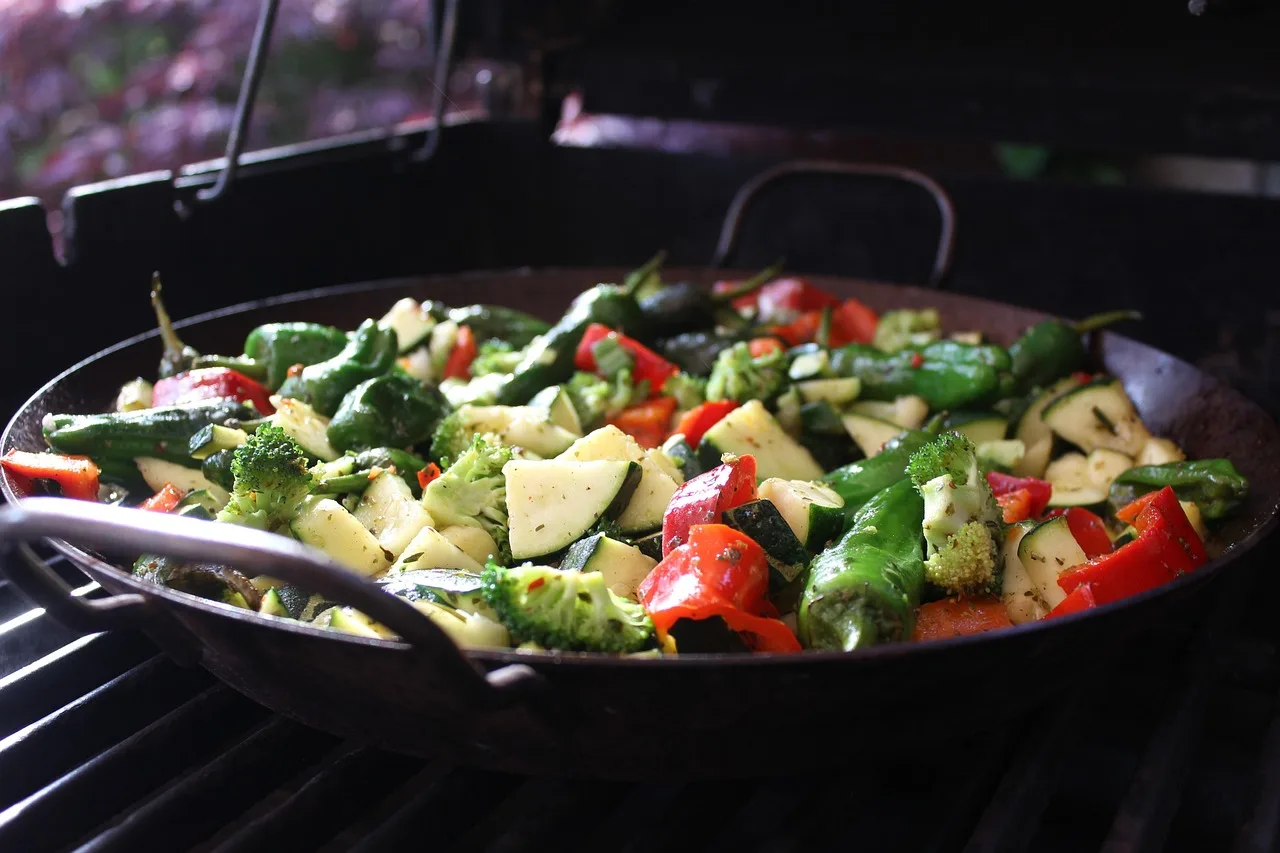
Yes, but only if you treat it as a deeper cooking vessel, not as a direct swap with no other changes. The pan depth affects spacing, steam, and cook order, so the recipe often needs a small adjustment in how much food goes in at once and when each ingredient is added.
Best-fit dinners for a deeper pan
Choose a roasting pan when the dinner includes chicken with potatoes, broccoli, or another vegetable that can handle a little moisture. It also works well for smaller portions, one-pan meals with pan juices, and dinners that would spill on a shallower tray. A deeper pan can be a better tool when the recipe includes oil, marinade, or a light sauce.
Suppose you are roasting chicken thighs with carrots and onions in a 9-by-13-inch roasting pan. If the pieces fit in one layer with visible gaps, the pan is a sensible choice. If the food rises into a mound, the same pan becomes a steam trap.
When steam becomes the problem
The failure case is simple: too much food in too little space. Overcrowding the pan can cause steaming instead of roasting, and the deeper walls make that easier to miss because the load may look contained even when it is packed tight. Pale vegetables, soft bottoms, and lack of browning are the usual signs.
This is why a roasting pan is best with a single layer of food. If ingredients stack or overlap, the bottom pieces spend more time in moisture than heat.
How full should a roasting pan be?
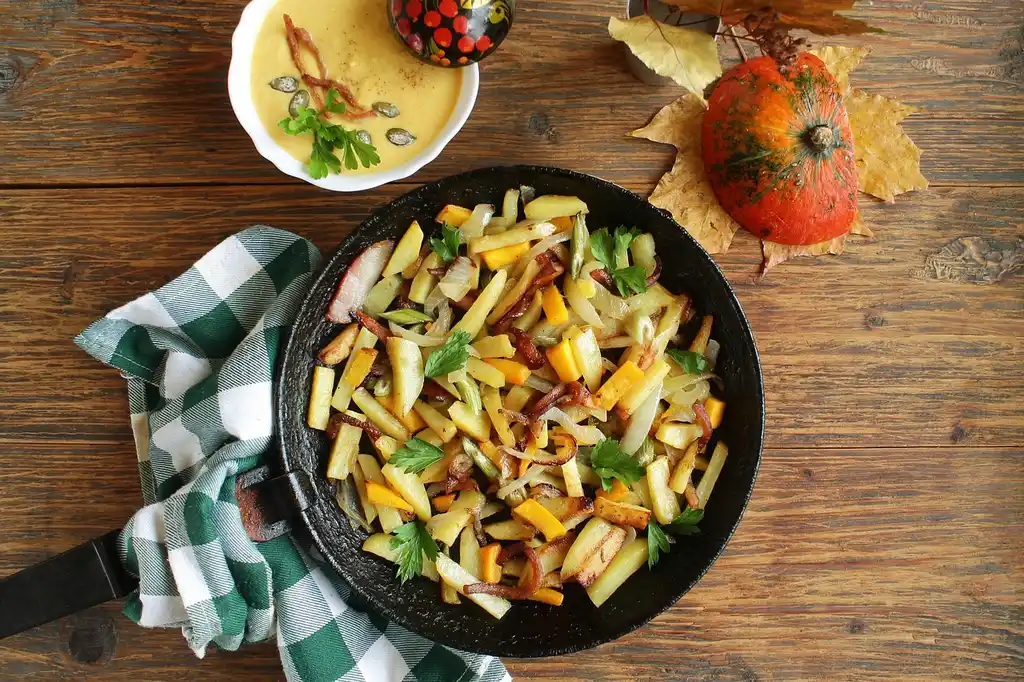
A roasting pan should be loosely filled, not packed to the rim. The food should sit in a single layer with room for air to move and moisture to escape; if the surface is covered edge to edge or the ingredients mound up, the pan is too full. In practice, split the batch when the load looks tight.
Think in terms of airflow rather than volume. If the pan is about half to two-thirds full with ingredients that still sit flat, that is usually manageable; if it is deeper than that because of stacked food, the dinner is more likely to steam than roast.
Roasting pan dinner checklist
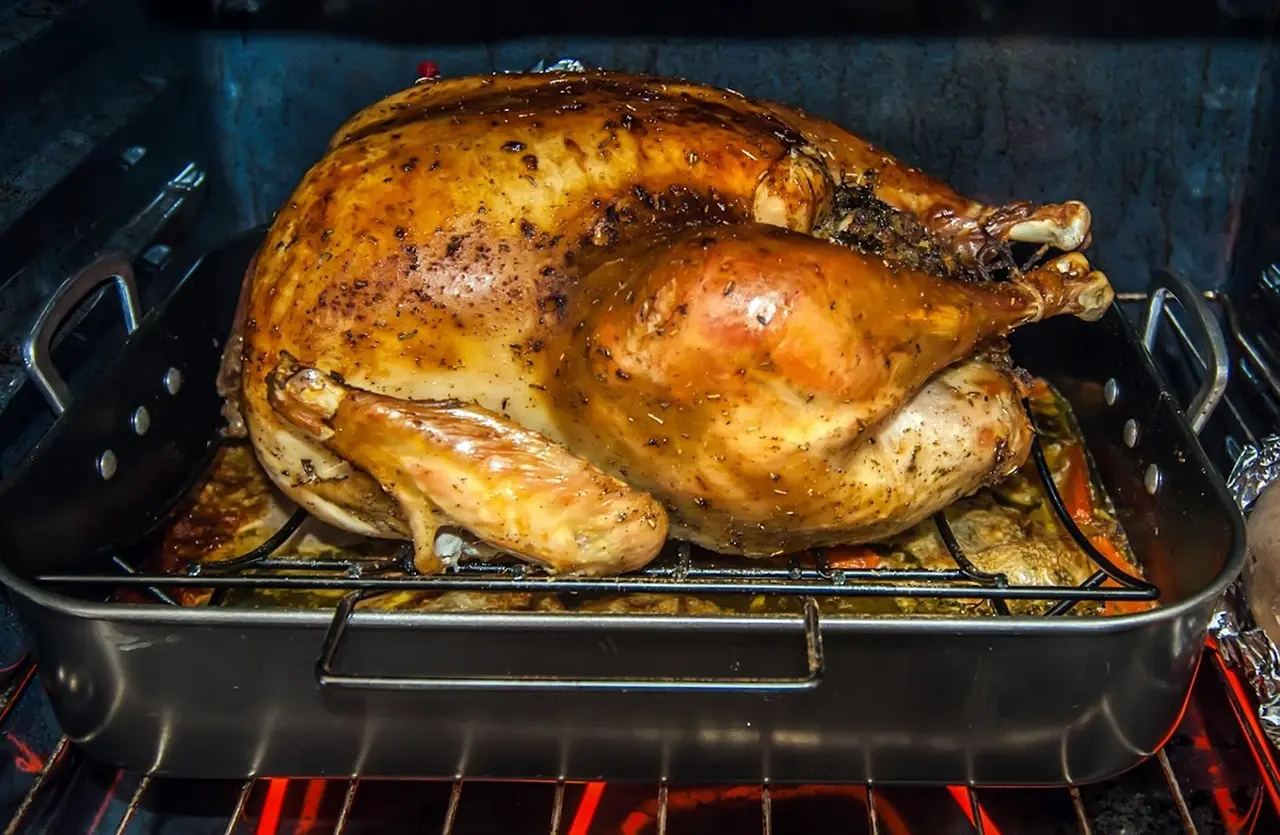
Use this conversion method when you want to adapt a sheet pan dinner to a roasting pan. Start with the ingredient that needs the longest cook, then add the faster items later. Keep the layer loose, and use the pan depth only when it helps with spills or moisture control.
- Pick the pan based on the food, not habit.
- Check whether the ingredients can sit in a single layer.
- Cut dense vegetables smaller if they need more time.
- Preheat the oven to the recipe temperature, often around 400°F for sheet pan dinners.
- Start the longest-cooking ingredients first.
- Add quick-cooking vegetables and delicate proteins later.
- Stop when the meal is done; do not wait for every ingredient to match a fixed clock.
| Ingredient type | Pan-size example | First or later? | Yes/No | Crowding or steam risk | Space needed | Roasting pan appropriate? | Roasting pan or half-sheet pan? |
|---|---|---|---|---|---|---|---|
| Potatoes | 9×13 if cut small; 16×13 or 18×13 for larger batches | First | Yes | Medium to high if cut large or layered | Room for small cut pieces in one layer | Yes, if the pan is not crowded | Yes for smaller batches; half-sheet for larger, browning-focused batches |
| Carrots | 9×13 for modest loads; 18×13 for wider spacing | First | Yes | Medium if pieces are thick and close together | Even cuts with open gaps | Yes | Yes if juices are an issue; half-sheet if you want more surface area |
| Brussels sprouts | 9×13 for a small batch; 16×13/18×13 for better browning | First or with a head start | Yes | Medium; high if cut sides are buried or packed | Single layer with cut sides exposed | Yes | Usually yes, but half-sheet is better for extra browning |
| Broccoli florets | 16×13 or 18×13 if you want room; avoid tight 9×13 piles | Later | Yes | High if florets are wet or piled | Loose spacing around each floret | Yes, if added near the end | Yes for mixed dinners; half-sheet if browning matters most |
| Asparagus spears | 9×13 for a small amount; half-sheet for cleaner spacing | Later | Yes | High if bundled tightly or overcooked | One layer with minimal overlap | Yes | Yes, though half-sheet is easier for crisp tips |
| Bell peppers | Any size if the cut pieces stay spread out | Later | Yes | Medium if they release liquid and sit in it | Space to blister instead of steam | Yes | Either, depending on batch size |
| Mushrooms | 16×13 or 18×13 is better for evaporation | Later | Yes | High because mushrooms release moisture | Room for moisture to evaporate | Yes, if the pan is not packed | Often better on a half-sheet for faster drying and browning |
| Cherry tomatoes | 9×13 for a small amount; wider pan for less liquid pooling | Later | Yes | High once they burst and release juices | Light spacing to avoid bursting into excess liquid | Yes, but watch for extra juices | Half-sheet if you want more caramelization |
| Chicken | 9×13 for a small batch; 16×13 or 18×13 for bone-in pieces with vegetables | First, or with vegetables that take the same time | Yes | Medium if skin-on pieces sit in drippings | Space around each piece | Yes | Yes for saucy or small-batch dinners; half-sheet for broader browning |
| Fish or salmon | Any size with room for late addition; smaller batches benefit from 9×13 | Later | Yes | High if added early or if liquid collects underneath | Gentle spacing and careful timing | Yes, but only if added late | Half-sheet is usually easier for quick-cooking fish |
What foods work best?
The best foods for a roasting pan dinner are the ones that can roast in a single layer and tolerate staggered timing. Dense vegetables, chicken, and saucier mixtures fit that pattern best. Fast-cooking vegetables and delicate fish can work too, but they usually need to go in later than the sturdier ingredients.
Quick-cooking vegetables
Broccoli florets and asparagus spears are classic quick-cooking vegetables for sheet pan dinners. Bell peppers, mushrooms, and cherry tomatoes also fit this group, though mushrooms and tomatoes can release moisture that changes the pan environment. Add these later if the rest of the meal needs more time.
In a deeper pan, these vegetables need even more breathing room than they would on a half-sheet pan. If they are packed close together, they soften before they brown.
Longer-cooking vegetables
Potatoes, carrots, and Brussels sprouts need more time than tender vegetables. Cut them smaller if you want them to finish with the rest of the meal, or give them a 10-15 minute head start when the recipe includes faster items. That head start is one of the simplest ways to keep the whole pan on schedule.
For a roasting pan dinner, the dense vegetables should form the base layer only if they still have room around them. If they cover the whole surface in a tight mat, the pan is too full.
Chicken, fish, and salmon
Chicken is one of the most common sheet pan proteins because it pairs well with potatoes or broccoli and fits low-effort weeknight dinners. It can go in at the start with dense vegetables, as long as the pieces are spaced well and the pan is not crowded. Chicken breasts and asparagus are often paired in a recipe-dependent roast that commonly falls around 20 to 25 minutes at 400°F, depending on cut size and pan load.
Fish and salmon cook quickly, so they usually belong later than dense vegetables. If you place them in a deep roasting pan from the start, they can overcook before the potatoes are done. Add them near the end and watch the surface closely.
How do you set the oven?
For many sheet pan dinners, 400°F is a common starting point. That temperature gives enough heat for browning while still leaving room to stagger ingredients. The right oven setting depends on how dense the food is, how much moisture it releases, and whether the pan is shallow or deep.
Common starting temperature
Begin with the recipe temperature unless the ingredients clearly need a different treatment. A roasting pan does not automatically require a hotter oven, but the pan depth may mean you need better spacing or a later add-in rather than a temperature change. The goal is to match heat to ingredient timing.
Higher heat helps browning, but it also shortens the window before delicate ingredients overcook. If the meal includes both potatoes and fish, the answer is usually timing, not a bigger flame.
How temperature affects browning
Browning improves when moisture leaves the pan quickly. A crowded roasting pan holds that moisture longer, so the same 400°F setting can perform very differently depending on pan load. A shallower pan exposes more food to direct hot air, which is why it often browns faster than a deeper one.
If you want a browned finish, keep the layer open and avoid a pile of juices at the bottom. The food should roast, not braise.
When to adjust for dense ingredients
Use smaller cuts or a head start for potatoes, carrots, and Brussels sprouts. If the denser vegetables are too large, the faster ingredients will finish first and dry out while the rest catches up. A staggered start keeps the timing aligned without forcing the whole pan to cook longer than it should.
For mixed dinners, plan for the whole meal to be ready in about 30-40 minutes when the ingredients are chosen and cut for similar timing. If the dense pieces are large, expect the schedule to stretch.
How do you avoid soggy results?
To avoid soggy results, keep the food in a single layer, use enough space between pieces, and choose a pan that matches the batch size. A deeper roasting pan is fine when it contains a small, loose load. It fails when it turns a roast into a covered, crowded stew of ingredients and steam.
Keep a single layer
Single-layer arrangement is the simplest rule to follow. It keeps ingredients roasting instead of steaming and gives hot air access to more surfaces. If pieces are stacked, the lower layer softens first and browning becomes uneven.
Leave visible gaps. Food should sit in the pan with room between pieces, not pressed wall to wall.
Stagger add-ins by cook time
Add faster-cooking ingredients later, especially quick vegetables and fish. Broccoli, asparagus, bell peppers, mushrooms, and cherry tomatoes usually do better when they join after the denser vegetables have started. That same rule helps chicken stay juicy while still letting the vegetables brown.
Say your roasting pan holds potatoes, carrots, and chicken. Start those first, then add asparagus near the end. The pan stays organized, and the asparagus keeps its shape instead of collapsing into the steam from the potatoes.
Use the right pan size
A pan that is too small creates the same problem as a pan that is too deep and crowded: too much moisture, too little airflow. If the batch is large, split it between pans or roast in batches. If the batch is small, a roasting pan may be the better choice because it contains juices without filling the surface.
The right size is the one that leaves breathing room. Depth alone does not fix overcrowding.
Can I line a roasting pan with foil or parchment?
Yes, but only when the recipe and heat needs allow it. The article recommends lining the pan with parchment paper or foil for easier cleanup, yet the choice depends on the food, the temperature, and how much browning you want. A lined pan can be practical, but it should not block the result you are after.
Use parchment when you want a lighter cleanup and the heat stays within the paper’s safe range for the recipe. Use foil when you want a sturdier liner for drippings or saucy food. If maximum browning matters most, an unlined pan may give better contact.
Frequently asked questions
Can I use a roasting pan instead of a sheet pan for dinner?
Yes, if you adjust for the deeper sides. A roasting pan usually works best when the food stays in a single layer and the pan is not crowded. If the recipe depends on wide surface area and extra browning, a half-sheet pan is usually the better tool.
What size roasting pan works best for one-pan dinners?
The best size is the one that leaves room around the ingredients. For one-pan dinners, look for a roasting pan that can hold your batch in a loose single layer without piling food on top of itself. A 9×13 pan can work for a small batch, while 16×13 or 18×13 gives better breathing room for larger dinners. If the pan is too small, split the meal rather than crowd it.
Do I need to adjust oven time when using a roasting pan?
Sometimes. The oven temperature may stay the same, often around 400°F, but the cook time can change if the pan is deeper, fuller, or loaded with wetter ingredients. Use ingredient timing, not the clock alone, and add quick items later when needed.
Why do vegetables get soggy in a roasting pan?
They get soggy when the pan is crowded and steam cannot escape. Deeper sides can hold moisture near the food, which slows browning. Use a single layer, keep space between pieces, and avoid overfilling the pan if you want vegetables to brown instead of soften.
How do you keep food from steaming in a roasting pan?
Keep the batch loose and separate ingredients by cook time. Start dense vegetables and chicken first, then add quick-cooking vegetables later. If the pan is more than lightly filled, use a second pan or switch to a half-sheet pan so hot air can move around the food.
What foods work best in a roasting pan dinner?
Chicken, potatoes, carrots, and Brussels sprouts work well because they tolerate a staged roast. Broccoli, asparagus, bell peppers, mushrooms, and cherry tomatoes can work too, but they usually go in later. Fish and salmon are also possible, provided they are added near the end.
How do I know chicken or fish is done safely?
Use doneness cues tied to the ingredient, not a fixed minute count. Chicken should reach a safe internal temperature of 165°F, while fish is generally done when it flakes easily and is opaque; many trusted food-safety sources point to 145°F as the safe endpoint for fish. Because cut size and pan depth change timing, always use the recipe as a range, not a guarantee.
Sources
USDA Food Safety and Inspection Service: safe minimum internal temperature for poultry; fish and seafood doneness guidance.
King Arthur Baking: half-sheet pan sizing references and baking pan size conventions.
Reynolds Kitchens: parchment paper and foil heat-use guidance.
Bon Appétit and other trusted culinary testing sources: common roasting temperature ranges around 400°F for vegetables and mixed sheet pan dinners.
Products related to this article
Sponsored / affiliate links. As an Amazon Associate I earn from qualifying purchases. I may earn additional commission from eligible campaigns.