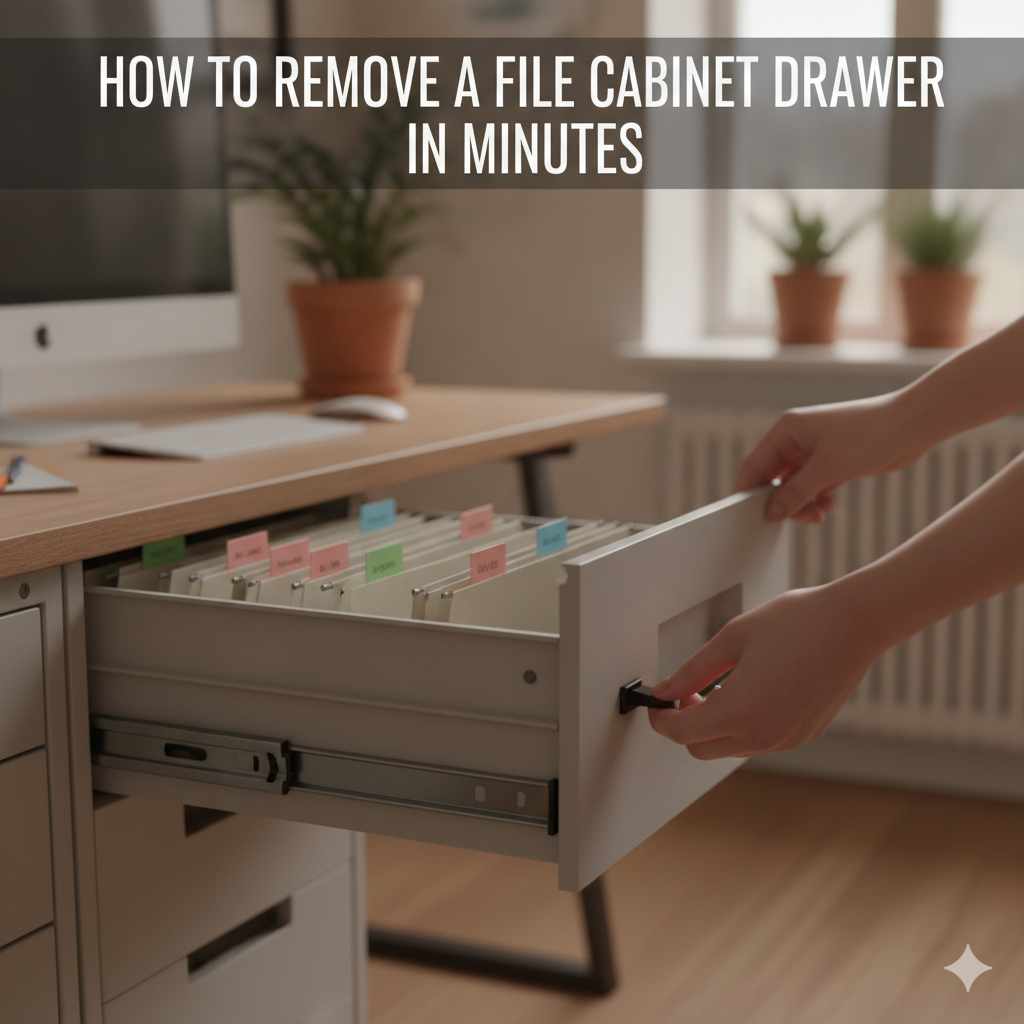
Removing a file cabinet drawer usually involves releasing a locking mechanism or tilting the drawer. Most drawers have simple clips, tabs, or levers that need to be pushed or lifted. Careful observation of the drawer slides is key to finding the release point for quick removal.
Understanding Your File Cabinet Drawer
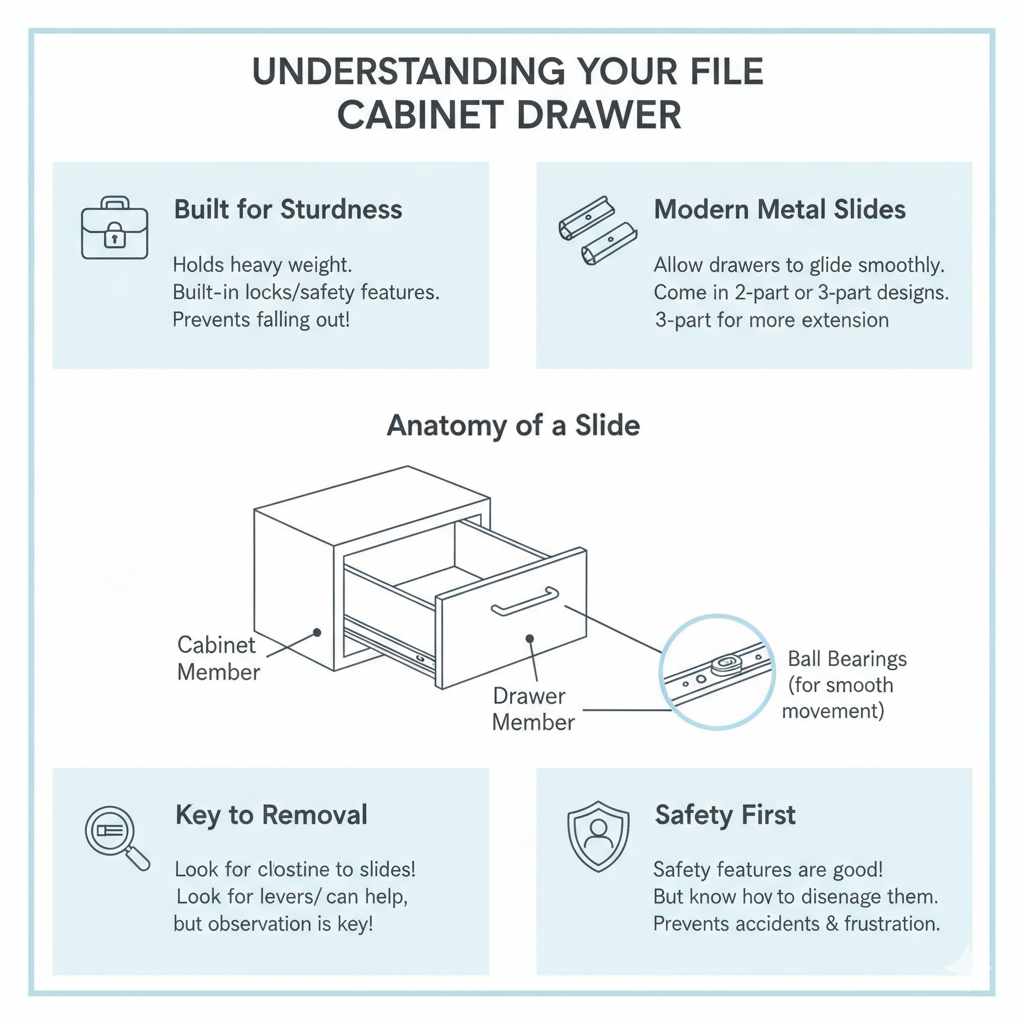
File cabinet drawers are built to be sturdy. They need to hold a lot of weight. Because of this, they often have built-in locks or safety features.
These features stop the drawer from just falling out. This is a good thing for safety. But it can make removal a puzzle if you don’t know what to look for.
Most modern filing cabinets use metal slides. These slides let the drawers glide in and out smoothly. There are different types of slides.
Some have two parts. One part attaches to the cabinet. The other part attaches to the drawer.
Some slides have three parts. These allow for even more extension.
Knowing your cabinet’s make and model can help. But often, you can figure it out by just looking closely. The slides are where the magic (or the struggle) happens.
Pay close attention to them.
How Drawer Slides Work (and How to Release Them)
The key to removing a file cabinet drawer is understanding its slides. These are the tracks that guide the drawer. They have mechanisms to stop the drawer from coming all the way out accidentally.
Think of them like a safety brake.
Most common slides have a release lever or tab. This tab is usually on the inner part of the slide. It connects the part on the cabinet to the part on the drawer.
You need to press or lift this tab. This disengages the lock. Once disengaged, the drawer should slide out easily.
Sometimes, the release is a small plastic or metal piece. It might look like a clip. You’ll need to push it in.
Other times, it’s a tab you lift up. You might need a small flathead screwdriver to help. But try with your fingers first.
It’s often a bit of trial and error. Gently pull the drawer out a little. Look at the side of the slide.
You might see the tab clearly then. Some systems are more hidden. You might need to get down low to see them.
Common File Cabinet Drawer Types and Removal
There are a few common designs for file cabinet drawers. Knowing which one you have makes removal much simpler. Let’s look at the most frequent types.
Type 1: The Standard Slide with Release Lever
This is the most common type. You’ll find it in many office cabinets. The slides have at least two parts.
One is attached to the cabinet frame. The other is attached to the side of the drawer.
To remove this drawer, pull it out as far as it will go. Look for a small plastic or metal lever. This lever is usually on the inner rail of the slide.
It sticks out slightly. You need to push this lever down or sideways. Sometimes, you need to push both levers on both sides at the same time.
You might hear a click. That means it’s unlocked.
Once unlocked, the drawer should slide out completely. If it’s still stuck, check the other side. Ensure you pressed both levers.
Sometimes, one side might be tricky to reach.
Type 2: The Drawer with a Lip or Notch
Some older or simpler cabinets don’t have complex release levers. Instead, the drawer itself might have a notch or a specific shape. The cabinet slide has a matching part.
It might be a simple groove or a raised lip.
To remove these, you usually need to tilt the drawer. Pull the drawer out slightly. Then, lift the front of the drawer up.
Try to angle it upwards. As you lift, you might need to push it back in a little. This disengages the front lip from the cabinet slide.
Once the front is free, you can usually lift the entire drawer out. This method is common in wooden filing cabinets or older metal ones. It requires a bit of gentle wiggling.
Don’t force it. If it feels stuck, try a different angle.
Type 3: The Full-Extension Slide with a Button
These are often on higher-end or newer cabinets. They allow the drawer to extend almost all the way out. They typically have a more sophisticated release mechanism.
This is often a button or a small paddle you press.
Pull the drawer out fully. Look for a small button or a raised area on the slide. You’ll need to press this button.
You might need to press it while simultaneously pulling the drawer forward. Some models require you to press a button on both sides of the drawer slide at once.
These can be a bit stiff. You might need to press firmly. A helpful tip here is to look up the brand of your filing cabinet.
Often, their website has diagrams or videos. This can show you the exact release point.
Type 4: The Drawer with No Obvious Release
This type can be frustrating. Some cabinets have slides that rely on gravity or a very subtle mechanism. You might pull the drawer out, and it just stops.
There’s no lever in sight.
In these cases, you might need to lift the front of the drawer slightly. Then, try to push the drawer back in a little bit. This action can sometimes reset the internal locking mechanism.
Once reset, try pulling it out again. You may need to combine this with a slight tilt.
Another approach is to gently lift the drawer. Try to lift it straight up and out. If it’s still in the cabinet, it means something is holding it.
Check the very back of the slide. Is there a small stopper? You might need to push that stopper in.
I remember one time, I was trying to remove a drawer from an old metal cabinet. It just wouldn’t budge. I pulled, I jiggled, I looked everywhere for a lever.
Nothing. I was getting so annoyed. Then, I noticed a tiny little notch at the very bottom of the slide.
I pushed the drawer in, lifted the front, and then pushed it slightly back in. Click! It came right out.
It was so simple, I felt a bit silly for not seeing it sooner. Sometimes, it’s the smallest things.
Step-by-Step Guide: Removing a File Cabinet Drawer
Let’s walk through the general process. This applies to most common drawer types. You’ll be a pro at this in no time.
Step 1: Empty the Drawer
This is crucial. A full drawer is heavy. It’s also harder to maneuver.
Remove all files, papers, and any other contents. This makes the drawer lighter and easier to handle. It also protects your documents from any accidental drops.
Step 2: Pull the Drawer Out
Gently pull the drawer outwards. Pull it as far as it will go. Stop when you feel resistance.
This resistance is usually the safety stop or the release mechanism engaging.
Step 3: Inspect the Drawer Slides
Get down low and look closely at the sides of the drawer slides. You’ll see the metal tracks. On the inside of these tracks, look for any levers, tabs, buttons, or notches.
This is where the drawer is being held.
You’ll likely see two slides, one on each side. You need to disengage the mechanism on both sides, or at least understand how it works on one side.
Step 4: Disengage the Release Mechanism
This is the main step. Based on what you saw in Step 3:
- If you see a lever: Push it down or sideways. You might need to use a finger or a flathead screwdriver.
- If you see a button: Press it firmly.
- If you see a notch: You might need to lift the front of the drawer and push it back in slightly.
- If there’s no obvious release: Try lifting the front of the drawer slightly and pushing it back in a bit. Then try pulling again.
Often, you need to do this on both sides. Sometimes one side is easier to access than the other. Try to press both simultaneously if possible.
You should feel the resistance release.
Step 5: Remove the Drawer
Once the mechanism is disengaged, the drawer should now slide out completely. Pull it gently. If it still feels stuck, double-check that you’ve fully released the mechanism on both sides.
You might need to wiggle it slightly.
Step 6: Reinstallation (If Needed)
To put the drawer back, line up the slides. Push the drawer in slowly. You’ll feel it stop as the release mechanism re-engages.
You might need to press the release levers again as you push the drawer back in. Then, push it all the way closed. You should hear or feel a click as it locks back into place.
Quick Drawer Release Checklist
- Empty Drawer: Always start with an empty drawer.
- Full Extension: Pull drawer all the way out.
- Inspect Slides: Look for levers, buttons, or notches.
- Press/Lift: Engage the release mechanism.
- Both Sides: Often need to release on each side.
- Gentle Wiggle: If stuck, try small movements.
Troubleshooting Common Problems
What if the drawer just won’t budge? Don’t panic. Here are some common issues and how to fix them.
Problem: The Release Lever is Stuck or Won’t Budge
Sometimes, these levers get gummed up with dust or grime. Or they might be bent. Try spraying a little lubricant, like WD-40, onto the lever and the slide.
Let it sit for a few minutes. Then, try pressing it again. You might need to use a flathead screwdriver for a little extra leverage.
Be gentle, though. You don’t want to break the lever.
Problem: Drawer Only Comes Out Halfway and Stops
This usually means the safety stop is engaged, but the release isn’t disengaged. Go back to Step 4. Look very carefully at the slides.
Is there a secondary lock? Some slides have a small clip that stops them from coming out too far. You might need to push this clip inward while pulling the drawer.
Or, as mentioned before, try lifting the front of the drawer and pushing it back slightly.
Problem: Drawer Sticks When Sliding Out After Release
Even after releasing the mechanism, the drawer might still stick. This is often due to dirt, debris, or bent parts on the slides. Clean the slides thoroughly.
Use a dry cloth or a brush to remove dust and grime. If the slides are bent, you might need to very gently try to straighten them. If they are severely bent, the drawer might not come out easily, and you may need to consider cabinet repair or replacement.
Problem: I Can’t Reach the Release Lever
This is common on deep drawers or cabinets with tight spacing. You might need a helper. One person can hold the drawer steady.
The other can get better access to the slide. A long, thin tool can also help. A thin screwdriver or even a strong ruler can sometimes reach the lever.
Just be careful not to damage anything.
Drawer Removal Myths vs. Reality
Myth:
You need to unscrew the whole cabinet.
Reality:
Most drawers release with simple clips or levers on the slides.
Myth:
A stuck drawer means it’s broken.
Reality:
Often, it’s just a safety mechanism engaged. Look for the release!
Real-World Scenarios: When You Need to Remove a Drawer
You might be surprised how often you actually need to take a file cabinet drawer out. It’s not just for moving day.
Scenario 1: Deep Cleaning
File cabinets, especially in busy offices, can collect a lot of dust and debris. To really get them clean, you need to remove the drawers. This lets you access every nook and cranny.
You can wipe down the cabinet frame and the drawer slides properly. This also helps prevent future sticking.
Scenario 2: Moving or Rearranging Furniture
When you’re moving a file cabinet, it’s much easier and safer if the drawers are out. This lightens the load considerably. It also prevents drawers from sliding open unexpectedly during the move.
Secure the drawers themselves when they are removed. Store them carefully.
Scenario 3: Repair or Replacement
Sometimes, a drawer slide breaks. Or a drawer might get damaged. To fix or replace these parts, you must remove the drawer first.
Once the drawer is out, you can clearly see which part of the slide needs attention. This is also where knowing your cabinet’s brand comes in handy for finding replacement parts.
Scenario 4: Accessing the Back of the Cabinet
Maybe you dropped something behind the cabinet. Or you need to run a cable. Removing a drawer gives you much better access to the space behind and under the cabinet.
It’s a simple way to get to hard-to-reach areas.
I once had a client who spilled coffee all over their desk. It ran down the leg and pooled under their filing cabinet. They needed to get the drawers out to clean the mess properly and make sure the cabinet itself wasn’t damaged.
We took out all the drawers, laid them on tarps outside, and thoroughly cleaned the cabinet’s interior and exterior. It was a big job, but necessary to avoid mold or rust. Seeing those drawers slide out smoothly after a little bit of effort made the whole cleaning process much less daunting.
Drawer Removal Tips for Specific Cabinet Types
Standard Metal Cabinets:
Look for levers on the side of the inner slide. Usually easy to find and press.
Wooden Filing Cabinets:
Often use a lip or notch system. Tilt the drawer up and back to release.
Heavy-Duty / Commercial Cabinets:
May have more robust locking mechanisms. Sometimes require two hands or specific tools. Check manufacturer info.
Compact / Personal Cabinets:
Simpler designs. Often have basic stops that might just need a slight lift or push.
What This Means for You: When to Worry
Most of the time, removing a file cabinet drawer is straightforward. But sometimes, things aren’t so simple. It’s good to know when a problem might be more serious.
When It’s Normal to Have Trouble
- Older Cabinets: The older the cabinet, the more likely the slides are a bit worn or stiff.
- Infrequently Used Drawers: If a drawer hasn’t been opened or closed much, it might be a little sticky.
- Heavily Loaded Drawers: A drawer packed to the brim can make it harder to disengage the mechanism. Always empty it first!
When You Should Be Cautious or Seek Help
- Bent or Damaged Slides: If the metal slides look bent, twisted, or broken, forcing the drawer could cause more damage.
- No Release Mechanism Visible: If you’ve looked everywhere and can’t find any way to disengage the drawer, there might be a hidden lock or a more complex system.
- Excessive Force Needed: If you’re pulling with all your might and it still won’t move, stop. You risk breaking the drawer, the cabinet, or injuring yourself.
- Unusual Noises: Grinding, cracking, or loud snapping sounds when you try to pull or release the drawer are red flags.
If you encounter these situations, it’s best to pause. Re-examine the slides. Perhaps search online for your specific cabinet model.
If you’re still stuck, it might be time to call a handyman or office furniture repair service. They have the tools and experience to handle tricky situations.
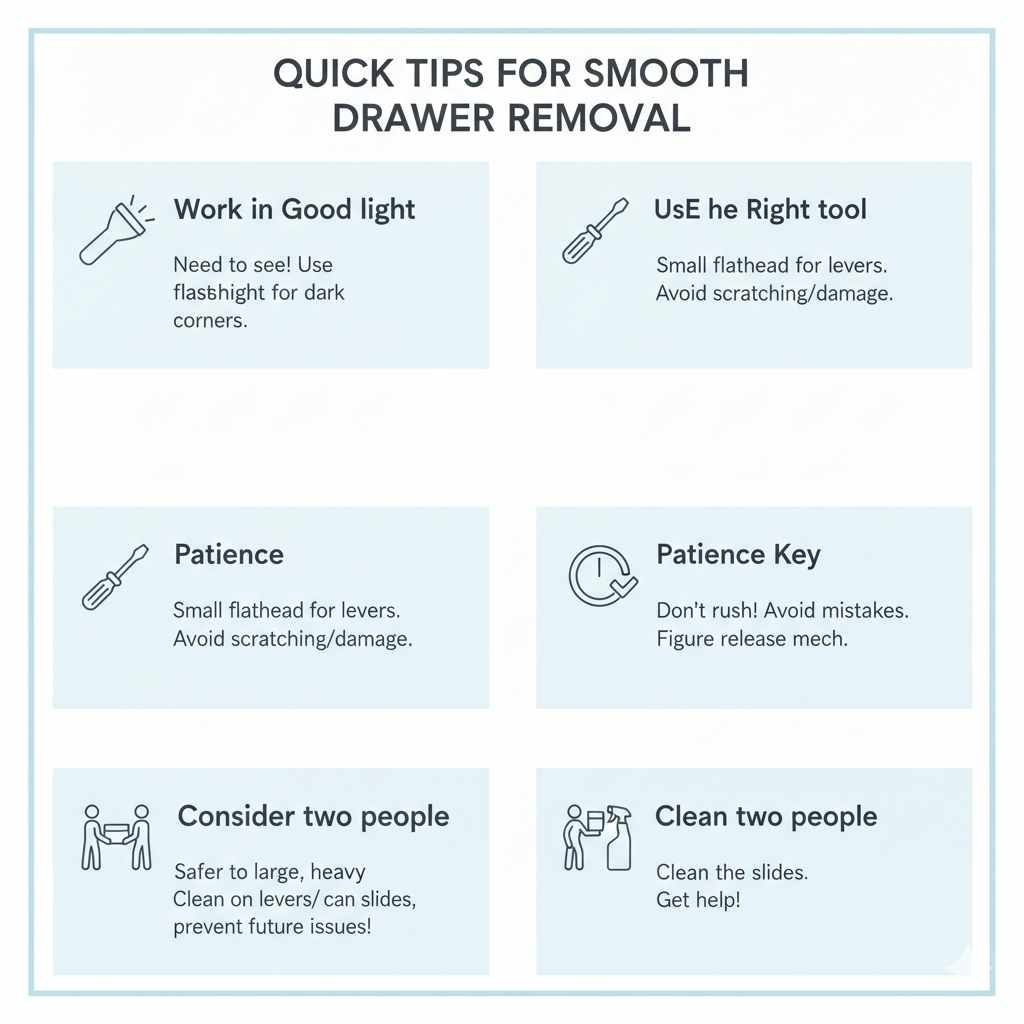
Quick Tips for Smooth Drawer Removal
Here are some final pointers to make the process as easy as possible.
- Work in Good Light: You need to see what you’re doing. A flashlight can be helpful if the cabinet is in a dark corner.
- Use the Right Tool (If Needed): A small flathead screwdriver is handy for nudging levers. Avoid using sharp objects that could scratch or damage the slides.
- Patience is Key: Rushing can lead to mistakes or damage. Take your time, especially when first trying to figure out the release mechanism.
- Consider Two People: For larger or heavier drawers, having a second person can make it much safer and easier.
- Clean the Slides: After removing the drawer, take a moment to clean the slides. A little bit of cleaning can prevent future issues.
Frequently Asked Questions
How do I remove a file cabinet drawer if the release lever is broken?
If a release lever is broken, you might need to try a different approach. For some slides, you can manually disengage the locking mechanism with a thin tool like a screwdriver. You might also need to gently lift the front of the drawer while pushing it back slightly to release it.
If the slide itself is damaged, you may need to replace the entire slide assembly.
Can I remove a file cabinet drawer without emptying it first?
It’s strongly recommended to empty the drawer first. A full drawer is heavy and difficult to maneuver. This makes it harder to see the release mechanism and increases the risk of dropping the drawer or its contents.
Emptying it makes the process much safer and easier.
What if my file cabinet drawer won’t go back in after removing it?
If the drawer won’t go back in, the slides might be misaligned. Ensure the drawer is positioned correctly on the tracks. You may need to gently lift the front of the drawer as you push it in.
Also, check that the release mechanism is fully disengaged while you are pushing it back. Sometimes, pushing it all the way in will cause it to click and lock back into place.
Are there different types of file cabinet drawer slides?
Yes, there are several types. The most common are side-mount slides, which attach to the sides of the drawer and cabinet. These often have a ball-bearing system for smooth operation.
Other types include epoxy-coated slides, which are often found on less expensive cabinets, and full-extension slides that allow the drawer to open almost completely.
How do I know which release mechanism to use?
You need to visually inspect the drawer slides. Look for small levers, buttons, or notches on the inner part of the slide. These are the release points.
If you can’t find any, the drawer might rely on a tilt-and-lift method. Carefully pulling the drawer out a bit and then observing how it stops can reveal the mechanism.
What if my file cabinet is very old and has no visible release?
Older cabinets might have simpler, less obvious release systems. Often, these rely on tilting the drawer upwards at the front and then trying to push it back into the cabinet slightly. This action can disengage a lip or notch from the cabinet’s track.
Experiment with gentle up-and-back movements.
Conclusion
Removing a file cabinet drawer doesn’t have to be a headache. By understanding the different types of drawer slides and their release mechanisms, you can tackle this task with confidence. Remember to empty the drawer first, inspect the slides carefully, and use the correct method to disengage the lock.
Most of the time, a simple lever or button is all that stands between you and a free drawer. With a little observation and patience, you’ll have that drawer out in no time.