How to Remove Drawers With Metal Glides and No Levers: 3 Steps
Remove a drawer with metal side glides and no lever by lifting the left clip up while pushing the right clip down, then pulling the drawer straight out. Skip disengaging both clips at once and the drawer just jams instead of coming free. This 3-step method works with no tools or materials needed.
Other drawer types release differently — see how to remove a Maximera drawer front, a Samsung refrigerator bottom drawer, or a file cabinet drawer if this method doesn’t match your setup.
In this case, the drawer has pre-attached side rail guides, and the vanity has pre-attached glides. To remove the drawer, simply fully open it, lift the left side clip up, push the right side clip down, and hold this position while pulling the drawer completely out.
Putting the drawer back into place is just as easy. Insert the rail guides into the glides and gently push the right side clip down.
Best Drawer Glide Repair Pick
Kenlin Rite-Trak II Drawer Slide Replacement (5 Sets) – $7.99
Direct replacement track guides for the exact clip-style, no-lever side glide system this guide’s 3-step method is built for.
- Best for: Dresser and nightstand drawers with worn or broken side clips
- Why we picked it: Matches the exact left-clip-up, right-clip-down glide style this guide walks through
- Main drawback: Only fits Kenlin Rite-Trak style tracks – check your glide brand first
Compare more drawer slide replacements
 Option 1 Liberty 16-Inch Bottom Mount Drawer Slide – $9.52
|
 Option 2 uxcell Heavy Duty Side Bottom Drawer Glides – $15.39
|
 Option 3 VAGUDE Full Extension Ball Bearing Slides – $16.11
|
As an Amazon Associate we earn from qualifying purchases.
How to Remove Drawers with Metal Glides and No Levers
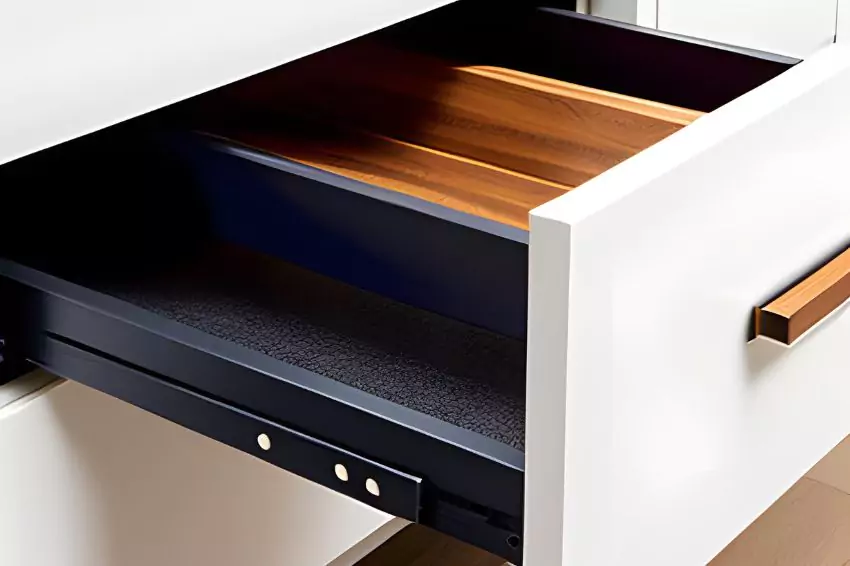
As a professional, I know that removing drawers with metal side glides can be a challenging task, especially when there are no levers to help. In this article, I will show you how to remove drawers with metal glides and no levers easily.
Opening the Drawer
To start, fully open the drawer. This will allow you to access the side rail guides and the vanity pre-attached glides.
Manipulating the Clips
Next, you need to manipulate the clips to remove the drawer. To do this, lift the left side clip up and push the right side clip down. Hold this position while pulling the drawer completely out.
Drawer Extraction
To put the drawer back into place, insert the rail guides into the glides and gently push the right side clip down. This will secure the drawer in place.
Drawer Replacement
If you need to remove a drawer with metal side glides, you can do so without any tools or materials. In this case, the drawer has pre-attached side rail guides, and the vanity has pre-attached glides. Here’s how to remove and replace the drawer.
Inserting the Rail Guides
To remove the drawer, start by fully opening it. Then, lift the left side clip up and push the right side clip down. Hold this position while pulling the drawer completely out.
To put the drawer back into place, insert the rail guides into the glides. Gently push the right side clip down until it clicks into place.
Adjusting the Right Side Clip
If the drawer is not sliding correctly, you may need to adjust the right side clip. To do this, remove the drawer and locate the clip. Use a screwdriver to adjust the clip up or down as needed.
FAQ
Removing drawers with side glides can be a daunting task, but with the right guidance, it can be done without any tools or materials. In this case, the drawer has pre-attached side rail guides, and the vanity has pre-attached glides. Here are some frequently asked questions that can help you with this project.
To put the drawer back into place, insert the rail guides into the glides and gently push the right side clip down.
No, you do not need any tools or materials for this project. The pre-attached side rail guides and vanity glides make it easy to remove and put back the drawer.
Products related to this article
Sponsored / affiliate links. As an Amazon Associate I earn from qualifying purchases. I may earn additional commission from eligible campaigns.