How to Install a Barn Door Lock Without Alignment Errors
To install a barn door lock, pick a latch that fits the door’s gap to the wall, the security you need, and the door’s thickness before you drill. Then mount the latch and strike so they meet at the closed position. Skip that check, and the lock can bind, sit crooked, or miss the catch. This guide shows how to pick the right lock style and install it without alignment mistakes.
Barn door lock basics


Sliding barn doors need a lock that works with movement, gap size, and the face of the door. A privacy latch that fits a bedroom door may be wrong for a shed door or a thin stile. Fit comes first, then security, then appearance.
Art of Lock Picking lists seven barn-door lock solutions, including the hook and eye latch, 90-degree angle flip latch, 90-degree buckle lock, hasp and padlock, teardrop latch, sliding bolt lock with hasp, and cane bolt floor drop rod. That list is useful because each style solves a different clearance or security problem.
For light-duty interior use, a hook and eye latch is one of the easiest barn-door security options to install. It is also a low-cost solution. It is less secure than heavier latches, so it suits privacy more than real resistance.
Manufacturer install guidance for privacy and barn-style latches consistently stresses the same basics: align the catch with the closed-door position, confirm the door can fully clear the hardware, and fasten into solid wood before tightening fully. That sequence matters more than the decorative style of the latch (manufacturer installation directions for barn-door/privacy latch kits).
What you’ll need
- Drill
- Drill bits for pilot holes
- Screwdriver
- Tape measure
- Pencil
- Level
- Chosen barn door lock or latch kit
- Screws supplied with the kit
- Longer screws if the door is heavy, thick, or outdoors
Before you drill, check the door gap, wall clearance, reveal, and overlap. Door gap is the space through which a hand might reach the latch. Wall clearance is the space the hardware needs when the door slides. Reveal and overlap tell you whether the strike and catch can meet cleanly.
Measure the stile width before you pick the latch body. On narrow stiles, the screw pattern may crowd the edge, so a compact lock is safer than a wide hasp. Also measure the overlap at the closed position and the placement distance from the edge of the stile; that placement distance works like a backset and helps keep the hardware centered in solid wood.
For pilot holes, choose a bit that is close to the screw shank diameter so the threads still bite, but don’t force the wood to split. In general woodworking guidance, the pilot bit should be sized by the screw’s root/shank relationship and the wood density: harder wood and larger screws call for a slightly tighter hole, while softer wood can tolerate a touch more clearance (general wood fastener and pilot-hole reference; manufacturer fastener charts).
Standard screws may be too short on heavier doors, exterior doors, or warped doors. Longer screws improve holding strength, especially when the latch will be pulled often. Hardware makers also publish minimum clearance around knobs, handles, and lock bodies so the door can slide without rubbing; use those clearances to avoid a latch that fits on paper but collides in use (door hardware brand clearance specifications).
Which barn door lock should you choose?
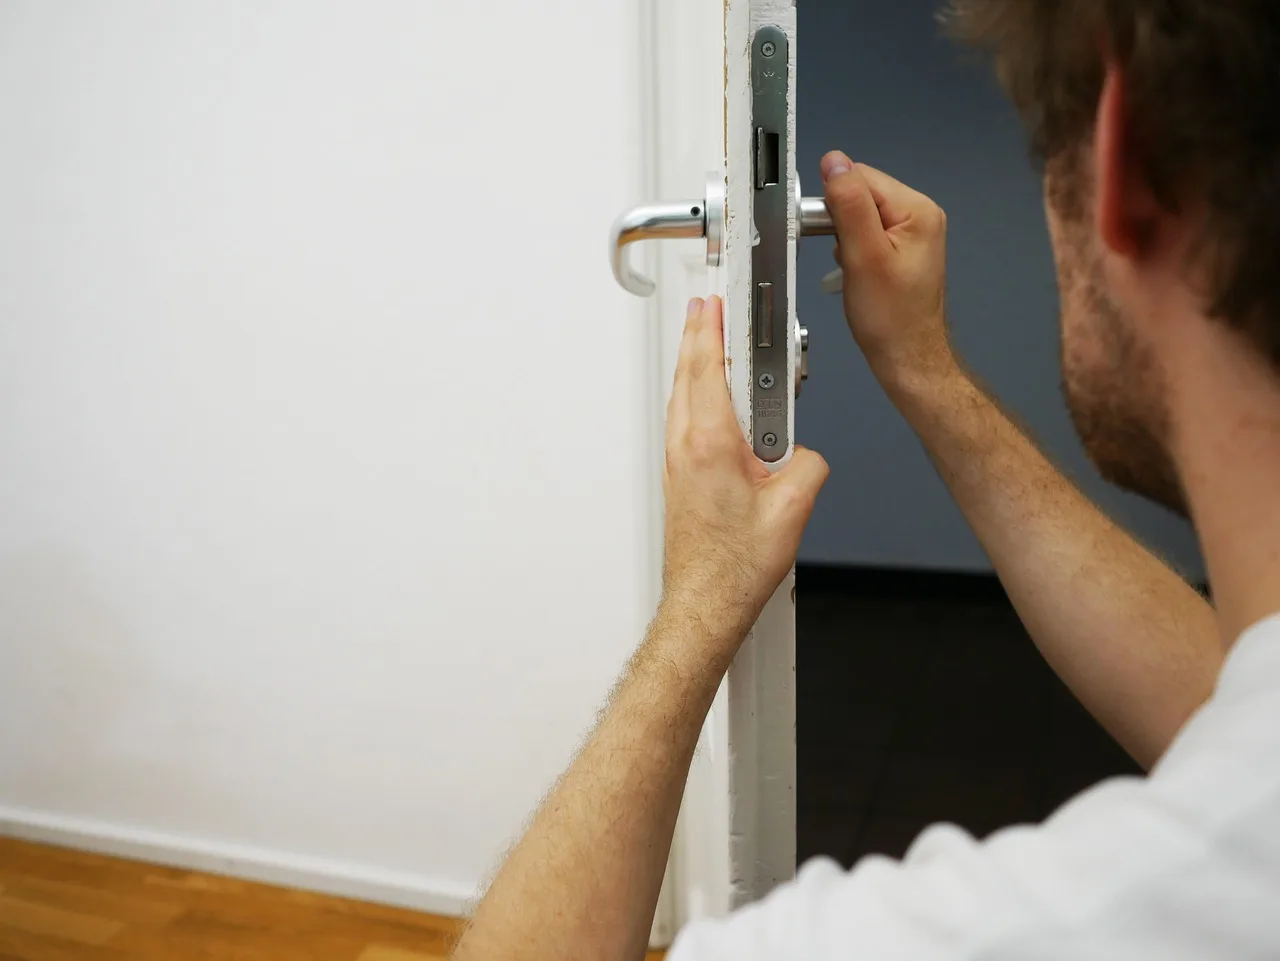
Choose the lock by how much gap you have, how much force you want to resist, and whether the door has enough flat surface for the hardware. A decorative privacy latch can work on a bathroom door. A shed door or a wide-gap installation needs a more secure layout.
Match the lock to the gap
If the door sits far from the wall, the gap may let someone reach through and release the latch. In that case, a simple hook and eye can be a weak choice. A 90-degree buckle lock, a hasp and padlock, or a sliding bolt lock with hasp usually handles reach-through risk better because the catch sits more tightly.
A 90-degree angle flip latch is a good interior-friendly option when you want quick latching and more security than a hook and eye. The 90-degree buckle lock is compact and often uses a thumb-slide operation. Some models mount on the door, while others mount on the jamb.
Match the lock to the security level
For bedrooms and bathrooms, a 90-degree angle flip latch is a practical middle ground. The 90-degree angle latch is commonly described as a good fit for bedrooms or bathrooms, and that suits doors that need privacy but not padlock-level resistance. The hook and eye can work, but it is the lightest-duty choice.
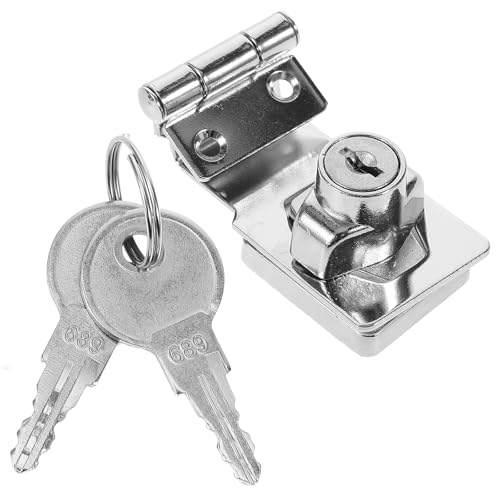
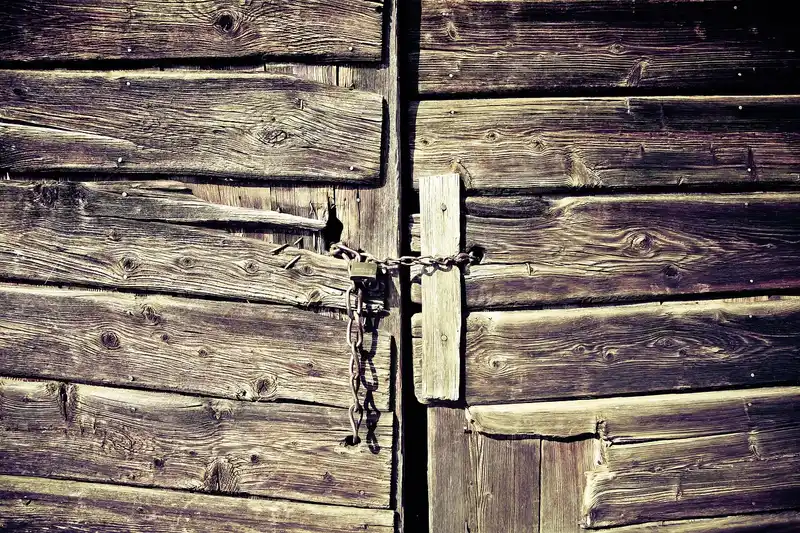
For extra security, a hasp and padlock is the common go-to. It is also suitable for interior or exterior use. A sliding bolt lock with hasp gives more resistance than a simple latch, but alignment matters because the bolt and keeper must line up exactly.
Match the lock to the door construction
Thin stiles need extra care. If the stile is narrow, some latch bodies and screw patterns may crowd the edge or split the wood. In that case, choose a compact latch such as a teardrop latch or a 90-degree buckle lock, and keep the screw pattern centered in solid material.
A cane bolt floor drop rod is different from the other options. It drops into the floor, so it is used for stabilizing or securing sliding doors when floor alignment and drilling are acceptable. It is better for retention than for quick privacy use.
Barn door lock decision table
| Scenario | Best lock type | Required tools | Main failure risk | Minimum flat mounting area | Typical clearance need | Not ideal when | Exact alignment checkpoint |
|---|---|---|---|---|---|---|---|
| Bathroom privacy | 90-degree angle flip latch | Drill, drill bits, pencil, level, screwdriver | Catch sits crooked if the door sags or the jamb is out of square | Small-to-medium flat stile face that accepts both body and strike | Enough wall clearance for the latch arm to rotate without rubbing | Very wide gaps or a door edge that is too narrow for a clean screw pattern | Latch arm lands centered on the strike with no side pressure at full close |
| Bedroom privacy | Hook and eye latch or 90-degree angle flip latch | Drill, drill bits, tape measure, pencil | Hook can be reached through a wide gap | Small flat area near the meeting edge | Minimal clearance if the hook projects into the room | Any opening where reach-through risk matters more than convenience | Hook drops cleanly into the eye without twisting the mounting screws |
| Exterior shed-style use | Hasp and padlock | Drill, drill bits, screwdriver, longer screws, level | Loose mounting if screws are too short or the gate-like opening shifts | Enough flat face for both hasp leaves and screw spacing | Padlock body clearance so the shackle can close freely | Thin, split-prone wood or a place where the lock can be pried easily | Padlock shackle closes fully with the hasp flat and the leaves flush |
| Wide door gap | Sliding bolt lock with hasp | Drill, drill bits, tape measure, pencil, level | Someone can reach through and release the latch if the spacing is not checked | Long enough flat area for the bolt throw and keeper plate | More side clearance than a hook-and-eye style lock | Very tight trim conditions or a door with no room for the bolt travel | Bolt enters the keeper squarely without forcing the door sideways |
| Thin door stile | Teardrop latch or 90-degree buckle lock | Drill, drill bits, pencil, screwdriver | Wood splitting or weak screw bite near the edge | Compact footprint that fits within the stile width | Low projection to avoid edge interference | Stiles too narrow to support even a compact screw pattern | Screw holes stay centered in solid wood with even edge margin on both sides |
Say your bathroom door has a 1/2-inch gap to the wall. A hook and eye may close, but a hand could still reach the hook if the hardware sits too close to the edge. A 90-degree angle flip latch usually gives a cleaner catch point and less exposed release hardware.
Suppose a shed-style barn door is exterior-facing and sees wind pressure. A hasp and padlock or sliding bolt lock with hasp gives better resistance than a decorative privacy latch, but only if the screws bite solid wood and the strike lands squarely.
How do you install a barn door lock?
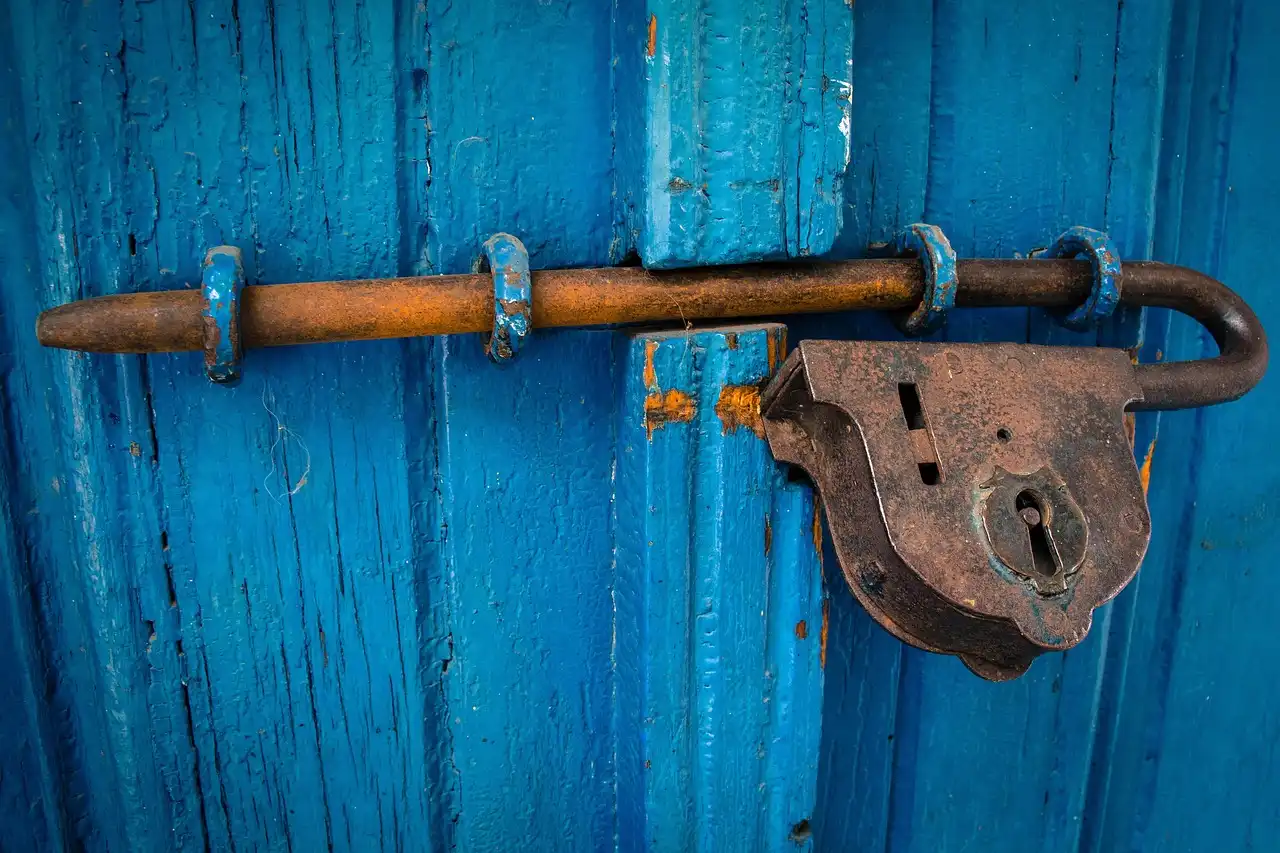
Install it by marking the closed position first, then pre-drilling, fastening, and testing the catch before you call it done. The order matters. If the strike goes on before you confirm clearance and overlap, the latch may bind or miss the keeper.
- Close the door fully and mark the latch height on both the door and the jamb or overlap point.
- Hold the hardware in place with the door in its closed position and check that the catch line clears trim, track hardware, and wall obstructions.
- Mark every screw hole with a pencil.
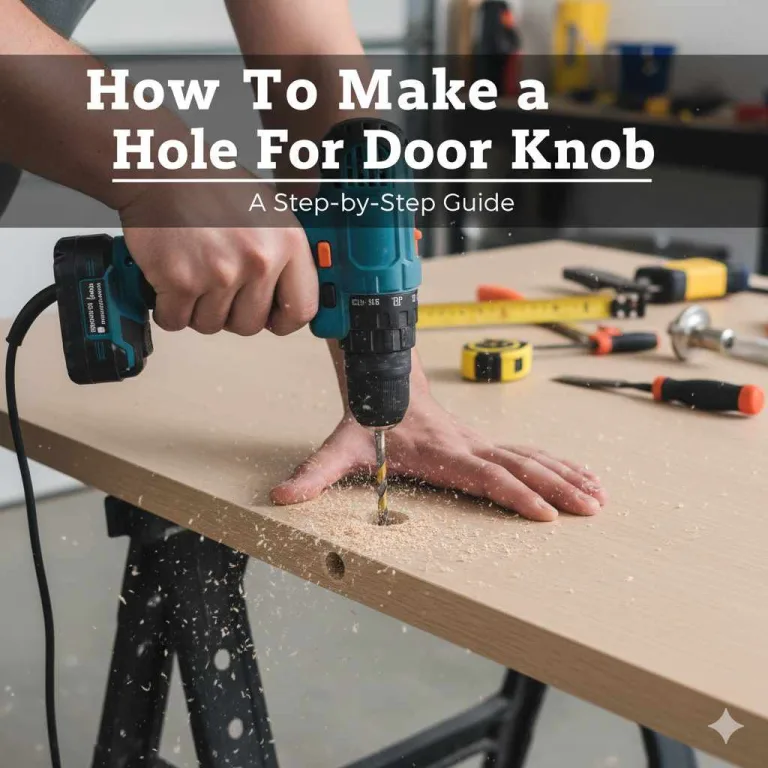
- Pre-drill the holes with a bit sized for the screw shank so the wood is less likely to split.
- Fasten the latch body first, then attach the strike, keeper, or padlock hasp.
- Tighten the screws evenly, then open and close the door several times to confirm the latch meets the catch without rubbing.
- If the catch is off by a little, loosen the screws and shift the hardware by about 1/16 inch, then recheck. Use this small adjustment rather than forcing the latch into place.
Before drilling, confirm three measurements: stile width, overlap at full close, and placement distance from the edge. The placement distance should leave enough material between the hole and the edge so the fastener does not blow out the side. If the lock kit uses a strike plate, keep the strike centered on the overlap instead of hugging the edge.
How do you install a barn door latch that actually stays aligned?
Alignment holds best when the door, track, and jamb are all checked together. A latch that fits on an empty door can still miss after the door hangs on the track. Track sag, a warped door, or an uneven jamb can move the meeting point enough to stop the catch from lining up.
First, place the latch at the same height as the strike will sit when the door is fully closed. Next, confirm that the bolt, hook, or thumb-slide reaches its keeper without side pressure. Finally, tighten the screws only after the parts meet squarely.
How do you test the latch after installation?
Test the latch by opening and closing it several times, checking the throw, the catch, and whether the release is reachable through the gap. A lock that closes once may still fail when the door flexes or settles. Testing after installation catches that problem early.
- Close the door and engage the latch.
- Pull gently on the door to confirm the catch holds without slipping.
- Reach through the gap from the opposite side and check whether the latch can be released too easily.
- Open and close the door about three to five times to make sure the parts stay aligned.
- Look for rubbing, binding, or a latch that sits too tight against the strike.
If that did not work, the next fix is usually to move the strike or keeper slightly, then retest. If the lock still binds, recheck the track and the door edge for sag or twist. A warped door often needs a different latch style rather than more force on the screws.
Common mistakes
Using the wrong lock for the gap is the biggest mistake. A decorative hook may look neat, but a wide gap can let someone reach the release. For privacy, that means the door is closed but not really protected.
Skipping pilot holes is another common problem. Barn-door hardware often sits on wood that can split near the edge. Pre-drilling lowers that risk and helps the screws bite straight.
Choosing screws that are too short weakens the hold, especially on heavier doors and exterior doors. If the hardware flexes after tightening, swap to longer screws before the latch loosens.
Ignoring warped doors or sagging track causes repeat misalignment. If the strike looks correct with the door open but misses when closed, remeasure the closed position instead of forcing the latch.
Frequently asked questions
How do you install a sliding barn door latch?
Mark the closed-door meeting point, pre-drill the screw holes, fasten the latch body, and attach the strike or keeper at the same height. Then open and close the door several times. If the latch catches only when pushed hard, shift the keeper by a small amount and test again.
How do you put a lock on a barn door?
Choose the lock style first, then mount it where the door and jamb meet squarely. A hook and eye works for light privacy, while a hasp and padlock or sliding bolt lock with hasp suits stronger security needs. The lock should close without the door being forced inward.
Can you add a lock to a barn door?
Yes. Most sliding barn doors can take a surface-mounted latch if there is enough flat wood for screws. Check the stile width, the gap to the wall, and the closed overlap before drilling. If the surface is narrow, pick a compact latch body rather than a large hasp.
How do you install a sliding door lock with key?
Use a keyed hasp or keyed latch kit that matches the door thickness, then mark the mounting points with the door fully closed. Pre-drill, fasten the body, and confirm the key cylinder or padlock clears the wall. Exterior doors usually need longer screws for better holding strength.
What tools do you need to install a barn door lock?
At minimum, you need a drill, drill bits, screwdriver, tape measure, pencil, and level. Add the lock kit and longer screws if the door is heavy or outdoors. A pre-drilled pilot hole keeps the hardware from splitting thin wood near the edge.
How do you install a shed door lock?
For a shed-style sliding door, a hasp and padlock or sliding bolt lock with hasp is usually the better choice. Position it so the door cannot be reached through a wide gap. Use longer screws and pre-drill every hole, since exterior wood often needs stronger bite.
How do you install a sliding door lock bar?
Mount the bar with the door fully closed, then mark both ends so the bar reaches its keepers without forcing the door. Pre-drill the mounting points and test the throw before tightening. If the bar rubs the jamb, move it slightly toward the center and retest.
How do you install a barn door latch?
Choose the latch style for the gap and the level of security you need, then mark the closed position, pre-drill, and fasten the hardware. Test the catch, check for reach-through from the other side, and confirm the door still slides without scraping the lock body.
Products related to this article
Sponsored / affiliate links. As an Amazon Associate I earn from qualifying purchases. I may earn additional commission from eligible campaigns.