How to Fix a Water-Damaged Bathroom Vanity
Fix a water-damaged bathroom vanity by stopping the leak first, then repairing only if the swelling is minor and the wood still feels solid; if panels are soft, delaminated, or moldy, replace it. Leave the damage alone and you can trap moisture, warp drawers, and turn a small leak into a bigger cabinet and floor repair. This guide shows how to tell cosmetic damage from structural failure, dry the cabinet, seal repairs, and decide when replacement is cheaper.
Quick checklist: stop the leak, shut the water, dry the cabinet until a moisture meter reading matches nearby dry wood, probe for softness, choose finish repair versus structural repair, seal exposed edges, and monitor for recurrence. If the same spot stays damp or swells again, treat it as an unresolved leak, not a finish problem.
What failed on the vanity?


Start by separating finish damage from core damage. Peeling paint, chipped topcoat, and lifted laminate are usually surface failures. Swollen wood, soft particleboard, delamination, and a sagging sink cutout point to moisture in the cabinet core, which is harder to save and often points to replacement.
Humidity and steam do the most harm at edges, seams, the toe-kick, the sink cutout, side panels, and the cabinet floor. These are the first places where finish breaks down and where water reaches the substrate fastest. A vanity takes more abuse than almost any other piece of furniture in the house. In bathrooms, ventilation matters because steam and high humidity keep wood fibers wet long after a splash has dried; run the exhaust fan during and after showers and keep the room below sustained condensation conditions before repainting or gluing. If mold is present, clean only after leak control, because porous materials that stay wet can support regrowth and may need to be discarded rather than painted over.
What counts as cosmetic damage?
Cosmetic damage means the cabinet still feels hard and keeps its shape. The finish may peel, chip, blister, or lift at a corner, but the underlying board has not gone soft. That kind of damage can often be patched, sealed, and repainted if the leak is fixed first.
What counts as structural damage?
Structural damage means the board has swollen, crumbled, or separated. Under-sink exposure is the usual weak point because steam, splashes, and constant humidity collect there, and a broken bathroom pipe can damage cabinet bases and loosen tile. If the cabinet floor, toe-kick, or sink cutout is soft, the repair usually stops making sense. Do not paint over damp swelling, glue over visible mold, or ignore a recurring leak: those conditions mean the substrate has not dried or stabilized enough for a lasting repair.
How do you triage vanity damage?
| Damage type | Visible symptoms | Likely cause | Likely substrate affected | Repair if / replace if | DIY fix | Effort time | Rough DIY cost band |
|---|---|---|---|---|---|---|---|
| Peeled paint | Flaking, bare spots, chipped edges | Steam, splashes, weak prep, worn topcoat | Plywood, MDF, or painted solid-wood face frame | Repair if the board is hard and dry; replace if peeling follows swelling or repeated moisture intrusion | Lightly sand, remove dust, prime, repaint | 1–3 hours, plus dry time | Low: about $15–$60 |
| Lifted laminate edge | Raised corner, open seam, air gap at edge | Heat, humidity, adhesive failure | Laminate over particleboard, MDF, or plywood | Repair if the edge is intact and the substrate is hard; replace if the core is swollen or the bond keeps failing in the same spot | Reheat if applicable, apply laminate adhesive, clamp or tape flat | 1–2 hours, plus cure time | Low: about $10–$40 |
| Swollen toe-kick | Bowed front base, rough swollen edge | Floor splash, mop water, slow leak | Particleboard or MDF toe-kick panel | Repair if swelling is shallow and the panel stays firm; replace if it is soft, crumbly, or split through the thickness | Dry fully, trim minor fuzz, seal exposed fibers | 2–4 hours, plus dry time | Low to moderate: about $20–$80 |
| Soft cabinet floor | Sagging bottom, spongy feel, stained underside | Persistent under-sink leak, absorbed moisture | Particleboard floor or thin plywood bottom | Repair if the panel is only stained and the surface stays firm; replace if it flexes under light pressure or stays soft after drying | Only if damage is shallow; dry, reinforce, and seal | 3–6 hours, plus 24–48 hours drying | Moderate to high: about $40–$150 |
| Rotted sink cutout | Dark edge, flaking laminate, collapsed opening | Repeated splash and drain leakage | Plywood, MDF, or particleboard around the sink opening | Repair if the damaged area is small and the rim remains rigid; replace if the opening has lost shape or strength | Patch only if the damage is tiny and dry | 4–8 hours | Moderate to high: about $60–$200 |
| Moldy back panel | Musty odor, spotting, black or green staining | Chronic humidity, hidden leak, poor airflow | Hardboard, thin plywood, or MDF back panel | Repair if the panel is sound and the staining is isolated; replace if mold returns, the panel is soft, or cleanup would leave porous material permanently compromised | Clean only after leak control and full drying | 2–5 hours, plus drying and cleaning time | Moderate: about $25–$120 |
| Loose vanity from plumbing leak | Cabinet shifts, gaps at wall, unstable base | Water damage at fasteners or floor contact points | Fastener blocks, toe-kick, subfloor, or wall anchors | Repair if anchors and substrate are still solid; replace if fasteners pull out, the floor is damaged, or movement returns after tightening | Tighten only after inspecting the substrate and wall anchors | 2–6 hours | Low to high: about $20–$250 |
| Repeated edge failure | Same corner peels again after patching | Humidity, steam, poor edge seal, failing adhesive | Laminate edge, veneer layer, or painted corner over MDF/particleboard | Repair if this is the first repeat and the substrate is still hard; replace if multiple repairs fail or delamination keeps spreading | Upgrade sealing only if the substrate is still sound | 1–3 hours each attempt | Low material cost, but repeated labor makes replacement likely |
| Particleboard blowout | Edges crumble, fibers puff up, corners break away | Standing water, chronic leak, saturated board | Particleboard cabinet sides, floor, or toe-kick | Repair if damage is only surface fuzz; replace if the board caves in, crumbles under probing, or has lost screw-holding strength | Dry, consolidate minor fuzz, and seal only if the structure remains firm | 3–6 hours, plus dry time | Moderate: about $30–$140 |
| Plywood edge delamination | Layers separate, edge frays, veneer lifts | Repeated wetting at seams or under sink | Plywood edge band, shelf front, or sink rail | Repair if separation is shallow and localized; replace if layers are separating through the thickness or the edge no longer holds shape | Dry, re-glue shallow separation, clamp, and seal exposed edges | 2–5 hours, plus cure time | Low to moderate: about $20–$100 |
Say your 30-inch vanity has a peeling paint strip on one side and the board underneath is still hard. That is a finish repair. Suppose the same vanity has a swollen toe-kick and a soft cabinet floor under the sink. That is no longer a paint problem; it is a cabinet-core problem.
How do you stop the leak first?
Stop active water before you dry or repair anything. Find the water shutoff valve, which is often beneath the fixture, and close it. If the vanity leak is tied to a supply line or drain issue, the cabinet may need to come out so you can reach the damaged parts safely. When plumbing work is involved, a correct shutoff and careful disassembly protect both the cabinet and the floor below it.
How do you remove plumbing parts carefully?
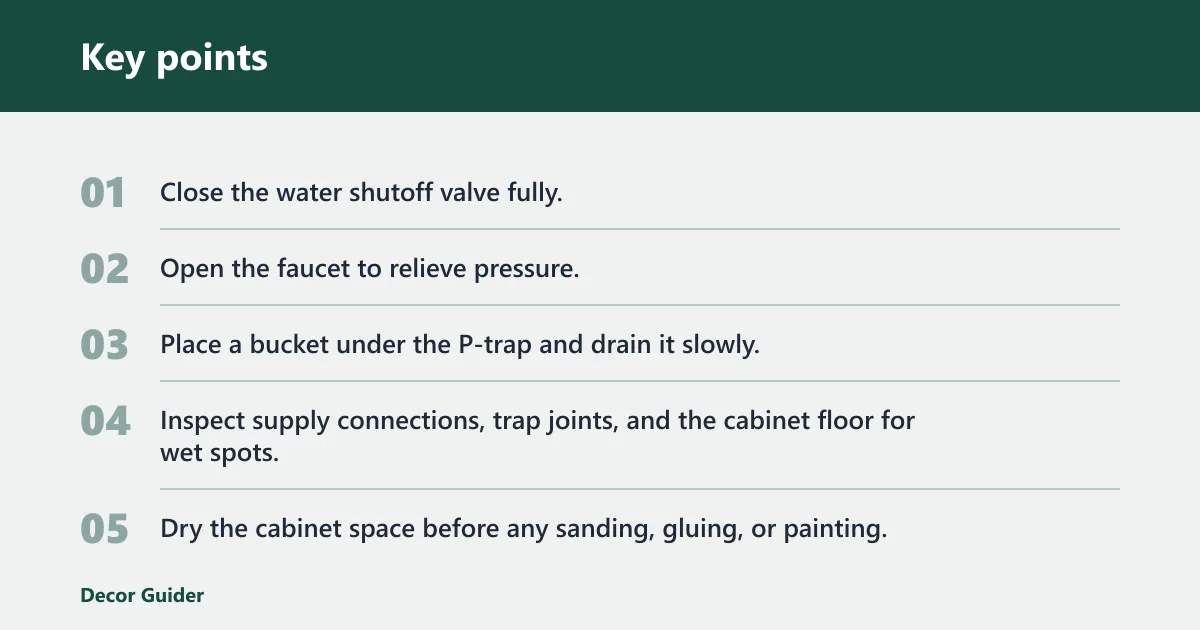
- Close the water shutoff valve fully.
- Open the faucet to relieve pressure.
- Place a bucket under the P-trap and drain it slowly.
- Inspect supply connections, trap joints, and the cabinet floor for wet spots.
- Dry the cabinet space before any sanding, gluing, or painting.
The P-trap holds water, so it should be removed carefully and drained before cabinet work begins when plumbing access is needed. A vanity leak may require removing the cabinet when the damage reaches the back panel, floor, or sink cutout. If water is active, the first priority is to stop it. Do not force old slip nuts or twist rigid piping against the wall; support the pipe, loosen connections gently, and replace damaged washers or traps rather than trying to reuse parts that no longer seal.
How do you dry the cabinet space?
After the leak stops, remove damp towels, shelf liners, and loose debris. Leave the cabinet door open and move air through the space. A bathroom fan or an open window speeds drying and adhesive cure time, but it does not replace leak repair. Drying is the bridge between damage control and repair. Before painting or gluing, check the wood with a moisture meter and compare the reading to an unaffected area of the cabinet; proceed only when the damaged area is reading like the surrounding dry wood. If you do not have a meter, lingering musty smell, darkening, or a cold-to-the-touch feel means the panel needs more drying time. If mold is visible, clean according to a reputable mold cleanup guide and only on dry, salvageable material.
How do you fix peeling paint or finish?
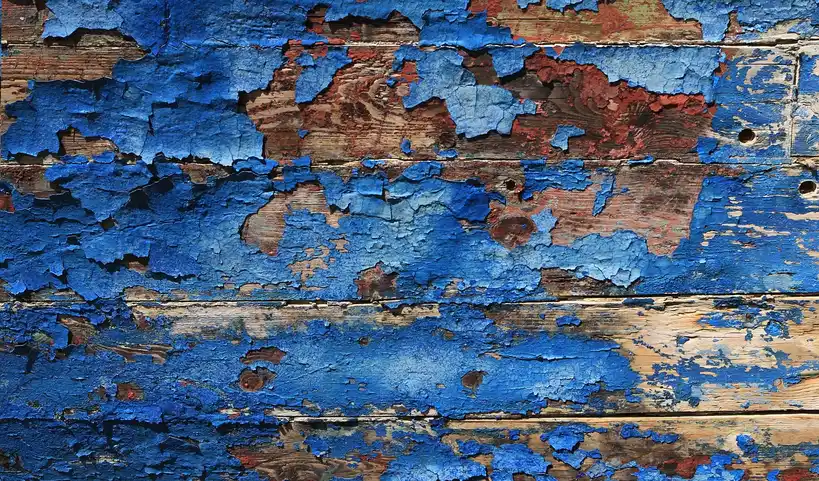
For small paint peels, clean, sand, prime, and repaint. A small peel should be sanded lightly before repainting, then dust must be removed so the new coating has a clean base. A primer coat is recommended before repainting a repaired spot, especially where steam and splashes hit often. Use a paint system that matches the cabinet material: bonding primer and cabinet paint for hard finished surfaces, and a stain-blocking primer where water marks or tannins show through.
How do you repair the paint edge?
Use 120- to 150-grit sandpaper only enough to feather the edge of the damaged area. Remove loose flakes, wipe away dust, and let the area dry fully. Then apply primer to the bare spot and paint with a matching finish. Color matching can be difficult, so small touch-ups usually blend better than large patches. Seal the edge of the repair, especially near the sink or toe-kick, so steam and splash do not creep back under the coating. Follow the primer’s recoat time before applying paint so the patch cures properly.
When is paint repair only temporary?
Paint is a surface fix, not a structural one. If the board under the paint is swollen or soft, the coating will fail again as the substrate keeps moving. Repainting can buy time, but it should not be used to hide soft particleboard, delamination, or mold. If the cabinet still smells musty after drying, the finish should wait until the source and moisture are controlled.
What products can temporarily stop peeling?
Primer, matching paint, and edge sealer can slow the visible failure of a small peeled area. For a lifted laminate edge, laminate adhesive can help, and cyanoacrylate adhesive is super glue for tiny lifted corners. These products buy time only if the cabinet core is still solid. Use each product only on a dry, clean surface and only within the manufacturer’s intended material class; some paints and adhesives bond poorly to wet wood, dusty laminate, or mold-contaminated fibers.
How do you reattach lifted laminate?
Use laminate adhesive for edge and seam failure when the laminate is still intact and the substrate is hard. Many vanities use a heat-activated adhesive, and the iron repair method uses medium heat with a thin barrier cloth between the iron and the laminate to reduce scorch risk. For a tiny lifted corner, cyanoacrylate adhesive can work, but it should cure with good ventilation. If the substrate is particleboard that has swollen, the laminate may sit flat for a while and still fail again as the board shrinks and swells.
How do you bond the edge flat?
Clean out dust and old loose glue first. If the bond was heat-activated, warm the area carefully and press the laminate back into place. Clamp or tape the repair flat while the adhesive sets. That pressure matters because gaps invite more humidity and steam. Make sure the substrate is fully dry before bonding; if the board still feels cool, soft, or spongy, the adhesive will not hold reliably.
When does repeated failure mean replacement?
If the same edge keeps lifting, the problem is usually deeper than the surface glue. Bathroom humidity, shower exposure, and steam break down edge bonds faster than flat field areas. Repeated failure usually means the substrate is absorbing moisture or the edge profile no longer holds a stable bond. If the damage keeps returning after sealing, the repair threshold has been crossed and replacement becomes the more durable choice.
When should you replace the vanity?
Replace the vanity when the cabinet core has lost strength, not just when the finish looks bad. Swollen cabinet bottoms, rotted sink cutouts, moldy back panels, and soft side panels usually mean the structure has already been damaged. Replacement is often the cheaper and safer choice once the board is weakened.
What are the signs the cabinet core is no longer stable?
If the cabinet floor flexes, the toe-kick crumbles, or the sink opening no longer holds shape, the vanity is likely past cosmetic repair. Wood swelling and delamination are common under-sink failure modes because moisture reaches the core and breaks the layers apart. Paint and adhesive cannot restore lost strength. Particleboard usually fails sooner than plywood because it absorbs water quickly and loses screw-holding power; plywood can sometimes be saved if only the outer fibers are affected and the plies remain tight.
What cost and effort clues point to replacement?
Small finish fixes are cheap on materials, but repeated labor can make them impractical. If you are repeatedly sanding, gluing, and painting the same edge, the repair is already failing. At that point, the labor cost and the risk of hidden damage often outweigh a replacement. A good rule is to repair only when the substrate is dry, hard, and still structurally sound; replace when the board remains soft after drying or the same failure returns after one careful repair.
Picture a vanity with one lifted laminate corner near the sink and a dry, hard cabinet floor. That is a reasonable repair. Now picture the same vanity after a supply leak has softened the floor and darkened the back panel. The visible surface problem is no longer the main issue.
Frequently asked questions
How to repair water damaged wood under sink
First shut off the water and drain the P-trap if plumbing is involved. Then dry the wood fully and check whether it is still hard. If the wood is only stained or fuzzy, seal it after drying. If it is soft, swollen, or separating, replacement is the better call. For moldy wood, follow a reputable mold cleanup guide and discard any porous material that cannot be cleaned and fully dried.
Can swollen cabinet bottoms or veneer be saved after a leak?
Minor swelling can sometimes be dried, trimmed, and sealed if the board still feels firm. Veneer or laminate can be reattached only when the substrate has not softened. If the bottom is spongy, bowed, or crumbling, the repair will not last in bathroom humidity.
What should I dry or remove first after vanity water damage?
Stop active water, then remove wet items under the sink before drying the cabinet. That gives you access to the floor, back panel, and joints where damage starts. Do not sand or glue until the area is dry and the leak source is fixed.
What products can temporarily stop a bathroom vanity from peeling?
A small peel can often be held with primer and matching paint on the finished side, or laminate adhesive on a lifted edge. Cyanoacrylate adhesive can work on tiny corners, but it should cure with good ventilation. These are temporary unless the cabinet core stays hard and dry.
Products related to this article
Sponsored / affiliate links. As an Amazon Associate I earn from qualifying purchases. I may earn additional commission from eligible campaigns.