What Kind of Caulk Should I Use Around a Toilet?
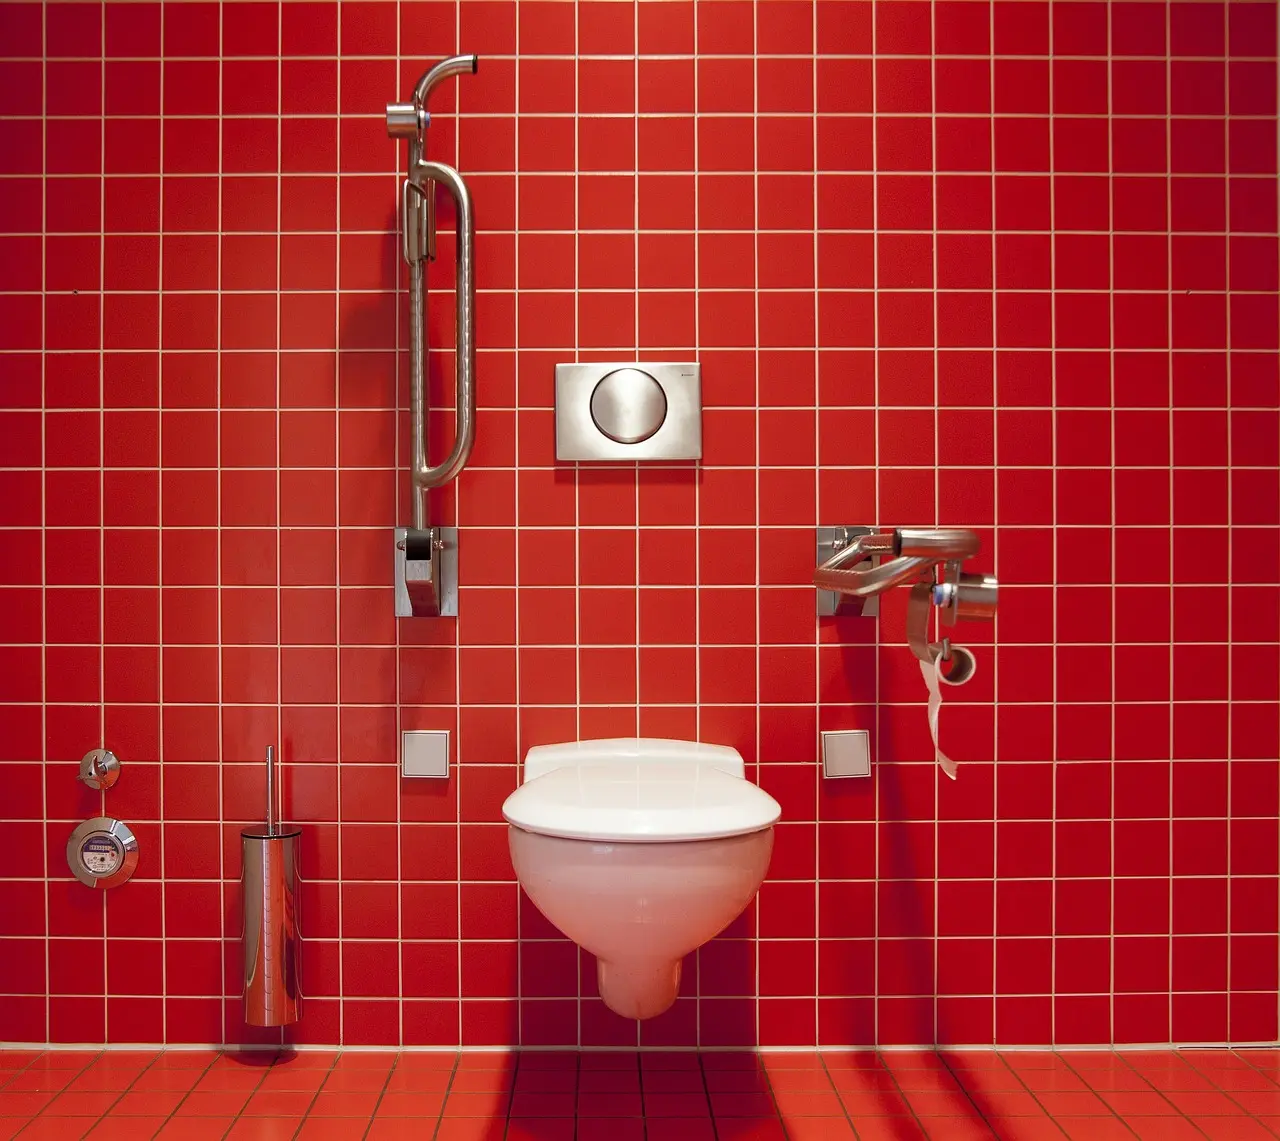
Use 100% silicone or a high-quality kitchen-and-bath caulk for the toilet base, and caulk only after the toilet sits firmly and the wax ring is not leaking. Leave a small rear or side gap when you want a leak to show; that is a common practice, not a universal rule, and local code or installer preference can differ. Caulking over a rocking toilet or a hidden leak can trap water, rot the subfloor, and turn a small repair into a larger one.
Choosing between silicone and acrylic latex for toilet bases
For a toilet base, the best default is 100% silicone caulk. It stays flexible after curing, is bathroom-safe, and resists mildew well in wet areas. Most manufacturers also note that cure time varies by bead size, temperature, and humidity, so follow the tube label and allow a full cure before water exposure.
Use bathroom mildew-resistant caulk for porcelain-to-tile or porcelain-to-finished-floor joints where moisture exposure is expected. Choose white or clear to match the surrounding materials. Do not pick caulk by label alone; decide by whether the joint needs waterproofing, paintability, or a visible inspection gap. For product guidance on silicone’s flexibility and bathroom suitability versus acrylic latex’s paintability, see manufacturer guidance from DAP and GE Sealants.
| Material | Use this when | Avoid this when | Typical bathroom examples | Cure time note | Red-flag situations where caulk should not be the fix |
|---|---|---|---|---|---|
| 100% silicone caulk | You want the strongest water resistance and flexibility at the toilet base | You need a paintable finish | Toilet base, porcelain, tile, and joints exposed to splashes or cleaning water | Follow the tube label; thicker beads and humid rooms take longer to cure | Rocking toilet, visible seepage, recurring odor, or suspected flange or wax-ring failure |
| Siliconized acrylic latex caulk | The joint is drier and paintability matters | You need the best moisture barrier at a toilet base | Trim, baseboards, and drier bathroom edges | Usually easier cleanup with water before cure, but still needs full curing before wet use | Wet toilet base, hidden leak concern, or any joint where you need the strongest moisture barrier |
| Bathroom mildew-resistant caulk | You want a product labeled for wet bathroom use on porcelain and tile | The joint needs structural repair instead of sealing | Porcelain-to-tile joints and other bathroom edges in white or clear | Check the package; bathroom formulas still need time before water exposure | Damaged flange, wobble, or a leak that needs diagnosis instead of sealing |
| No caulk yet | The toilet rocks, leaks, or the floor feels soft and needs diagnosis first | You have not checked the wax ring, flange, or floor for damage | Toilet that shifts after flushing, damp subfloor, or repeated odor at the base | Do not apply caulk until the underlying issue is fixed and the area is dry | Any case where caulking could hide water intrusion or delay repair |
What should you know before caulking a toilet base?
A toilet should be stable, dry, and leak-free before you seal the base. Caulk is mainly a finishing step that helps block dirt and splash residue. It is not a repair for a bad wax ring, loose flange, or uneven floor. If local guidance prefers a visible gap, follow that practice instead of sealing all the way around.
How do you prep the toilet base?
Start by removing old sealant so the new bead can bond to clean surfaces. A caulk remover works well with a utility knife or scraper because it helps lift old material without gouging porcelain or tile. Then clean the toilet base and adjoining floor completely, and let both surfaces dry fully.
- Cut and lift the old bead with a utility knife or scraper.
- Apply caulk remover where residue remains, then scrape again.
- Wipe away dust, soap film, and moisture from the porcelain and floor.
- Check for rocking, dampness, or a loose flange before applying anything new.
If the toilet moves or the floor feels soft, stop here. Caulk is for finishing, not for covering a structural or plumbing problem.
How do you decide whether to leave a gap?
Leaving a small rear or side gap is a common practice when you want any leak to show quickly. That opening lets water escape visibly instead of trapping it under the toilet. It is not universal, though, because some installers and some local code interpretations prefer a continuous seal when the base is stable and dry.
How do you apply caulk around the toilet base?
Load the tube into the caulk gun and keep steady pressure so the bead size stays even. A standard manual gun gives you control, which matters more than speed when you are working around curved porcelain. Run a thin line around the base, and keep any inspection gap where you need one.
How do you apply the bead?
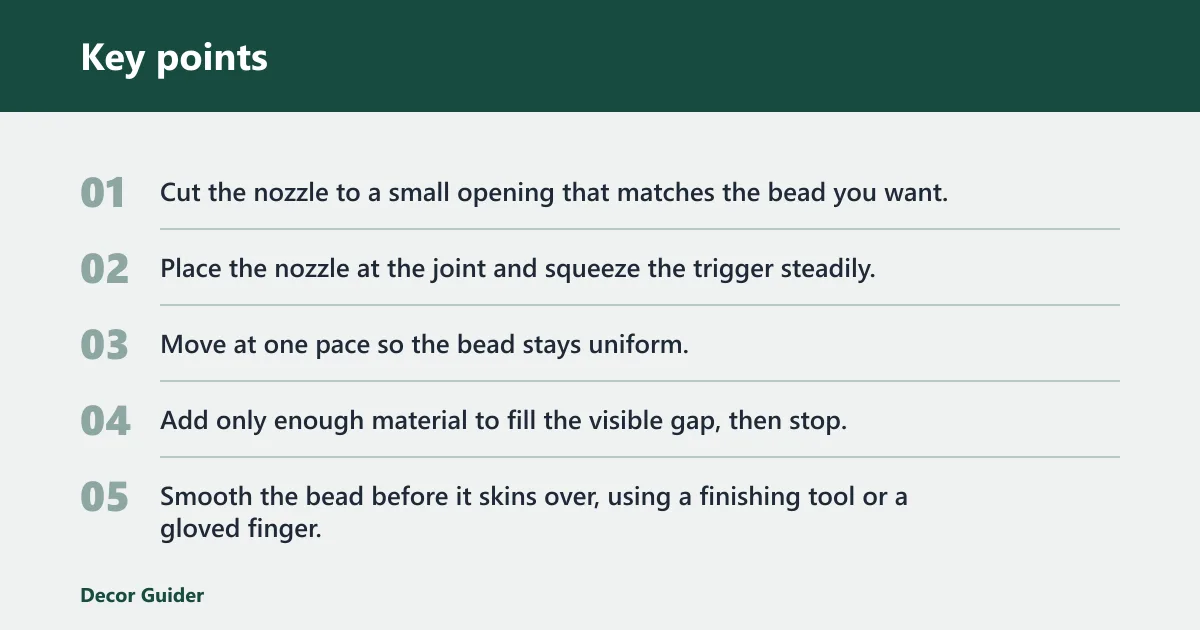
- Cut the nozzle to a small opening that matches the bead you want.
- Place the nozzle at the joint and squeeze the trigger steadily.
- Move at one pace so the bead stays uniform.
- Add only enough material to fill the visible gap, then stop.
- Smooth the bead before it skins over, using a finishing tool or a gloved finger.
Do not bury the joint under a heavy ridge. A thin, neat line seals the edge without making future inspection harder.
How should the bead be shaped at the toilet base?
A narrow bead is usually enough at the toilet base. Keep the line consistent, smooth the edges, and avoid sealing over any spot that should stay open for leak visibility. If the bead bridges a gap caused by movement, the problem still needs correction before caulking.
How long should toilet caulk cure before use?
Follow the tube label, since cure time varies by product and humidity. Most bathroom caulks need time to set before any water exposure, and thicker beads take longer. Manufacturer guidance commonly notes that temperature, humidity, and bead thickness all affect cure time, so the label matters more than a fixed rule of thumb. See guidance from Sika and Loctite.
Wait longer when the bead is thick or the room stays damp after showers. Low humidity helps skin-over and cure progress faster, while high humidity slows it down. If the package gives both a skin time and a full cure time, wait the full cure time before exposing the bead to water.
What affects cure time most?
Thicker beads, cooler rooms, and humid bathrooms slow curing. A thin bead in a warm, dry room usually sets faster than a heavy bead near a shower enclosure. If you are sealing a toilet base after a repair, give the bead extra time rather than guessing and risking a soft seal.
What common mistakes should you avoid?
Using caulk to mask a leaking wax ring is the biggest one. The toilet wax ring seals the drain connection under the bowl, and caulk does not replace it. If the wax ring fails, common signs include water near the base or a toilet that shifts after use.
Caulking a rocking toilet before fixing the toilet flange or floor issue is another mistake. The flange is mounted to the floor and drain pipe, and it supports the toilet installation. If it is loose or the floor is uneven, caulk will not stop the movement.
- Choosing paintable latex where a waterproof bathroom seal is needed
- Skipping old-caulk removal before recaulk work
- Using too much caulk and hiding the joint
- Rushing the cure time before bathroom use
- Sealing a toilet that still needs leak diagnosis
A common first-time mistake is thinking a neat bead means the problem is fixed, so the hidden leak gets ignored. If the toilet still smells damp or shifts on the floor, stop and inspect the wax ring and flange before you add more sealant.
Frequently asked questions
What type of caulk should I use around a toilet?
Use 100% silicone for the strongest water resistance and flexibility at the toilet base. If the area is drier and you need paintability, siliconized acrylic latex can work. For wet bathroom joints around porcelain and tile, choose a bathroom mildew-resistant caulk labeled for that use.
What caulk to use around toilet?
Pick bathroom-grade caulk, with 100% silicone as the safest default. It handles moisture better than acrylic latex and stays flexible after curing. If you need a visible, clean finish and do not plan to paint it, clear or white silicone is usually the cleanest fit.
What color caulk to use around toilet?
White and clear are the most practical choices. White matches most toilets, trim, and grout lines. Clear works when you want the joint to disappear against tile or finished flooring. Match the surrounding material rather than the tube label, since color affects how visible the bead will be.
Should you caulk around a toilet?
Yes, when the toilet is stable and the base needs a clean finish. Caulk helps keep dirt and splash residue out of the joint. Leave a small inspection gap if you want a leak to show instead of being trapped under the bowl.
Do you caulk the front of a toilet or leave it open?
Caulk the front only if the toilet is dry, steady, and you do not need an inspection gap. If a leak is possible, leave a small opening at the back or side so water can escape visibly. That gap can make diagnosis much easier later.
How long should toilet caulk cure before using the bathroom?
Use the time printed on the tube, then wait until the bead is fully cured before exposing it to water. Humid rooms slow drying. If the joint is thick or the bathroom stays damp, add extra waiting time rather than guessing.
Is silicone caulk better than latex around a toilet?
Yes, for most toilet bases. Silicone is more water resistant, remains flexible after curing, and works well in bathrooms. Latex is easier to clean up before cure and can be painted, but it is not the best choice where moisture exposure is likely.
Can you use acrylic caulk around a toilet?
You can use siliconized acrylic latex in some bathroom settings, but it is not the top choice for a toilet base. It is more useful in drier areas where paintability matters. For a toilet joint that may see splash water, silicone is the better match.
How do you remove old caulk around a toilet?
Cut the old bead with a utility knife, then lift it with a scraper and caulk remover. Wipe the area clean before recaulk work. Do not start a new bead over loose residue, because the new seal will not bond well to dirty or crumbling material.
What if the toilet rocks after caulking?
Stop and check the toilet flange, floor, and wax ring. A rocking toilet means the base is not stable, and caulk will not correct that. Fix the movement first, then recaulk only after the toilet sits flat and dry.
Products related to this article
Sponsored / affiliate links. As an Amazon Associate I earn from qualifying purchases. I may earn additional commission from eligible campaigns.