How to Stop a Shower Door From Leaking at the Bottom
Check the sweep, curb slope, spray pattern, track drainage, hinge alignment, and sealant first; then fix the path where the water leaves the shower. Treat the wrong cause and water can keep collecting under the curb, ruin flooring, and feed mold. This guide shows how to identify each leak pattern and repair sliding, framed, and frameless shower doors with the least invasive fix.
Most bottom leaks come from 5 causes: wrong or worn sweep, spray aimed at the opening, curb or threshold that pitches the wrong way, hinge sag, or a framed track that cannot drain. Start with the easiest test: dry the area, run the shower, and see whether the first drops appear at the center, hinge-side bottom corner, track, or fixed-panel joint. Then follow the matching fix below.
Quick decision tree: If the leak starts at the sweep line, replace or refit the seal. If it only happens with strong spray, change the showerhead angle. If water pools at the curb, check slope and threshold drainage. If the gap widens at the hinge-side bottom corner, look for sag. If the door is framed and the bottom channel holds water, clear the weep holes and track.
What a bottom leak usually means
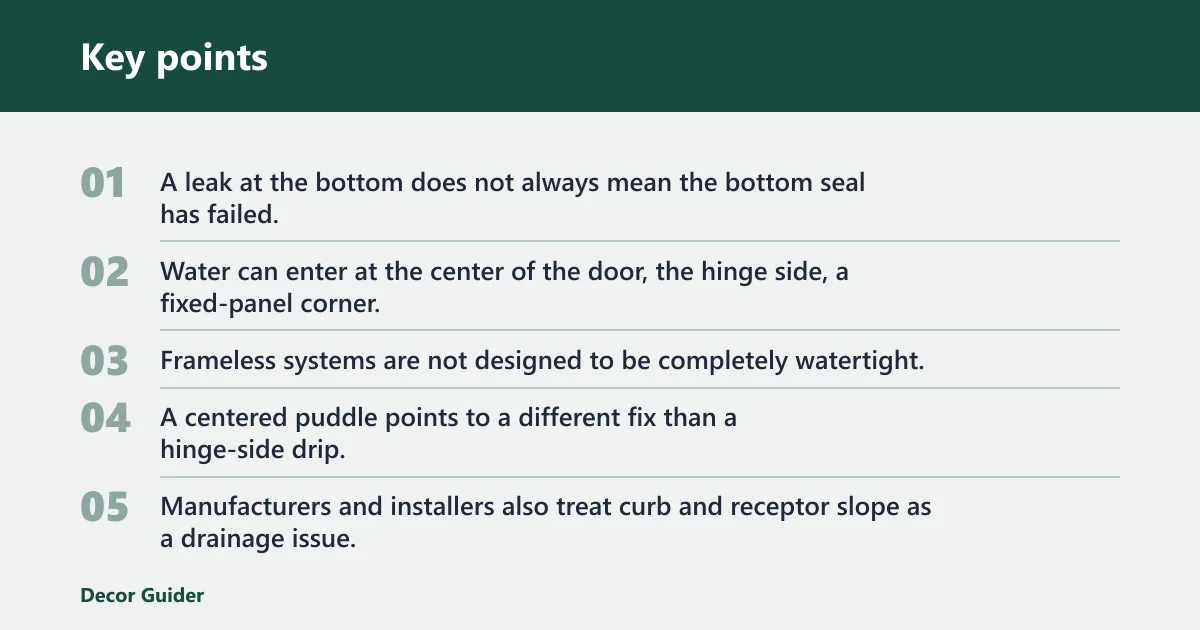


A leak at the bottom does not always mean the bottom seal has failed. Water can enter at the center of the door, the hinge side, a fixed-panel corner, or the bottom track, then show up on the floor in the same spot.
Door type matters. Frameless systems are not designed to be completely watertight, while framed doors often depend on a bottom track and weep holes to move water back into the shower. A centered puddle points to a different fix than a hinge-side drip. Manufacturers and installers also treat curb and receptor slope as a drainage issue, not a seal issue, because water should move back toward the drain instead of collecting at the opening.
What you’ll need
- Flashlight
- Paper towels
- Replacement shower door sweep or seal matched to the door model
- Bathroom-grade silicone sealant
- Screwdriver or hex key, only if your model allows minor tightening
- Utility knife or plastic scraper for old silicone
- Ruler or tape measure for seal fit and door height
Leak pattern diagnostic table
| Symptom | Most likely cause | Quick homeowner test | Best next fix |
|---|---|---|---|
| Centered puddle | Bottom sweep is wrong, worn, or not sealing | Dry the sill, close the door, and slide a piece of paper along the bottom where the puddle starts | Replace the sweep with the correct profile for the glass thickness and gap size |
| Hinge-side puddle | Loose hinges or sag at the hinge side | Look for a wider gap at the hinge-side bottom corner and check for loosened fasteners | Tighten only minor fasteners if the model allows; otherwise re-level or call a pro |
| Leak only during strong spray | Showerhead aimed at the opening | Turn the water on and aim the spray toward the back wall, then repeat the test | Change the showerhead angle before replacing parts |
| Leak with framed track overflow | Water trapped in the bottom channel or clogged weep holes | Inspect the bottom track for standing water and blocked drain openings | Clear the weep holes and clean the channel |
| Leak since installation | Wrong seal profile, wrong glass thickness fit, or curb/threshold problem | Measure the glass thickness and compare the sweep fit to the door edge and threshold shape | Replace the seal with the correct profile or address the threshold |
| Leak that returned after seal replacement | Failed silicone joint, repeated door sag, or the wrong replacement part | Check corners, fixed-panel joints, and hinge alignment for new gaps | Remove failed silicone, correct alignment if safe, and reinstall the proper seal |
| Leak at the fixed-panel corner | Failed corner silicone or movement at the panel-to-threshold joint | Dry the corner, run water at the fixed panel, and check whether moisture appears first at the joint | Remove and reseal the corner joint, then retest after full cure |
Why is my shower door leaking at the bottom?
A bottom leak usually traces to one of five things: a worn or incorrect bottom sweep, a curb that slopes the wrong way, hinge sag that opens a lower corner, a framed track that cannot drain, or spray that is being forced into the opening. The fastest repair comes from matching the wet spot to the entry point, not swapping parts at random.
Sweep or seal failure
Bottom vinyl strips and fins can curl, shrink, crack, or be installed backward. They must match the glass thickness and the gap under the door. Common frameless glass thicknesses include 3/8 inch and 1/2 inch, and manufacturers of shower hardware routinely size seals to those thicknesses rather than to a generic “one size fits all” fit. A paper test can reveal some gaps, but not every frameless door is meant to seal tight at the bottom.
Curb slope or threshold problem
The curb should pitch slightly toward the drain. Shower pan and receptor standards generally call for slope to the drain, and curb details are expected to move water back inside the shower instead of toward the bathroom floor. If the curb slopes outward, water can pool at the base of the door. A threshold strip or water dam may help when the slope is only slightly off, but a true reverse pitch usually needs a threshold or receptor correction.
Hinge sag or misalignment
Loose hinges can create a bottom corner gap, and sag shows up most at the hinge side. Frameless glass doors are heavy, and major hardware makers warn against forcing alignment on loaded glass without supporting the panel and respecting the hinge’s rated load. Check hinges for limescale, rust, calcium, or soap scum before tightening anything. If the door is heavy or the gap changes across the opening, stop at minor adjustments and do not over-torque the hardware.
Track drainage or splash-out
Many framed systems rely on weep holes to drain water from the bottom track. If those openings clog, the track can overflow onto the bathroom floor. Major framed-door installation guides also warn that the track must stay clear so drainage can work as intended. Strong spray can also force water through seams, especially with handheld sprayers and high-pressure heads aimed at the door.
Start with the entry point, not the hardware. Dry the floor, watch where the first drops appear, then work from the easiest cause to the more involved one. If the door is frameless and heavy, limit yourself to minor tightening that the model allows; support or professional help may be needed for alignment work.
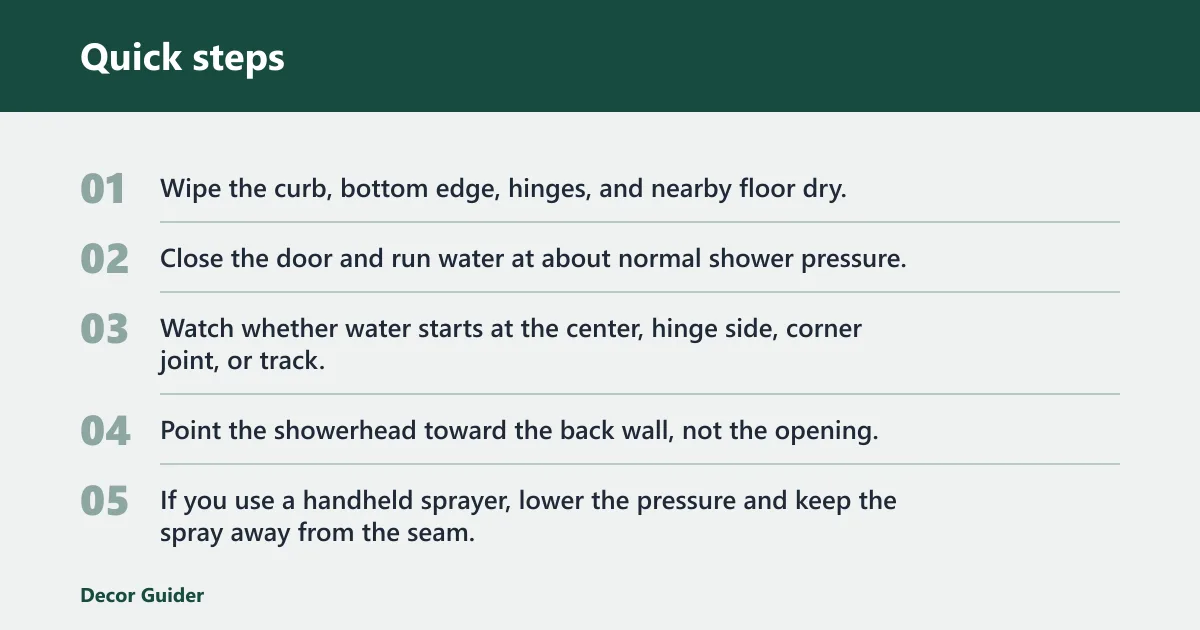
1. Dry the area and find the entry point
- Wipe the curb, bottom edge, hinges, and nearby floor dry.
- Close the door and run water at about normal shower pressure.
- Watch whether water starts at the center, hinge side, corner joint, or track.
2. Check the showerhead angle first
- Point the showerhead toward the back wall, not the opening.
- If you use a handheld sprayer, lower the pressure and keep the spray away from the seam.
- Retest before replacing any seal.
3. Inspect the bottom sweep or seal
- Measure the glass thickness and compare it to the replacement part listing.
- Check for curl, cracks, shrinkage, or a backward install.
- Replace the sweep only if the profile matches the door edge and threshold shape.
4. Check the curb and threshold drainage
- Look for standing water at the base after the shower runs.
- Confirm the curb sends water inward toward the drain instead of outward.
- If the slope is slightly wrong, install a threshold strip or water dam instead of tearing out tile.
5. Inspect hinges, corners, and fixed-panel joints
- Check the hinge-side bottom corner for a wider gap than the latch side.
- Tighten only the minor fasteners your model permits.
- If the door still sags, stop there and get help with re-leveling or replacement.
6. Clear the framed track and weep holes
- Lift out loose debris from the bottom channel.
- Clear the weep holes so water can drain back into the shower.
- Retest for overflow after the channel dries.
7. Remove failed silicone and reseal the joint
- Cut out any silicone that has split, lifted, or pulled away at corners and fixed-panel joints.
- Clean and dry the joint before applying fresh bathroom-grade sealant.
- Follow the product label for the cure time before using the shower again.
Say your frameless door has a 1/4-inch gap at the latch side but a much wider gap at the hinge-side bottom corner. That pattern points away from the sweep and toward sag. Suppose a framed door leaks only after a handheld sprayer hits the opening; change the spray angle before you buy parts. If the threshold is the issue, the repair usually belongs to the shower curb or transition, not the door seal alone; see shower thresholds for the drainage role a curb or dam is meant to play.
When should you replace the seal instead of adjusting the door?
Replace the seal when the profile is wrong, the sweep is damaged, or the glass thickness does not match the part. Adjusting the door only helps when the hardware is the problem and the model allows minor tightening. If the door is heavy, or the gap changes across the opening, do not force a larger alignment job yourself.
Replace the seal when fit is the problem
If the sweep is on the wrong style for a flat or sloped threshold, it will keep leaking even if the door is square. The same is true when the seal does not fit the exact glass thickness. A seal that fits loosely or binds too tightly is the wrong part. Before resealing a corner, old silicone should come out completely rather than being buried under a fresh bead; see silicone removal and resealing for why failed caulk has to be removed before new sealant will bond properly.
Tighten hardware when the gap is minor
Minor fastener tightening can help when a hinge has worked loose and the door has only a slight shift. Recheck after each pass. If the gap returns, the issue is not just a loose screw.
Call a pro when alignment is beyond minor tightening
Get help when the door is frameless and heavy, when the hinge side sags noticeably, or when the door needs re-leveling to stop repeated leaks. That is especially true if the glass is already stressing the hinges or the installation has shifted at the curb. At that point, the problem is less about a seal and more about door alignment.
Common mistakes that cause repeat leaks
- Installing a sweep backward or choosing the wrong profile for the door type
- Replacing a seal without checking the glass thickness first
- Skipping the bottom track drain check on framed doors
- Sealing over failed silicone instead of removing it first
- Leaving the showerhead aimed directly at the opening
- Assuming every leak means the bottom seal is bad
How to stop sliding shower door from leaking at the bottom
For sliding doors, start with the bottom track, sweep fit, and spray direction. Sliding systems often leak because the channel traps water or the sweep no longer matches the gap. If the lower track is clean and the seal still fails, check whether the curb pitches inward and whether the fixed panel joints need fresh silicone.
Frequently asked questions
How to fix a shower door that leaks at the bottom
Dry the area, run the shower, and watch where water appears first. Then check spray direction, sweep fit, curb slope, hinge sag, and framed-track drainage in that order. Replace failed silicone at corners and fixed-panel joints, but let the product cure for the full time listed on the label.
Is a shower door sweep or seal the right fix?
It is the right fix when the leak starts at the bottom edge and the part matches the glass thickness and gap size. It is the wrong fix when the curb pitches outward, the hinge side sags, or the track is overflowing. In those cases, the seal is only masking the real problem.
Products related to this article
Sponsored / affiliate links. As an Amazon Associate I earn from qualifying purchases. I may earn additional commission from eligible campaigns.