How to Take Apart a Canopy Bed
Take apart a canopy bed by removing bedding and the mattress first, then the canopy frame, then each post and side rail, keeping one fastener set per section. Rushing the job can strip threads, crack wood, or make the frame shift without warning. This guide covers the safest removal order, hidden connector checks, and what to do when the top frame or posts are stuck.
What you’ll need
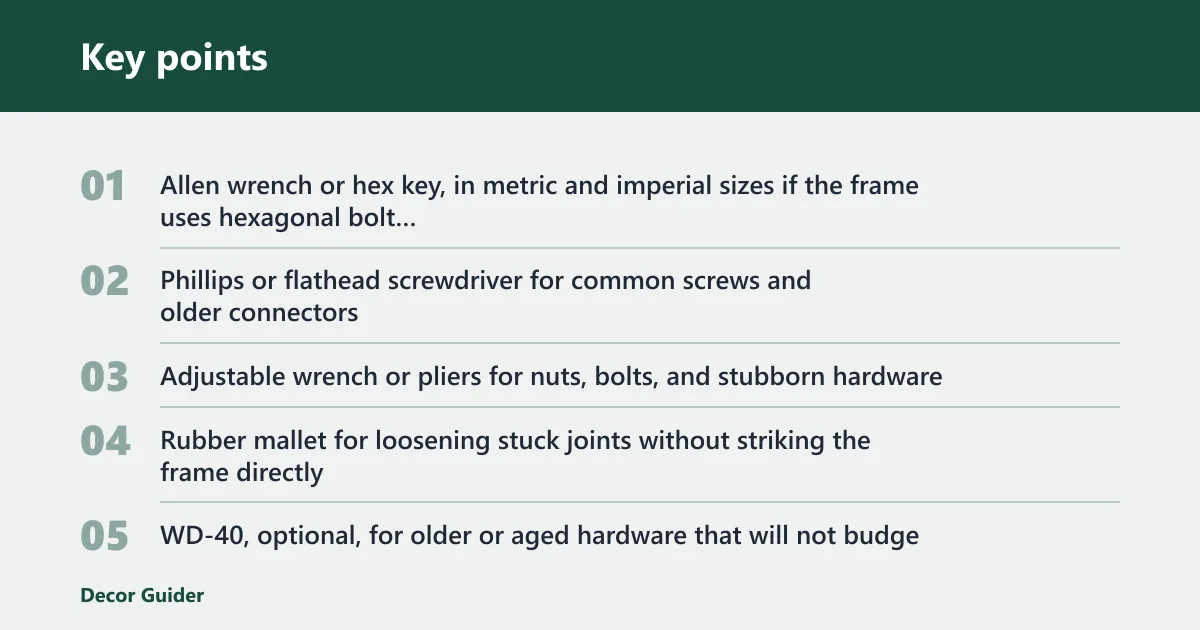


- Allen wrench or hex key, in metric and imperial sizes if the frame uses hexagonal bolt heads
- Phillips or flathead screwdriver for common screws and older connectors
- Adjustable wrench or pliers for nuts, bolts, and stubborn hardware
- Rubber mallet for loosening stuck joints without striking the frame directly
- WD-40, optional, for older or aged hardware that will not budge
- Mattress bag for keeping the mattress clean during moving or storage
- Painter’s tape and marker for labeling hardware bags by component
- Small bags or containers for bolts, washers, caps, and brackets
How do you take apart a canopy bed?
Start by clearing the bed completely, then work from the canopy down instead of pulling at the base first. A canopy bed can use bolts, screws, brackets, slots, or push-pull fittings, so inspect every joint before force is applied. Keep one person steadying the frame while another loosens hardware.
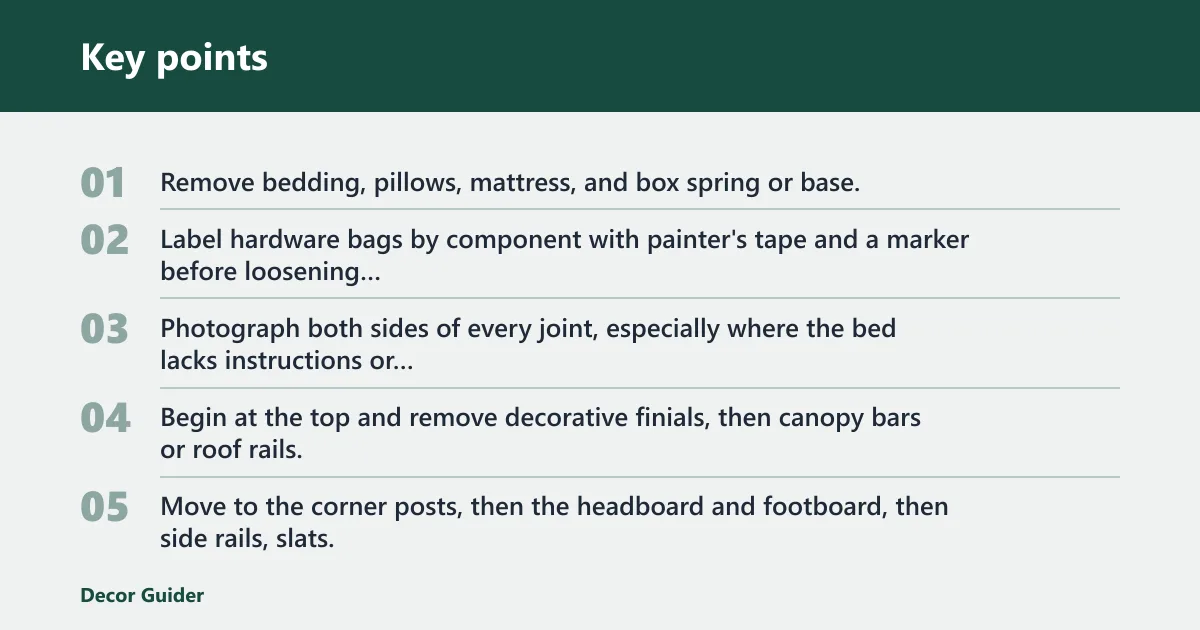
- Remove bedding, pillows, mattress, and box spring or base, then clear three to five feet around the bed so each part can come off without strain.
- Label hardware bags by component with painter’s tape and a marker before loosening anything.
- Photograph both sides of every joint, especially where the bed lacks instructions or uses decorative covers.
- Begin at the top and remove decorative finials, then canopy bars or roof rails, then the top frame.
- Move to the corner posts, then the headboard and footboard, then side rails, slats, center support, and stabilizers as the design allows.
Suppose a king canopy bed has a painted metal top frame and a wooden headboard. The top rail may hide a set screw under a cap, while the headboard still carries the weight of the side rails. Remove the canopy hardware first so the lower frame does not twist while you work.
How do you remove the canopy top and posts?
Remove the canopy top before the corner posts whenever the design allows, because the top frame often ties the whole bed together. Check for hidden brackets under caps, trim strips, fabric wraps, or paint buildup. If the frame was assembled with decorative covers, those covers usually hide the actual fastener heads.
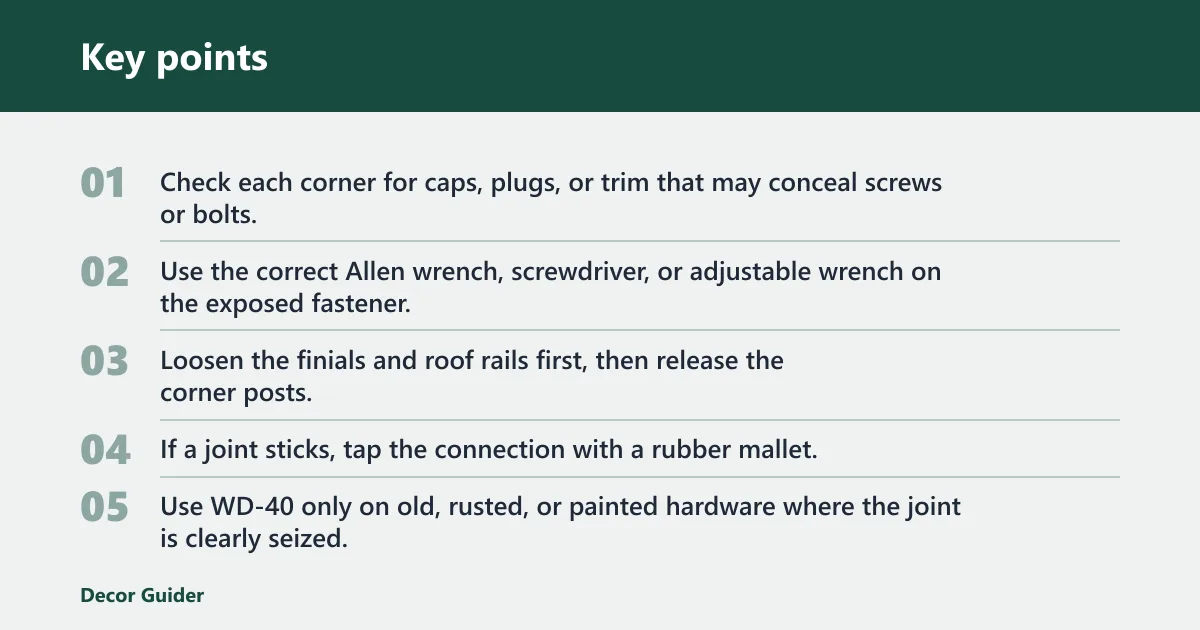
- Check each corner for caps, plugs, or trim that may conceal screws or bolts.
- Use the correct Allen wrench, screwdriver, or adjustable wrench on the exposed fastener.
- Loosen the finials and roof rails first, then release the corner posts.
- If a joint sticks, tap the connection with a rubber mallet, then retry the fastener in short turns.
- Use WD-40 only on old, rusted, or painted hardware where the joint is clearly seized, not on soft fabric-wrapped parts.
Do not pry a post away from a bracket until you know how it is joined. On many metal beds, the post slides into a socket or hooks into a bracket, and on wood frames a hidden bolt may hold the joint tight even after the visible screw is out.
How do you detach side rails and support parts?
Once the top section is free, remove the support parts in a controlled sequence. Side rails and crossbars often connect with metal brackets, bolts, slots, or push-pull fittings. On queen and king frames, the center support is usually separate from the slats and may come out on its own before the rails are moved.
- Lift off slats or bundle them if they form a slat roll.
- Remove the center support or center beam on queen and king frames, then check for wobble before moving on.
- Unbolt or unclip the side rails and crossbars.
- Lift off the headboard and footboard last, since they are often the heaviest and most unstable pieces during removal.
Picture an upholstered canopy bed with fabric-wrapped posts and a slatted base. The fabric can hide screws at the post base, while the slats may be tied together or clipped in place. Work one section at a time so the upholstery does not snag on exposed brackets.
Canopy bed checklist table
Use this table to match each part with its likely fastener type, removal priority, and common failure mode before you move the frame.
| Part name | Likely fastener type | Removal priority | Common failure mode |
|---|---|---|---|
| Top frame | Bolts, set screws, brackets | First | Hidden bracket |
| Finials | Threaded cap, small screw | First | Stuck bolt |
| Corner posts | Bolts, sockets, clips | Second | Hidden bracket |
| Headboard | Bolts, side-bracket tabs | Third | Misalignment |
| Footboard | Bolts, side-bracket tabs | Third | Wobble |
| Side rails | Bolts, slots, push-pull fittings | Fourth | Hidden bracket |
| Slats | Cleats, clips, loose placement | Fifth | Wobble |
| Center support | Bolts, brackets, center leg hardware | Fifth | Misalignment |
| Crossbars or stabilizers | Bolts, screws, clip fittings | Last | Wobble |
How do you remove a canopy from a bed frame?
Remove the canopy by taking off the roof rails, top connectors, and any decorative bridge pieces before you touch the lower frame. On four-poster beds, the canopy may be a purely decorative upper structure, while on other canopy beds it also braces the posts. That difference changes the sequence.
- Inspect the upper corners for hidden fasteners under caps, trim, or paint buildup.
- Remove finials and any decorative connectors first.
- Loosen the top frame one joint at a time, checking both sides before each lift.
- Support the posts as the last upper connection comes free so the frame does not drop or twist.
- Set the canopy parts aside flat so the brackets keep their orientation for reassembly.
How do you take apart a four poster bed? Follow the same top-down order, but expect a simpler upper structure if the posts are mainly decorative. How do you take apart a Pottery Barn canopy bed? Photograph every connector, compare left and right sides, and remove one section at a time when the instructions are missing.
How do you remove stuck bolts from an old canopy bed?
Stop if a bolt will not turn, instead of forcing it harder. Painted, rusted, or stripped hardware needs a short decision path: confirm the tool size, add penetrating oil only if the joint is metal and accessible, tap the area lightly with a rubber mallet, then try again with steady pressure. Excess prying can split wood or bend metal.
- Match the tool exactly to the fastener head before retrying.
- Apply WD-40 only to aged metal hardware, then wait a few minutes before another attempt.
- Use pliers or an adjustable wrench to steady a nut while you turn the bolt.
- If the head strips, stop and switch to a better-fitting driver rather than chewing the edges farther.
- Only after the fastener moves should you lift the part free.
A common first-timer mistake is prying at a painted post after the visible screw loosens but the hidden bracket is still engaged. That usually bends the connector and leaves the post misaligned on reassembly.
Common mistakes
Most canopy-bed damage happens when the hardware gets mixed up or a hidden connector is missed. Keep the teardown slow and sectional. A bedframe is usually too heavy and cumbersome to move as a single piece, and a mattress can weigh 50-150 pounds, so rushed handling increases the chance of dropped parts and bent brackets.
- Mixing bolts from different sections, which makes reassembly harder and can create wobble.
- Prying before checking for hidden connectors under caps, trim, or fabric.
- Forgetting to mark left and right brackets, especially on upholstered or metal frames.
- Removing the center support too early on queen and king beds, which can throw the frame out of square.
- Ignoring misalignment when a post no longer sits flush in its socket.
How do you take apart a bed without damaging it? Match each fastener to its part, keep the frame supported at all times, and stop as soon as a joint resists in a way that does not match the fastener type. That is the point where inspection helps more than force.
How do you keep canopy bed hardware organized for reassembly?
Bag hardware by component, not by pile. Label each bag with painter’s tape and a marker, such as “left post,” “headboard,” or “center support.” That makes reassembly faster and keeps bracket orientation clear, which matters when the posts and rails must line up again.
- Put one fastener set in one bag.
- Write the part name on the bag before the hardware goes in.
- Keep brackets, washers, and caps together for each section.
- Store the bags in the same order as the teardown sequence.
What order should canopy bed parts usually be removed in? A common sequence is top frame and finials first, then posts, then headboard and footboard, then side rails, slats, center support, and stabilizers. That order reduces strain on the frame and makes misalignment easier to catch before the bed is fully apart.
How do you protect parts for transport or storage?
Wrap the mattress in a mattress bag before moving it, and keep slats, rails, and posts from rubbing against each other. If some slats come as a slat roll, bundle them together so they do not scatter. Store labeled hardware bags with the matching part, not in a separate bin.
Protect painted edges, fabric panels, and finished wood with blankets or clean padding. Professional movers may disassemble beds as part of their service, but the same rule still applies at home: keep each piece clean, and reassembly goes faster with less alignment work later.
Frequently asked questions
How do you take apart a four poster bed?
Start at the top and remove finials, canopy rails, and decorative connectors before loosening the posts. Four-poster beds often use hidden bolts or sockets near the upper corners, so photograph each joint and compare both sides before anything is lifted free.
How do you take apart a Pottery Barn canopy bed?
Photograph every connector, then remove one section at a time if the instructions are missing. Pottery Barn-style canopy beds often use bracketed posts, top rails, and labeled hardware, so matching left and right parts matters more than removing everything at once.
How do you take apart a bed without damaging it?
Use the correct driver for each fastener, support the frame as parts come free, and stop at the first sign of hidden resistance. Avoid prying painted joints, and keep brackets, washers, and screws grouped by part so nothing gets mixed during reassembly.
What tools do I need to disassemble a canopy bed?
Keep an Allen wrench or hex key, a Phillips or flathead screwdriver, an adjustable wrench or pliers, a rubber mallet, and optional WD-40 nearby. Add a mattress bag, painter’s tape, and a marker so each hardware bag can be labeled by component.
Products related to this article
Sponsored / affiliate links. As an Amazon Associate I earn from qualifying purchases. I may earn additional commission from eligible campaigns.