How to Assemble a Metal Bed Frame
Identify the frame type first, then assemble the side rails, center support, and legs by matching every tab, hole, and bracket before you tighten anything. Forcing parts that do not line up can bend the frame, strip fasteners, or leave the bed unstable. Start by sorting a standard metal bed frame, checking fit, and building it step by step without the common setup mistakes.
What you’ll need

- The full frame kit, including side rails, cross arms, feet or wheels, end caps, and any center support beam
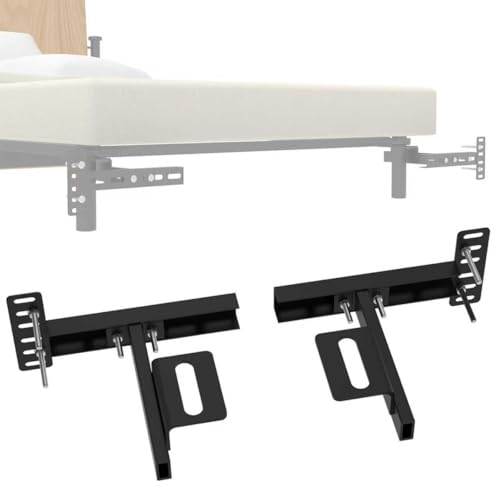
- Headboard brackets, if your frame includes them
- Box spring, if the frame is not a platform style and the manufacturer requires one
- Measuring tape for checking Twin, Full, Queen, or King fit
- A rubber mallet, if the instructions call for light tapping rather than screws
- A flat work area with enough space to lay out the longest pieces
- A helper, which makes longer rails easier to handle, especially when you are lining up end hooks or keyholes
How do you know the frame fits?
Match the side rails to the mattress width first, then confirm the frame length and any headboard bracket spacing before you build. A Queen mattress should align with a Queen frame, and many metal frames add extra room around the mattress. If the parts look adjustable, check the marked holes or settings before locking anything in place.
Check the size before assembly
Common U.S. mattress widths are Twin 38 inches, Full 54 inches, Queen 60 inches, and King 76 inches. Casper notes that a queen bed frame can measure about 62–67 inches wide and 81–85 inches long, which means the frame may sit wider and longer than the mattress itself. That extra room is normal. (Wikihow)
Check the orientation parts
Headboard brackets usually signal which end is the head of the bed. If the bracket holes do not match the headboard spacing, stop and recheck the frame size and bracket position. Some frames also need a box spring, especially non-platform designs, so confirm that before assembly.
Step 1: sort the frame parts
- Lay out every piece on the floor and group like parts together.
- Set the side rails aside first; they are the longest pieces and usually define the bed width.
- Separate cross arms, feet or wheels, end caps, fasteners, and any center support beam.
- Check for keyed slots, rivets, or hook ends if your frame uses an Instalock-style connection.
Simple Good Ideas notes that many metal bed frames do not require tools or screws, and Instalock-style frames use rivets and keyholes. That means parts should meet cleanly without force. If one rail has a different connector pattern, it may belong on the head or foot end.
Step 2: set the side rails
- Place the side rails parallel to each other at the mattress width.
- Line up the head and foot ends so the connector tabs face the correct direction.
- Match the rail spacing to the mattress size before any cross arms are locked in.
- Keep the rails loose until the frame shape is confirmed.
The side rails form the sides of the bed, so their spacing matters more than speed. If the rails fight the connector points, do not pry them into place. That usually means the rails are reversed, the size is wrong, or the frame is adjustable and sitting on the wrong hole set.
Step 3: lock the frame together
- Swing each cross arm perpendicular to the side rails.
- Seat the hooks, tabs, or rivets into the matching slots.
- Attach feet or wheels at the corners if they are separate parts.
- Install the center support beam if your frame includes one.
- Fit end caps over any open metal edges.
Cross arms should swing out and lock, not wobble loosely after connection. Feet or wheels often pop onto rods or fit into corner sockets, and loose casters can be an early sign that something is not seated fully. Some metal frames may include several legs, and center support is common on full-or-larger sizes.
If a Queen frame’s center beam sits in the wrong notch, one side may sit lower than the other. Reset the beam before you tighten anything else. A tilted support rail can make the mattress slide or create a noticeable dip at the center.
Bed frame fit check table

| Part | What it should look like | How it connects | Top error signs |
|---|---|---|---|
| Side rails | Longest pieces; set apart to the mattress width | Hook, slot, or keyhole connection at each end | Rails sit too close together; ends will not line up |
| Feet or wheels | Corner legs, glides, or casters; may be round or rod-mounted | Pushes onto a post, screws in, or snaps into a socket | Wobbly corner; caster rotates loosely or falls out |
| Cross arms | Shorter bars that swing perpendicular to the rails | Locks into a tab, rivet, or bracket | Arm stays angled; connector hole misses the slot |
| End caps | Plastic or rubber caps covering open metal ends | Presses onto exposed edges | Sharp edge exposed; wall or mattress can rub metal |
| Center support beam | Middle rail or leg assembly, sometimes separate | Bridges the frame center and often drops into a leg base | Frame dips in the middle; beam sits off-center |
| Headboard brackets | Bracket plates with matching holes near one end | Bolts or slots align to the headboard width | Bracket holes do not match; bed orientation feels backward |
Common mistakes
Most setup problems come from forcing a part that is not aligned. Misaligned keyholes or connector tabs can bend the metal, while loose casters or missing end caps leave the frame unstable and unfinished. A wrong-size setup is another common problem, especially when a Queen mattress is paired with a Full or King frame.
A common first-timer mistake is assuming every metal frame uses the same bracket spacing. Picture a Queen mattress on a frame whose headboard holes were built for a different size: the headboard sits crooked, one rail shifts, and the frame never settles flat.
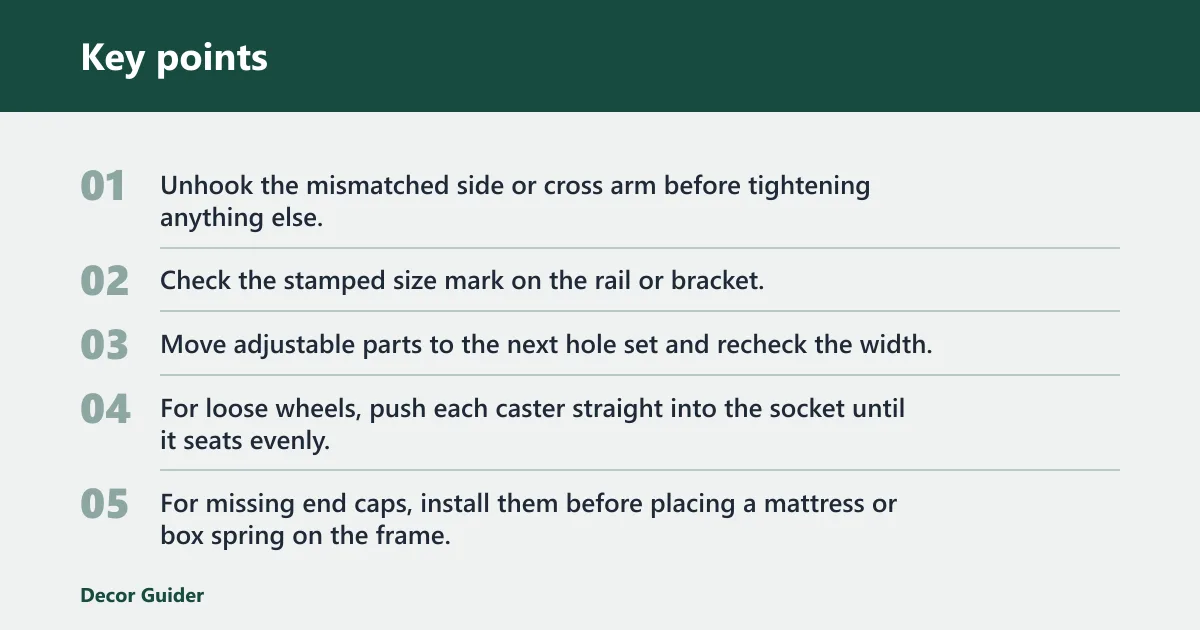
If that happened, do this next
- Unhook the mismatched side or cross arm before tightening anything else.
- Check the stamped size mark on the rail or bracket.
- Move adjustable parts to the next hole set and recheck the width.
- For loose wheels, push each caster straight into the socket until it seats evenly.
- For missing end caps, install them before placing a mattress or box spring on the frame.
Check the size, connector style, and headboard spacing before the first lock-in step. That keeps you from taking the frame apart a second time.
Frequently asked questions
How do you put together a metal bed frame?
Start by identifying the longest side rails, then connect the cross arms and corner legs before tightening anything. Keep the frame loose until the mattress size matches the spacing and the head and foot ends are clear. If the connectors do not seat cleanly, stop and recheck orientation.
How to assemble a metal bed frame with center support
Install the center support after the outer frame is aligned but before the mattress goes on. Full-or-larger sizes often use a center rail or support leg to help reduce sag. If the beam sits unevenly, reset it so the middle line stays straight and level.
How do I know if my metal bed frame is the right size?
Check the labeled size and compare it with the mattress width: Twin 38 inches, Full 54 inches, Queen 60 inches, and King 76 inches. The mattress should fit the rail spacing without squeezing. If the frame also has headboard brackets, their holes should match the same size layout.
Products related to this article
Sponsored / affiliate links. As an Amazon Associate I earn from qualifying purchases. I may earn additional commission from eligible campaigns.