How to Take Apart a Bed Frame Safely and Reassemble It
To take apart a bed frame, identify how the rails connect first, hooks, bolts, cam locks, or slats, then remove the mattress, support the frame, and reverse that connection in the correct order. Skip that step and you can strip threads, bend brackets, lose hardware, or crack wood. This guide shows how to identify the connection type, choose the right teardown method, and disassemble the frame safely for moving, storage, or part replacement.
How to identify your bed frame


Start by checking the connection points between the headboard, footboard, side rails, and center support. Metal hook-frames often catch into slots; wood frames often use bolts or screws; platform beds add slats; storage beds add drawers and stops. Hidden hardware is common, so inspect corners and underside joints before pulling anything apart.
What you’ll need before you start
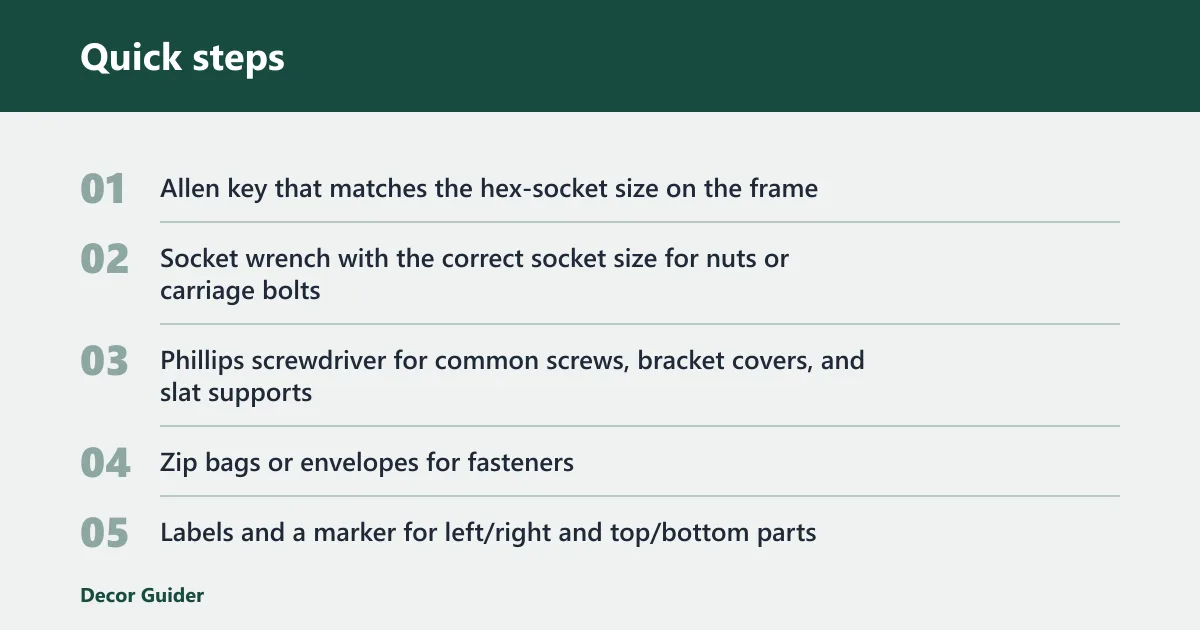
- Allen key that matches the hex-socket size on the frame
- Socket wrench with the correct socket size for nuts or carriage bolts
- Phillips screwdriver for common screws, bracket covers, and slat supports
- Zip bags or envelopes for fasteners
- Labels and a marker for left/right and top/bottom parts
- Painter’s tape for marking paired parts
- Gloves and floor protection
- Second person for heavy headboards, footboards, and side rails
Bed frame checklist table
| Frame type | Fastener type | Required tools | Hidden-fastener check | Likely order of removal | Common failure points |
|---|---|---|---|---|---|
| Metal hook-frame | Hooks, slots, bolts, bracket tabs | Allen key, socket wrench | Look for bolt caps and hook ears at the ends of rails | Mattress, slats, center support, side rails, headboard and footboard | Bent tabs, trapped crossbars, stuck hook joints |
| Wood bolt-frame | Bolts, screws, corner brackets | Phillips screwdriver, socket wrench, Allen key | Check under caps, plugs, and decorative covers | Mattress, slats, headboard, footboard, side rails, center support | Stripped screws, split wood, hidden lag bolts |
| Platform slat bed | Screws, slat screws, support brackets | Phillips screwdriver, Allen key | Inspect slat ends and center beam mounts | Mattress, slats, center support, side frame, panel pieces | Warped slats, mixed hardware, missed support legs |
| Storage bed | Screws, bolts, drawer slides, stops | Phillips screwdriver, socket wrench, Allen key | Check drawer tracks, stops, and hidden front-panel fasteners | Drawers, stops, slats or panels, center support, base frame | Stuck drawer stops, jammed tracks, lost slide screws |
- Clear the mattress, bedding, and anything loose on the frame.
- Look underneath and around each corner for screws, bolts, hooks, or caps.
- Label the headboard, footboard, left rail, right rail, and center support before loosening anything.
- Remove slats, panels, or straps first if the frame design allows it.
- Detach the center support beam or legs before lifting side rails.
- Release the side rails from the headboard and footboard using the correct fastener tool.
- Place each hardware group in a labeled bag, one joint at a time.
How do you take apart a bed frame?
A common disassembly order is mattress and bedding off first, then slats or panels, then center support, then rails, and last the headboard and footboard. That order reduces stress on the joints and makes hidden fasteners easier to see before you pry or lift a heavy section.
Follow the disassembly order
- Clear the bed and the floor around it.
- Photograph each corner and connection point before removing hardware, or jot notes on where each fastener came from.
- Remove any loose slats, boards, or straps.
- Unfasten the center support legs or beam.
- Disconnect the side rails from the end pieces.
- Separate the headboard and footboard if they are attached to the base.
A common first-timer mistake is pulling on a rail that still hides a bolt cap. The joint feels stuck, then the wood chips or the metal tab bends. If a connection resists, stop and inspect the underside, the inner rail edge, and the corner bracket before applying more force.
How to break down a storage bed
Storage beds often add drawers, slides, stops, and a heavier base structure. Empty every drawer before removal, then release any stop tabs or track catches so the drawer can slide out fully. Once the drawers are out, the remaining frame usually comes apart like a platform bed with extra support pieces.
Remove drawers and tracks first
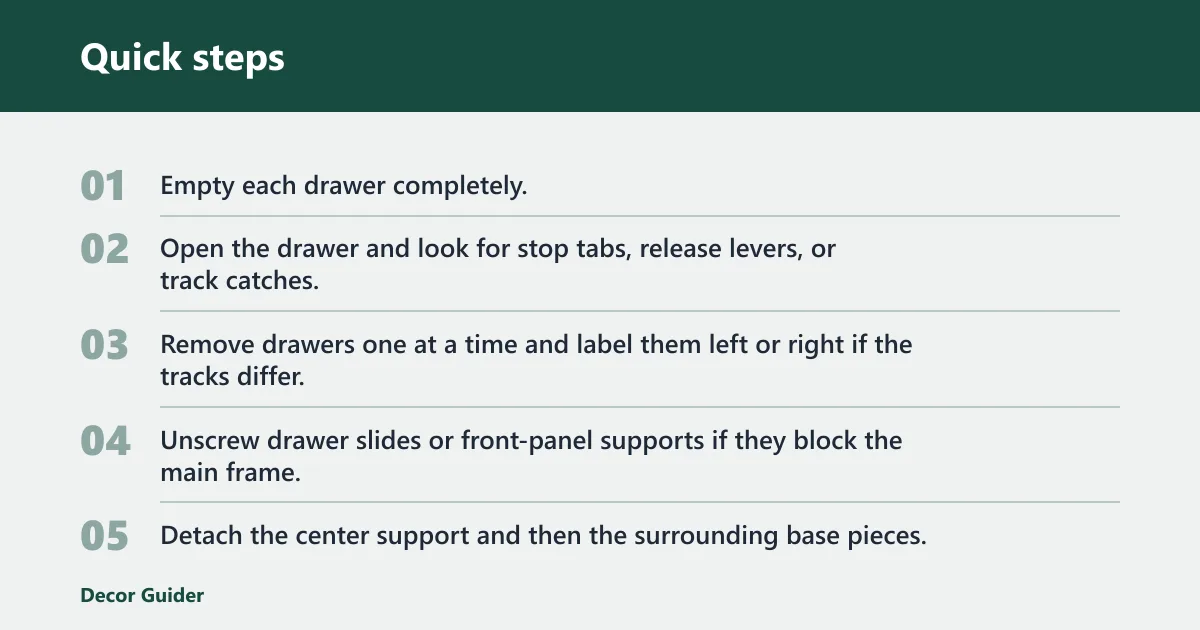
- Empty each drawer completely.
- Open the drawer and look for stop tabs, release levers, or track catches.
- Remove drawers one at a time and label them left or right if the tracks differ.
- Unscrew drawer slides or front-panel supports if they block the main frame.
- Detach the center support and then the surrounding base pieces.
Suppose a storage bed has two deep drawers on one side and a 6-inch center beam underneath. Remove the drawers first, then check the beam legs before trying to lift the side panels. The beam can hold the frame together even after the visible side hardware is out.
How to pack hardware and parts for moving
- Keep each joint’s fasteners in its own labeled bag
- Write left, right, top, or bottom on every bag
- Bundle matching slats together with tape or string
- Protect corners with cardboard or blankets
- Store the headboard upright if it is large or upholstered
For narrow stairs or an elevator, break the frame down as far as the connection design allows. If the headboard or footboard is too tall, remove those first and carry the rails separately. A partially disassembled frame is better than forcing a one-piece move through a tight turn.
Common mistakes to avoid
The biggest errors are skipping the hidden-fastener check, mixing hardware from different joints, and removing center support too late. Those mistakes make reassembly harder and increase the chance of stripped threads, bent brackets, or cracked wood. Keep the order consistent, and stop whenever a joint refuses to separate cleanly.
Avoid these failure points
- Forcing a joint before checking for hook tabs, bolt caps, or concealed screws
- Using the wrong tool size on hex bolts or lag bolts
- Mixing left and right rails or swapping top and bottom parts
- Removing side rails before the center support is free
- Leaving drawer stops engaged on a storage bed
- Skipping hardware labels for a future reassembly
Hardware bags and labels matter more than they seem. A frame with four similar-looking corner bolts may still use two different lengths, and a mismatched bolt can crack wood or bottom out in the wrong bracket. Label each bag as you go, not after the whole frame is apart.
Frequently asked questions
How to take apart a bed frame with no screws
Look for hook-and-slot joints, cam locks, or clip brackets at the rail ends and underneath the corners. Many frames with no visible screws still have hidden release points. Lift, slide, or rotate the joint in the direction the bracket allows, and check for a second latch before forcing the connection.
How to take apart a bed frame with headboard and footboard
Separate the headboard and footboard only after checking how they connect to the side rails. On many frames, those end pieces carry the main load and should stay supported until the rails are ready to come off. Label the end pieces before removal so reassembly is faster and cleaner.
Products related to this article
Sponsored / affiliate links. As an Amazon Associate I earn from qualifying purchases. I may earn additional commission from eligible campaigns.