How to Tighten Toilet Bolts Without Cracking the Porcelain
Tighten toilet bolts in small, alternating turns: if the fastener stays engaged and the fixture steadies, tightening is appropriate; if a nut spins, the porcelain shifts, or the washer has failed, replace the hardware instead of forcing it. Over-tightening can crack the tank, bowl, or floor-mounted base and turn a simple fix into a larger repair. This guide separates tank-to-bowl bolts from floor flange bolts and shows what to check first.
What you’ll need


- Nut driver or wrench that fits the bolt nut cleanly
- Replacement bolt kit with matching nuts and washers
- Rubber washers or cone washers for the correct bolt type
- Flat metal washers, if the hardware uses them
- Towel or sponge for catching water
- Shutoff valve at the toilet supply line
- Bucket or small container for removed parts
Parts to replace if the hardware is worn
- Corroded toilet bolt
- Striped or damaged nut threads
- Crushed, split, or hardened rubber washer
- Elongated bolt hole in the tank or bowl
- Rust-stained or bent bolt shank
How do you tell which bolts you have?
Start by locating the fastener. Tank-to-bowl bolts clamp the tank to the bowl and seal with a gasket or cone washer. Floor flange bolts secure the bowl to the flange in the floor. They are repaired differently, and confusing them can leave the leak or rocking problem unresolved.
Tank-to-bowl bolts
These usually come in pairs and pass through the tank base into the bowl. They rely on a rubber gasket or cone washer to seal around the holes. If one side is tightened far ahead of the other, the tank can twist and stress the porcelain. Manufacturer instructions commonly call for even tightening and correct gasket placement, such as the Kohler service directions for toilet tank hardware and Fluidmaster’s tank-to-bowl assembly guidance.
Floor flange bolts
These hold the toilet base to the floor flange. If they are loose, the toilet rocks. A rocking base can damage the wax seal and let water escape at the floor. Tightening helps only when the bolts and flange are still in good shape, and plumbing references such as This Old House and Family Handyman consistently treat base movement as a stop-and-inspect warning, not a crank-it-down fix.
Step-by-step tightening sequence
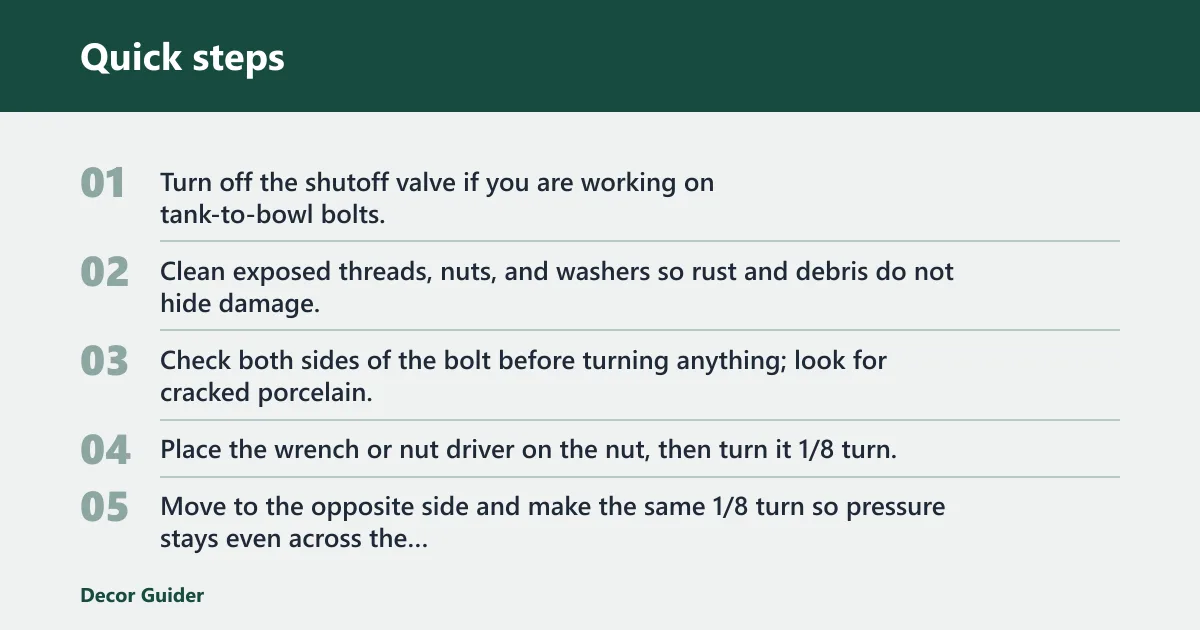
- Turn off the shutoff valve if you are working on tank-to-bowl bolts, then flush and sponge out the tank so the parts are easier to inspect.
- Clean exposed threads, nuts, and washers so rust and debris do not hide damage.
- Check both sides of the bolt before turning anything; look for cracked porcelain, crushed washers, or a nut that spins without gripping.
- Place the wrench or nut driver on the nut, then turn it 1/8 turn.
- Move to the opposite side and make the same 1/8 turn so pressure stays even across the porcelain.
- Repeat the alternating turns until the hardware feels snug and the movement stops.
- Stop immediately if the porcelain flexes, the washer squashes flat, or the nut bottoms out before the joint tightens.
Why even turns matter
Porcelain is brittle ceramic. It tolerates compression better when the load is shared evenly, but it can crack when one side is tightened much farther than the other. Even pressure also helps the gasket seat correctly, which is why manufacturer instructions for toilet tank hardware generally emphasize balanced tightening rather than one-sided force.
A practical increment to use
Use about 1/8 turn per adjustment, then check again. That is small enough to control stress and large enough to feel a real change in tightness. If the joint still moves after two alternating rounds, do not keep cranking. At that point, the safer path is to inspect the stack and replace worn parts.
How tight should toilet bolts be?
The goal is a firm, even fit. The part should stop wobbling or leaking, but the nut should not be pulled so hard that the washer collapses or the porcelain bends. A good stop point is when the fastener feels firm and the fixture no longer shifts under light hand pressure.
When pressure is too much
If the nut suddenly stops, the porcelain groans, or the bolt hole starts to look oval, stop. Extra force does not improve the seal. It raises the crack risk and usually means the washer, gasket, or bolt kit has already failed.
Should you tighten or replace the bolts?
Tighten only when the hardware is intact and the looseness comes from minor settling. Replace the bolt kit when rust, stripped threads, crushed washers, or damaged holes are present. If the porcelain is cracked, tightening is not the fix. A cracked tank or bowl needs professional judgment before any more force is applied.
Red-flag conditions that mean replace
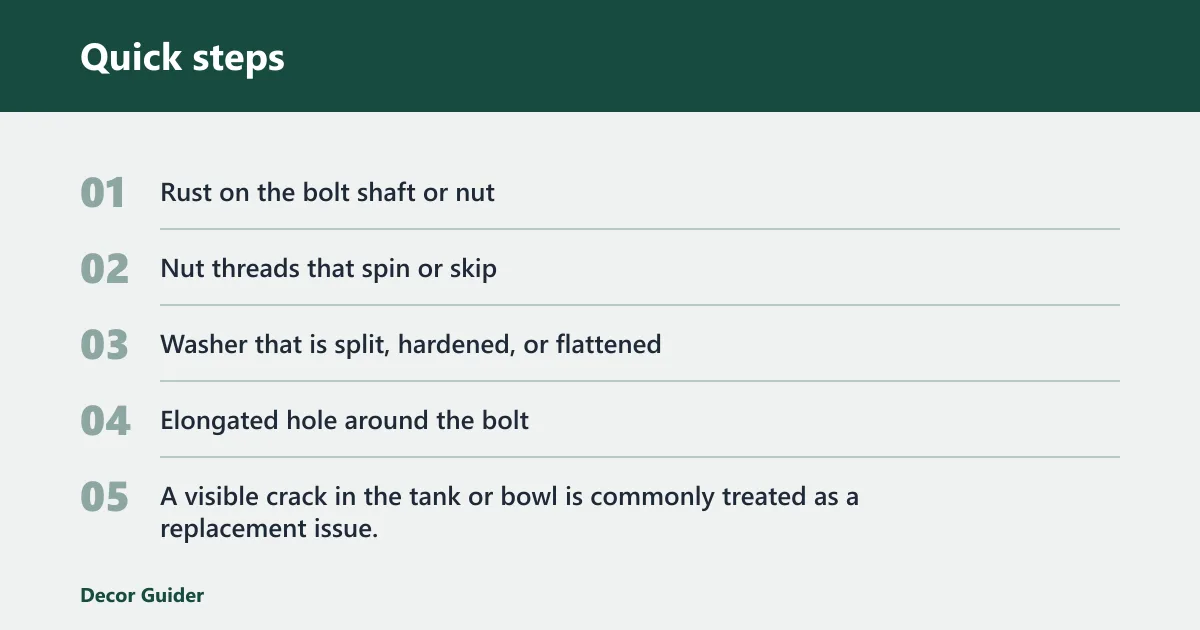
- Rust on the bolt shaft or nut
- Nut threads that spin or skip
- Washer that is split, hardened, or flattened
- Elongated hole around the bolt
- A visible crack in the tank or bowl is commonly treated as a replacement issue.
Acceptable hardware conditions
| Part | Acceptable condition | Replace instead of tighten when you see |
|---|---|---|
| Bolt | Straight, clean threads, nut turns smoothly | Rust scale, bent shaft, stripped threads |
| Washer | Flat enough to seat, rubber still flexible | Cracked, crushed, swollen, or hardened washer |
| Porcelain hole | Round edge, no visible chips | Oval opening, chip, hairline crack, spreading crack |
| Gasket | Compresses evenly and stays aligned | Dry, deformed, split, or leaking after snugging |
Tighten vs replace decision table
| Symptom | Action | Why |
|---|---|---|
| Spinning nut | Replace | The threads or grip surface are no longer holding. |
| Rusted bolt | Replace | Corrosion weakens the shank and often hides thread damage. |
| Stripped threads | Replace | The nut cannot clamp reliably once the threads are damaged. |
| Crushed cone washer | Replace | A washer that has lost its shape usually will not reseal. |
| Elongated porcelain hole | Replace | The load is spreading into damaged porcelain, not a stable hole. |
| Rocking base | Inspect then tighten only if hardware is sound; otherwise replace and reset | Movement can break the wax seal or indicate flange/base damage. |
| Seepage at bolt hole | Replace gasket/washer stack first | Leakage at the hole usually points to a failed seal stack. |
| Seepage at base | Inspect flange bolts, wax seal, and base stability | Base leaks are often caused by rocking or seal failure, not just loose bolts. |
| Cracked porcelain | Stop tightening; evaluate for replacement | More torque can spread the crack and make the fixture unsafe. |
What should you put under toilet bolts to stop leaks?
Use the correct washer and gasket stack for the bolt type. For tank-to-bowl bolts, follow the manufacturer’s order for the rubber gasket or cone washer, with a metal washer where the kit calls for one. For floor flange bolts, the washer under the nut spreads load and protects the base. Plumbing references such as The Family Handyman and manufacturer instructions for toilet hardware both emphasize correct stack order over extra tightening.
Correct stack order matters
Tank hardware often fails because the gasket is missing, upside down, or crushed out of position. If the seal is not seated correctly, more tightening only distorts the parts. Replace the stack if the washer no longer springs back or the gasket has dried out. That is the point where replacement becomes the real fix, not another turn of the wrench.
Common mistakes
Most problems come from treating every toilet bolt the same way. Tank bolts and floor flange bolts do different jobs, and each one can fail in a different way. A loose nut is not always the real problem. The washer, gasket, flange, or porcelain hole may be the part that has failed.
Mixing up tank bolts and floor bolts
Tank bolts need even pressure on both sides. Floor flange bolts need enough tension to stop rocking, but not enough to deform the base. If you work on the wrong fastener, the toilet can stay loose or start leaking at a different point.
Using too much force
A wrench can be used, but only for short, controlled turns on porcelain-mounted hardware. Forceful cranking is the wrong move. It can crack the tank or bowl before the fastener actually seals. Manufacturer guidance for toilet hardware generally favors even, moderate tightening over brute force.
Skipping washer or gasket inspection
If the washer is already crushed or the gasket is dry, tightening becomes a temporary bandage. Inspect both sides of the bolt before you turn it. Replace worn parts first if the stack no longer compresses evenly.
Toilet bolt tightening checklist
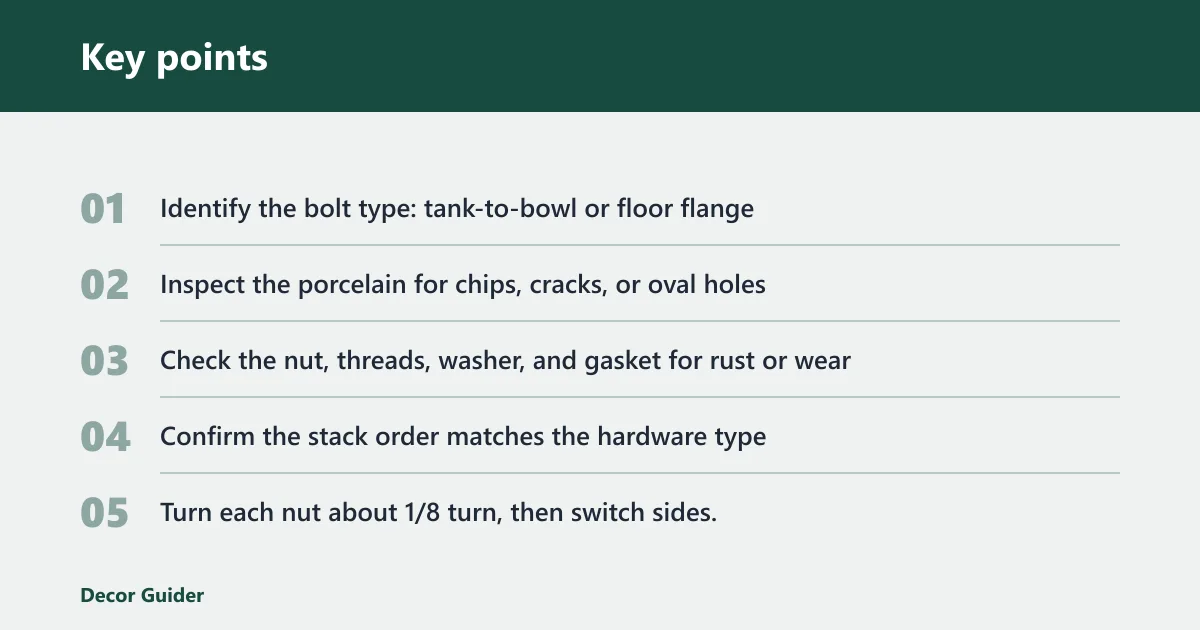
- Identify the bolt type: tank-to-bowl or floor flange
- Inspect the porcelain for chips, cracks, or oval holes
- Check the nut, threads, washer, and gasket for rust or wear
- Confirm the stack order matches the hardware type
- Turn each nut about 1/8 turn, then switch sides.
- Repeat alternating turns until the fixture stops moving
- Stop if the nut spins, the washer crushes, or the porcelain flexes
- Run the leak and rocking test after tightening
Final leak and rocking test
- For tank work, reopen the shutoff valve and let the tank refill
- Check each bolt hole and nut for fresh moisture
- Wipe the area dry, then check again after a few minutes
- Press gently on the tank or bowl to confirm it no longer shifts
- If floor bolts were tightened, rock the toilet by hand to confirm the base stays steady
- Look under the base for seepage after a flush
Frequently asked questions
How do you tighten toilet bolts without cracking the porcelain?
Use alternating 1/8 turns on each side and stop as soon as the fixture feels stable. The key is even pressure, not force. If the nut spins, the washer crushes, or the porcelain shifts, tighten no further and move to replacement parts.
What tools do I need to tighten toilet tank bolts safely?
A correctly sized nut driver or wrench is the main tool. For tank work, also have the shutoff valve ready, plus a sponge and towel for drying the tank. A replacement bolt kit is smart to have on hand if corrosion or stripped threads appear during inspection.
Should I replace toilet bolts or just tighten them?
Replace them when the bolt is rusted, the threads are stripped, the washer is crushed, or the hole is elongated. Tightening is only appropriate when the hardware is sound and the looseness comes from minor settling. Worn parts rarely improve with more torque.
Why do toilet bolts keep loosening?
Loose bolts usually point to a worn washer, a degraded gasket, vibration from a rocking toilet, or corroded hardware that no longer grips cleanly. If the fastener loosens again soon after tightening, inspect the stack and the mounting surface rather than repeating the same adjustment.
What do I do if the porcelain around the bolt is already cracked?
Stop tightening. A crack changes the risk completely, and more pressure can spread it. If the crack is at the tank or bowl bolt hole, the safest next step is to stop using force on that fastener and arrange a professional inspection or replacement plan.
Products related to this article
Sponsored / affiliate links. As an Amazon Associate I earn from qualifying purchases. I may earn additional commission from eligible campaigns.