How to Fix Peeling Veneer on a Dresser Top
Fix peeling veneer on a dresser top by re-gluing loose edges when the substrate is flat and sound, patching small missing areas of roughly 2 inches or less, and replacing the sheet when the core is swollen, split, or badly lifted. If you ignore it, the veneer chips farther, bumps show through the finish, and the top can end up uneven. This guide shows how to judge the damage, stabilize loose veneer, patch small failures, and replace a top sheet when repair no longer holds.
What you’ll need
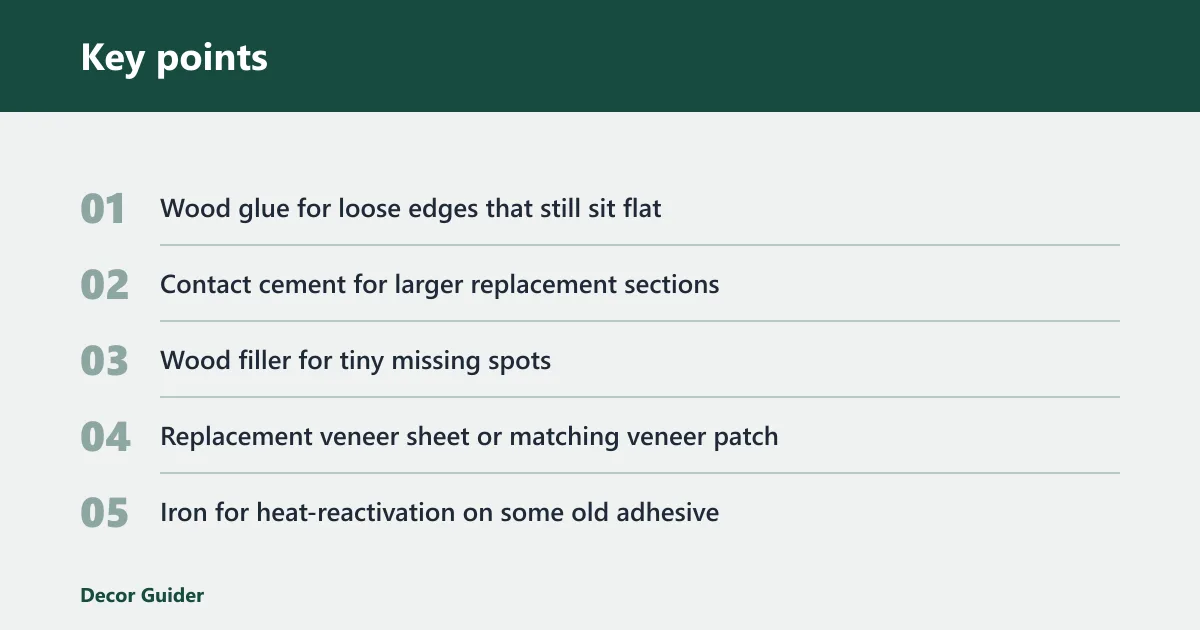


- Wood glue for loose edges that still sit flat
- Contact cement for larger replacement sections
- Wood filler for tiny missing spots
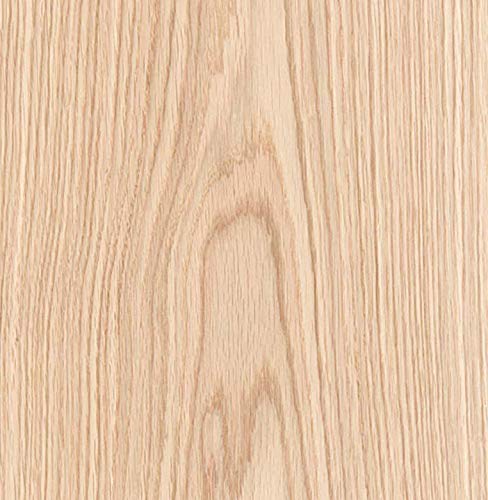
- Replacement veneer sheet or matching veneer patch
- Iron for heat-reactivation on some old adhesive
- Wide putty knife for lifting brittle or chippy veneer
- Clamps
- Flat caul or protective block
- Sandpaper in fine grits for edge feathering
- Utility knife or sharp craft knife
- Clean rags
- Painter’s tape
- Finish coat that matches sheen and color
- Optional: stain or paint for color correction
How bad is the peeling?
Judge the failure size, veneer thickness, and substrate before you pick a repair. A dresser top needs a flush fix because it is flat and horizontal, so it takes wear, moisture, heat, and abrasion. Minor edge lift can often be re-glued; bubbles, soft spots, or swelling point to deeper failure.
Minor edge lift
If the veneer is still attached across most of the top and only an edge is loose, re-glue is the first choice. Hardwood veneer is usually very thin, often a fraction of an inch, so a small lift can still be repaired cleanly if the core below it is flat and dry.
Bubbles and soft spots
A bubbled area often means trapped moisture, old adhesive failure, or both. A wet towel can help loosen stubborn glued veneer, and a heat gun can also loosen adhesive, but keep the heat controlled because scorch marks will show fast on a dresser top. If the spot feels spongy, check the substrate first.
Missing chips and wide loss
When chips are missing, the wide putty knife advice applies for removal and cleanup, but the repair choice changes if the loss is larger than a small patch. Thin furniture veneer is meant for wrapping, so missing panels or repeated breakage often mean patching with new veneer or replacing the sheet.
Veneer repair matrix
Use this table to pick the least invasive repair that still leaves the top flat. The more swollen, split, or previously refinished the surface is, the more likely a patch or full replacement will show through the finish unless you switch to paint or a full refinish.
| Repair path | Best for damage size | Veneer thickness and condition | Substrate condition | Finish type | Estimated material cost | Cure time expectation |
|---|---|---|---|---|---|---|
| Re-glue | Edges, blisters, or lifts under about 2 inches | Thin veneer that is still mostly intact | Flat, dry, sound core | Clear finish or repaint after spot blending | $5 to $20 | Clamp 30 minutes to overnight, then wait 24 hours before sanding or recoating |
| Patch | Small missing chips and worn spots under about 2 inches | Thin veneer with local loss only | Firm, not swollen, no soft spots | Stain-matched finish, painted finish, or opaque topcoat | $15 to $40 | Adhesive cure 1 to 24 hours, filler cure per label, finish after full dry |
| Replace | Wide loss, repeated lifting, or failed full sections | Veneer that is cracked through or too thin to save | Swollen, split, or uneven core, or a top already repaired once | Paint, full veneer replacement, or full top refinish | $25 to $80 | Contact cement grabs after open time; full cure commonly 24 hours before heavy use |
Re-glue path
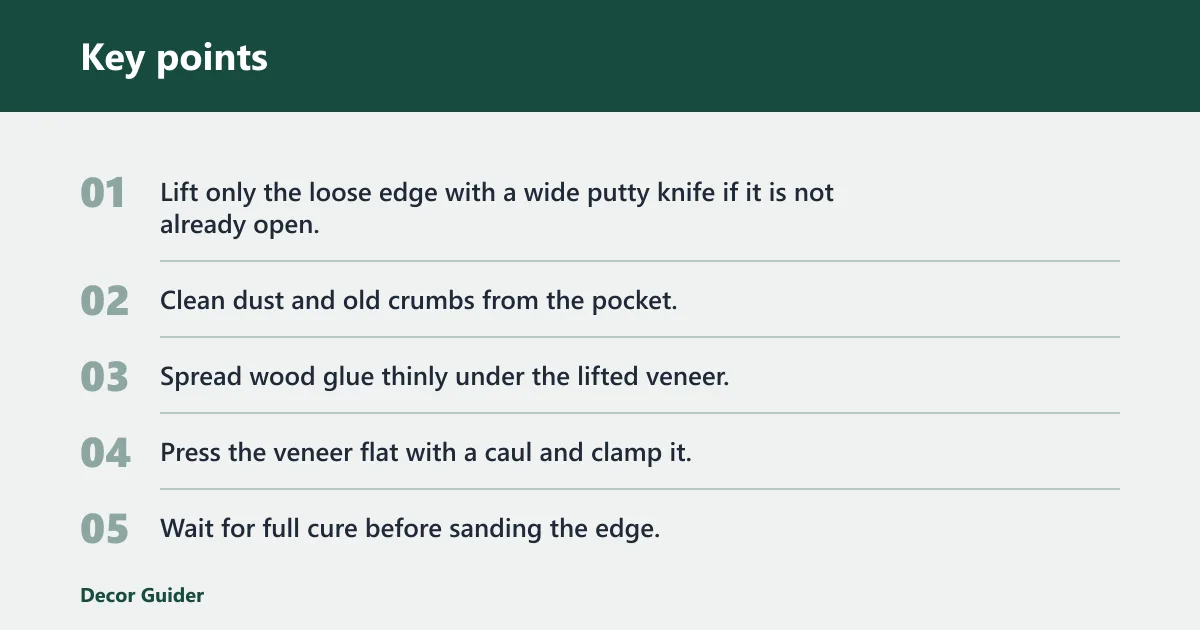
- Lift only the loose edge with a wide putty knife if it is not already open.
- Clean dust and old crumbs from the pocket.
- Spread wood glue thinly under the lifted veneer.
- Press the veneer flat with a caul and clamp it.
- Wait for full cure before sanding the edge.
Patch path
- Trim loose fibers with a sharp knife.
- Fit a small veneer patch or fill the void with wood filler.
- Keep the patch area flush with the surrounding top.
- Feather the edge with fine sandpaper.
- Blend with stain, paint, or a matching finish coat.
Replace path
- Score the bad section and lift it with a putty knife.
- Remove all brittle glue and loose veneer.
- Check whether the substrate is swollen or split.
- Apply contact cement evenly to the core and the new veneer.
- Set the veneer after the proper open time, then roll or press it flat.
How do you glue down loose veneer?
Use wood glue when the veneer is still mostly intact and only the edge has lifted. This works best on a flat, sound dresser top with no swelling underneath. If the adhesive can be reactivated, gentle heat can help, but the repair still needs even pressure and a flat caul to stay level.
Clean and open the lifted edge
- Slide a wide putty knife under the loose edge until it opens enough for glue.
- Brush out dust and brittle chips.
- If old adhesive is stubborn, use controlled heat or a damp towel to soften it, then stop as soon as the veneer moves.
Apply glue evenly
- Spread a thin bead of wood glue under the lift.
- Work it across the full loose area so there are no dry spots.
- Wipe excess from the surface before it skins over.
Clamp the repair flat
- Cover the area with a flat caul or protective block.
- Clamp until the veneer sits flush and cannot curl at the edge.
- Recheck the top after 10 to 15 minutes and tighten only if the joint has shifted.
Let it cure before sanding
- Leave the clamp on for the full cure time on the glue label.
- Wait until the joint is hard before sanding.
- Use light hand sanding only, just enough to level the edge.
How do you patch missing veneer?
Patch missing veneer when the loss is small and the substrate is still firm. Small chips under about 2 inches can often disappear under paint or a careful stain match. Larger missing areas usually need a real veneer patch because filler alone will show through the finish.
Trim loose fibers
- Cut back frayed edges with a sharp knife.
- Remove any loose splinters from the missing spot.
- Keep the repair area square or slightly rounded so the patch fits cleanly.
Fill small losses or fit a replacement patch
- Use wood filler only for tiny voids or pin-sized losses.
- For a larger chip, cut a veneer patch to fit the opening.
- Press the patch flat and align the grain before the adhesive sets.
Feather the edge
- Sand the perimeter lightly with fine-grit sandpaper.
- Stop as soon as the repair edge feels flush.
- Do not sand through the surrounding veneer, because the layer is thin.
Blend the finish
- Match the sheen and color with a test spot in a hidden area.
- Apply stain, paint, or finish coat in thin passes.
- Add only enough material to blend the repair, then stop and recheck under light.
When should you remove or replace veneer?
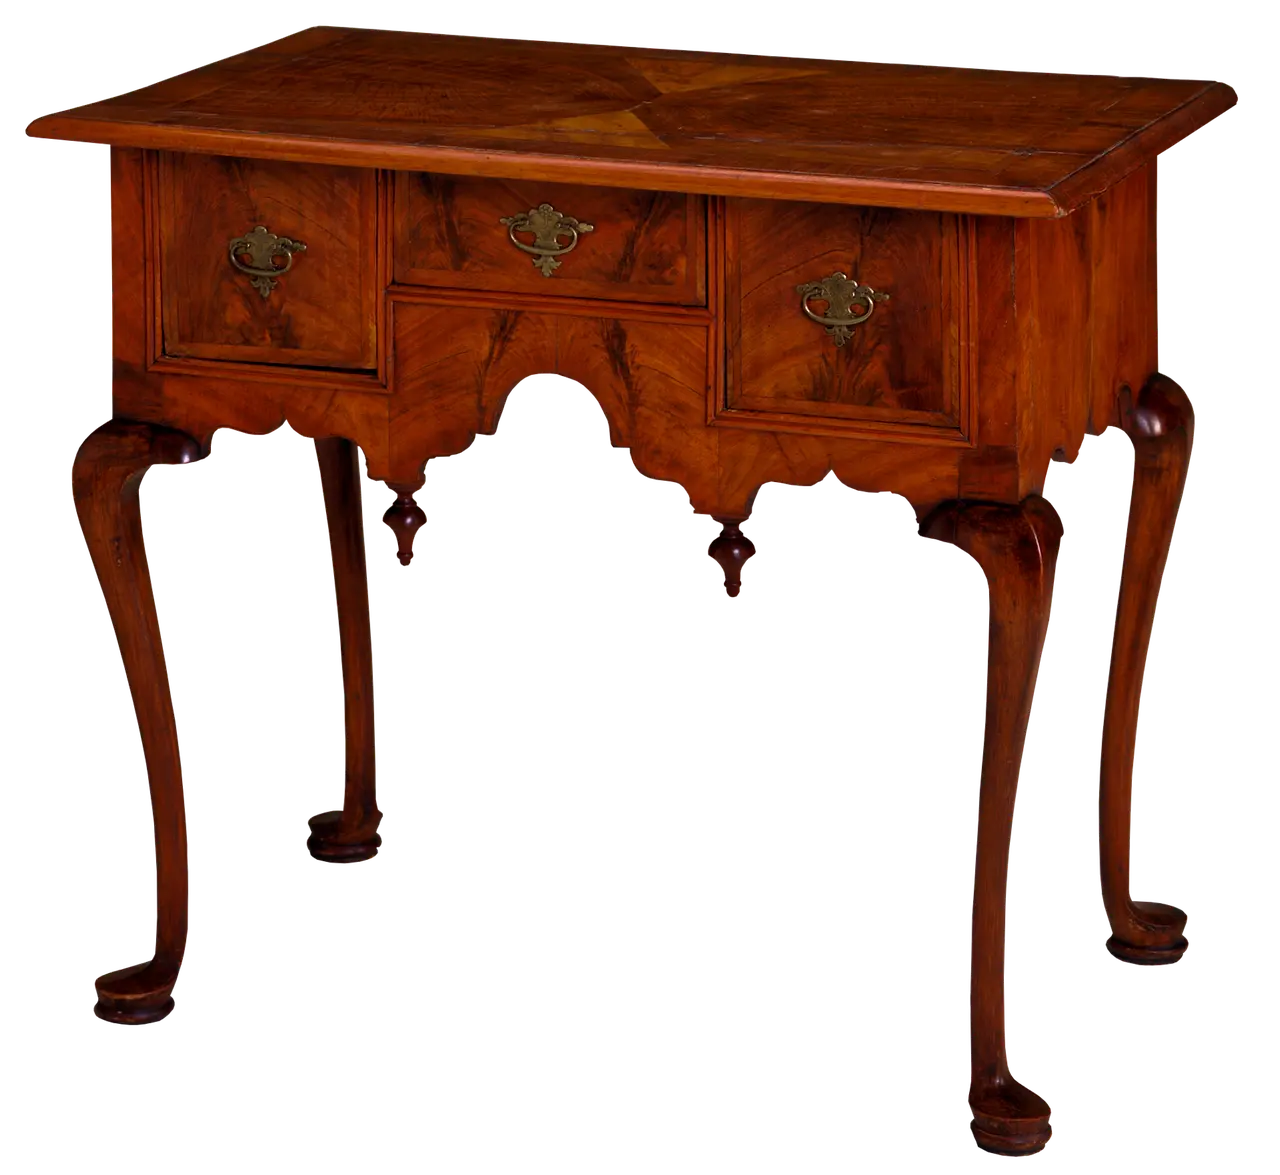
Remove or replace the top sheet when the substrate is failing, the damage is widespread, or the repair will clearly show through the finish. If the dresser top has already been refinished once, further spot repair often stands out more. Paint or full replacement is the better call when the surface cannot stay flat.
Signs the substrate is failing
- Press on the lifted area and look for softness or movement.
- Check for swelling, split corners, or a hollow sound under the veneer.
- Use replacement veneer if the core no longer gives a flat base.
When repair will show through the finish
- Look at the repair from the side under raking light.
- If the ridge or patch edge is obvious before finishing, it will likely show after finishing too.
- Choose paint or a full sheet replacement when the grain break or patch line will be visible on a dresser top.
When painting or full replacement is the better option
- Pick paint if you need to hide multiple patches or uneven color.
- Pick full replacement if repeated seasonal movement keeps opening the same seam.
- Use contact cement with a roller or pressure block when replacing larger sections.
Say your dresser top has a 1 1/2-inch bubble near the back edge after a humid summer. If the core is still flat, re-glue is the first move. If the bubble returns after clamping, the old adhesive has likely failed far enough that a patch or new sheet will hold better.
Suppose the same top has already been sanded and refinished once. A second spot repair may flash through the clear coat, especially on a flat horizontal surface. In that case, paint or full replacement gives a cleaner result than trying to hide a ridge that will stay visible.
Common mistakes
Most failed veneer repairs come from too much adhesive, too much sanding, or too little pressure. The fix is simple, but the steps have to stay flat. A dresser top will magnify every ridge, bump, and glue line once the light hits it.
- Using too much adhesive: A thick glue layer can keep the veneer from lying flat and may squeeze out onto the finish.
- Sanding through the veneer: Use light hand sanding only. The layer is thin, and heavy sanding can expose the substrate.
- Skipping clamp time: If the repair moves before cure, the edge can curl again.
- Choosing filler for a large missing area: Wood filler works for tiny losses, not missing panels.
- Ignoring moisture damage: If the core is swollen, glue alone will not solve the problem.
Prevention is mostly about keeping the top dry and stable. Wipe spills quickly, avoid hot cups without a barrier, and keep room humidity steady enough that the veneer and substrate do not move at different rates.
Frequently asked questions
How do I fix peeling veneer on a dresser top?
Start by checking whether the top is flat and sound. Re-glue loose edges with wood glue, patch small chips with filler or a veneer patch, and replace larger sections with new veneer and contact cement. Finish with a matching topcoat so the repair stays protected.
Can I glue down loose veneer on furniture?
Yes, if the veneer is still mostly attached and the substrate underneath is firm. Open the lifted edge, spread wood glue thinly, clamp it flat with a caul, and leave it alone until the adhesive fully cures. If the core is swollen, glue is not enough.
What tool do I use to lift old veneer?
A wide putty knife is the safest basic tool for chippy veneer because it spreads pressure and helps reduce gouging. Work slowly under the loose edge. If the adhesive is stubborn, a wet towel or controlled heat can soften it before you continue.
How do I repair bubbled veneer on furniture?
First press the area to see whether it is hollow, soft, or just lifted. If the substrate is sound, open the bubble, re-bond it with wood glue, and clamp it flat. If the bubble came from moisture damage or swelling, replacement often lasts longer.
Should I remove or patch damaged veneer?
Patch small missing spots when the core is flat and the loss is limited. Remove and replace the veneer when the substrate is swollen, split, or already failing in several places. If the repair will show through the finish, painting or full replacement is the cleaner option.
How do I stop veneer from peeling again?
Keep the dresser top dry, avoid direct heat, and fix loose edges early before the lift spreads. Use a finish coat that seals the repair, and do not sand aggressively during future touch-ups. Repeated movement, moisture, and heat are the usual reasons the seam opens again.
Products related to this article
Sponsored / affiliate links. As an Amazon Associate I earn from qualifying purchases. I may earn additional commission from eligible campaigns.